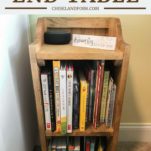
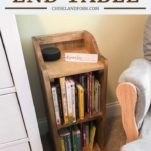
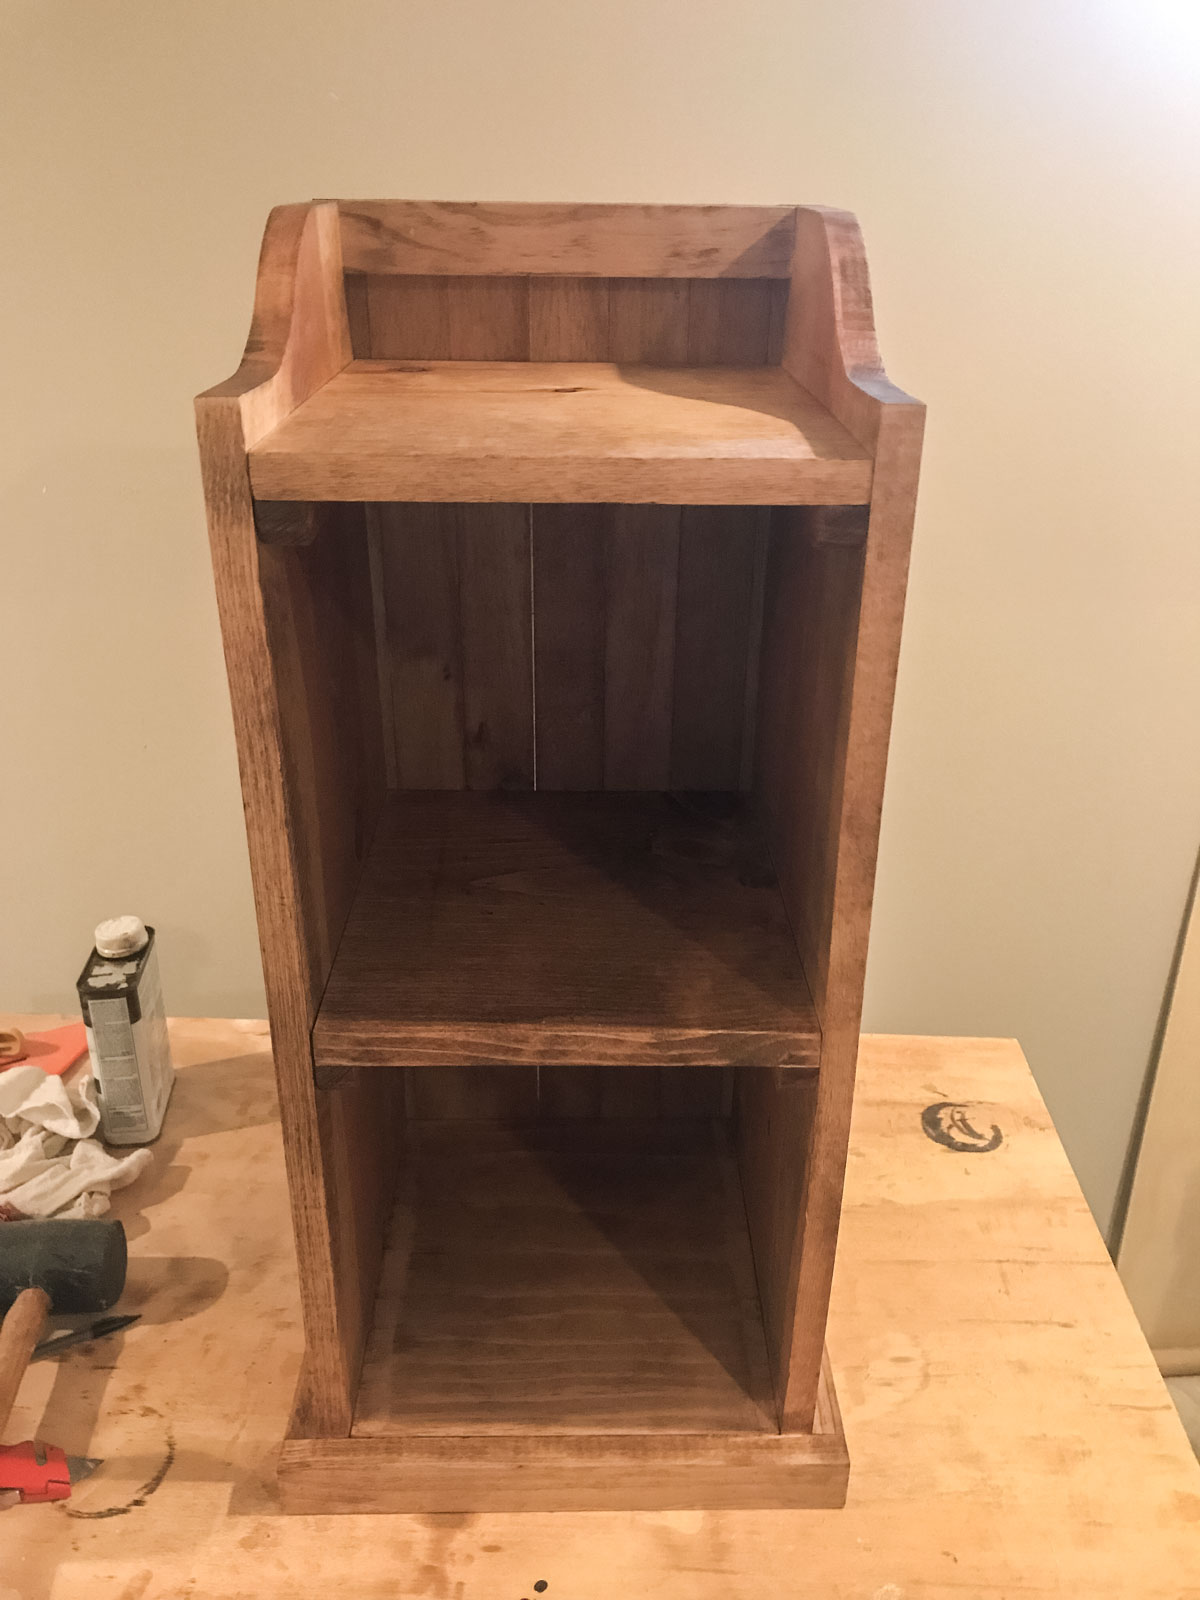
This small DIY bookshelf end table is perfect for any bedroom, especially a nursery, is easy to put together and can be made for under $40.
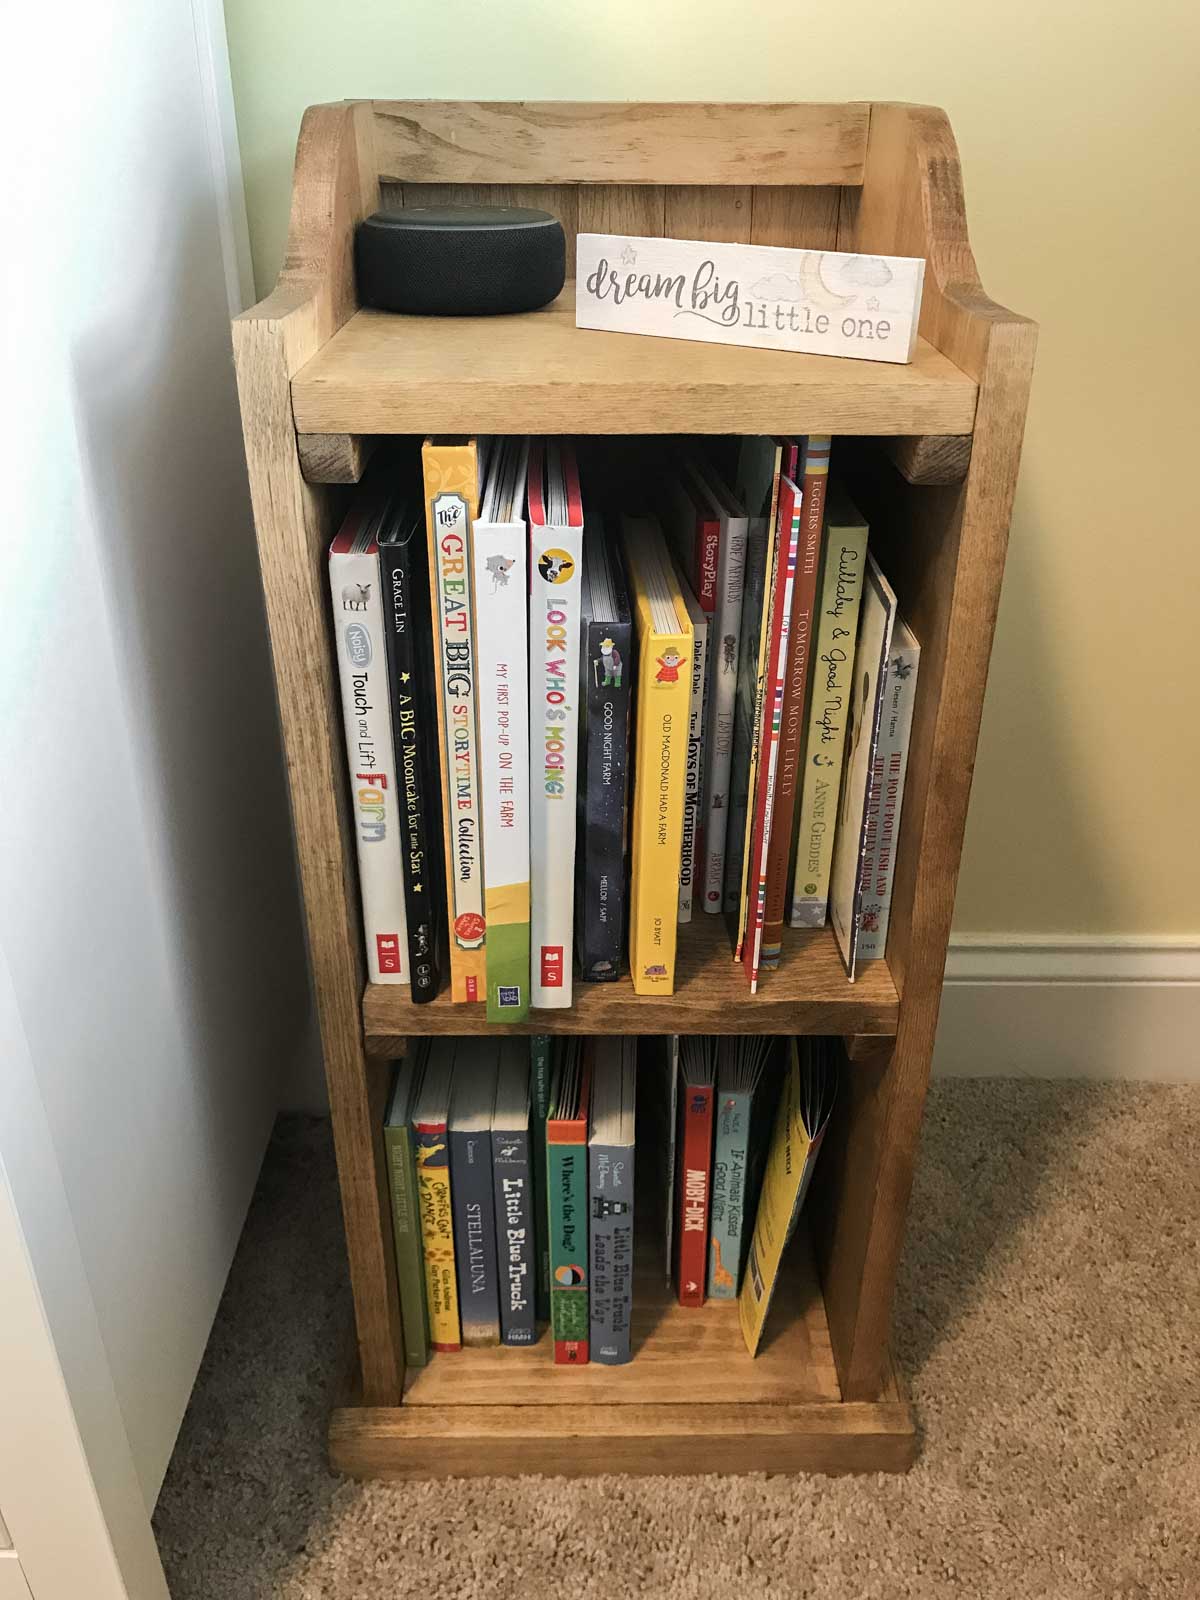
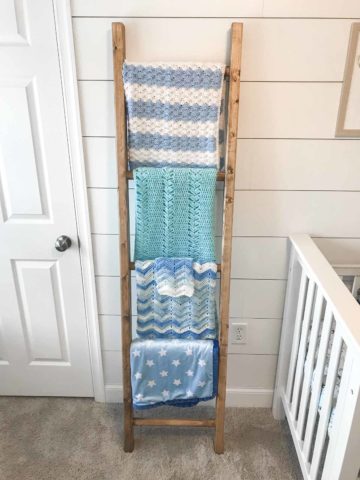
Over the past few months I've shared a few different projects that I made for our nursery, including DIY shiplap and a blanket ladder. However there was one final piece to the puzzle - a bookcase end table.
For anyone that has kids, you know how many books you are given. And when your mom works for Scholastic, you have a lot of books! The problem is you have to find a place to store all of those books. Our nursery is a little small so I was trying to come up with unique ways to store our books.
The first thing I did was make some wood shelves but we still needed more storage and that is where this DIY bookshelf comes in.
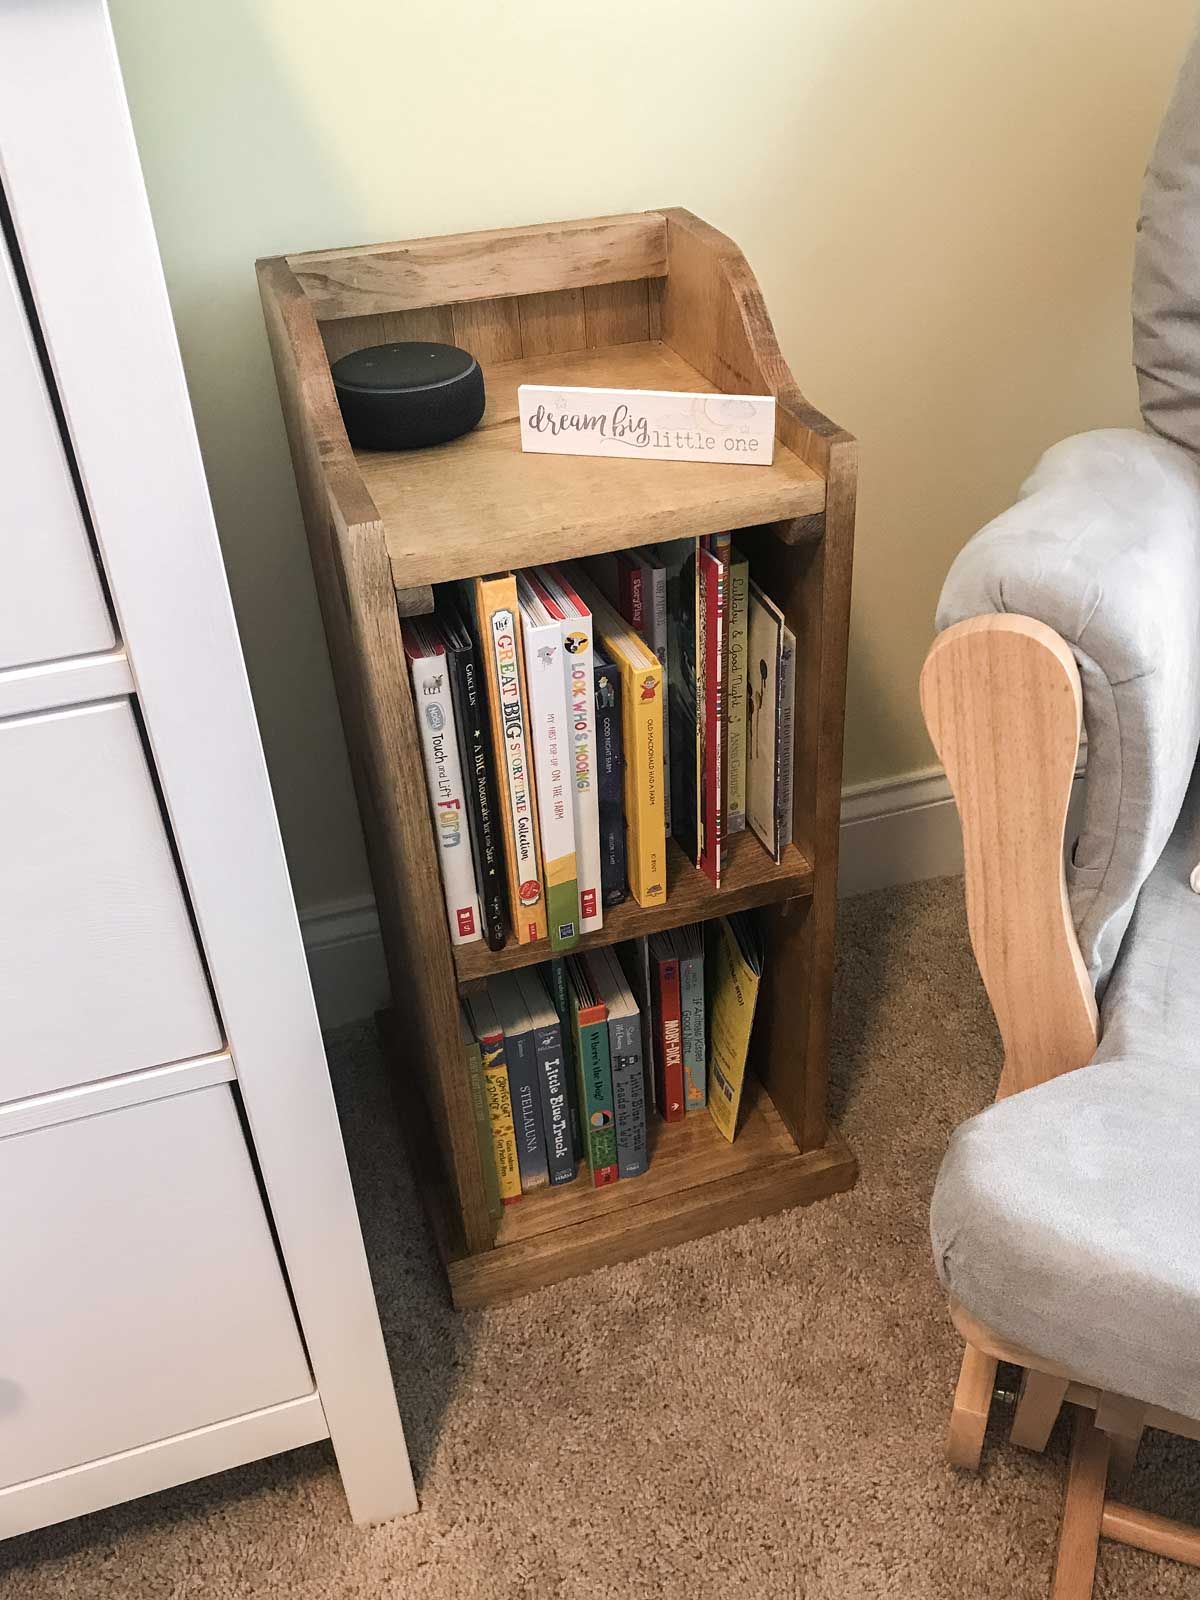
We had a glider to rock the baby but no end table to put our drink or anything we might need that is within arm's reach. So I figured why not combine an end table and a bookshelf. The great thing about this end table is you can customize it to the size of your room. I was actually inspired by a post from Ana White. Because our space is tight, I didn't make it too wide, but you can easily make it wider to fit more books in.
Either way, you'll be thankful every day to have a small bookshelf end table that answers two needs in one.
What is an End Table?
End tables are small tables that are usually the height of the arm of a chair that is next to a larger piece of furniture. Because of this, the top shelf of this DIY end table is 2 feet tall, which is the normal height of the arm of a chair. However you can make the table higher if your chair is higher.
What Type of Wood Do You Use?
To keep it cheap, there is nothing better than pine wood. If you are staining the bookcase end table, pine wood gives you a cool grain look as well.
Pro Tips/Notes
- Pine wood is the cheapest and easiest to work with but if you want a sturdier DIY bookshelf, go with oak.
- For staining, I prefer Danish oil as it stains and protects the bookcase end table.
- You can customize the width and height to your room. Just keep in mind you might need more or less wood.
Other DIY Projects
If you’ve made this bookshelf end table or any other project on Chisel & Fork, please let me know how it turned out in the comments below! You can also follow me on Facebook, Instagram, Pinterest and YouTube to see more projects, meals and anything else I'm up to.
Bookshelf End Table
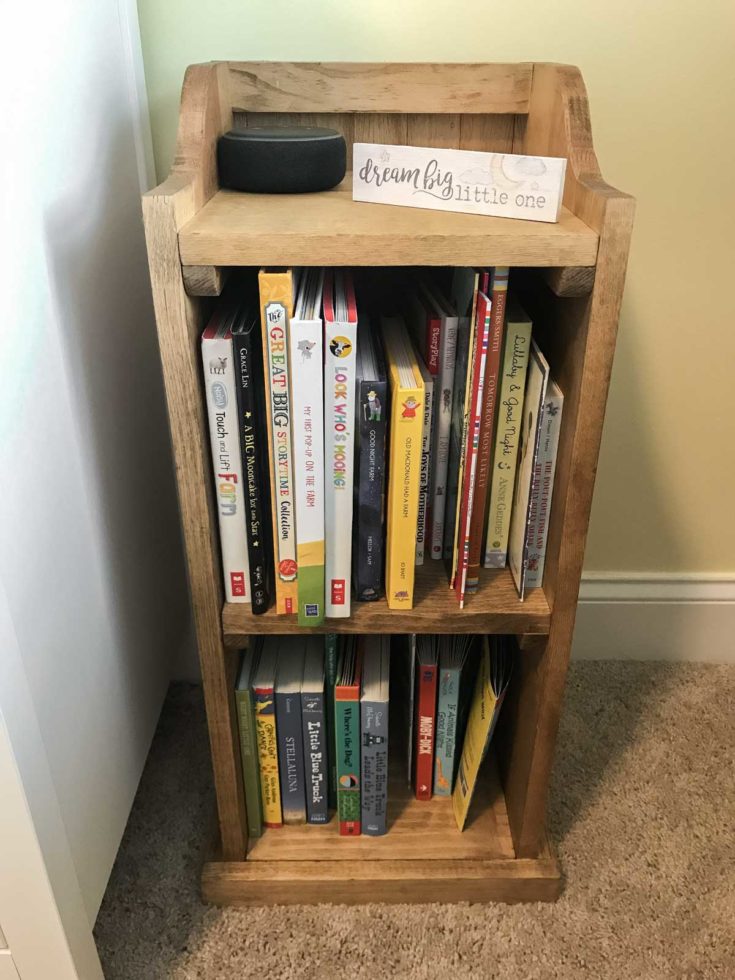
This small DIY end table that also serves as a bookshelf is perfect for any bedroom, especially a nursery, and can be made for under $40.
Materials
- (1) 1" x 12" x 8′ pine wood
- (1) 1" x 2" x 4′ pine wood
- (2) 1" square dowels @ 36"
- (1) ¼" x 2' x 4' plywood
- 1 ¼" finish nails
- Wood glue
- Stain or paint
Tools
- Table saw
- Miter saw
- Jigsaw
- Clamps
- Hammer
- Hand sander and sandpaper
Instructions
- Make the following cuts for the end table: (2) – 1″ x 12″ @ 27 ½″, (3) – 1″ x 12″ @ 10″, (1) – 1″ x 2″ @ 13″, (2) – 1″ x 2″ @ 11 ½″, (1) – 1″ x 2″ @ 10″, (6) – 1" dowels @ 11 ¼″. Sand everything until it is smooth.
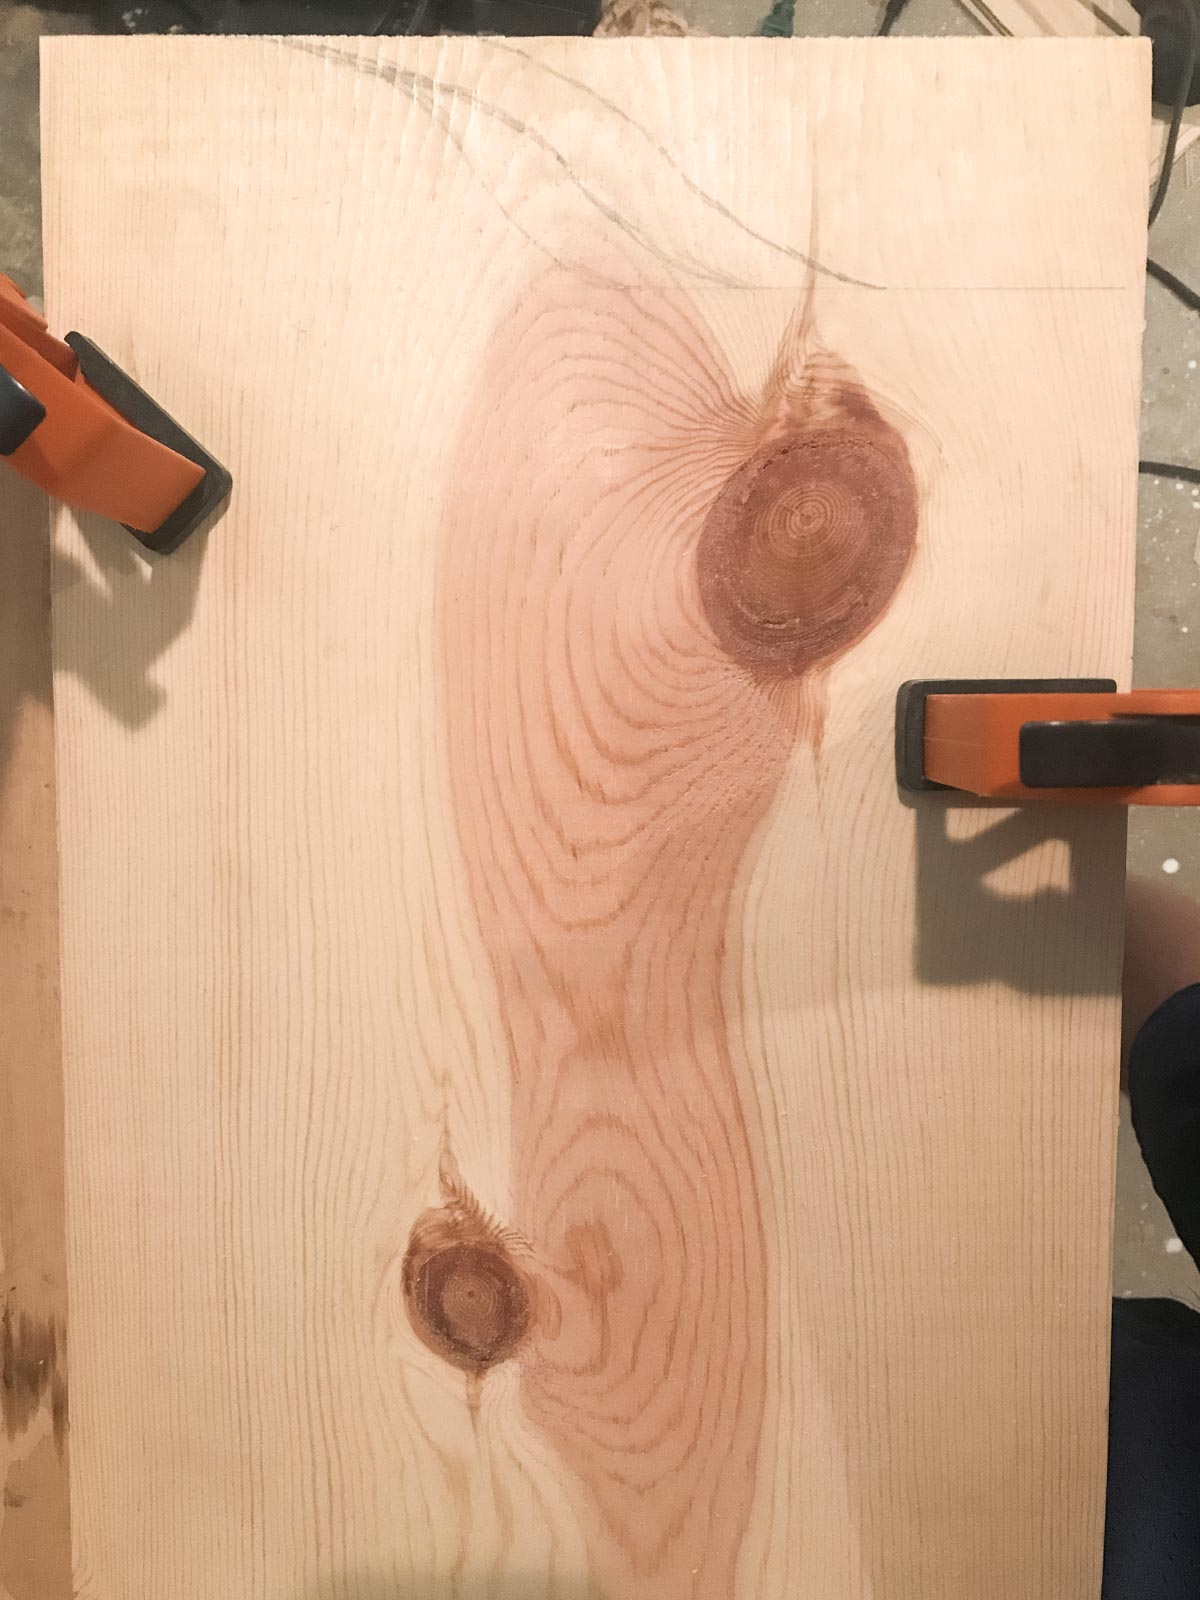
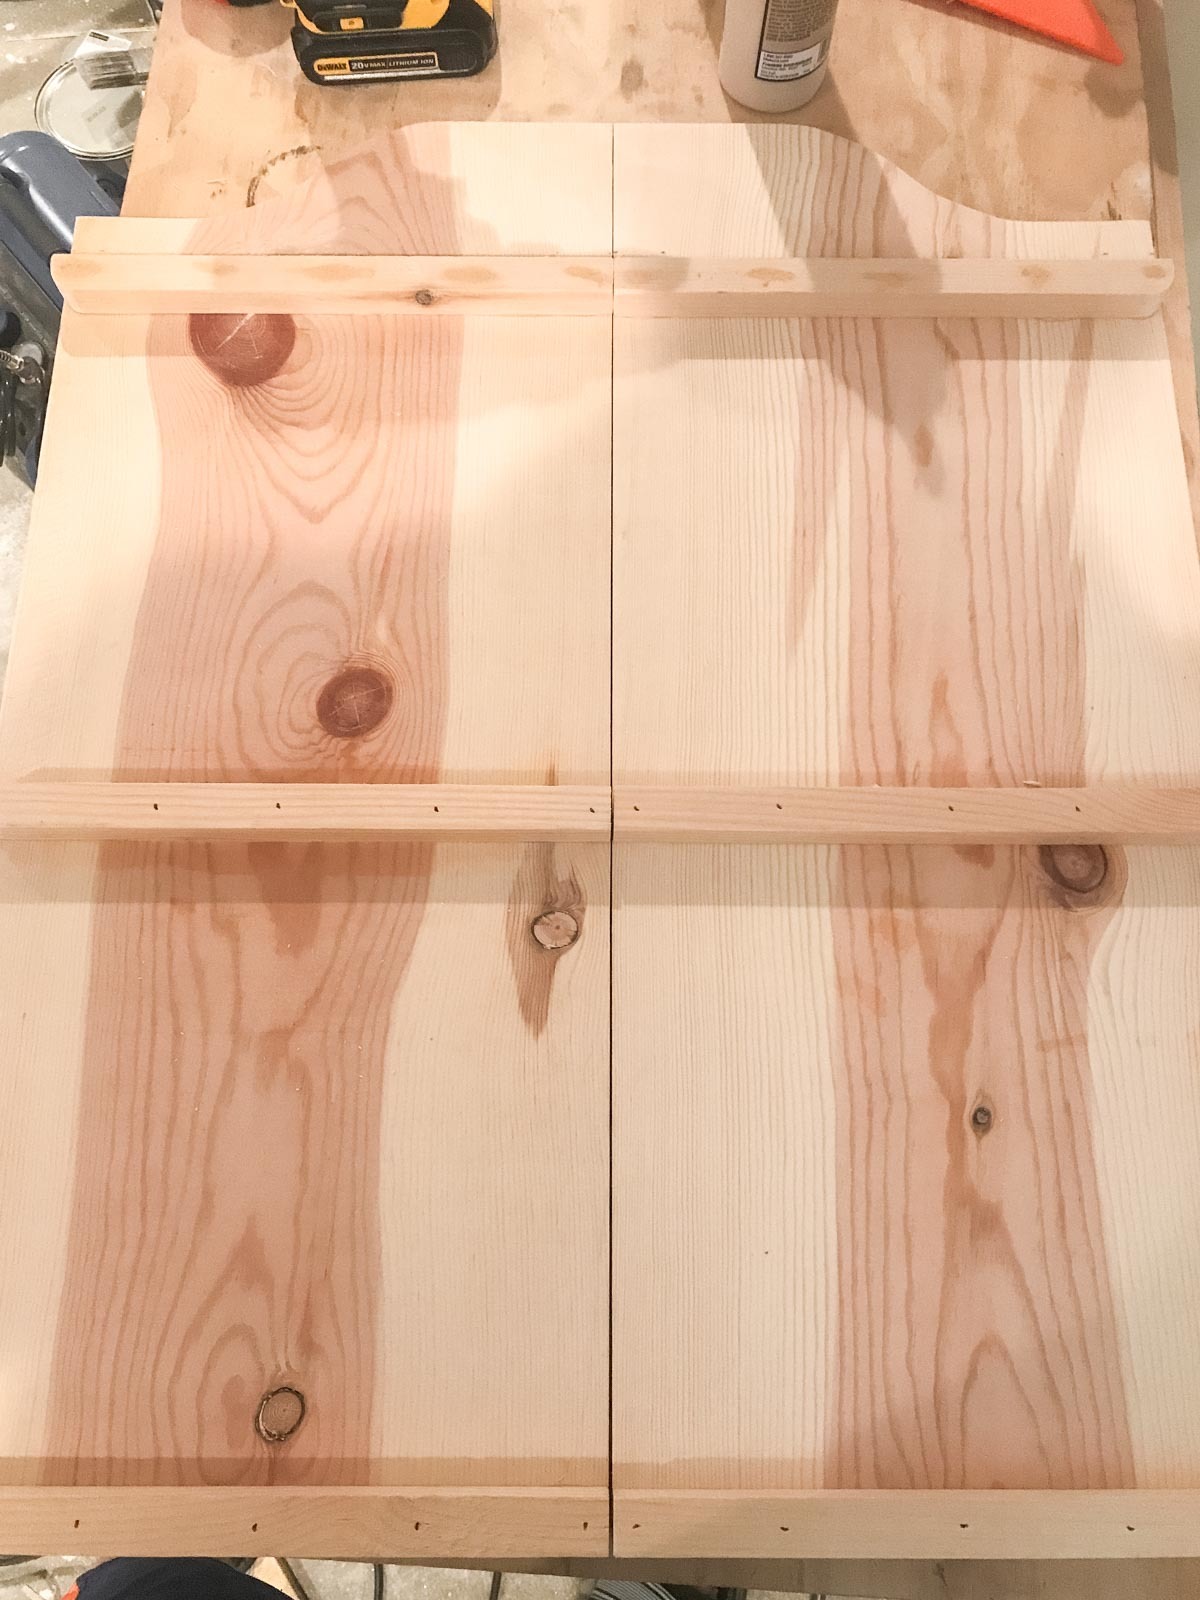
- For the two 1x12s @ 27 ½", draw a line at 25" from the bottom. From there draw a slight curve curve pattern that finishes at the end of the board. Repeat for the other board.
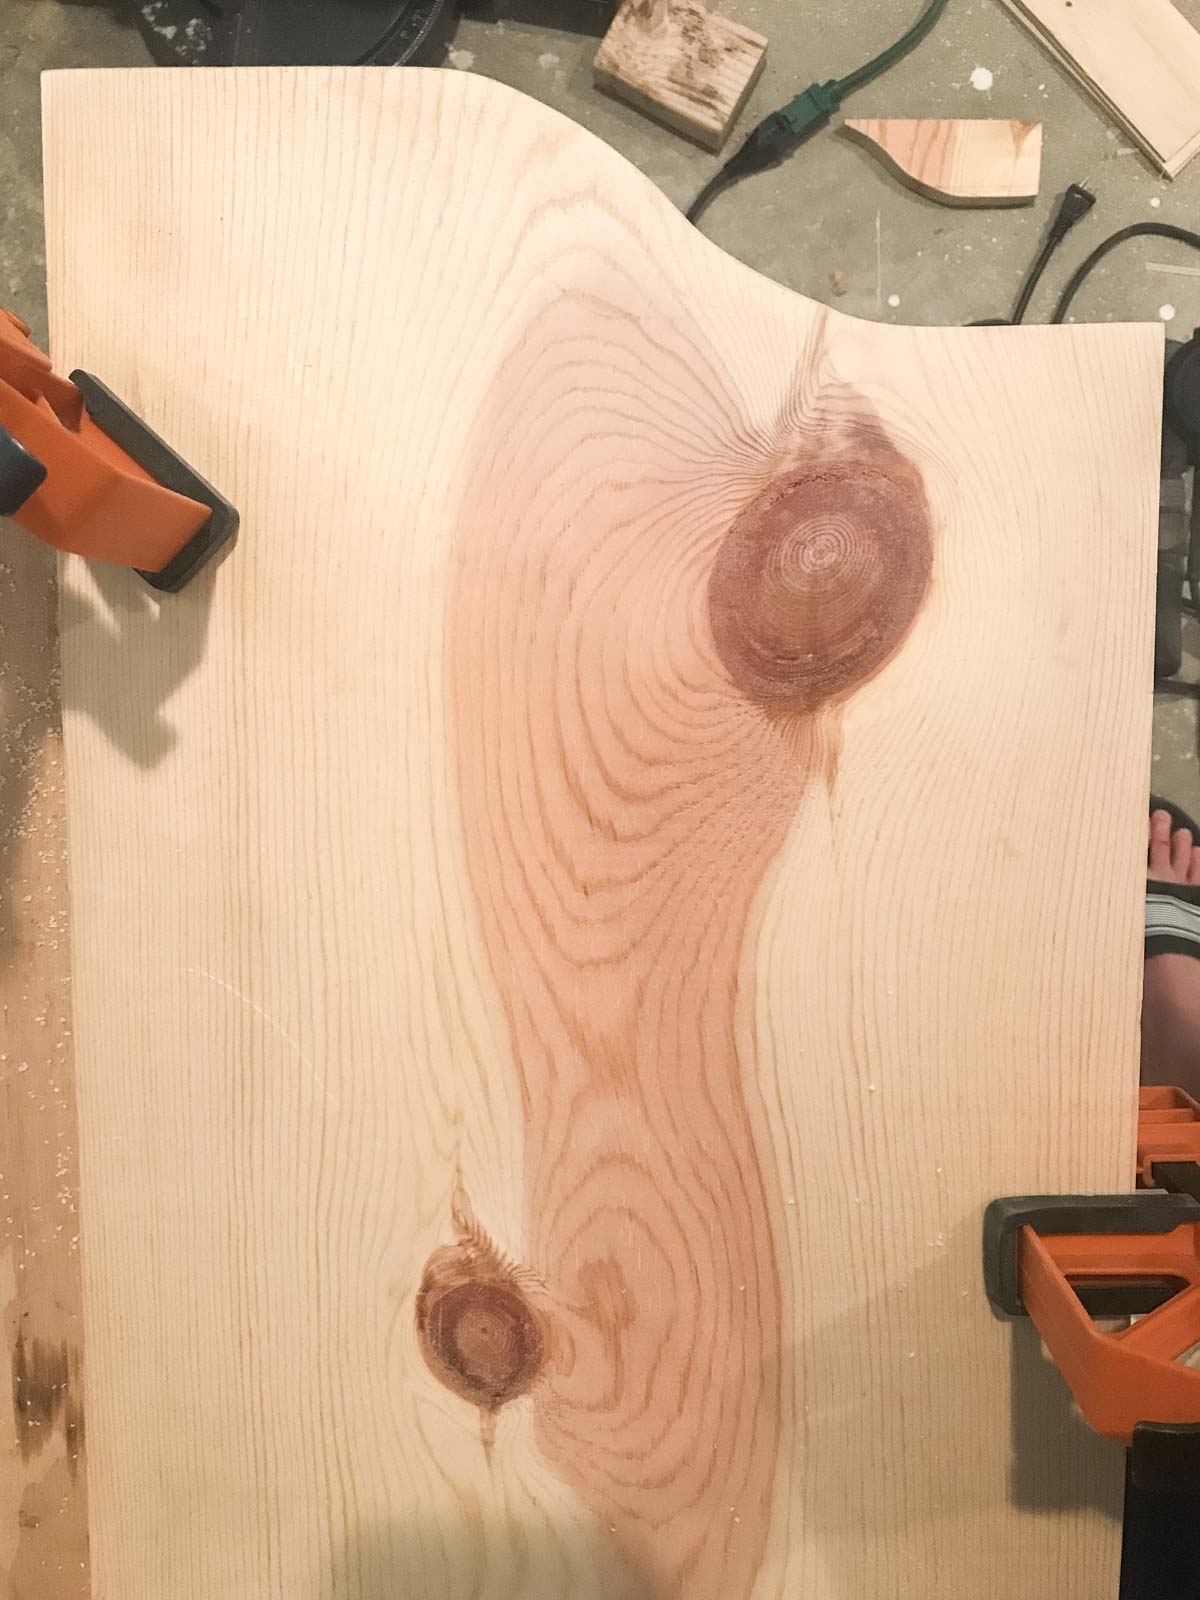
- Use a jigsaw to cut out the curved pattern.
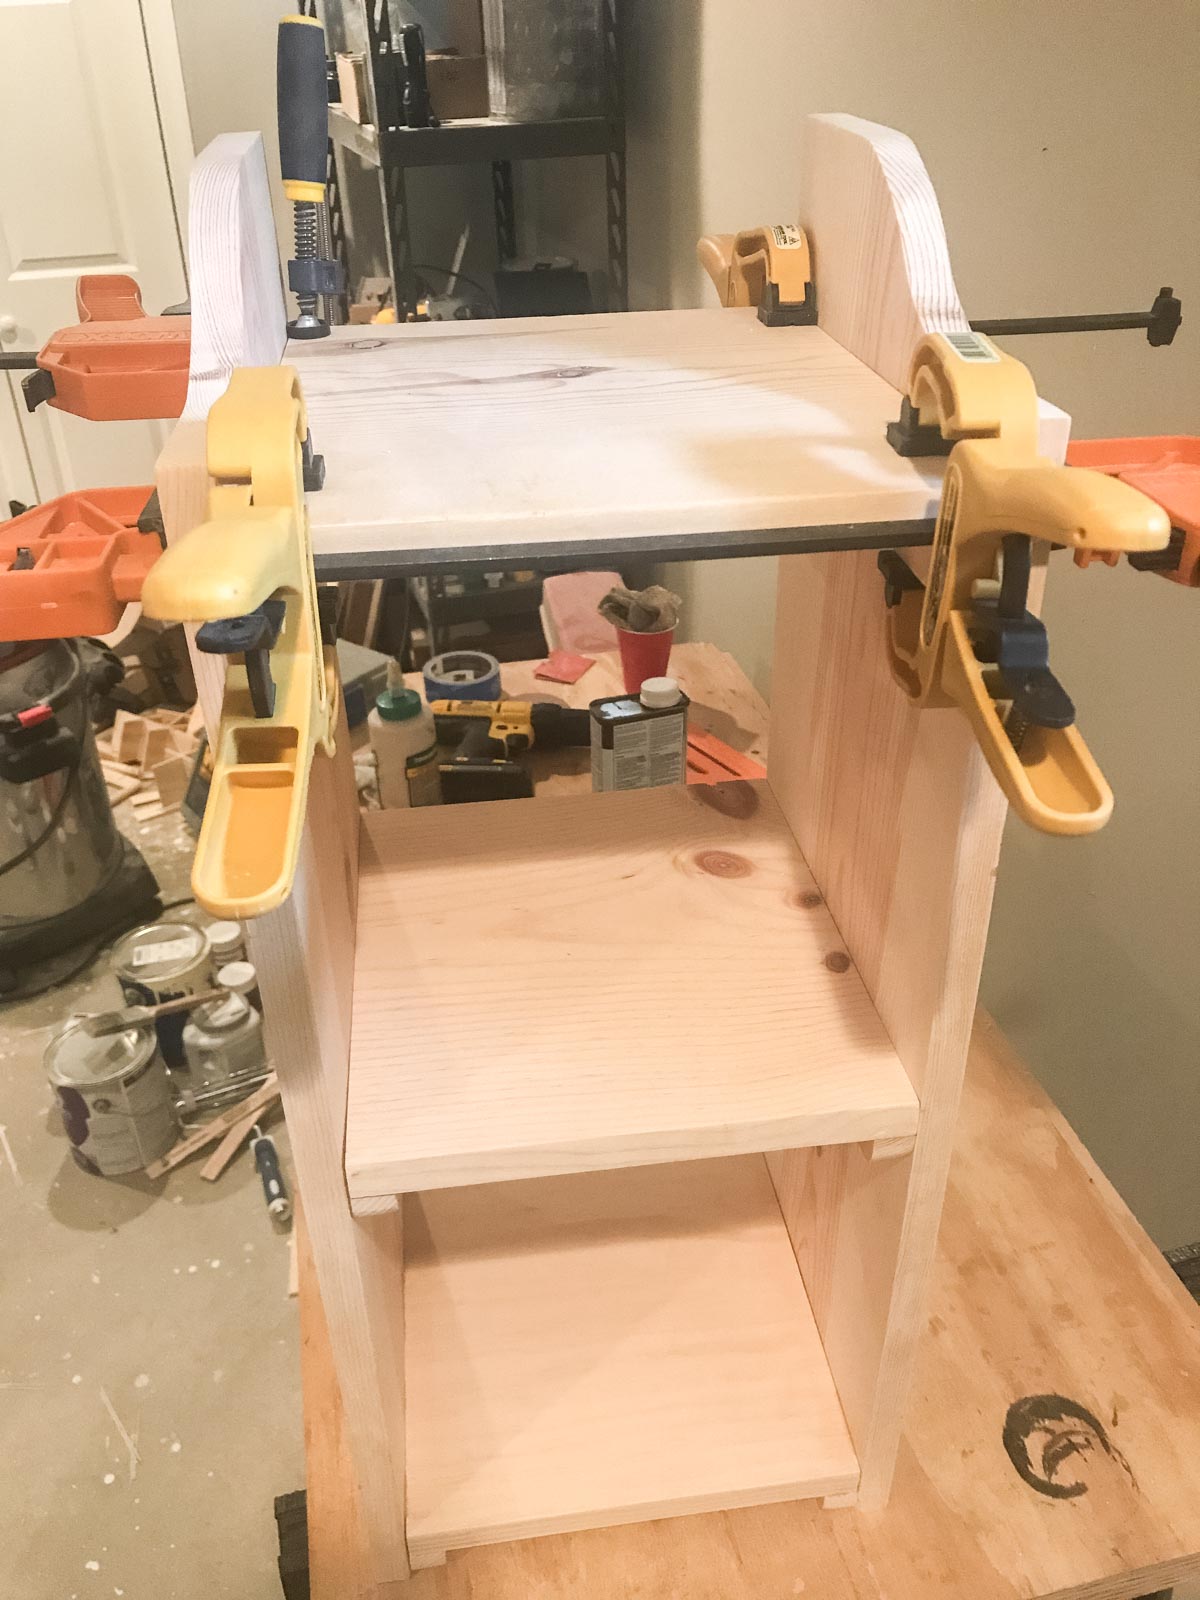
- Now you'll want to make the side rails that will hold up the shelf. These are the six 1" dowels @ 11 ¼". You can round them with a sander if you want the ends to be curved. At the bottom of the two 1x12s, glue and hammer in two of the side rails so they are flush with the bottom. Then measure up 12" from the bottom and glue and nail two more side rails. Finally measure 23 ¼" from the bottom and glue and nail the final two side rails.
- To put the shelves together, start with the bottom 1x12 shelf @ 10" and place glue on the side rails and the side of the shelf that connects with the two side boards. Clamp down for 30 minute or until glue is set. Repeat with the other two shelves.
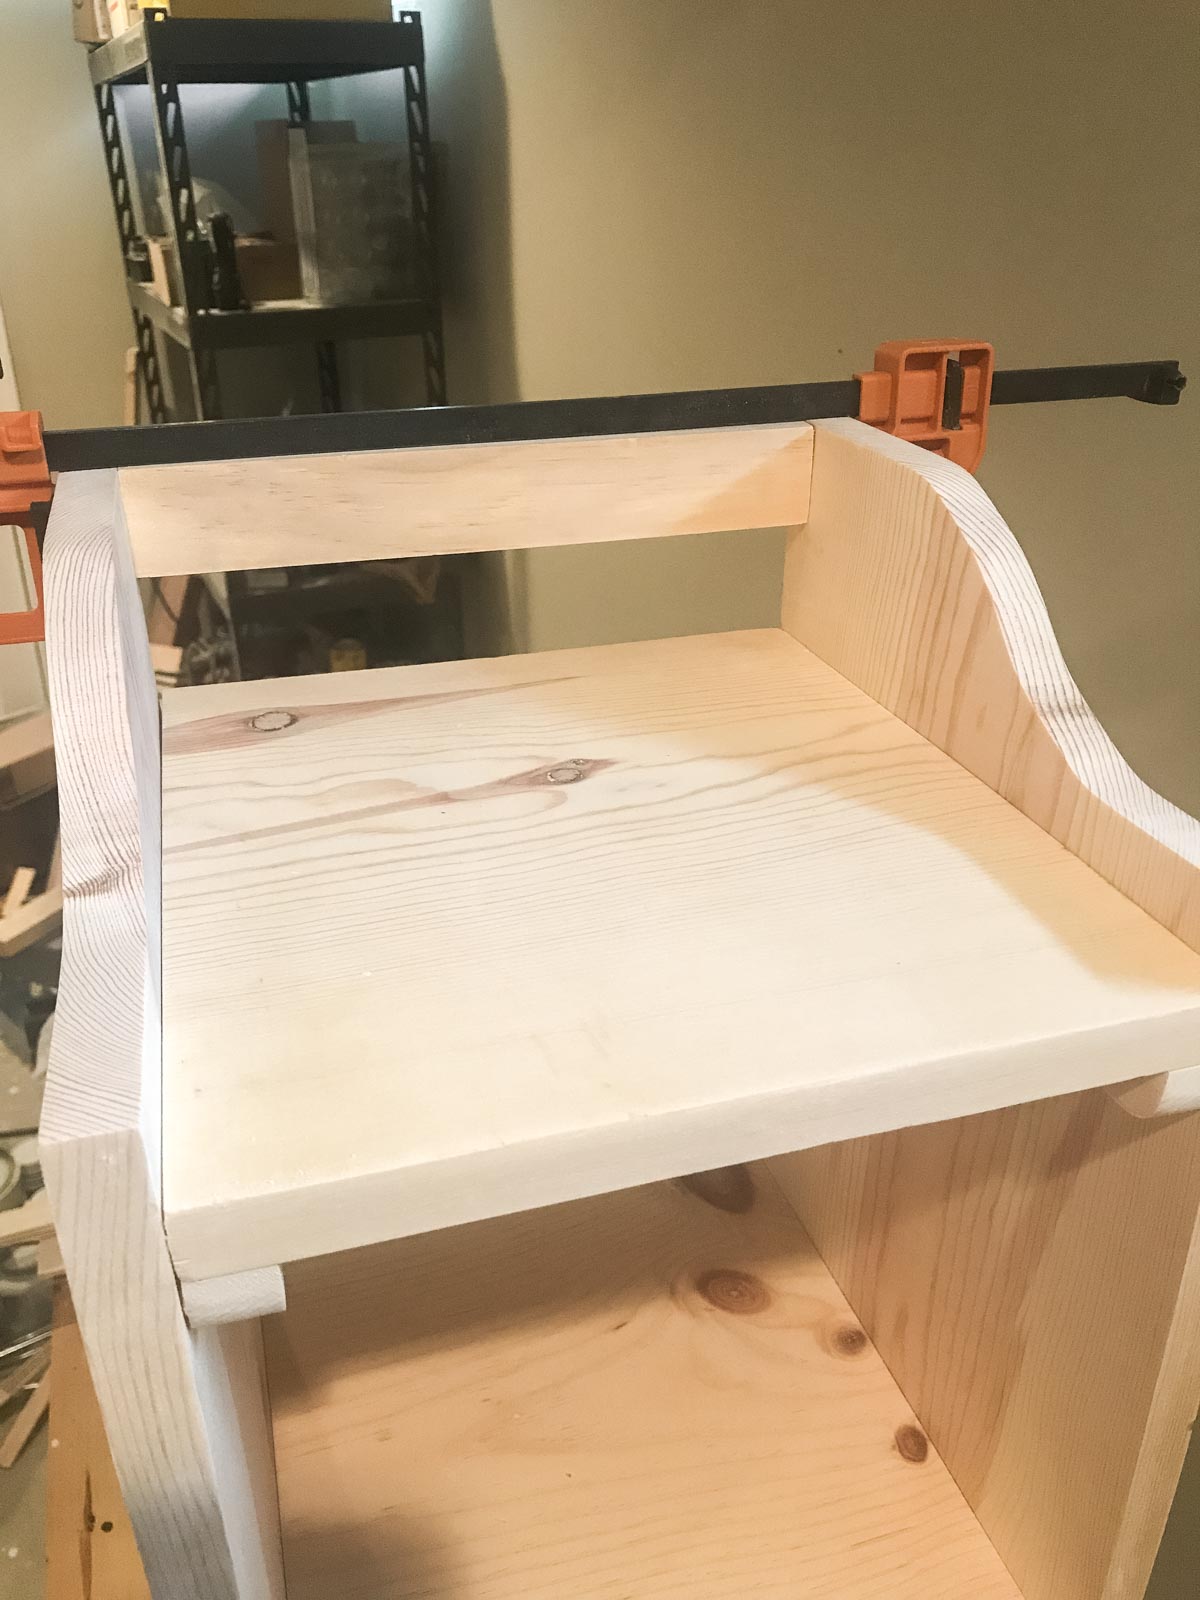
- At the top of the end table, take the 1x2 @ 10" and glue the sides. Clamp it together at the back end of the bookshelf.
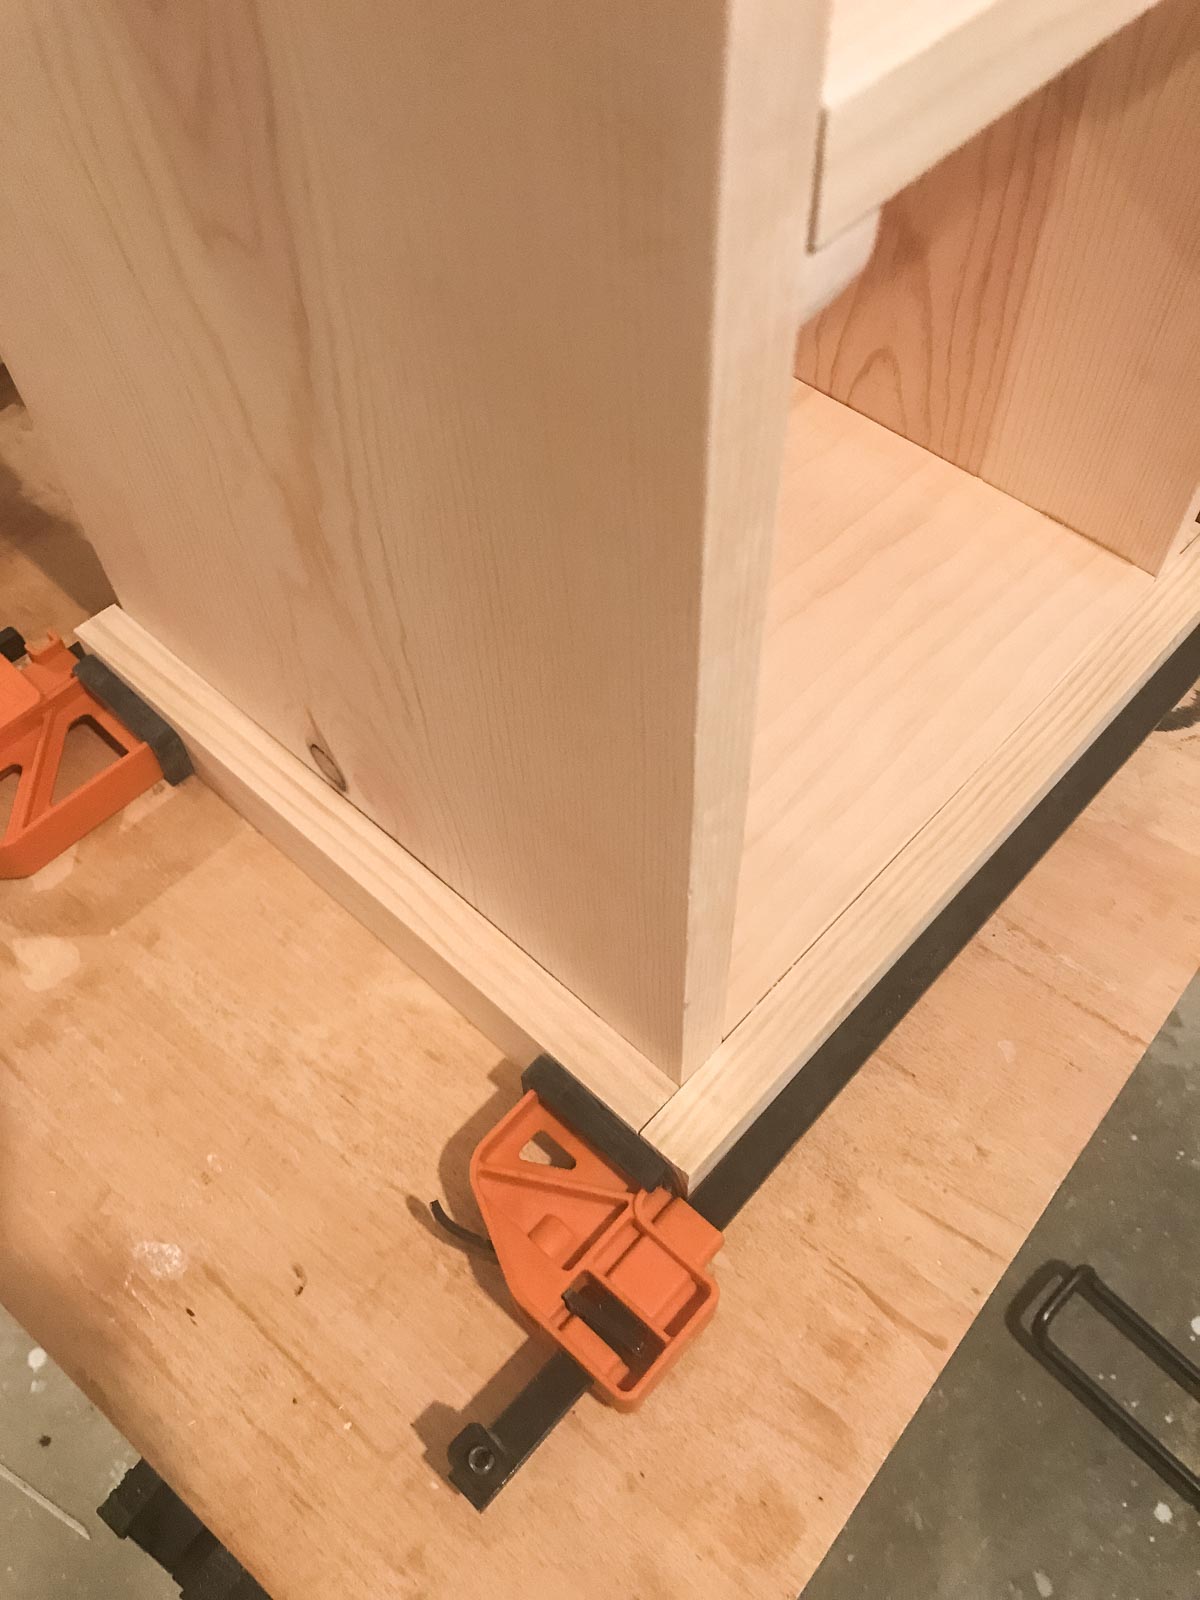
- Take the 1x2 @ 13" inches and glue to the bottom and from of the bookshelf so ¾" jets out to either side. Then glue and clamp the bottom 1x2 @ 11 ¼" rails so it connects with the front.
- Cut the plywood at 27 ½" and strip into 6 pieces at 1 ⅞" wide. Glue and nail on the back of the bookshelf. Stain or paint it and let sit for 24 hours before using.
Notes
- Pine wood is the cheapest and easiest to work with but if you want a sturdier DIY bookshelf, go with oak.
- For staining, I prefer Danish oil as it stains and protects the bookcase end table.
- You can customize the width and height to your room. Just keep in mind you might need more or less wood.
Recommended Products
As an Amazon Associate and member of other affiliate programs, I earn from qualifying purchases.



Leave a Reply