Step-by-step instructions for a farmhouse x side table that costs under $50 and looks better than what you can buy in the store for the same price.
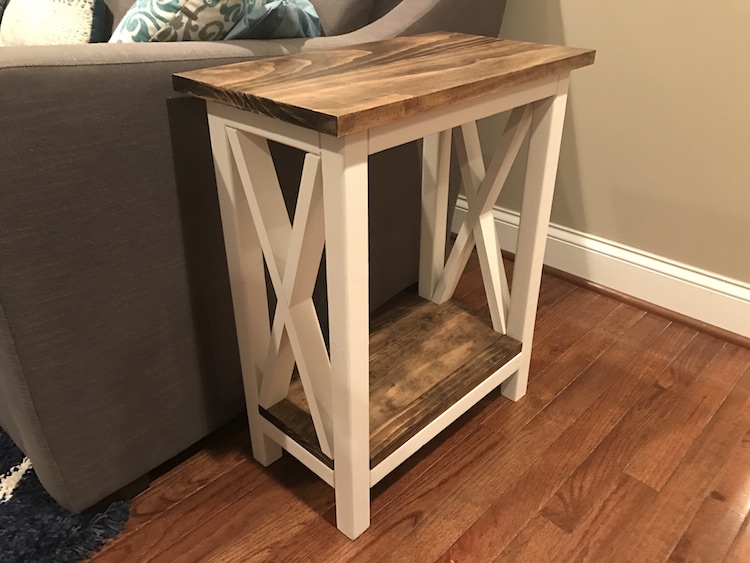
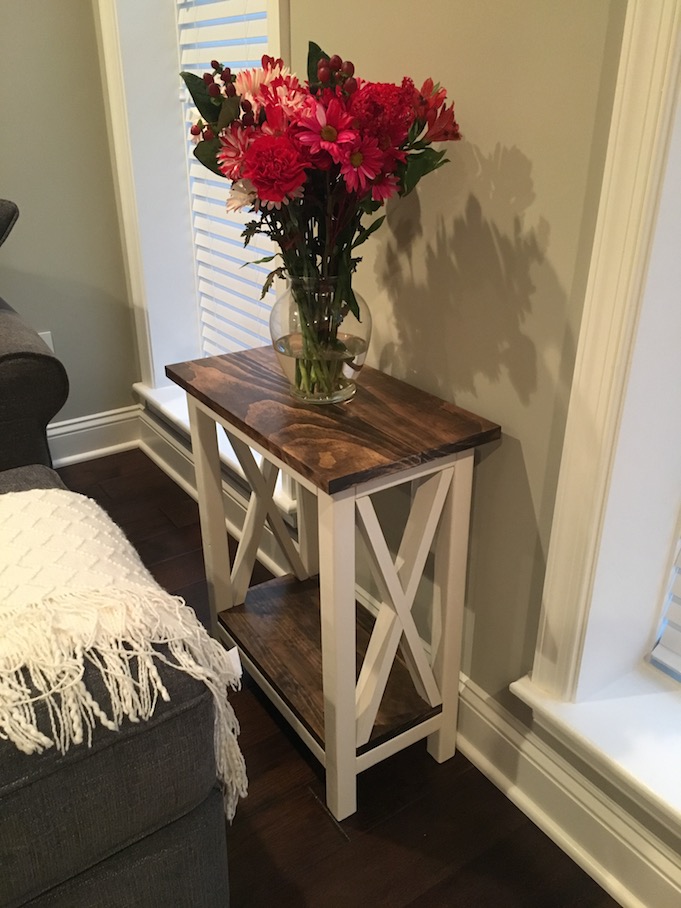
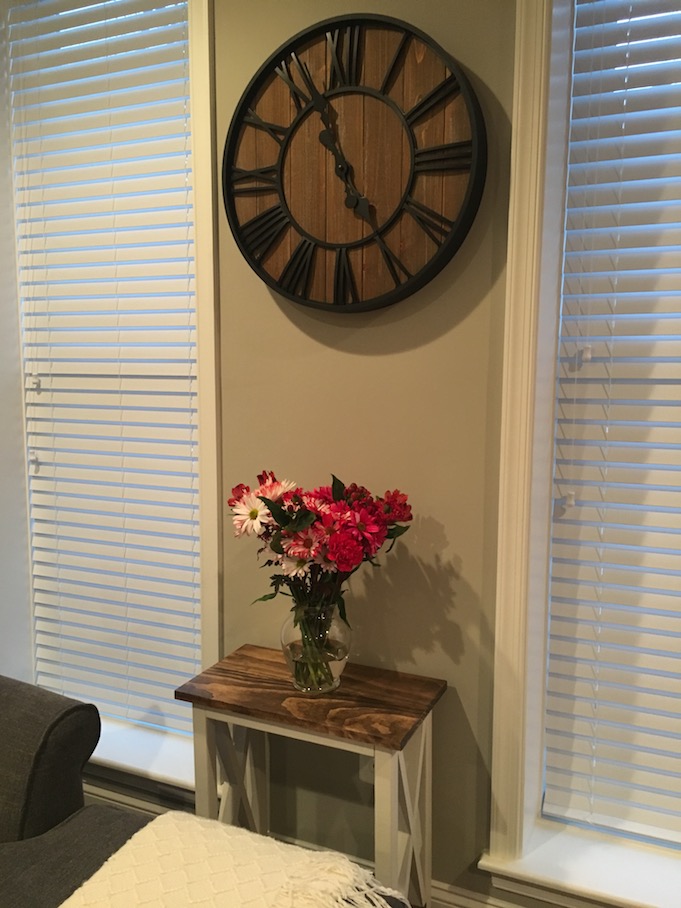
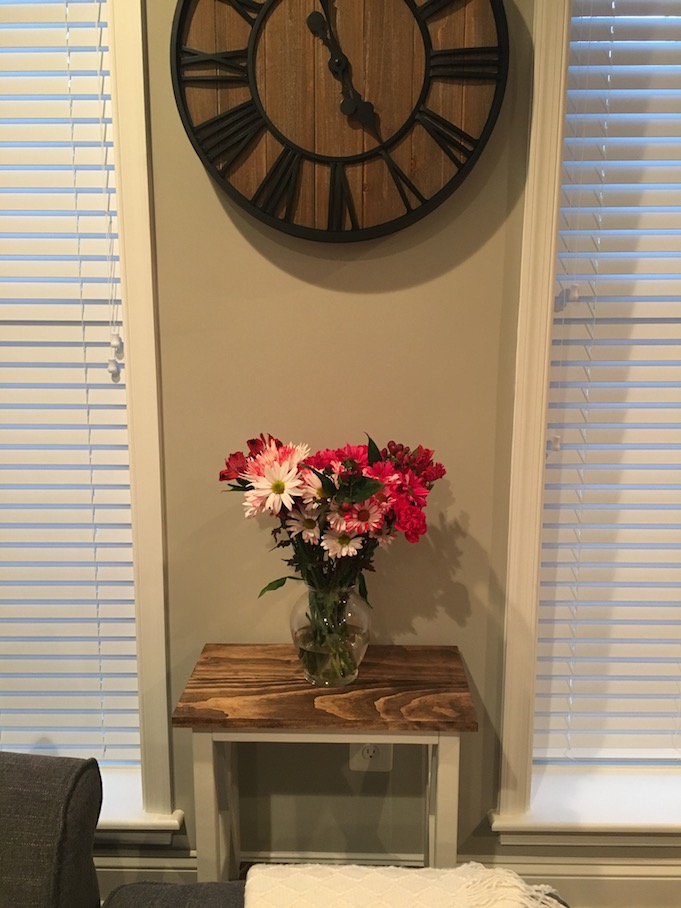
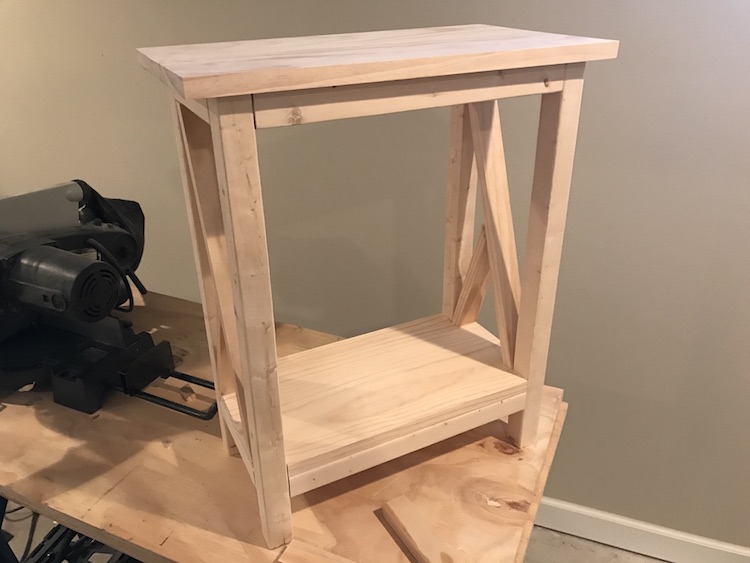
You know what's crazy! For all the furniture and random projects I've posted on this blog, I hadn't actually made anything for anyone besides myself. However a few months back, a coworker of mine asked me to make her a side table. She needed a specific size that was more narrow to fit in between her couch and wall so she asked if I could make it. I more than gladly said yes with my initial thoughts being a x side table.
So I went to work on designing something that could fit both her style and the space. I was inspired by two side tables I already made - a small x end table and rustic x side table. This led to my version of a x side table.
The great thing about furniture is once you get the hang of making some, you can resize it to any size you need - as I did with this. So hopefully you give this x side table a try!
Tips for this X Side Table
- Pine wood is the cheapest and easiest to work with but if you want to use a harder wood for this X side table, go with oak.
- You can adjust the width and length of the X side table but don't adjust the height.
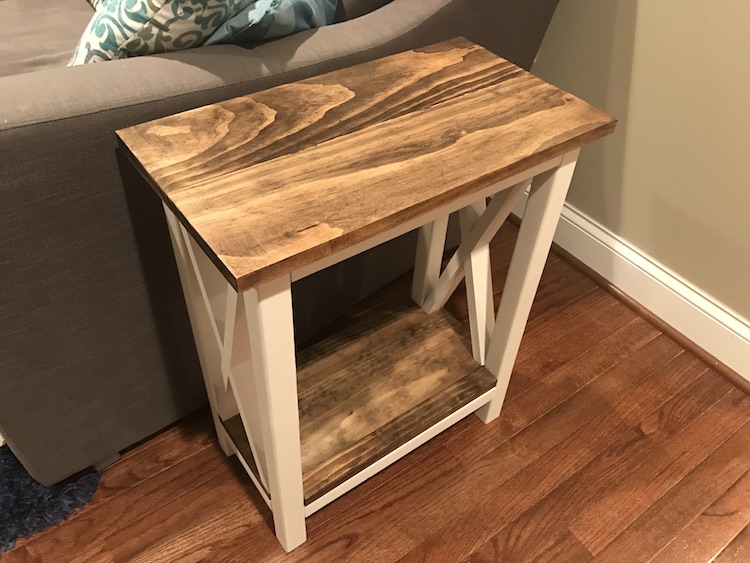
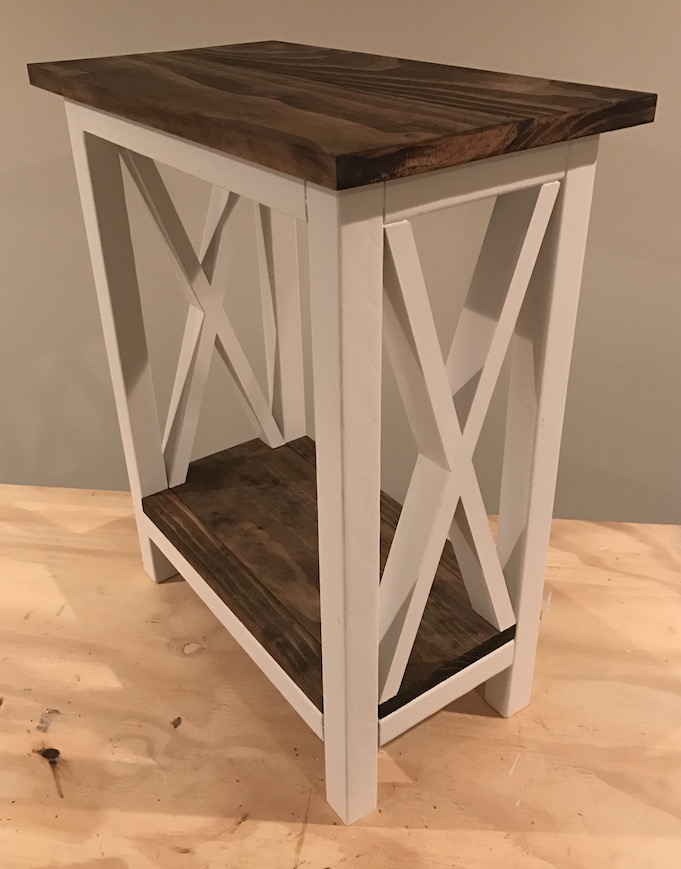
- You can either stain, paint or do a combination like this project.
Similar Projects to this X Side Table
If you’ve made this X Side Table or any other project on Chisel & Fork, please let me know how it turned out in the comments below! You can also follow me on Facebook, Instagram, Pinterest and YouTube to see more projects, meals and anything else I'm up to.
X Side Table
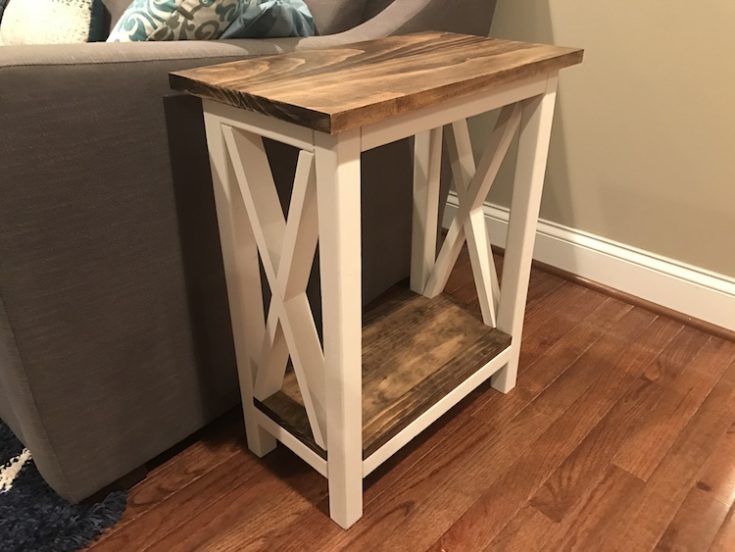
Step-by-step instructions for a farmhouse x side table that costs under $50 and looks better than what you can buy in the store for the same price.
Materials
- (1) 1" x 6" x 4′ pine wood
- (2) 2" x 2" x 8′ pine wood
- (1) 1" x 8" x 2' pine wood
- (1) 1" x 2" x 8' pine wood
- Wood glue
- 2 ½″ pocket-hole screws
- 1 ¼″ pocket-hole screws
- Stain or paint
Tools
- Table saw
- Miter saw
- Hand sander and sandpaper
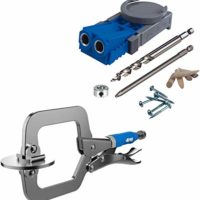
- Kreg jig
Instructions
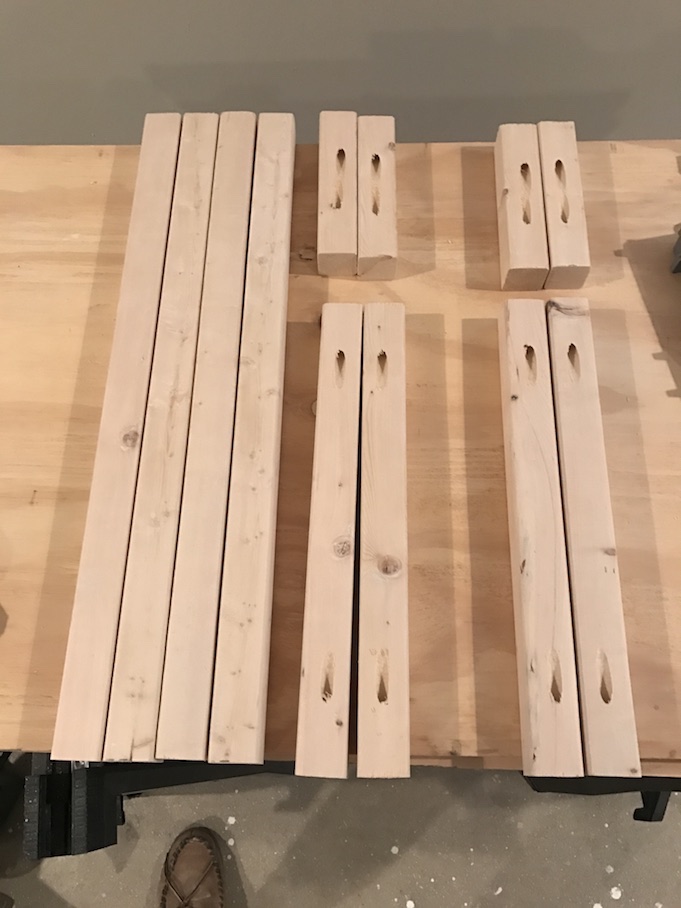
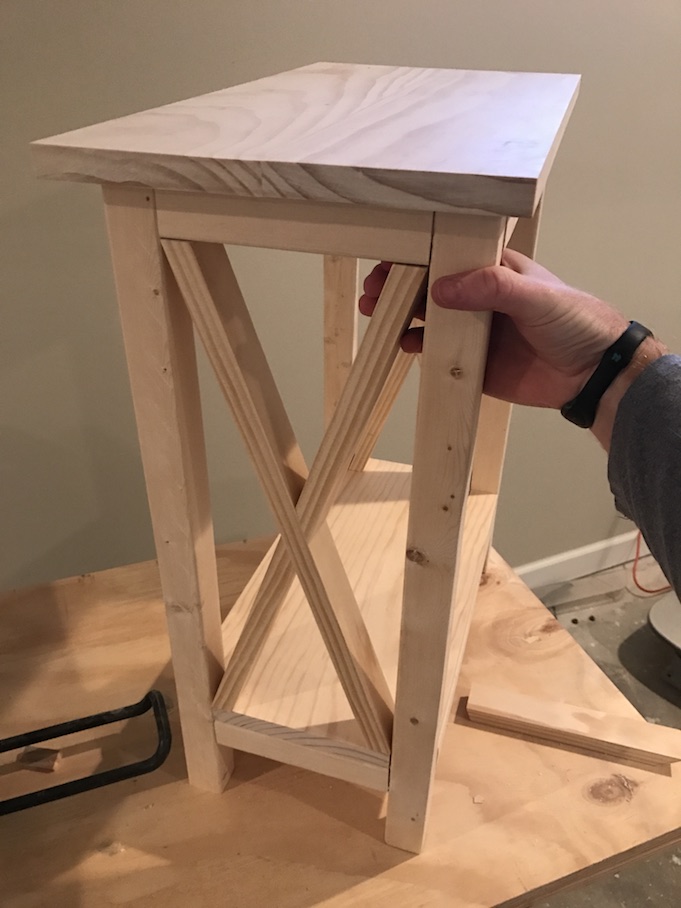
- Make the following cuts for the x side table: (2) – 1″ x 6″ @ 20″, (4) – 2″ x 2″ @ 23 ¼″, (4) – 2″ x 2″ @ 15″, (4) – 2″ x 2″ @ 6″, (2) – 1″ x 2″ @ 15″, (1) – 1″ x 8″ @ 18″. Then cut the 1x8 to 6" wide or however wide will fit in base. For X, cuts and angles depend on table so you'll need to cut to fit. I don't give exact measurements because from my experience, every X is different.
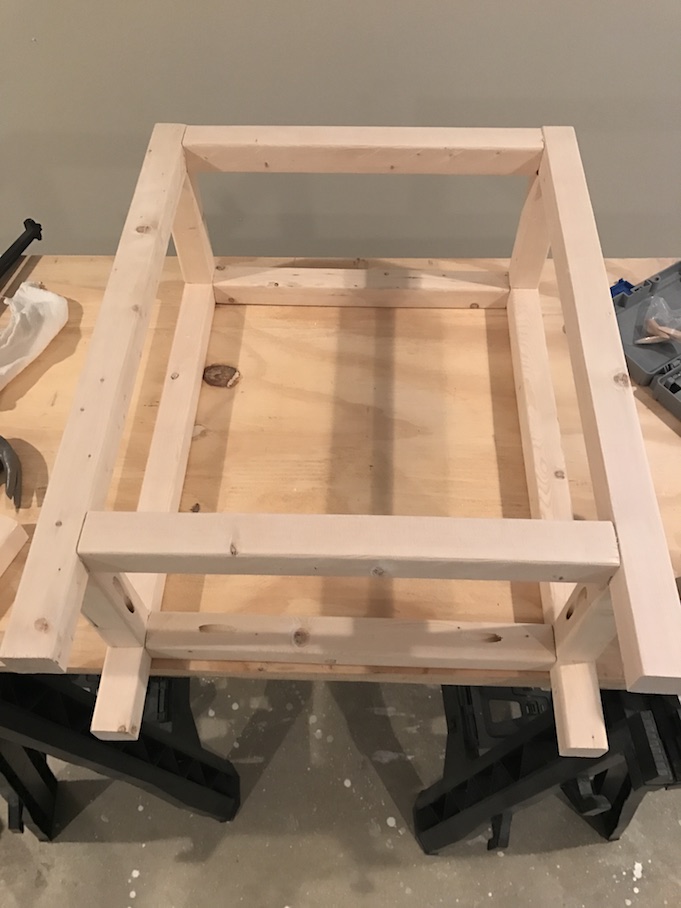
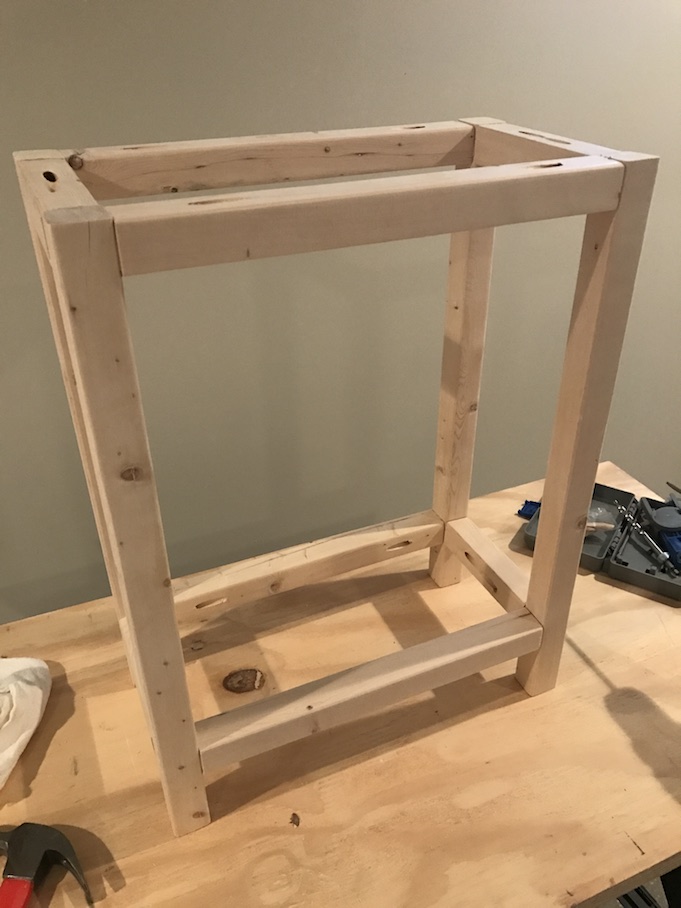
- Drill pocket holes in 2x2's that are 15" and 6" long. Using 2 ½″ pocket hole screws, glue and attach the 15" supports to legs. Do this for both sides separately.
- Using 2 ½″ pocket hole screws, glue and attach the 6" supports to legs to connect both sides.
- To make the top and connect the two 1x6 @ 20", you need to drill pocket holes underneath one. Using 1 ¼″ pocket hole screws, glue and attach, making sure the top is smooth and flat.
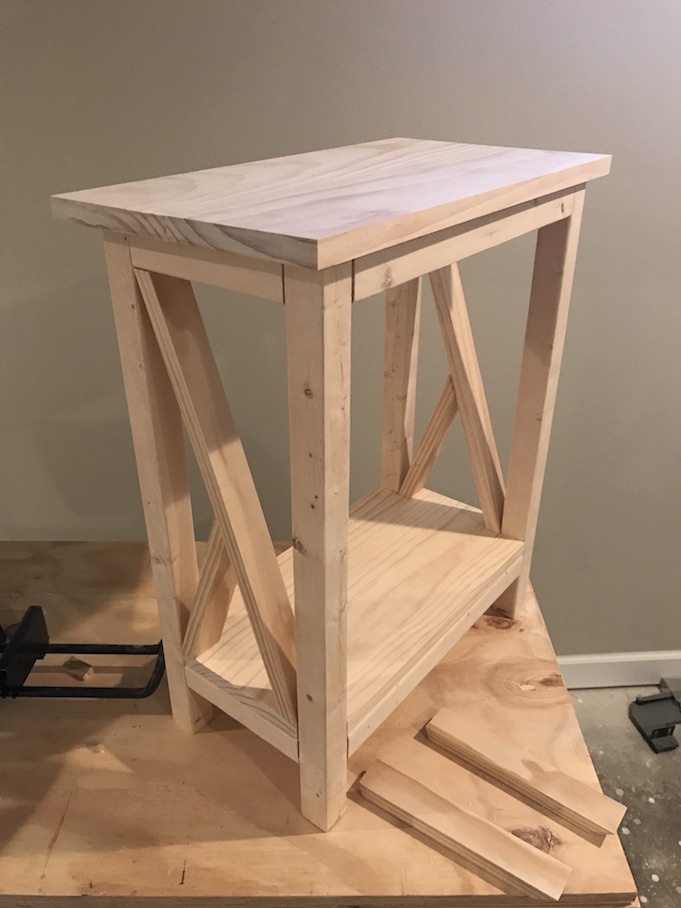
- Make sure the 1x8 base fits in between legs. The width will need to be cut at 6" wide. You'll add the 1x2s @ 15" to the sides. DO NOT glue yet. You are just making sure it fits.
- Now you need to make the cuts for the Xs on both sides. The angles and length will depend on the table. Every single one is different so make sure it fits to yours.
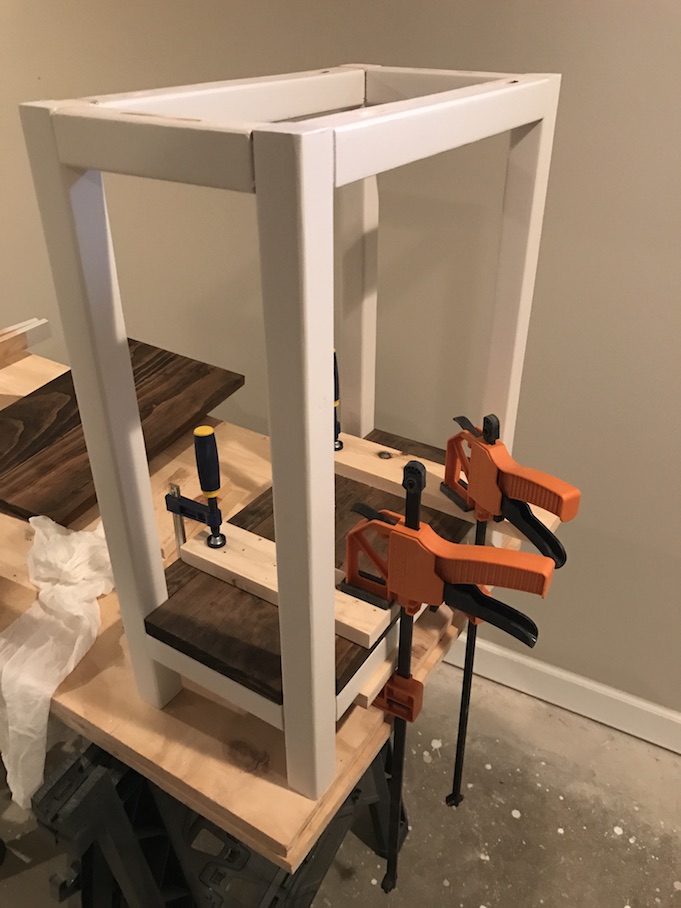
- Remove the X's and bottom. Now it's time to paint the legs, supports and X's. Once dry, stain the bottom piece of wood and glue to the supports.
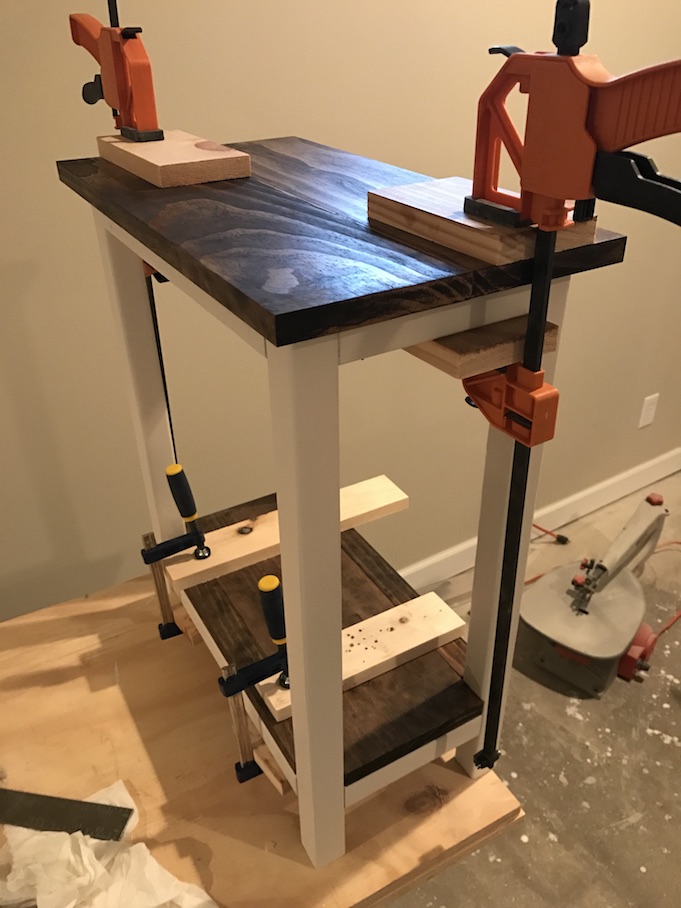
- Stain the top and once dry, glue the top to the base. You can nail in as well but I find that wood filler doesn't stain well so I try to avoid using.
- Glue in the X's and let the x side table sit 24 hours before using.
Notes
- Pine wood is the cheapest and easiest to work with but if you want to use a harder wood for this X side table, go with oak.
- You can adjust the width and length of the X side table but don't adjust the height.
- You can either stain, paint or do a combination like this project.
Recommended Products
As an Amazon Associate and member of other affiliate programs, I earn from qualifying purchases.



Jessica says
What are the dimensions of this table? It is beautiful.
Ryan says
Thanks! It was 20" x 11.5" at 24" high.
Colleen says
Love this!!! What color stain was used?
Ryan says
I used dark walnut.
Ty says
What are the 1x8 for?
Ryan says
It is the base and will need to be cut down to 6" wide. I updated my directions to make it more clear.
Clark says
Could you have used a 1x6 for this instead?
Ryan says
I'm not sure what you are asking about the 1x6 and what it is for.
Brian says
You mention making two cuts of 1" X 6" X 20". Is this for the top? I don't see 1X6 in your materials list?
Ryan says
Just a typo in the list of materials. Updated. Thanks for noticing. You need a 1x6 at 48".
Clark says
Did you update the instructions with 48”? I still see 20”.
Ryan says
It is updated. You need a 4 foot piece of wood but then cut to 20".
Mark says
What color and brand paint did you use? Looks like a cream color?
Ryan says
Unfortunately I didn't keep track of the paint, but it was a light cream color. I know it was Sherwin Williams.
Paul Sirchia says
Is that supposed to be a 1 x 2 at 48”, not a 1 x 6?
Ryan says
The 1x6 is for the top is for the top and yes it should be 48".
Michelle says
You mentioned the base to cut down by 6”. But if I am laying that base (board) on bottom, then measurements are 9x18 not 6”. Just wondering.
Ryan says
It is 6" because you have two 1x2's on either side which is the other 3".
James says
What length of 2 1/2 an 1 1/2 screws?
Ryan says
I'm not sure what you are asking. The length is 2 1/2 inches and 1 1/4 inches for the pocket hole screws.
curtis says
The bottom shelf is 9 inches wide.. the 6" 2x2 plus 3 inches for legs on both side equals 9. The 1x8 that is supposed to go on the bottom is too small in width by 1.5 inches. Just wanted to pass this info on, you will need to buy a 1x10 and rip it down to 9" to fit the bottom.
Ryan says
Thanks for the info but not how I built this. The bottom shelf is 6 inches because I have two 1x2s on either side of it. You can make a 1x10 9 inches wide but you'd have to cut it around the legs if that makes sense.
Greg says
I made 2 tables this weekend. Turned out great! Only changes I made were I screwed the top and bottom down rather than gluing & used 1” x 12 cut to size for top and bottom.
Ryan says
Glad it worked out!
Haley Landry says
What is the guesstimate of angle and length of the X as shown?
Ryan says
Haley to be honest I made this for a friend a few years ago and don't have the side table anymore. I didn't list an angle and length on purpose as from my experience, every single time is slightly different.
Clark says
Did you use 1x2s for the angles?
Ryan says
Yes I used 1x2s for the angles.
Karen says
I’d love to make this table but I need a taller version for a console table. Do you by chance have any other plans available for a console table ? Thanks for sharing your plan.
Ryan says
Sorry I do not have any other plans.
bill greene says
what is the height from the floor to the underside of bottom shelf ?
Ryan says
It is 2.5 inches to the 2x2s but 4 inches to the underside of the shelf if that makes sense.
Noel says
What color stain did you use
Ryan says
Dark walnut
Amy Prickett says
You mentioned up top that this can easily be adjusted to your needs but to not adjust the height; why is that? I need the same dimensions except I need it closer to 30-32 inches high. The ends of our couches are taller and thicker and it would be awkward to reach over and down when placing a glass or coffee mug. It seems like the only real difference would be the angles on the X and maybe having a second shelf for more stability. Thanks!
Ryan says
It is because it is the normal height to be next to a couch but if you need it to be closer to 30 inch that is no problem!
Jackie says
This turned out so amazing!!! We are making a list of home projects to do this summer and will have to add this to the list. Hopefully, we can do some kitchen cabinet refinishing too! Thanks so much for sharing!
Mark Bateman says
Are the 2x2 actually 1.5x1.5 if you buy a 2x2 the nominal is 1.5x1.5
Ryan says
Correct.
Jack M says
This is a great looking table!