These floating wood shelves are easy to put together and a great way to display family pictures or art in whatever room you like.
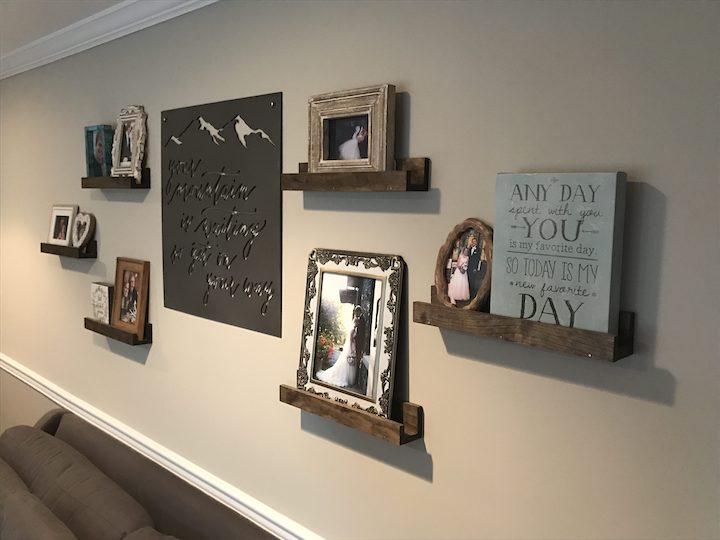
When we first moved into our house I was looking for any excuse for a fun DIY project. As we had recently got married we had a ton of pictures, but nowhere to put them! Alas, building some wood shelves for our living room was one of the first projects on my list. The problem was I wasn't sure about what type of shelves I wanted until I stumbled upon Retro Ranch Renovation.
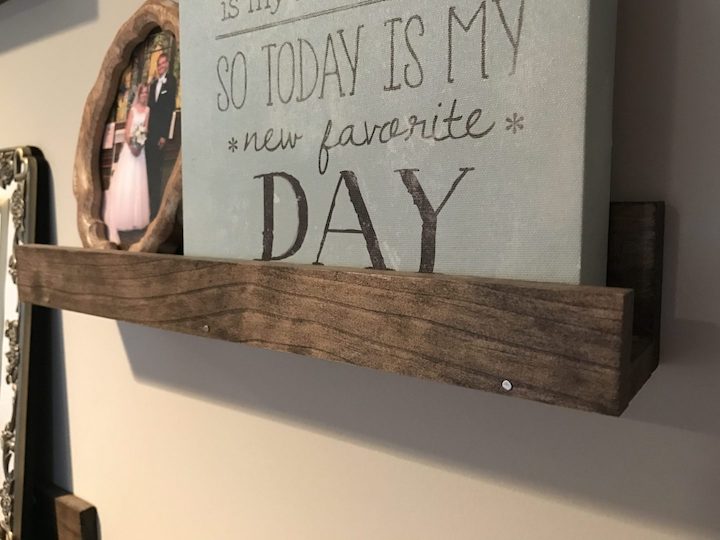
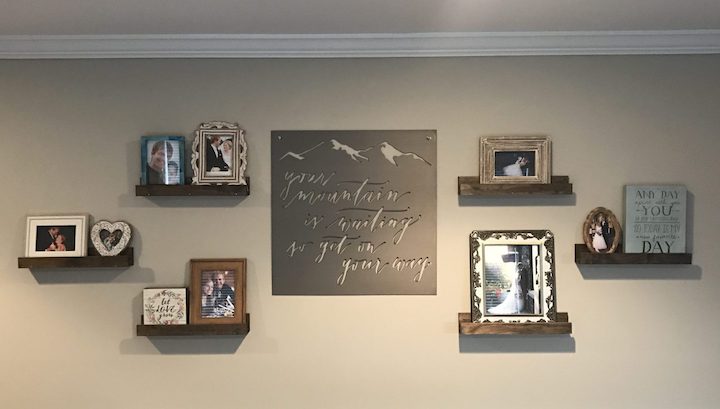
The great thing about these wood shelves are they are super easy to put together, but you can make them fit your room how you see fit. Personally, I wanted 6 identical shelves that surrounded a metal sign we had. But you can easily change the lengths and widths to what you want. It's really up to your imagination on how to utilize the shelves.
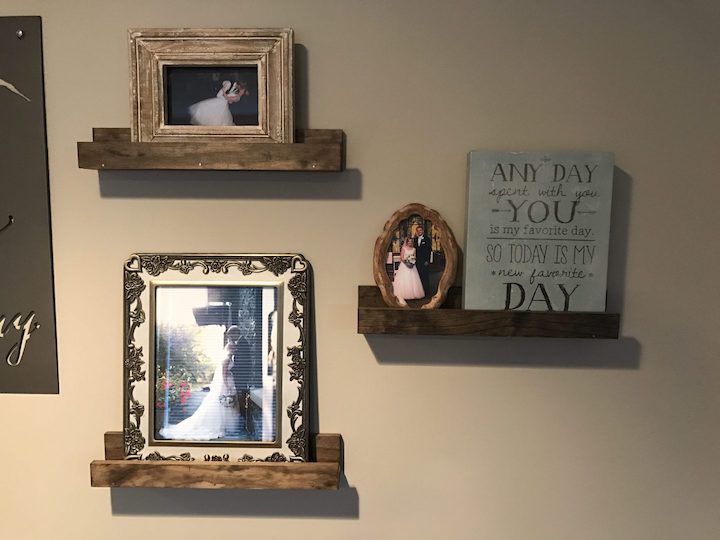
The floating wood shelves add a nice depth to the room and are a perfect vehicle for your pictures. With the stain I personally chose, it gives a nice rustic element to the room, which is right in line with our styles. As I've mentioned with some of my past projects, I made these before having the idea of this blog so no step-by-step pictures unfortunately. Hopefully you'll give these floating shelves a try as they are super easy to make, even without pictures!
Pro Tips/Notes
- Pine wood is the cheapest and easiest to work with but you can also use oak for these floating shelves.
- If you want a deeper shelf, use 1" x 4" for the bottom.
- For staining, I prefer Danish oil as it stains and protects the wood shelves.
Similar Projects
If you’ve made these floating wood shelves or any other project on Chisel & Fork, please let me know how it turned out in the comments below! You can also follow me on Facebook, Instagram, Pinterest and YouTube to see more projects, meals and anything else I'm up to.
Floating Wood Shelves

These wood shelves are easy to put together and a great way to display family pictures or art in whatever room you like.
Materials
- (2) 1" x 2" x 8' pine wood
- (1) 1" x 4" x 8' pine wood
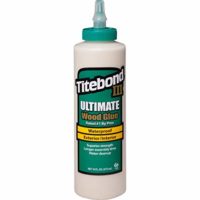
- Titebond III wood glue
- 1 ¼" finish nails
- Drywall screws
Tools
- Miter saw
- Power drill
- Hand sander and sandpaper
- Hammer
- Clamps
Instructions
- Begin by sanding all of the wood for the floating shelves. It's easier to sand before cutting down. Use 80, 150, and 220 grit sandpaper to make as smooth as possible.
- Use the miter saw to cut the 1" x 2" pieces at a length of 15". You can make as long as you want and however many you want. I wanted 6 shelves so I need to cut 12 pieces.
- Use the miter saw to cut the 1" x 4" piece at a length of 15" as well. You should have 6 pieces. Again, you can change the length if you want.
- You want the 1" x 4" piece to be what goes against the wall. So use one piece of your 1" x 2" and put glue on both sides. Then put against the 1" x 4" while also putting the other 1" x 2". You'll then want to clamp and let dry for 30 minutes. (This is a little hard to explain without step-by-step pictures, so hopefully you can understand by looking at the finished product)
- It is not necessary but just to be safe, you can nail the sides together using 1 ¼" finish nails.
- If you are going to stain or paint the shelves, now is when you should do it.
- Pre-drill two holes in the 1" x 4" for the drywall screws to be able to go through.
- Place the floating shelves where you want on the wall and put some pictures up.
Notes
- Pine wood is the cheapest and easiest to work with but you can also use oak for these wood shelves.
- If you want a deeper shelf, use 1" x 4" for the bottom.
- For staining, I prefer Danish oil as it stains and protects the floating shelves.
Recommended Products
As an Amazon Associate and member of other affiliate programs, I earn from qualifying purchases.




Sylvia says
I love these shelves. What a great way to display your wedding pictures!