By making your own version of shiplap, you get the amazing look of the real thing on the cheap with this easy DIY shiplap.
Have you seen Fixer Upper? Who am I kidding! If you're looking up DIY shiplap, of course you have! I mean who had even heard of shiplap before the show? I know I hadn't.
Shiplap is a type of wooden board used commonly as exterior siding in the construction of homes, barns, sheds, and outbuildings. Joanna Gaines made it popular by painting shiplap white, which gives the room some texture while creating some brightness.
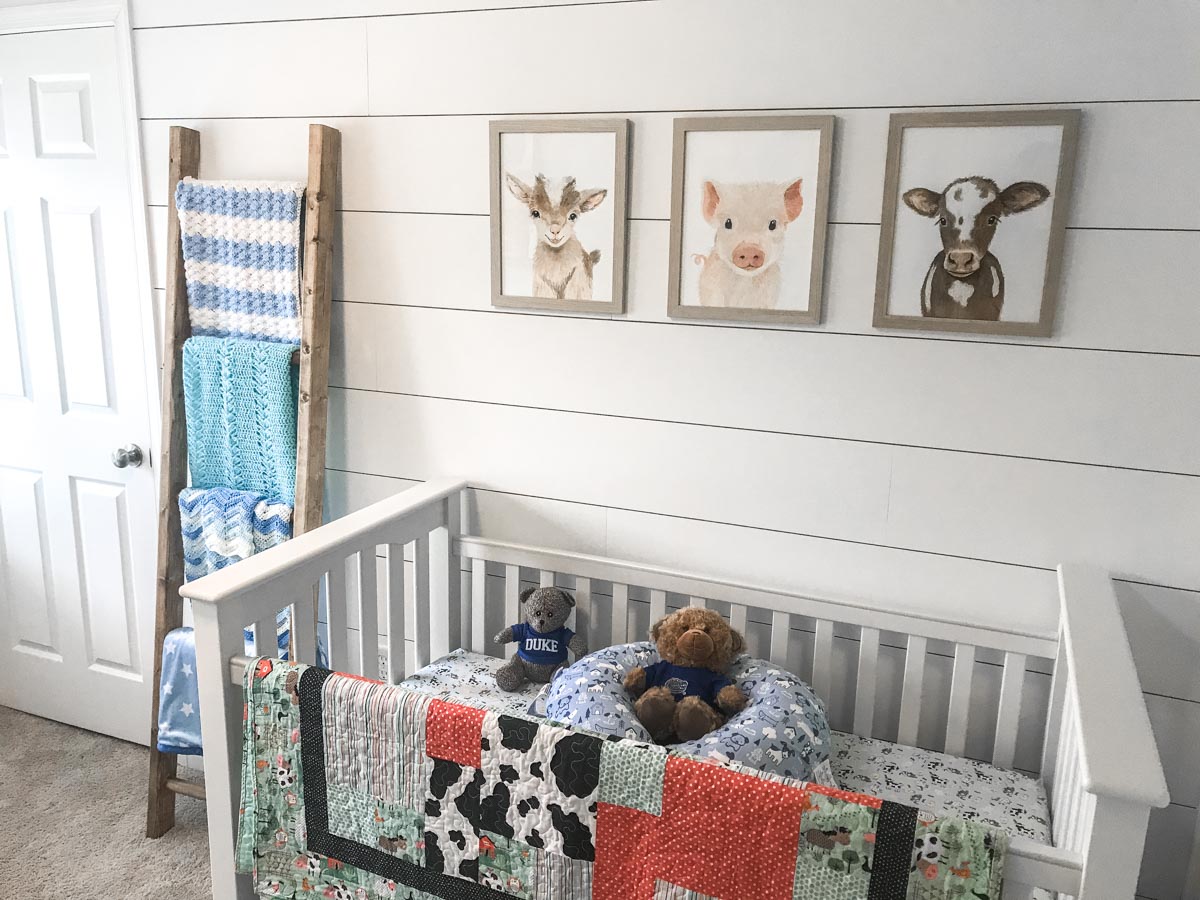
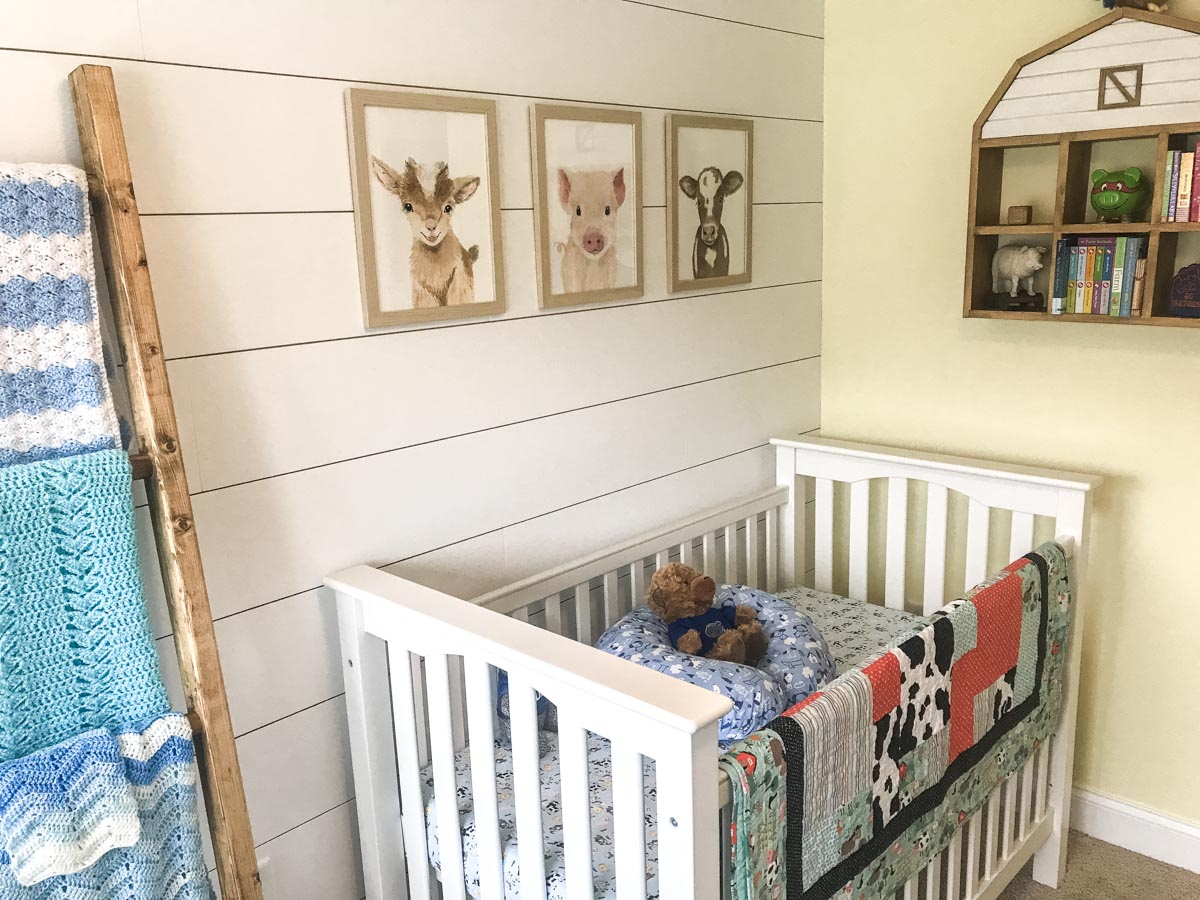
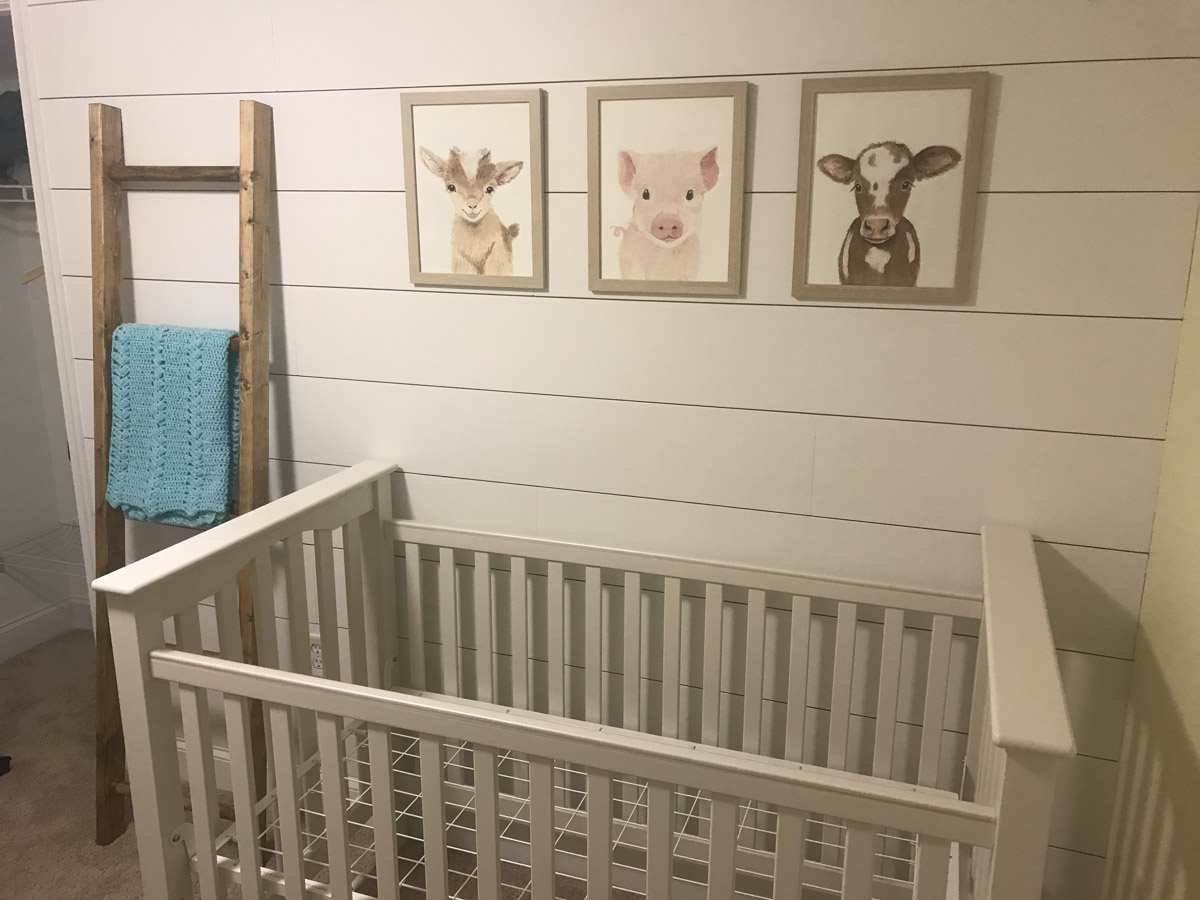
Last year, Lauren and I found out she was pregnant! We immediately knew we wanted to do a farmhouse them for our nursery. At the same time one of Lauren's coworkers was having a baby as well and decided to do some homemade shiplap for their nursery. So basically we stole their idea for a nursery shiplap wall with the crib against it.
But I did do my own thing with the blanket ladder!
And no it doesn't have to be a shiplap nursery. You can make your own shiplap for any room in the house.
What is great about this DIY shiplap is depending on the size of the room, you can make it for under $40. Make no mistake about it though, this is faux shiplap. The real thing is about ¾ inch thick which means you'd have to remove all the molding to make it work which just isn't fun.
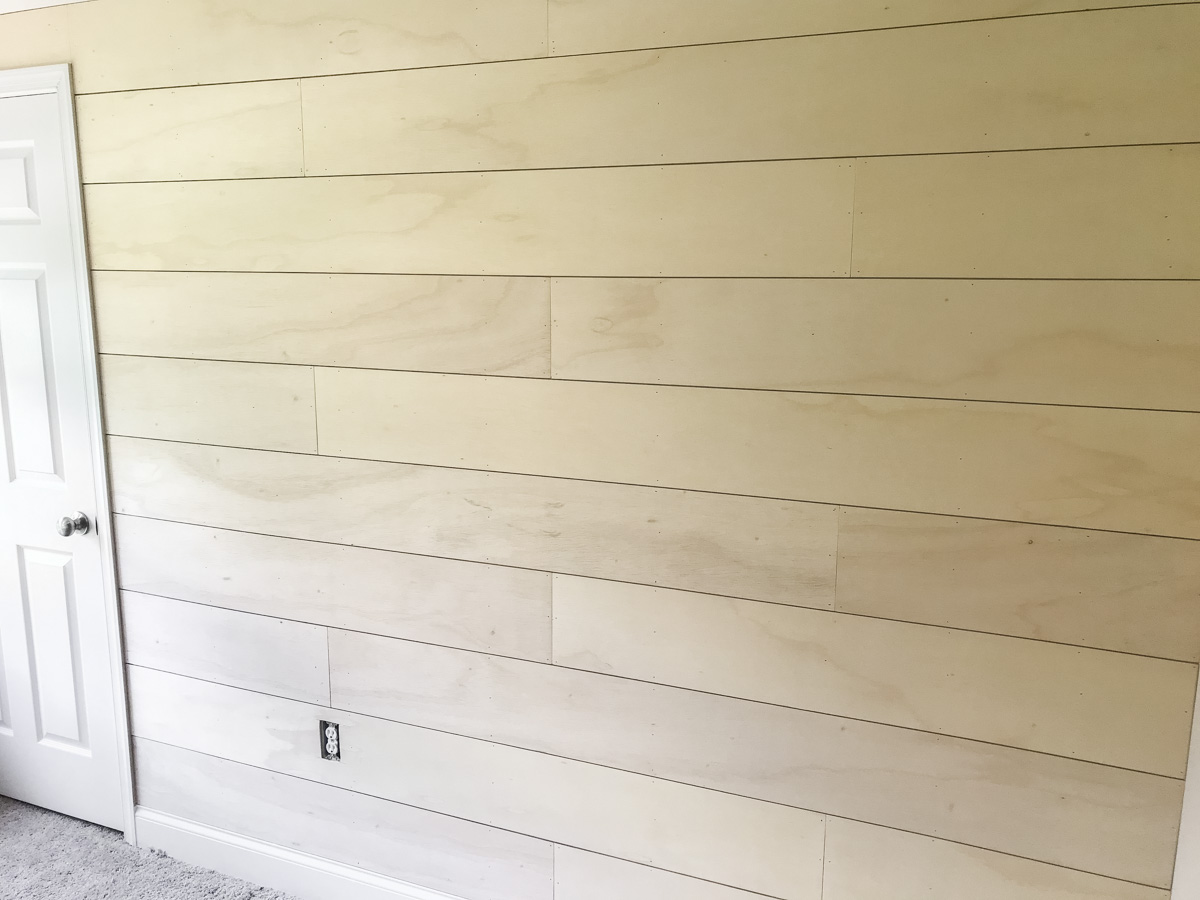
This shiplap is ¼ inch plywood which gives you the look without adding the extra work. Oh and it also costs less! So bring own your DIY nature and make your own shiplap.
Do You Paint Shiplap Before Installing?
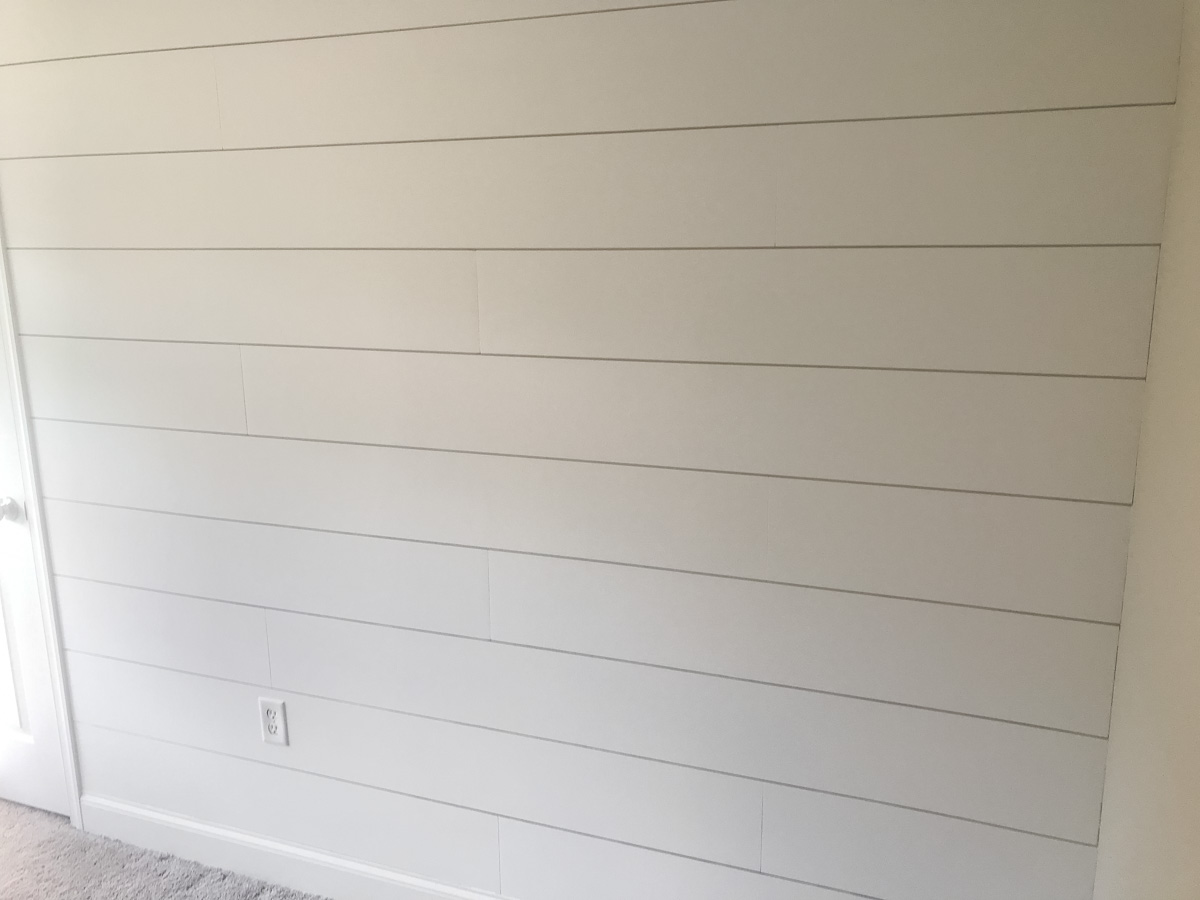
I've seen others say you should paint or stain the shiplap before you attach to the wall. I personally disagree with this as you are nailing the planks in and will need to cover it up. Plus it is much easier to just paint/stain at the end.
Pro Tips/Notes
- Measure the wall or walls that you will be attaching the shiplap so you can calculate your cuts.
- Decide on the width of the shiplap before making the cuts. We measured the height of the wall and then divided by 10 to get a width of 8 ¼ inch for each piece of shiplap. You can make yours wider or narrower.
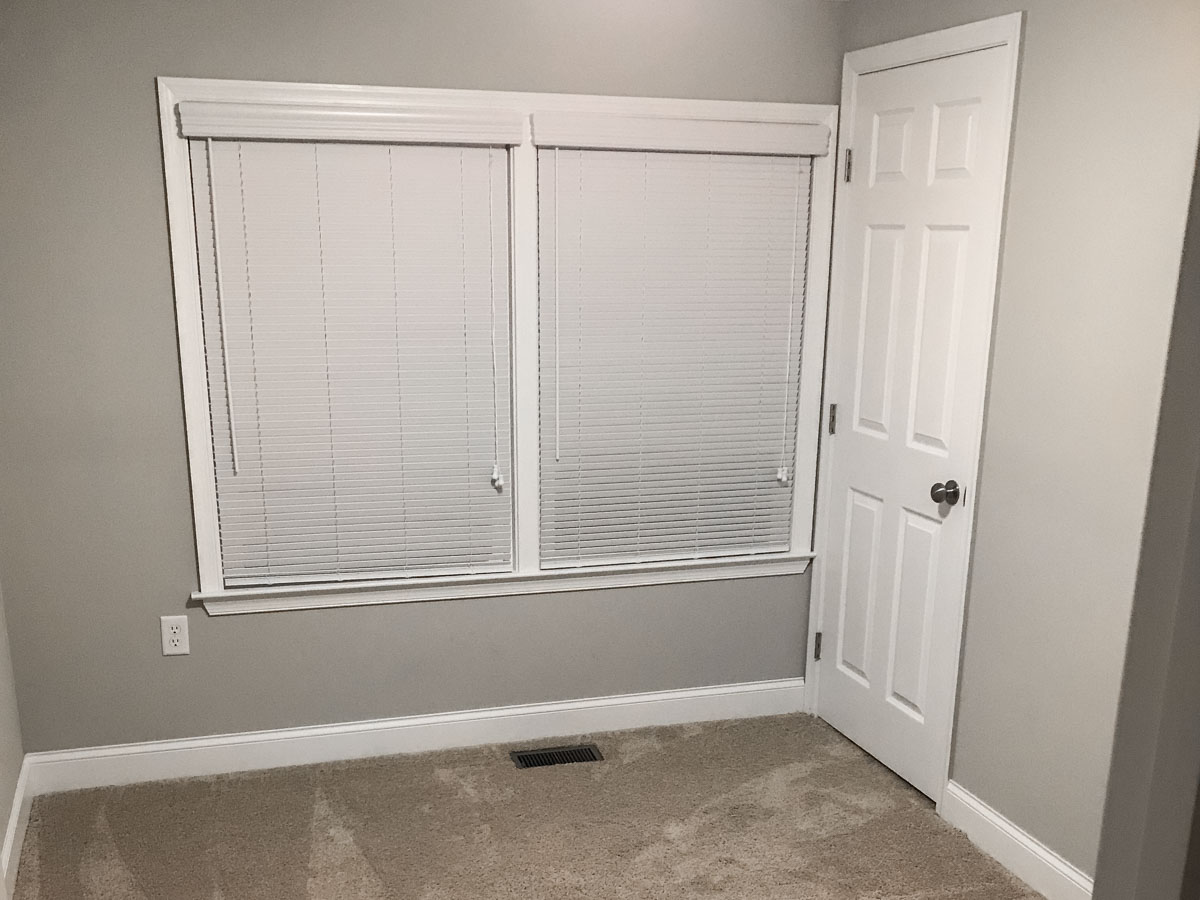
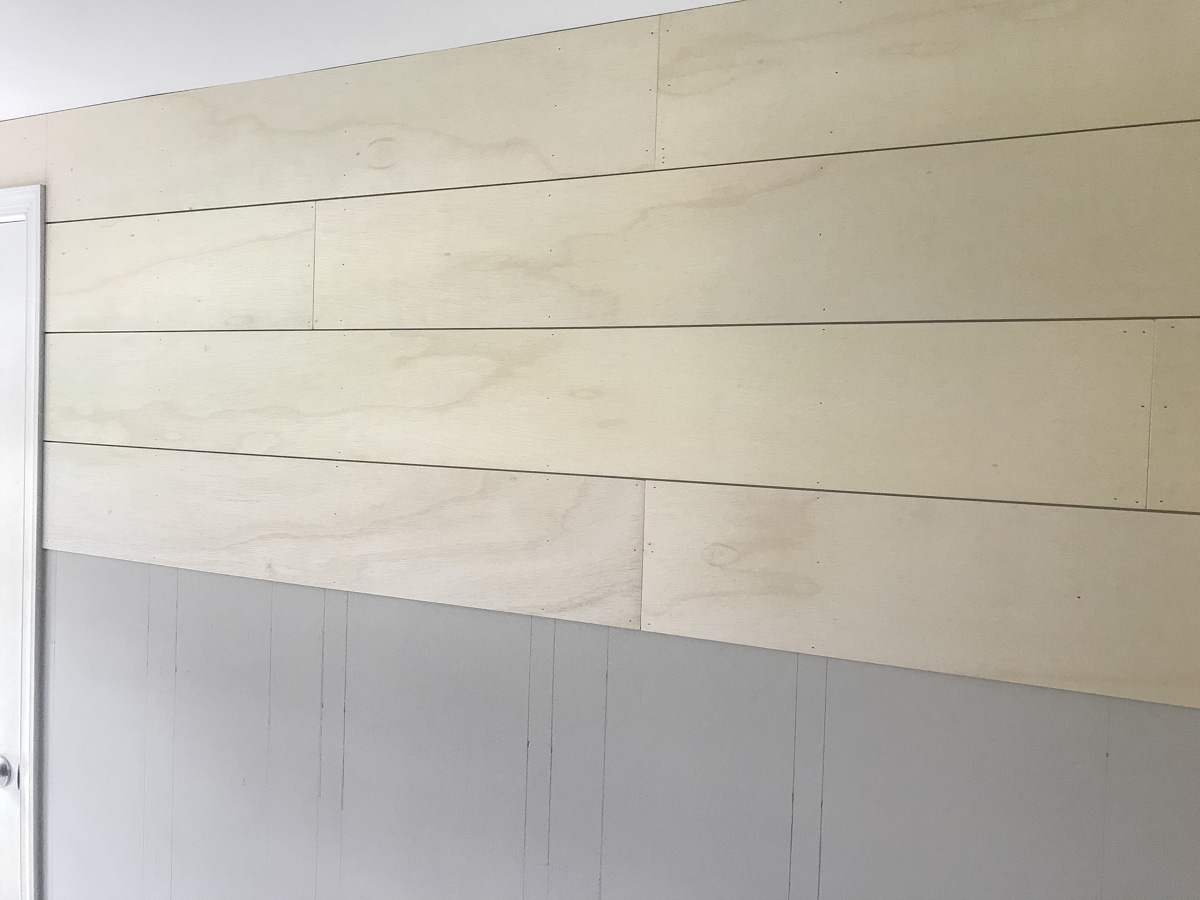
- As there will be space between the shiplap planks, you might want to paint the wall if it is a completely different color. Our wall happened to be grey which I thought worked fine for the spaces.
- Take advantage of home improvement store saws to cut the width if you can. A word of caution though as some people rush through and won't cut the exact same width every time.
- No need to glue the homemade shiplap as it will make it a lot more work to remove if you want to down the road. Just use nails.
- If you don't have spacers, nickels can work great.
Other DIY Projects
- Wine Cooler Cabinet
- X Side Table
- Wood Shelves
- Dining Room Wainscoting
- Bathroom Wall Organizer
- Reinvented IKEA Dresser
If you’ve made this DIY shiplap or any other project on Chisel & Fork, please let me know how it turned out in the comments below! You can also follow me on Facebook, Instagram, Pinterest and YouTube to see more projects, meals and anything else I'm up to.
DIY Shiplap
By making your own version of shiplap, you get the look of the real thing on cheap with these DIY tips from start to finish.
Materials
- ¼ inch plywood in 4 x 8' sheets
- ⅛ inch tile spacers
- 1 ¼ inch finishing nails
- Wall spackle
- Paint or stain
Tools
- Table saw
- Miter saw
- Jigsaw
- Stud finder
- Level
- Air compressor and finish nailer (can also use hammer)
- Sander
- Painting supplies - roller, broom handle, primer, quality paint, brush
Instructions
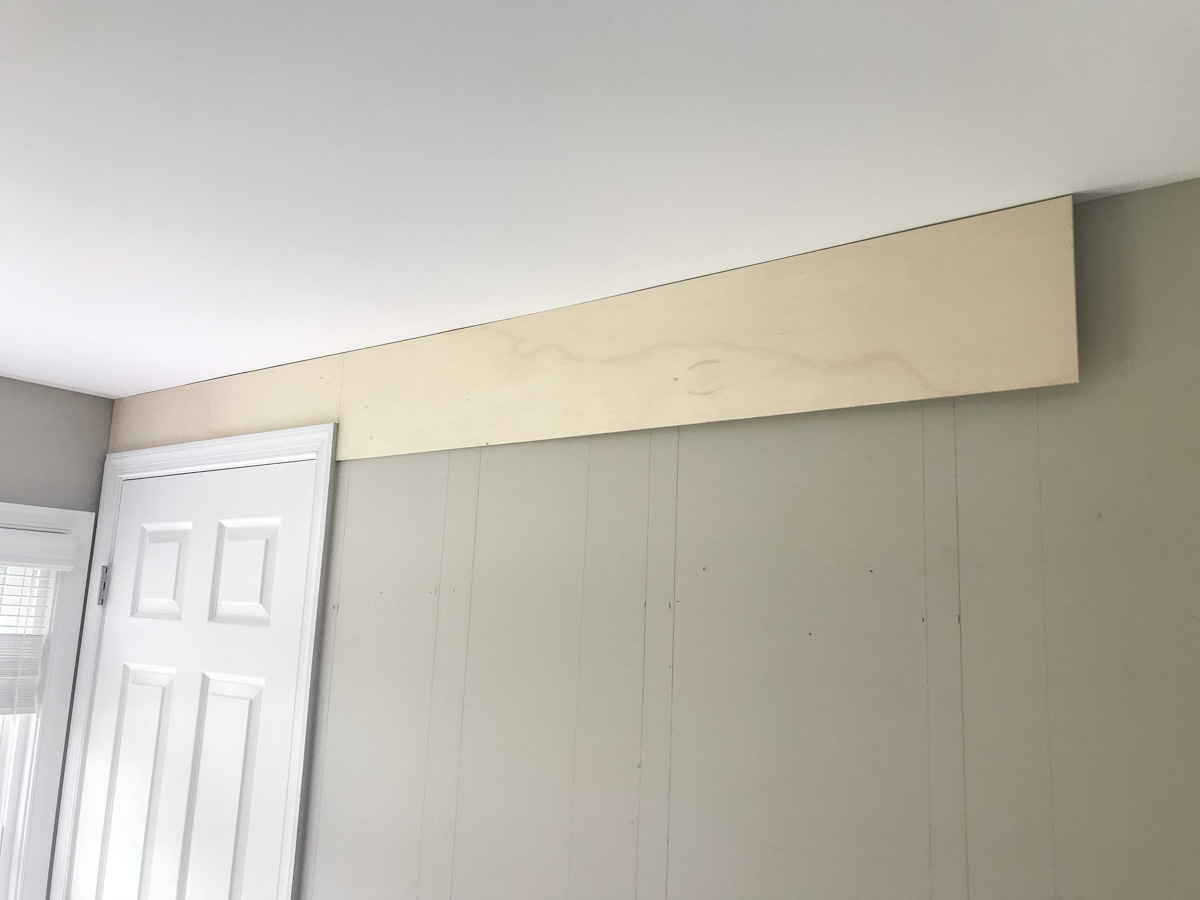
- Measure the height and width of your wall and calculate the amount of plywood you need. Then measure the width of your planks to fit the wall and cut. You can sand the planks at this point as well, but I personally liked a little bit of the roughness showing through.
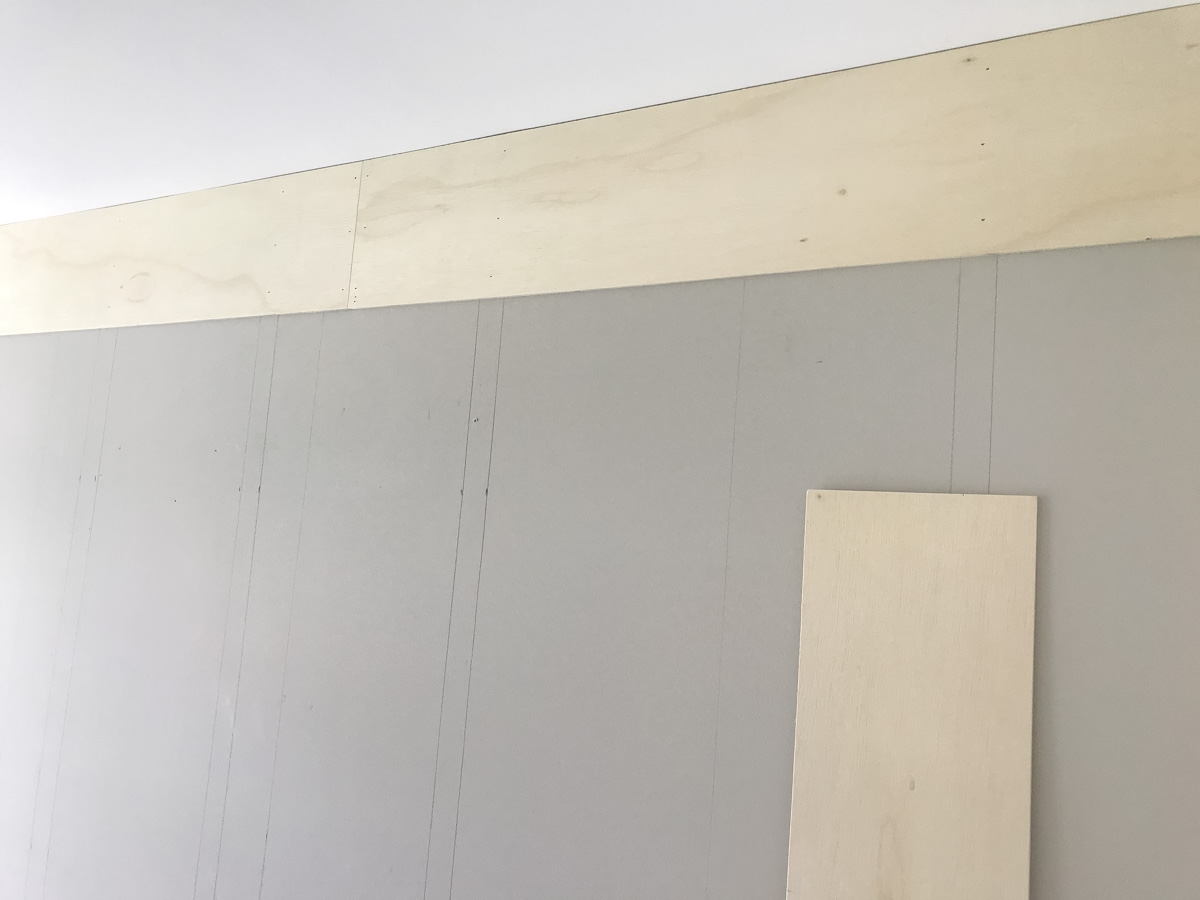
- Use a stud finder to locate the studs on the wall and mark. Also remove the electric outlet covers. Use your miter saw to cut the plank to the length you want. Use your level to make sure the plank is level and then put two nails into each stud. If you have door, you will need to cut around it.
- Measure the length needed to finish the first row and cut the length of the plank with a miter saw. Make sure it is level and finish with nails.
- Use spacers or nickels to start the second row of shiplap and repeat the process of cutting and nailing the planks. You can mix and match the lengths or develop a pattern which can make it easier to cut multiple in a row.
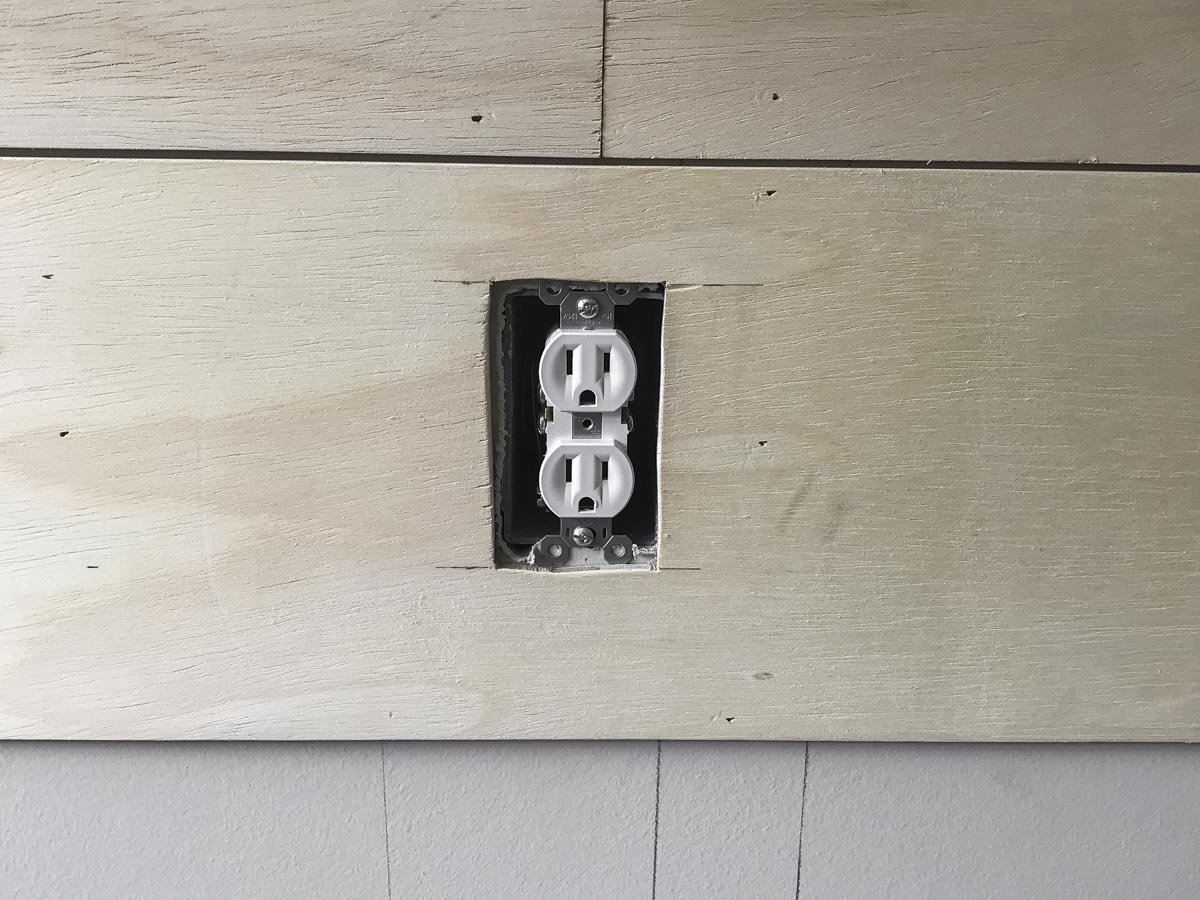
- If you have an electric outlet, use a jigsaw to cut a hole to go around the outlet. It doesn't need to be exact as the cover will go over it.
- Use your final plank to finish the wall. If it is too wide, you might need to use a table saw to rip it to the correct size. At this point you can also sand the shiplap wall if you want.
- Paint or stain the color you want to use. I used a combination of paint and stain to do it all in one.
- Let the shiplap dry and place the furniture around it.
Notes
- Measure the wall or walls that you will be attaching the shiplap so you can calculate your cuts.
- Decide on the width of the shiplap before making the cuts. We measured the height of the wall and then divided by 10 to get a width of 8 ¼ inch for each piece of shiplap. You can make yours wider or narrower.
- As there will be space between the shiplap planks, you might want to paint the wall if it is a completely different color. Our wall happened to be grey which I thought worked fine for the spaces.
- Take advantage of home improvement store saws to cut the width if you can. A word of caution though as some people rush through and won't cut the exact same width every time.
- No need to glue the shiplap as it will make it a lot more work to remove if you want to down the road. Just use nails.
- If you don't have spacers, nickels can work great.




Leave a Reply