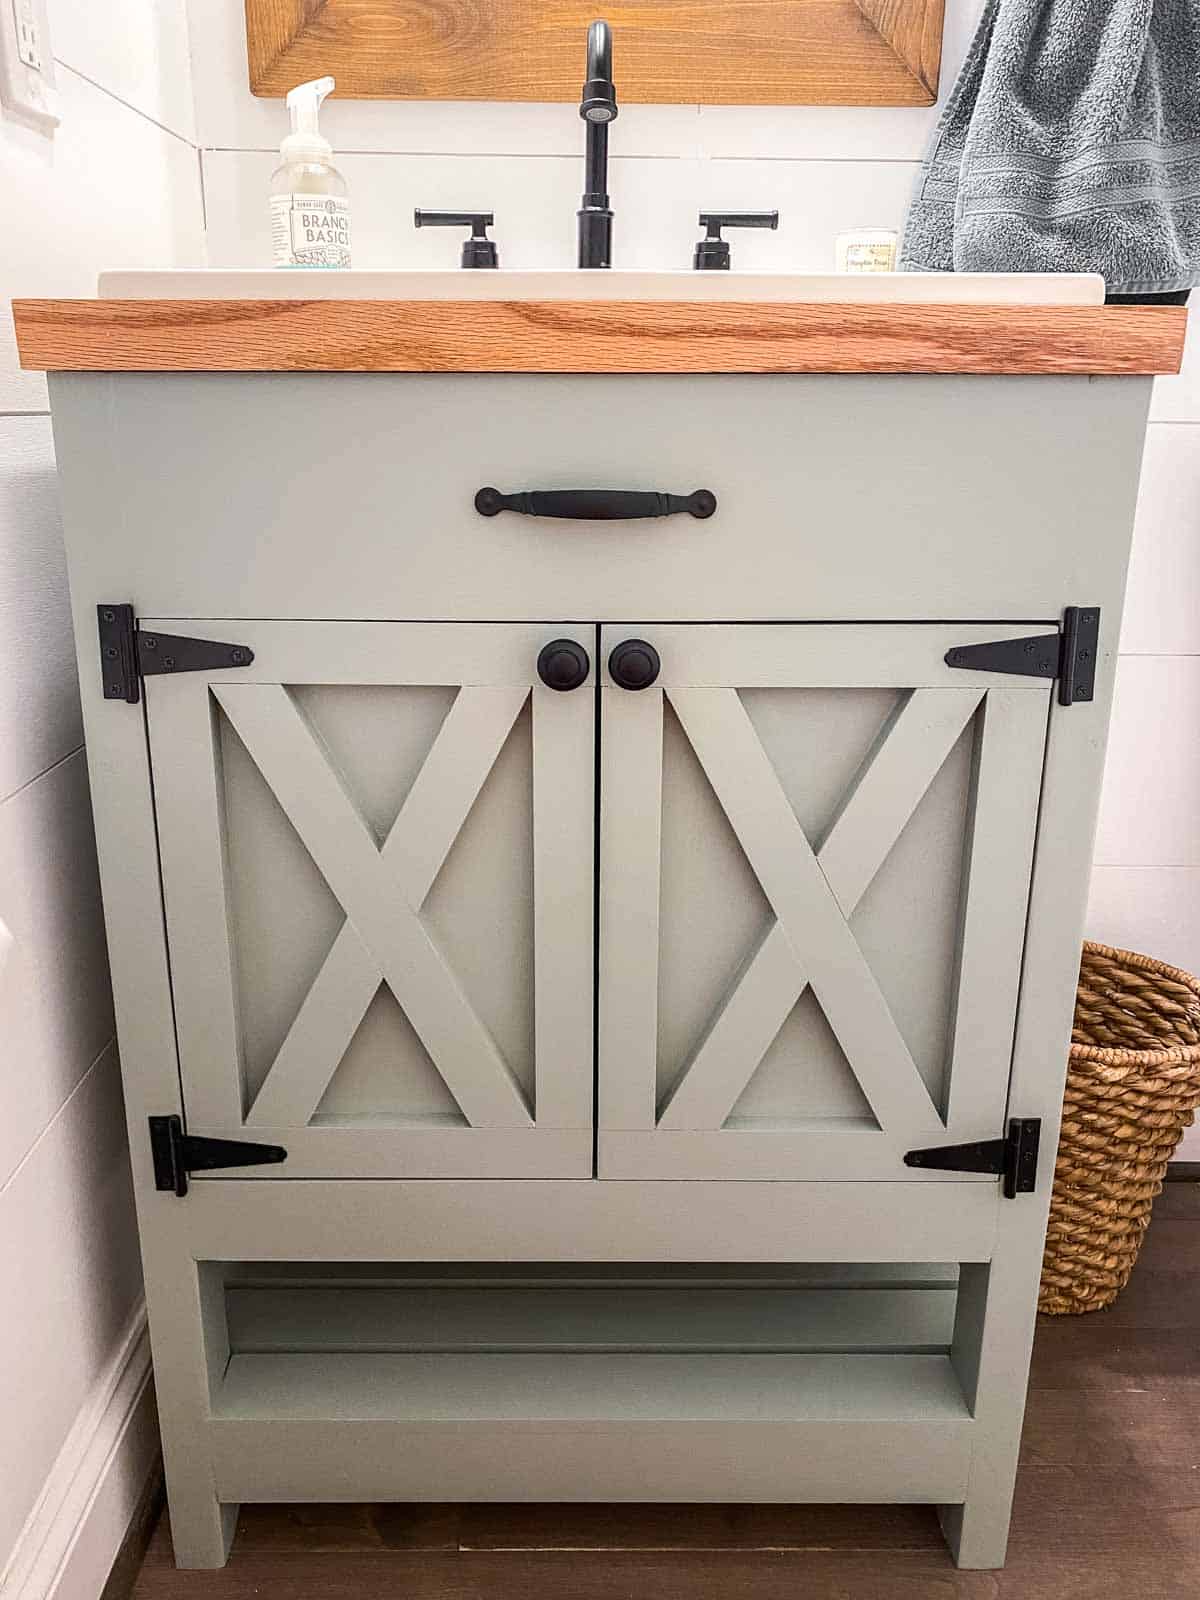
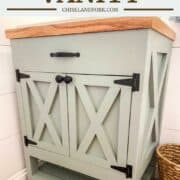
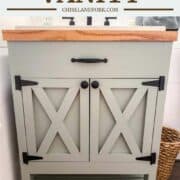
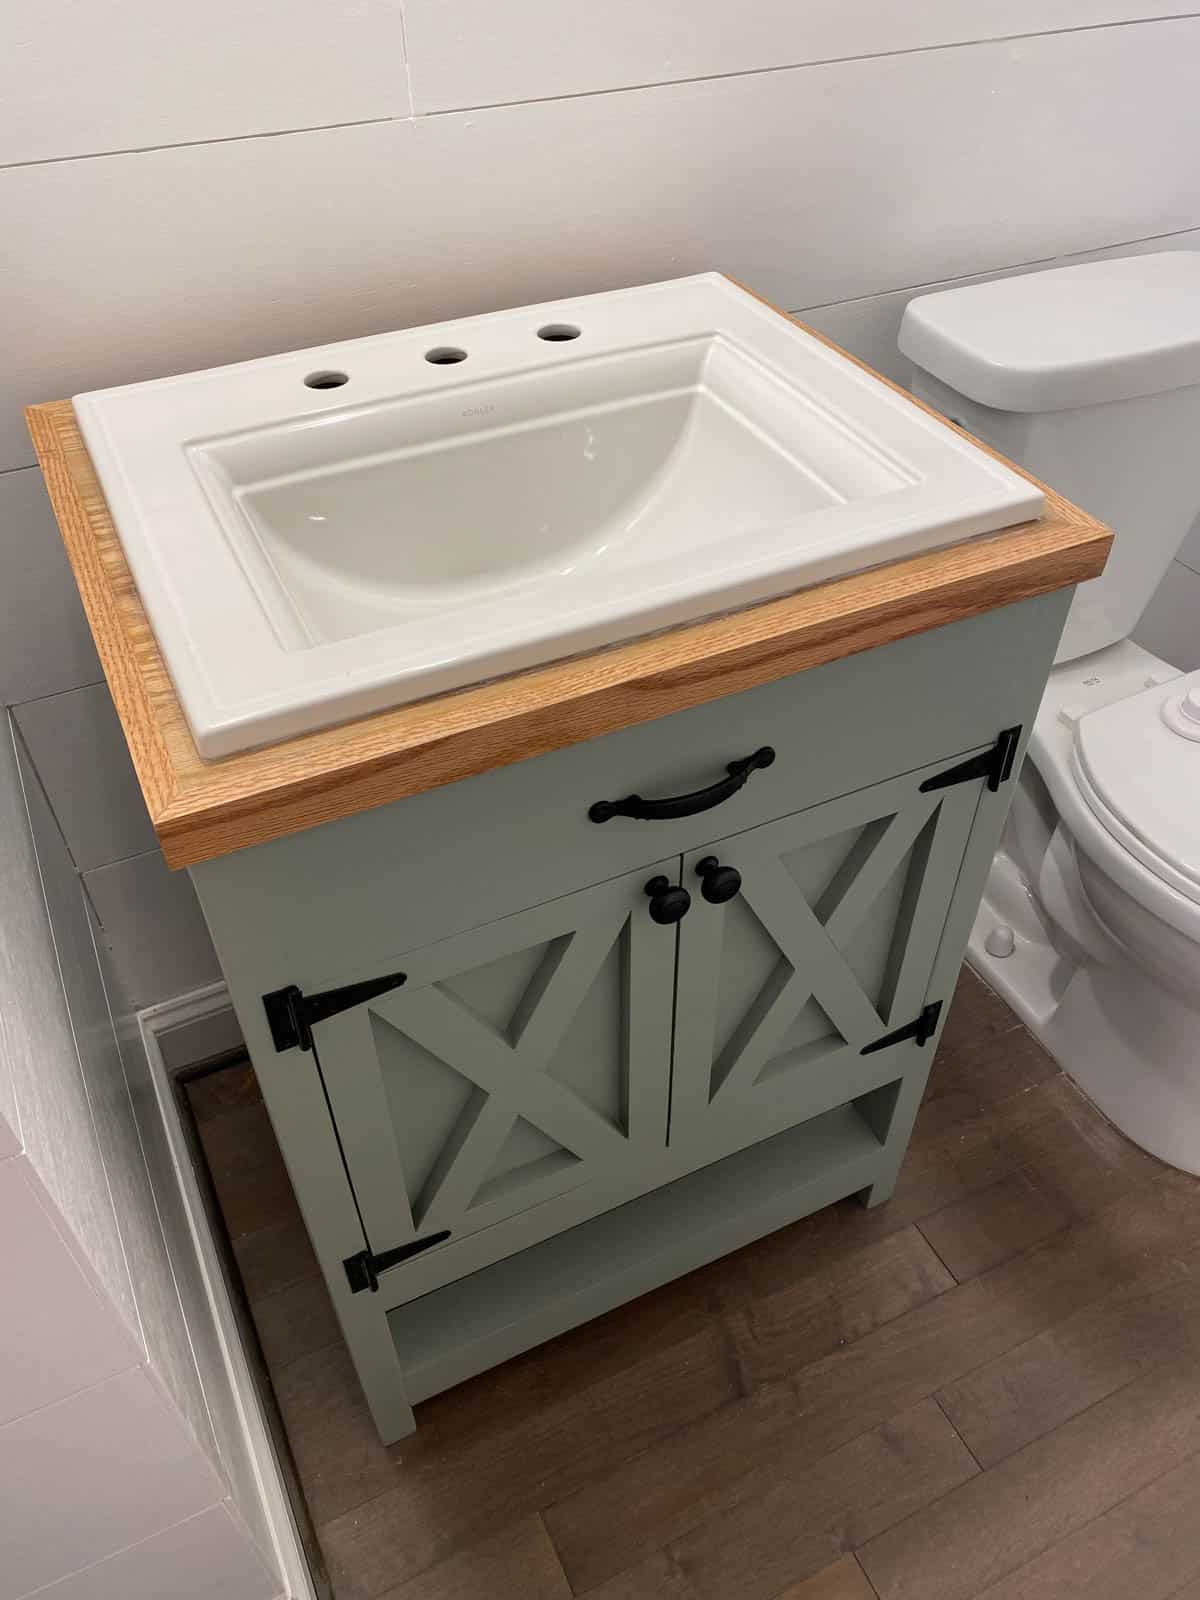
This farmhouse vanity is an easy build that only requires a few tools and adds a ton of character to any bathroom.
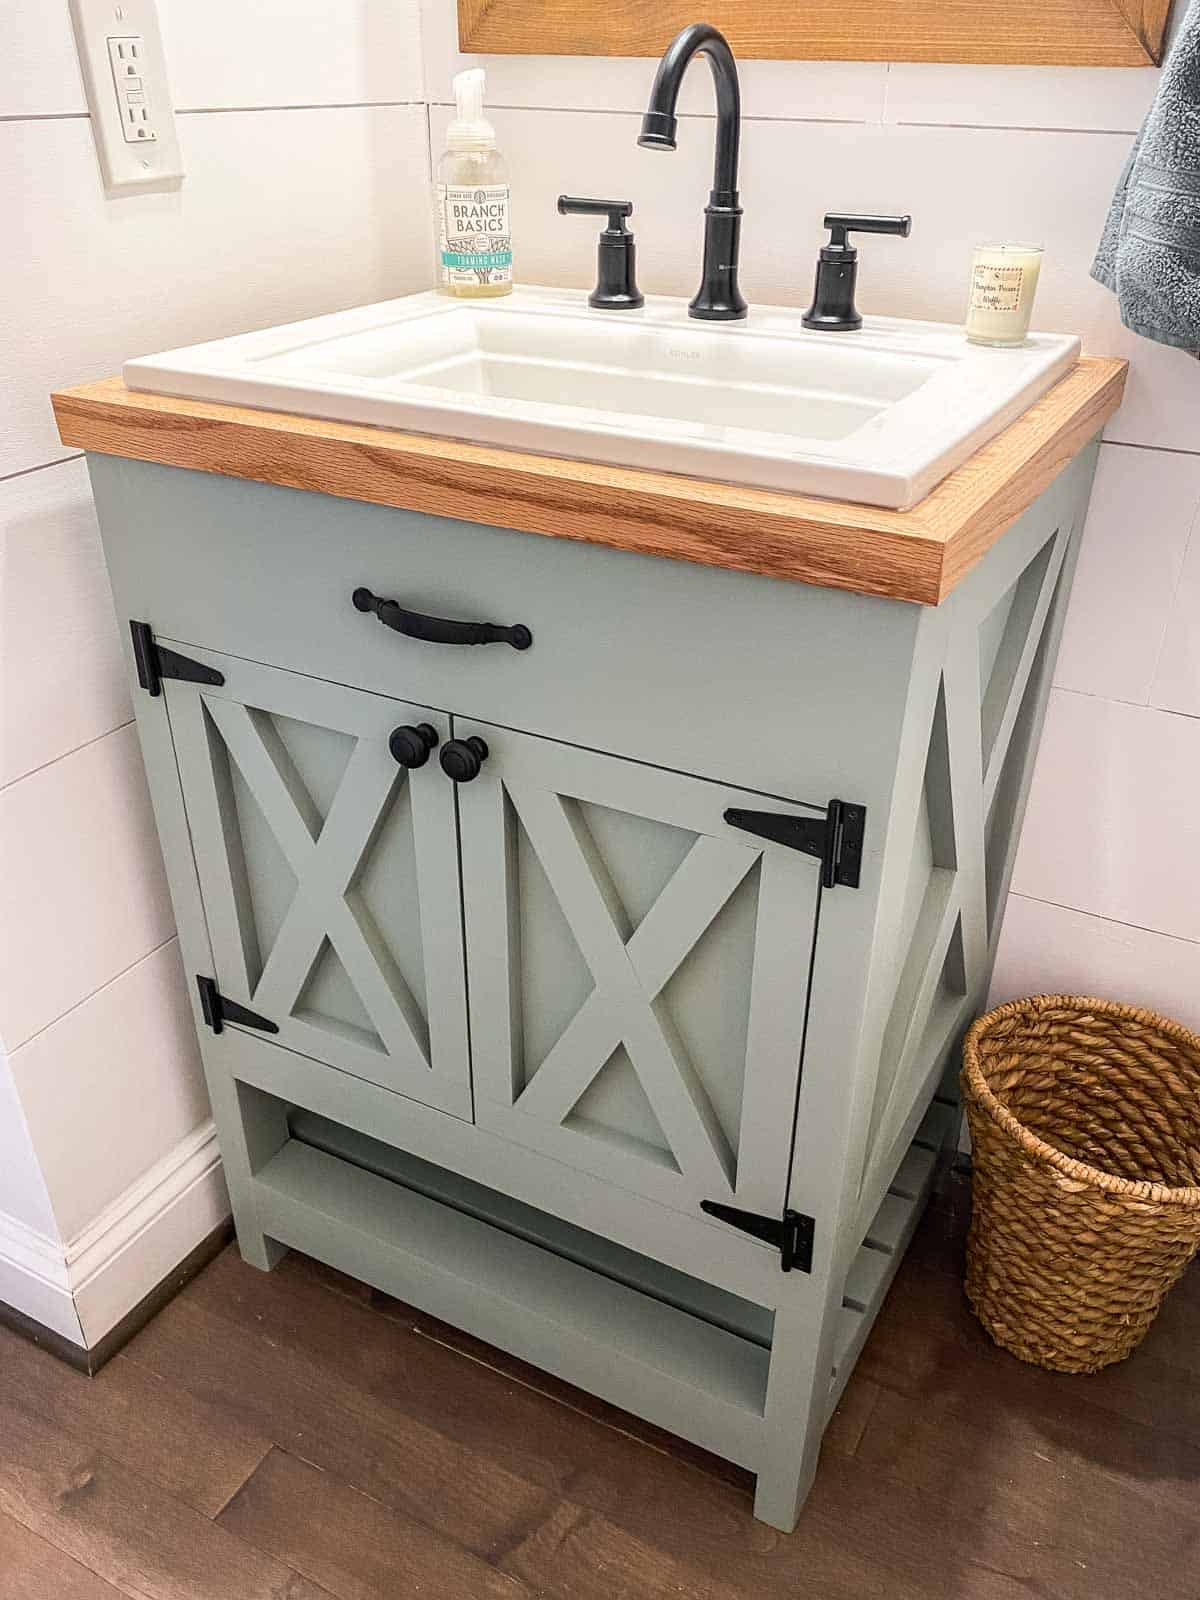
Having recently moved into a new house, we wanted to add our own touches throughout. And by touches I mean making the house feel a little more "farmhousy."
On the first floor, we had a half bathroom that was painted grey with a pedestal sink.
So first thing I did was add some DIY shiplap. But I'm just not a fan of pedestal sinks and thought it would be the perfect opportunity to make my own farmhouse vanity for the bathroom.
It may look complicated at first, but you can accomplish this build with some basic tools. What you end up with is a beautiful vanity that works in any bathroom.
FAQs
To keep it cheap, there is nothing better than pine wood. However I do use good oak hardwood for the top since it will be exposed to water.
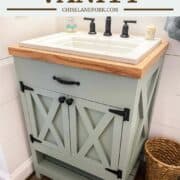
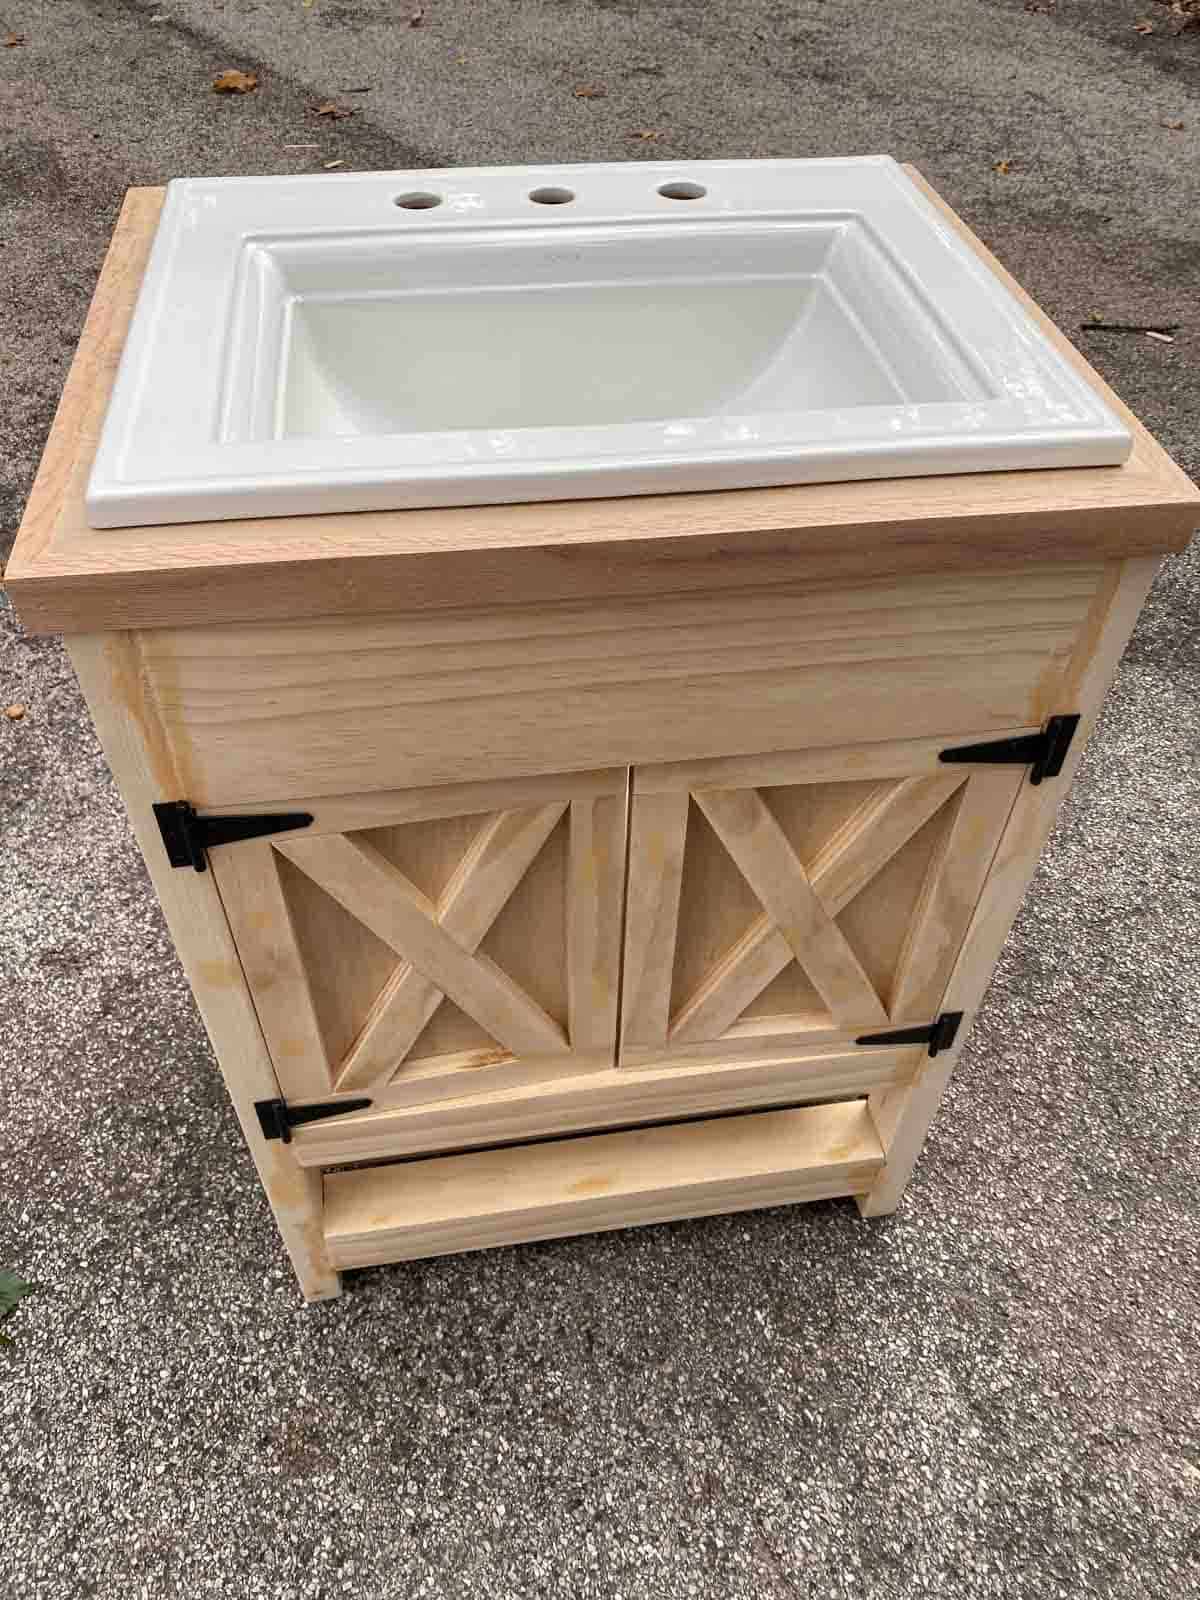
I went with a Kohler drop sink which was the perfect size for this farmhouse vanity at 22-¾" x 18".
Yes, but just keep in mind it will change the size of the doors as well. If you want to make it wide enough for a double sink, I suggest making 4 doors instead of 2.
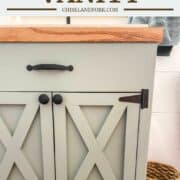
While the doors can be snug and don't necessarily need anything, I'd recommend some magnetic door catchers that are used for cabinets.
Pro Tips/Notes
- Pine wood is the cheapest and easiest to work with but if you are worried about getting some nicks, go with a good hardwood like oak. Just keep in mind it will be more expensive.
- You can customize the width to your room. Just keep in mind you might need more or less wood.
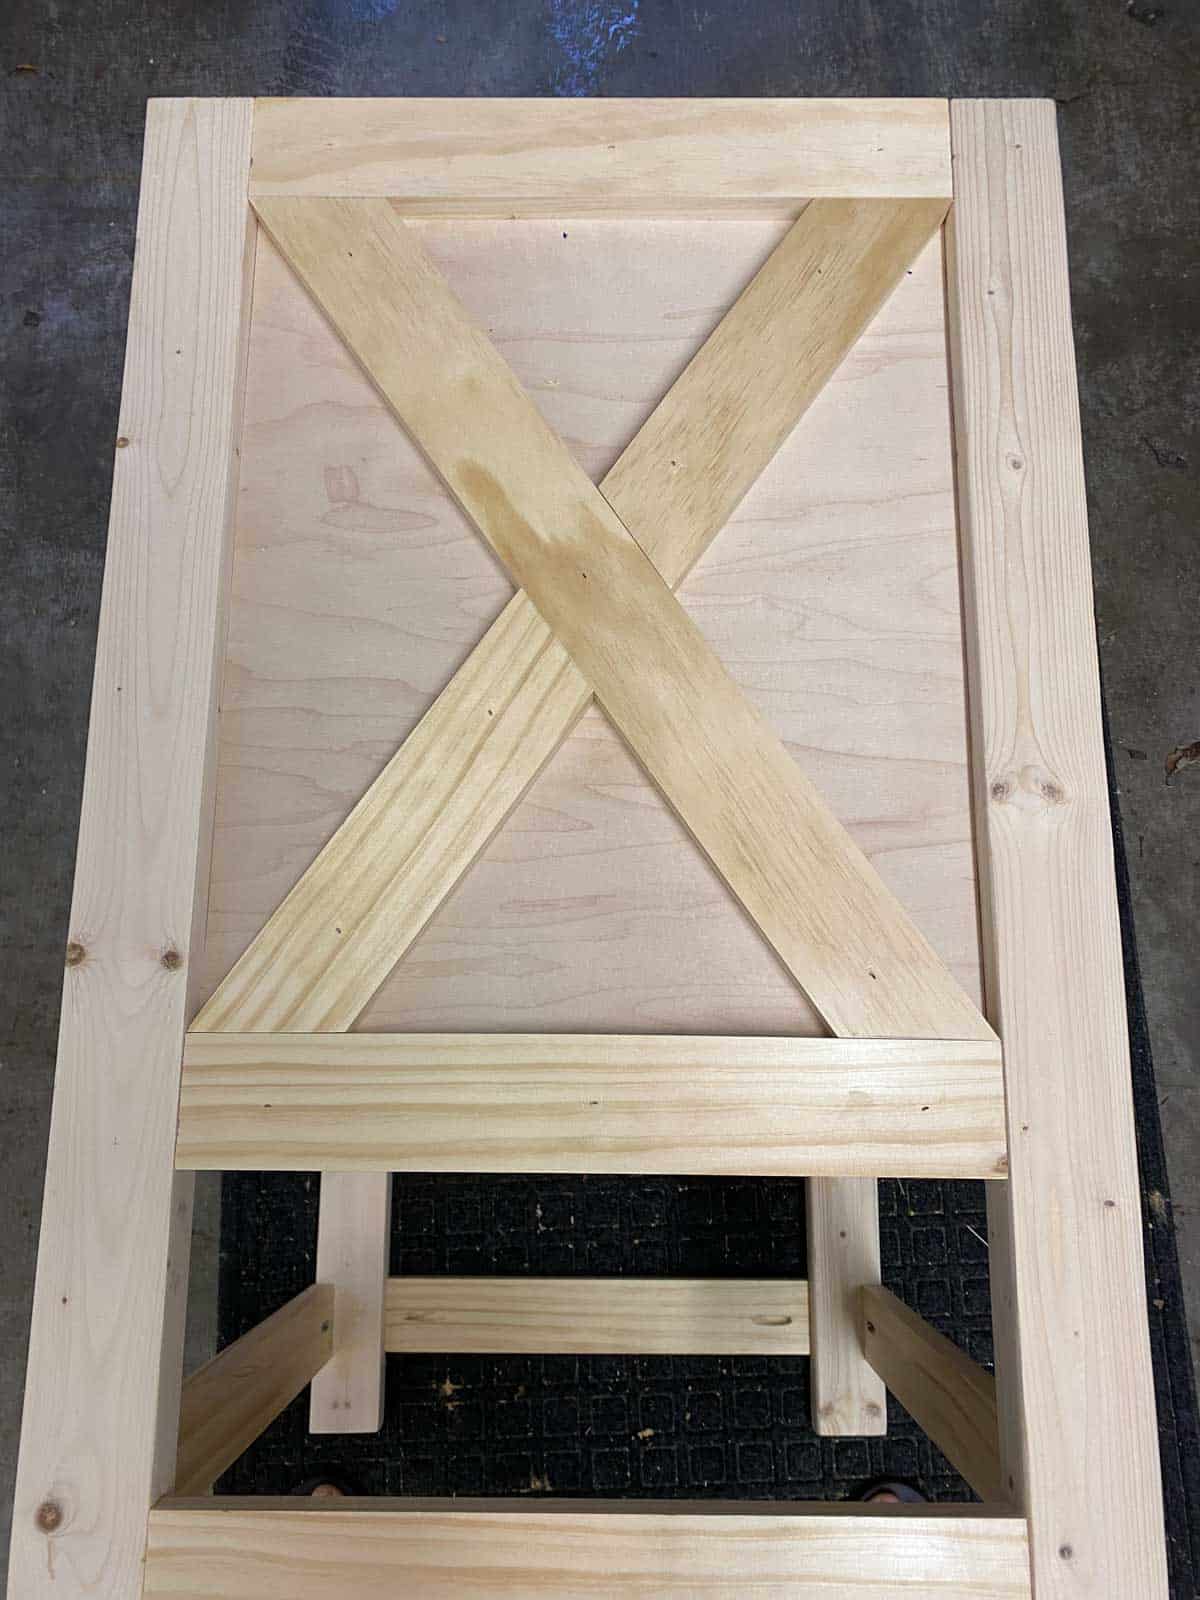
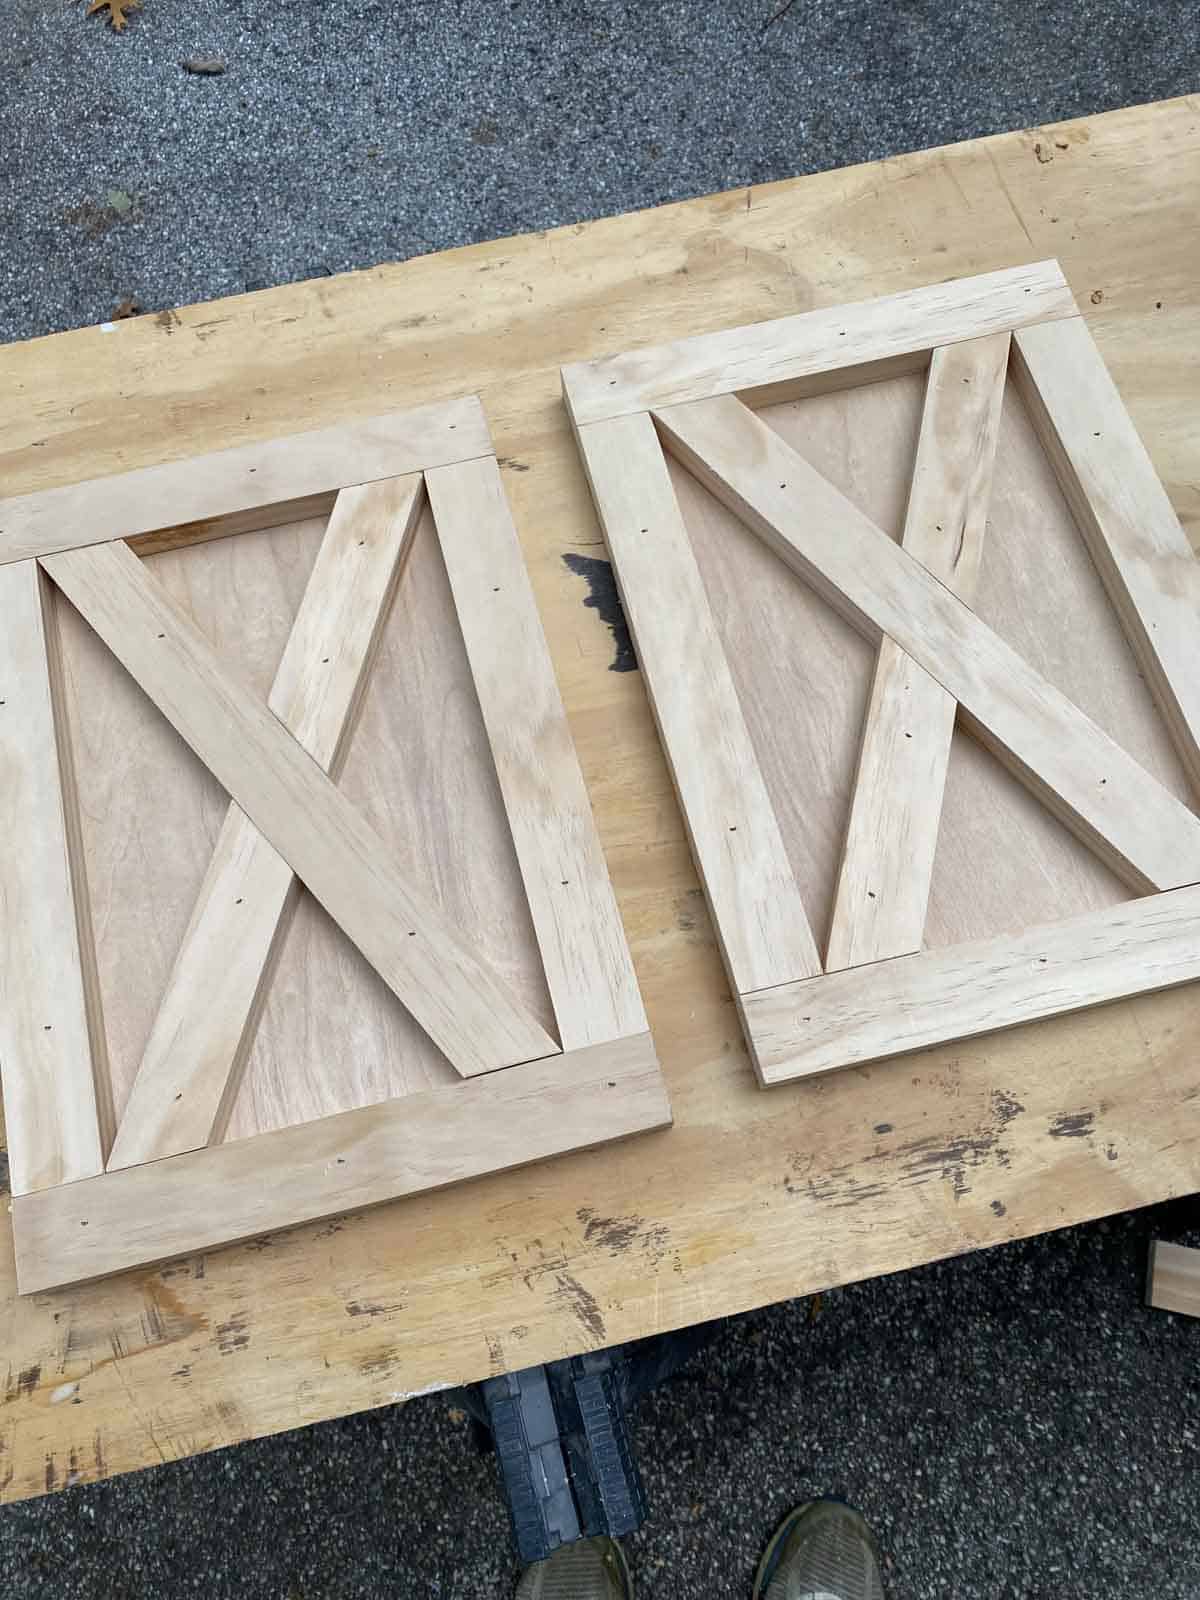
- Do not make the cuts for the X's until the doors and side panels are made as each one is slightly different.
- Use your favorite paint color for the farmhouse vanity.
- For staining, I prefer Danish oil as it stains and protects the top. However you can also stain and then use polyurethane.
Other DIY Projects
If you’ve made this farmhouse vanity or any other project on Chisel & Fork, please let me know how it turned out in the comments below! You can also follow me on Facebook, Instagram, Pinterest and YouTube to see more projects, meals and anything else I'm up to.
Farmhouse Vanity
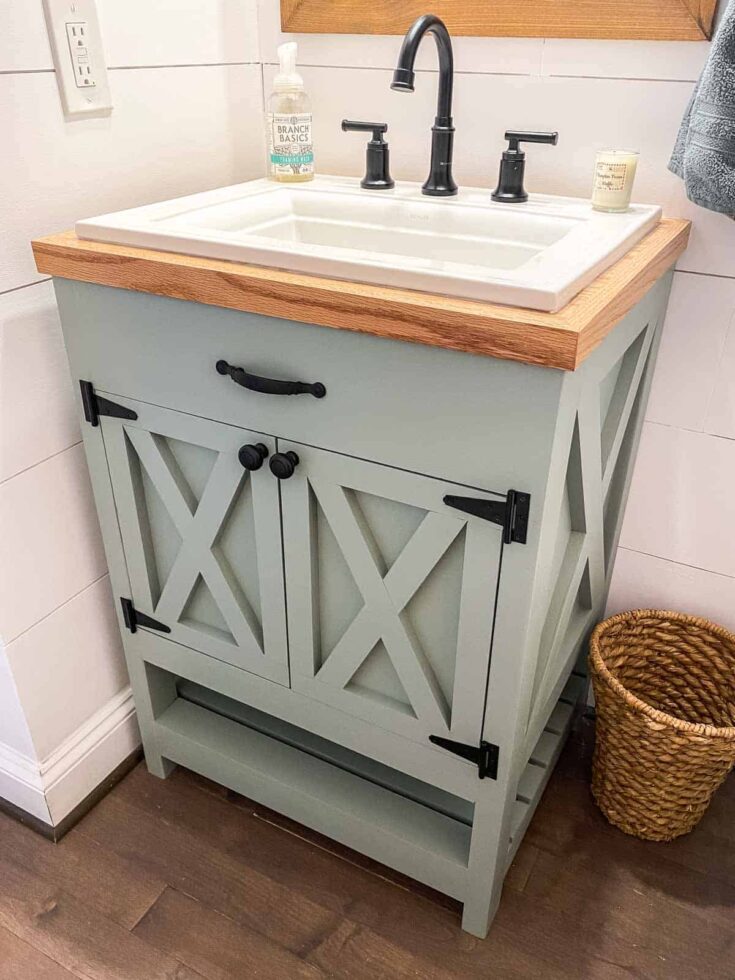
This farmhouse vanity is an easy build that only requires a few tools and adds a ton of character to any bathroom.
Materials
- (2) 2" x 3" x 96" pine wood
- (2) ¾" x 48" x 48" plywood
- (1) 1" x 6" x 48" pine wood
- (3) 1" x 3" x 96" pine wood
- (5) ½" x 3" x 96" pine wood
- (1) ¼" x 48" x 48" plywood
- (6) ½" x 4" x 24" oak wood
- (2) 1" x 2" x 48" oak wood
- 1 ¼" pocket screws
- 1" brad nails
- Wood glue
- Hinges
- Hand hardware
- Drop sink
- Bathroom faucets
- Stain and paint
Tools
- Miter saw
- Tape measure
- Kreg jig
- Jigsaw
- Clamps
- Nail gun or hammer
- Painting supplies - roller, broom handle, brush
Instructions
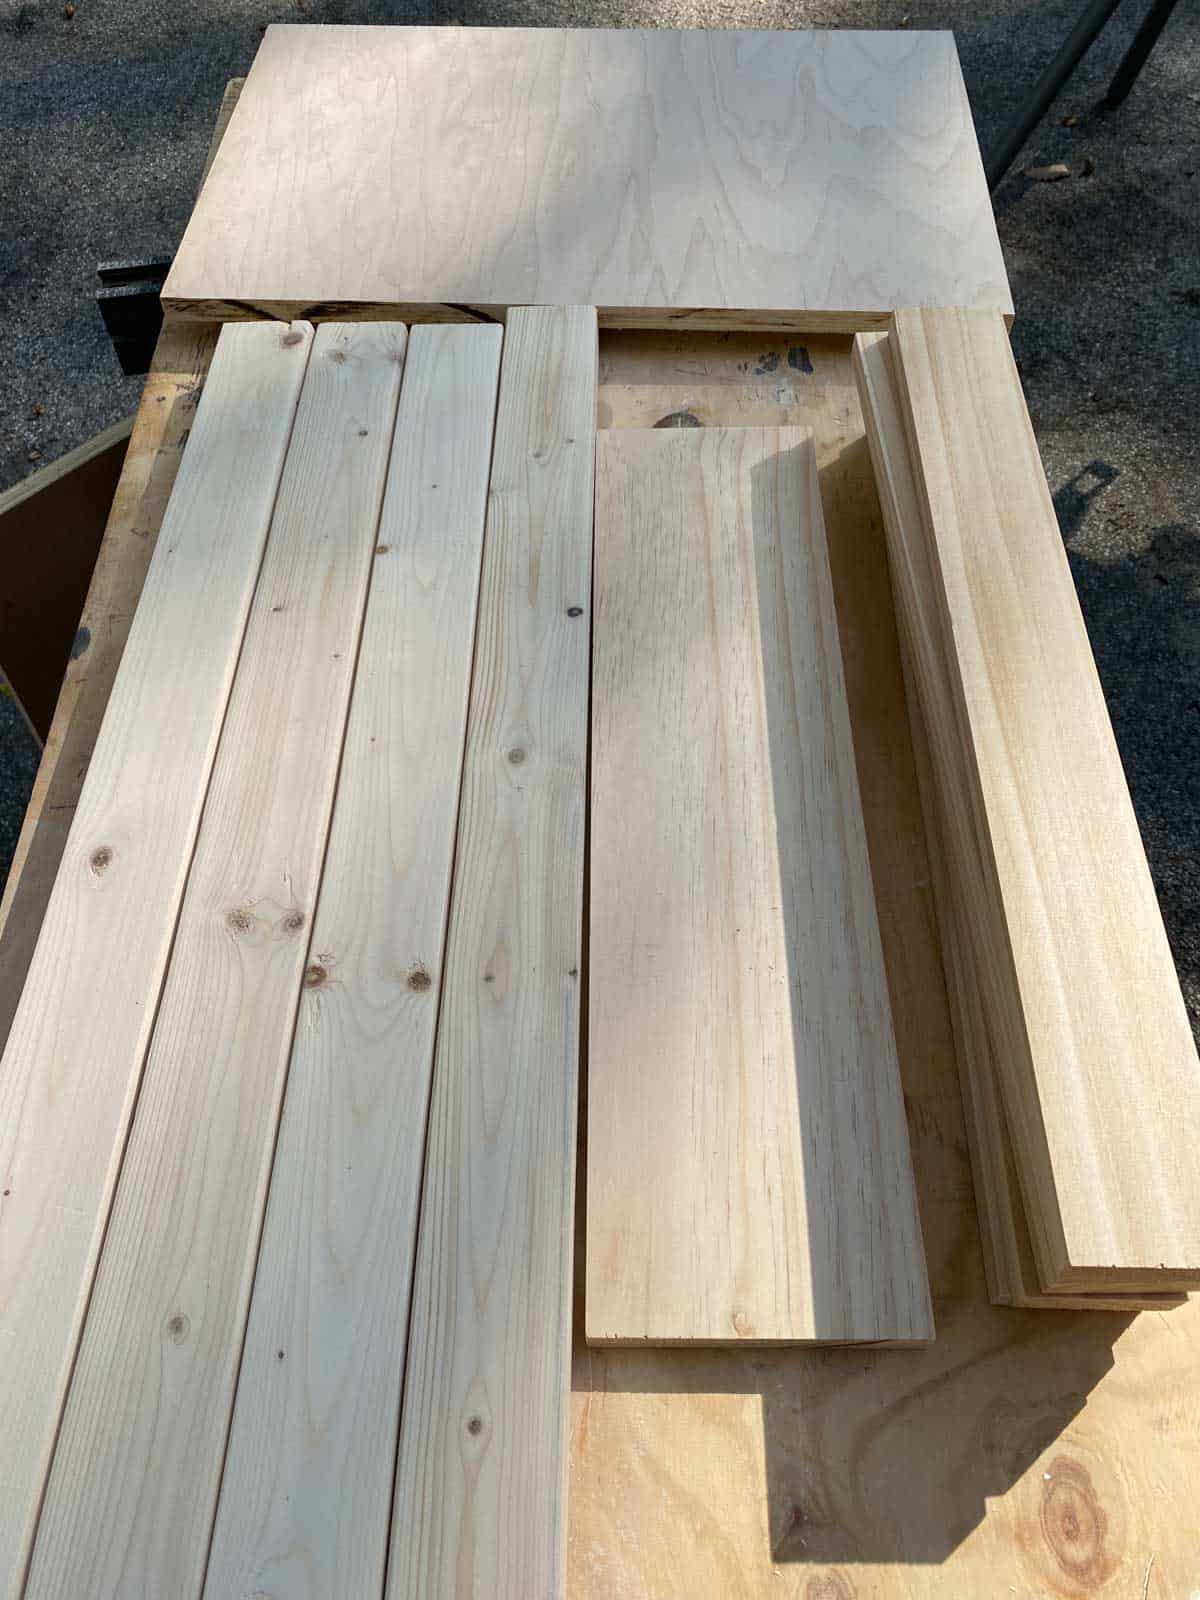
1. Make the following cuts for the farmhouse vanity and then sand until everything is smooth:
- Legs: (4) - 2″ x 3″ x 34″
- Side panels: (2) - ¾" x 15 ½" x 23 ¼"
- Side panel x: cut ½" x 3" x 96" to fit side panel
- False front drawer: (1) - 1" x 6" x 21 ¾"
- Front and back rails: (5) - 1" x 3" x 21 ¾"
- Side rails: (2) - 1" x 3" x 15 ½"
- Bottom shelf: (1) - ¾" x 19" x 21 ¼"
- Top shelf: (1) - ¾" x 19 ⅜" x 24"
- Back of doors: (2) - ¼" x 10 ¾" x 15"
- Bottom shelving spacers: (5) - ½" x 3" x 24 ¾"
- Bottom shelving spacers: (2) - ½" x 3" x 21 ¾"
- Door frame and x: cut ½" x 3" x 96" to fit door
- Oak wood top: (6) - ½" x 4" x 24"
- Oak wood top: (2) - 1" x 2" x 25 ½" with 45 angle cuts
- Oak wood top: (2) - 1" x 2" x 21" with 45 angle cuts
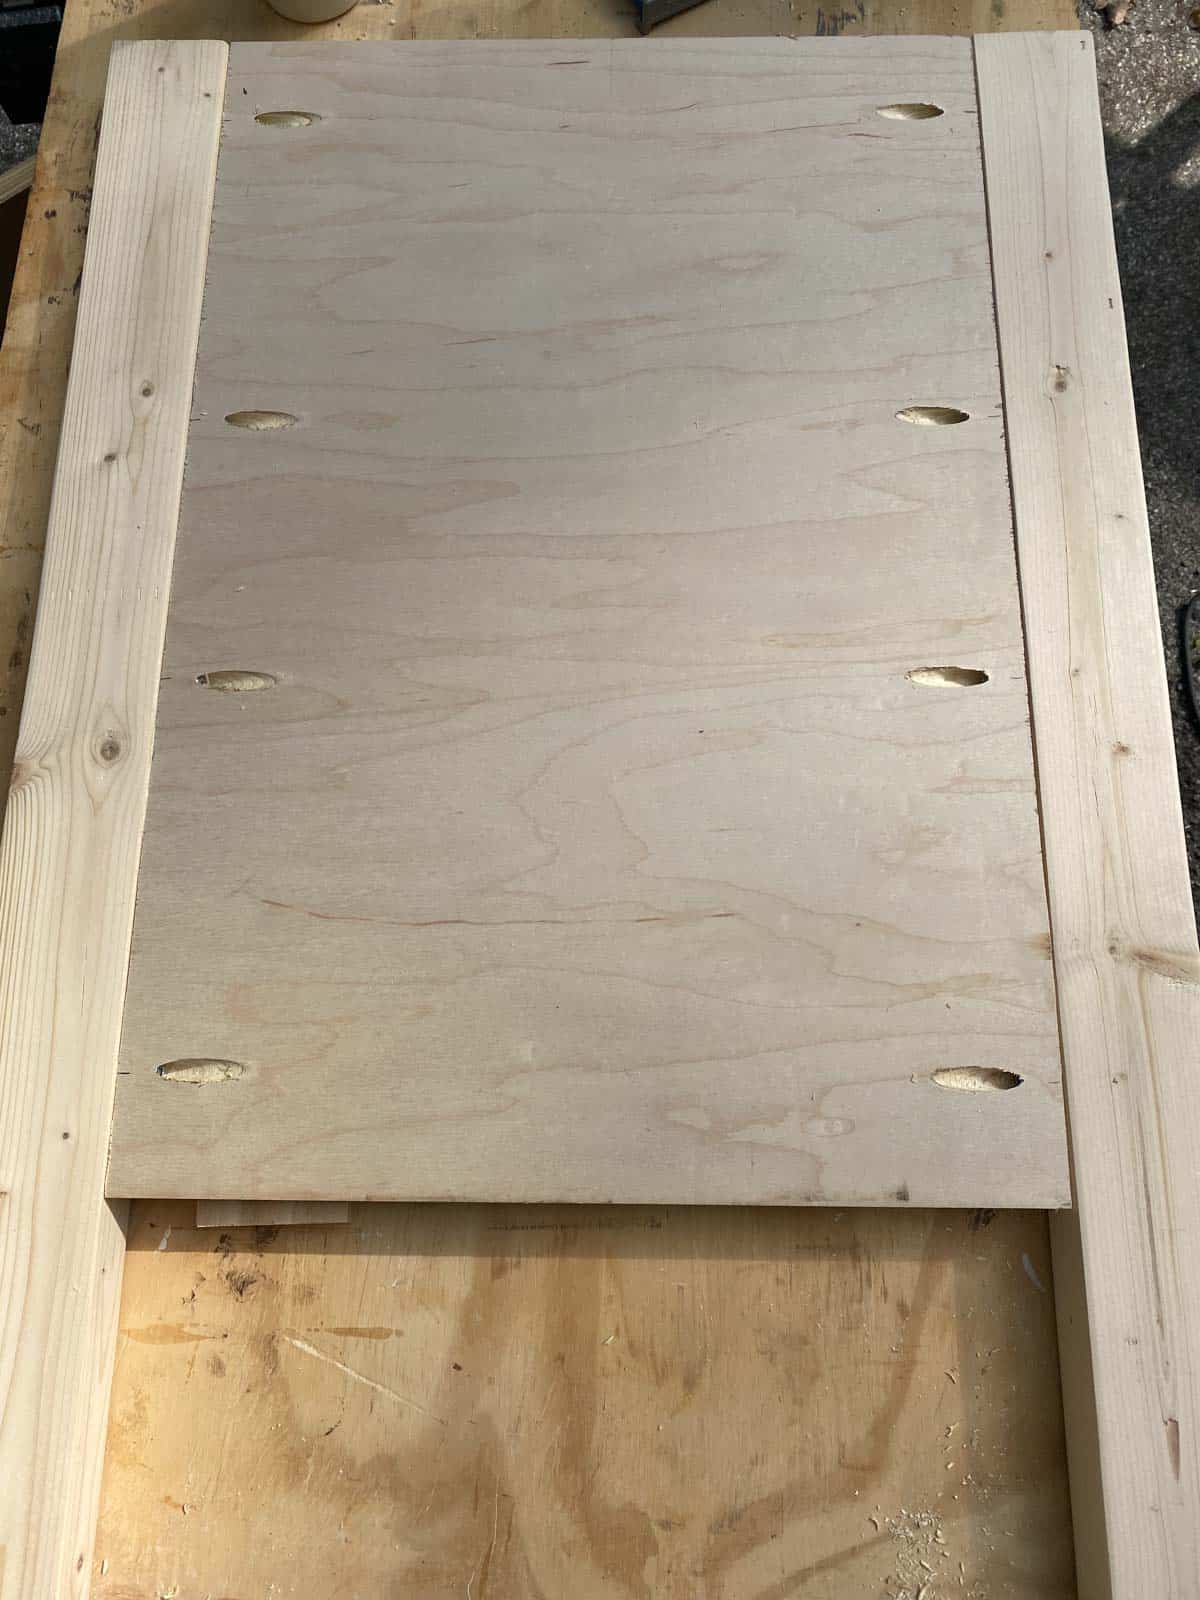
2. Attach both plywood side panels to the legs using pocket screws and glue. The bottom should be 7 ½" from the bottom.
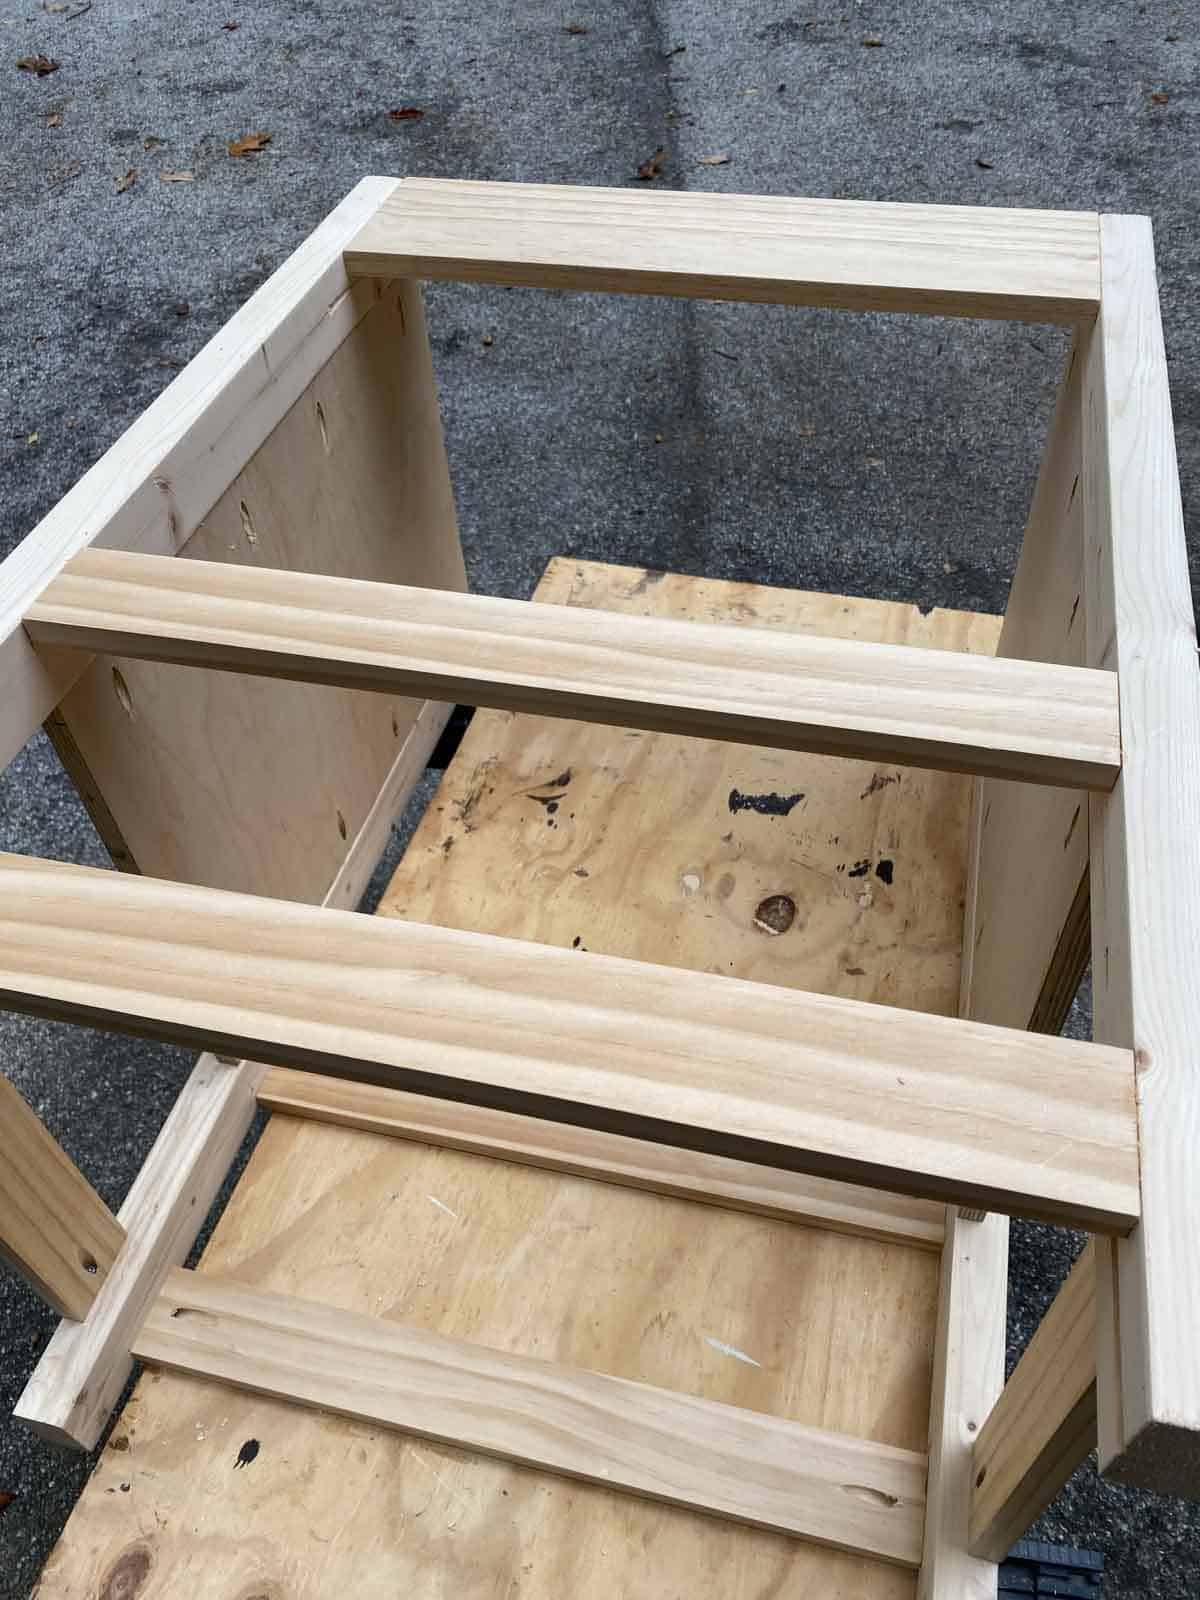
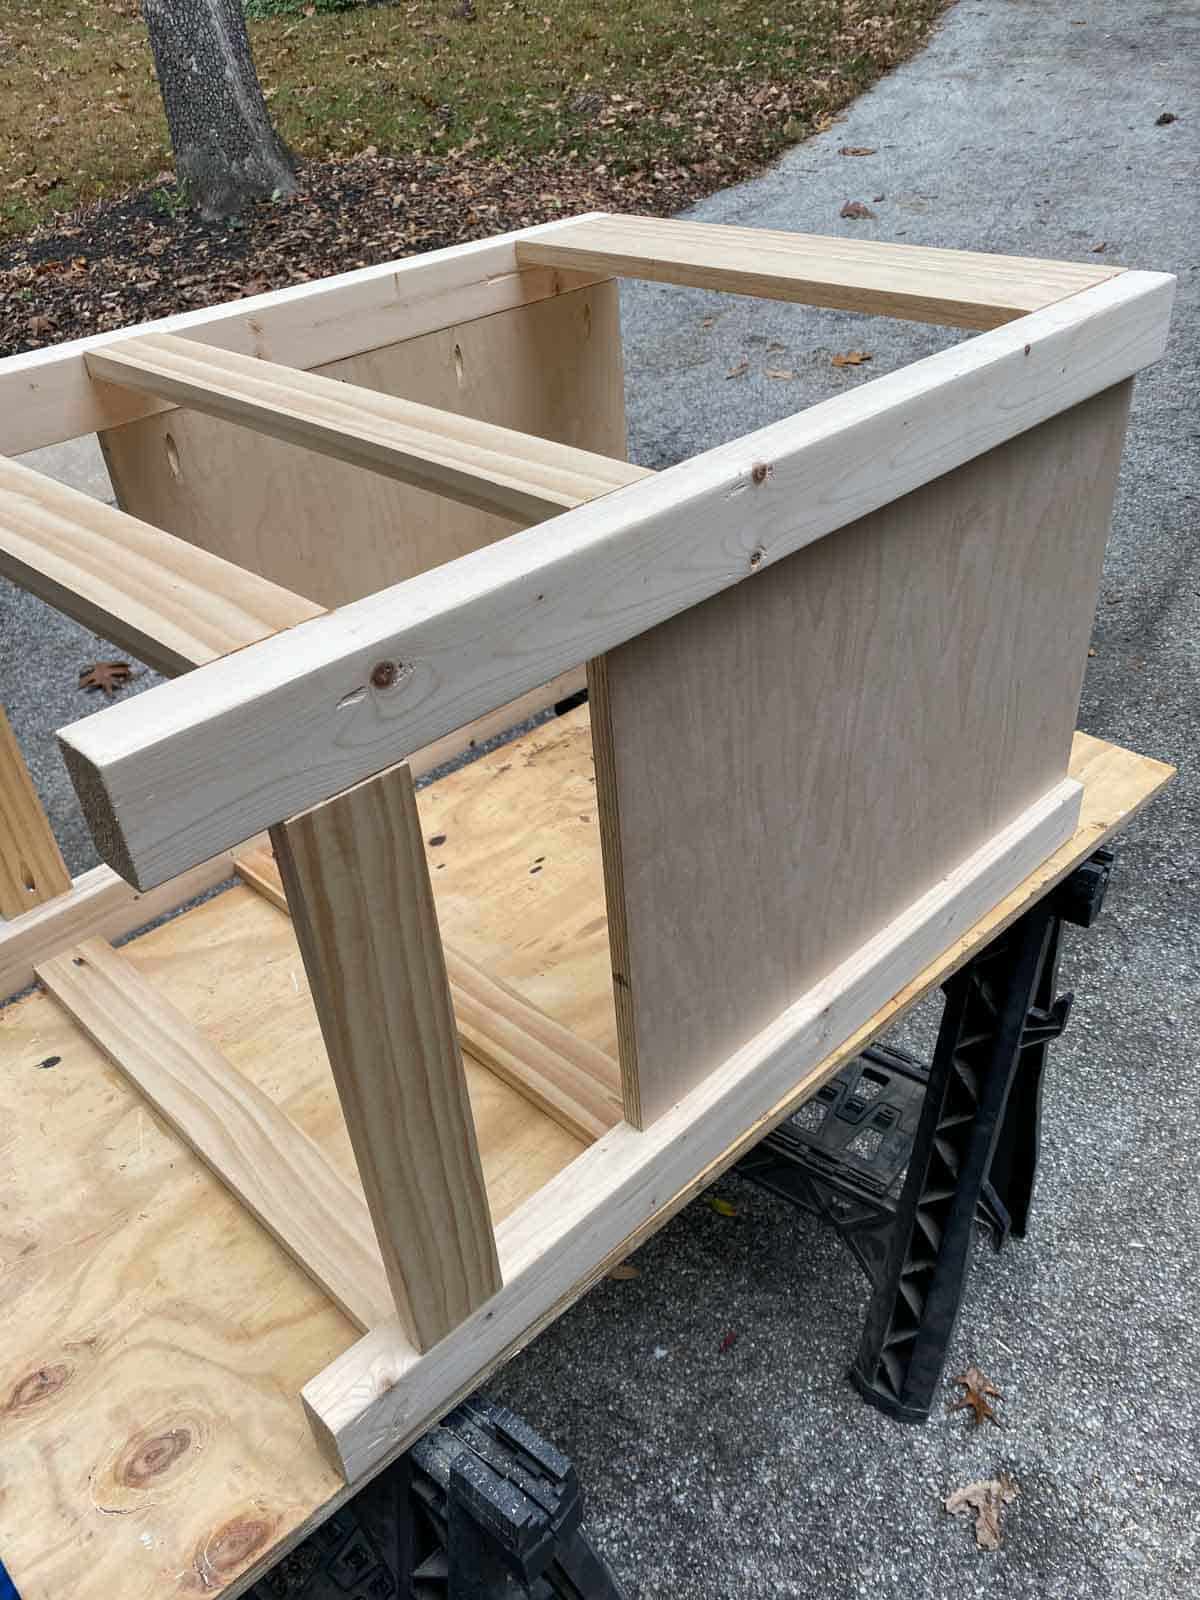
3. Attach the false front drawer and one of the 1" x 3" x 21 ¾" rails on the back to the top, connecting the two side panels using pocket screws and glue. Attach a front and back rail to the bottom 2 ½" from the bottom, using pocket screws and glue. Then attach a front and back rail 5" above the bottom rail or 7 ½" from the bottom with pocket screws and glue
4. Attach the two side rails 2 ½" from the bottom with pocket screws and glue to create the support for the bottom shelf.
5. Measure the side panels and cut the ½" x 3" x 96" wood to make the frame and X fit. You'll have to adjust the angles to make sure the X works which is why I don't give exact measurements. Glue and nail into the side panels.
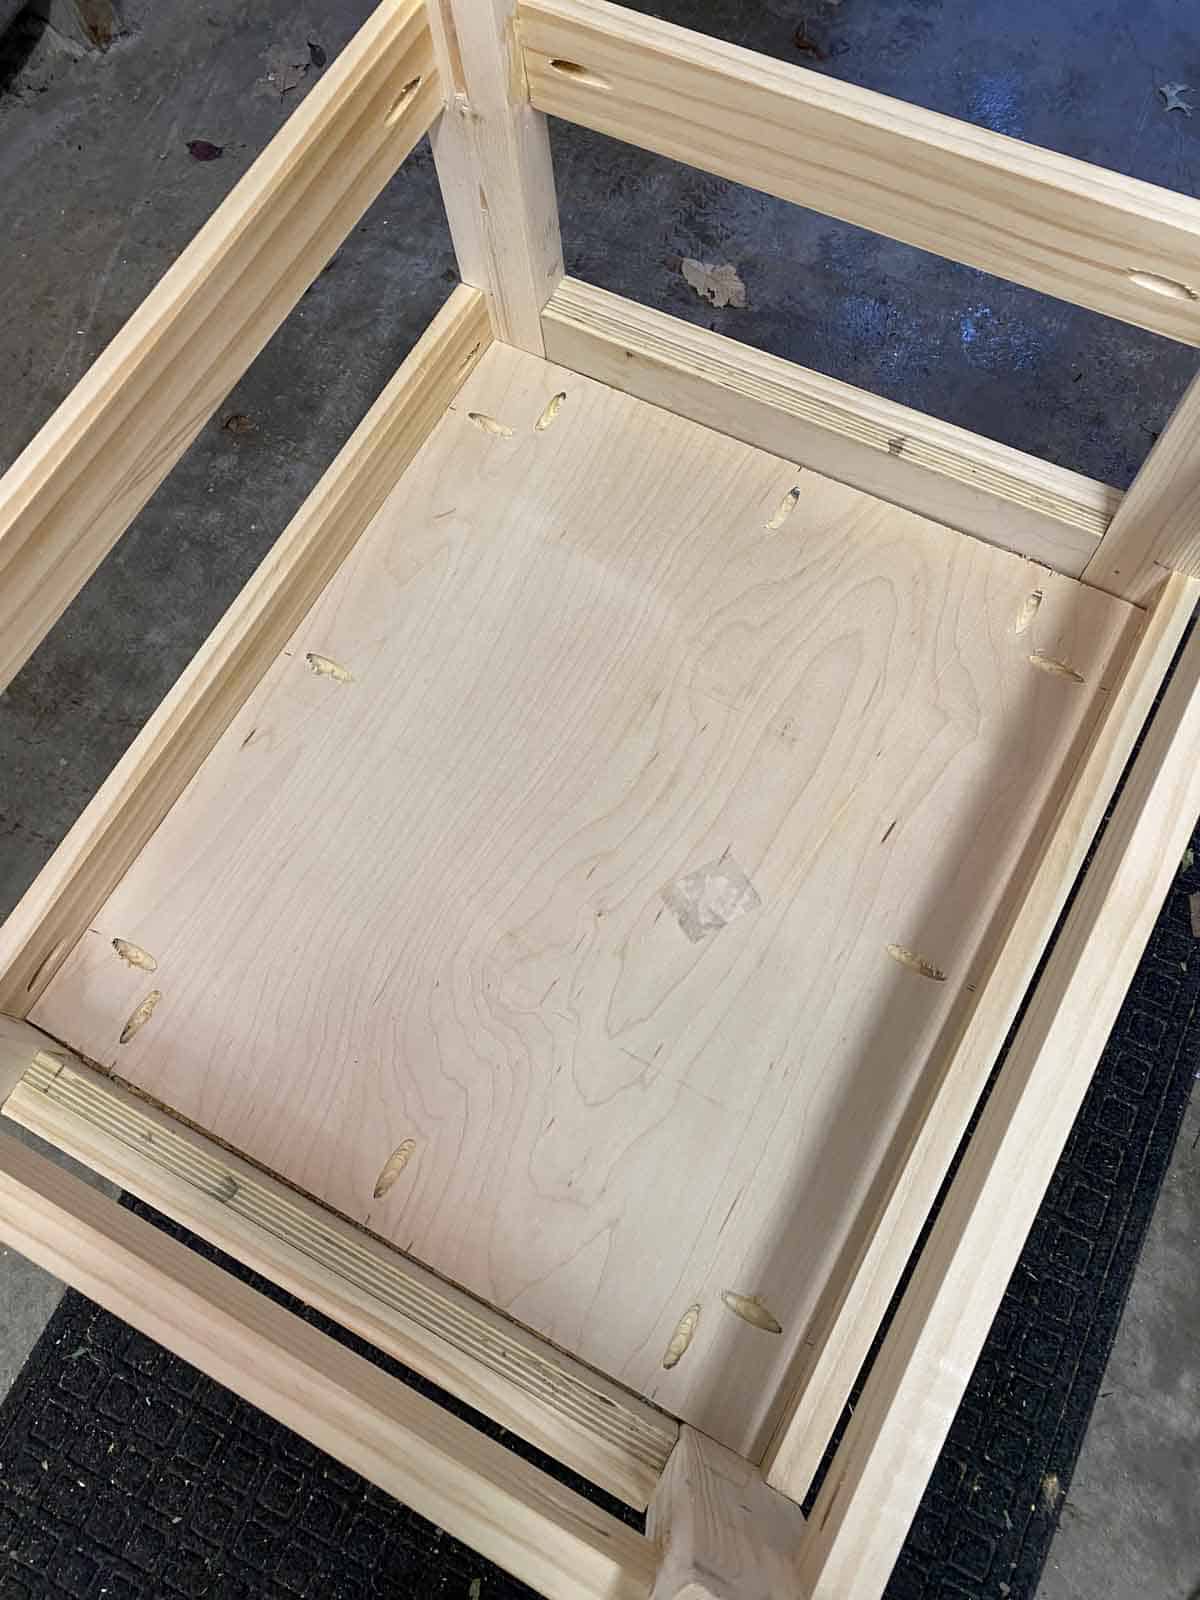
6. Add pocket holes to bottom shelf and attach 10" from the bottom using glue and pocket screws.
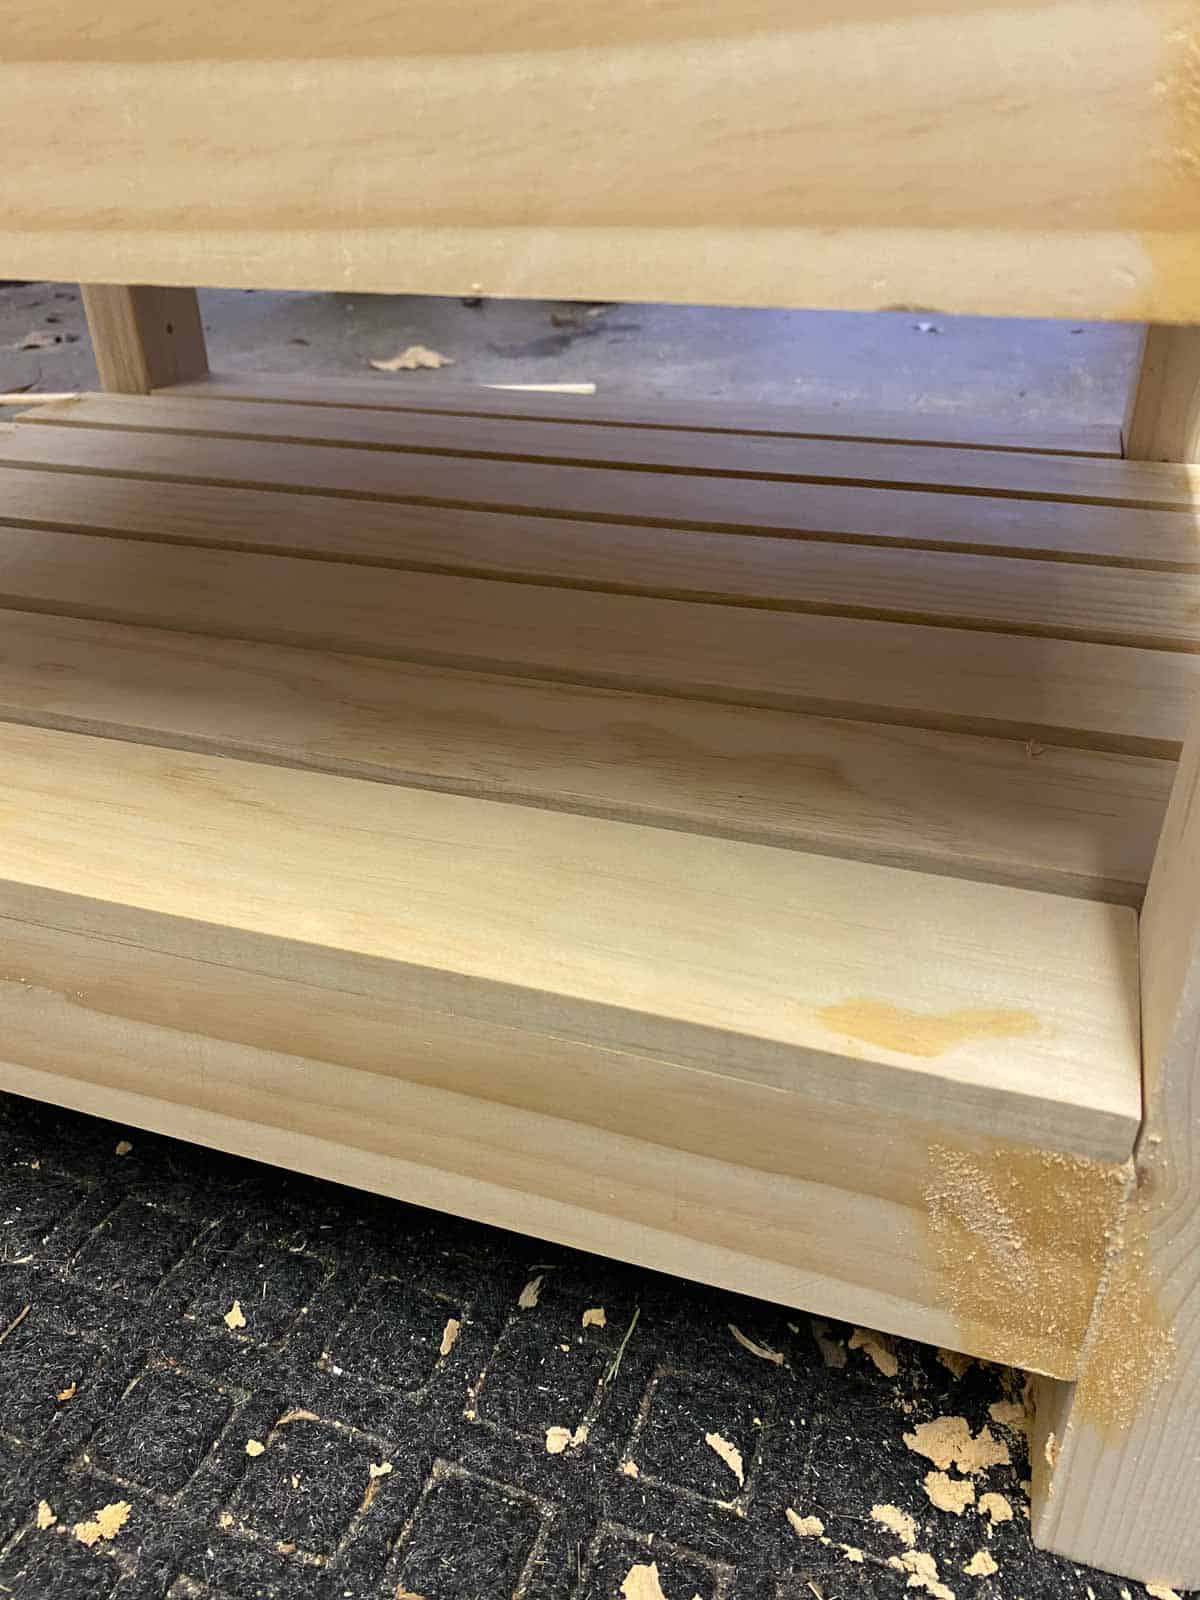
7. Attach the ½" x 3" x 21 ¾" shelving spacers to the front and back of the bottom rails then space out out the ½" x 3" x 24 ¾" shelving spacers in between. Use glue and nail gun to attach.
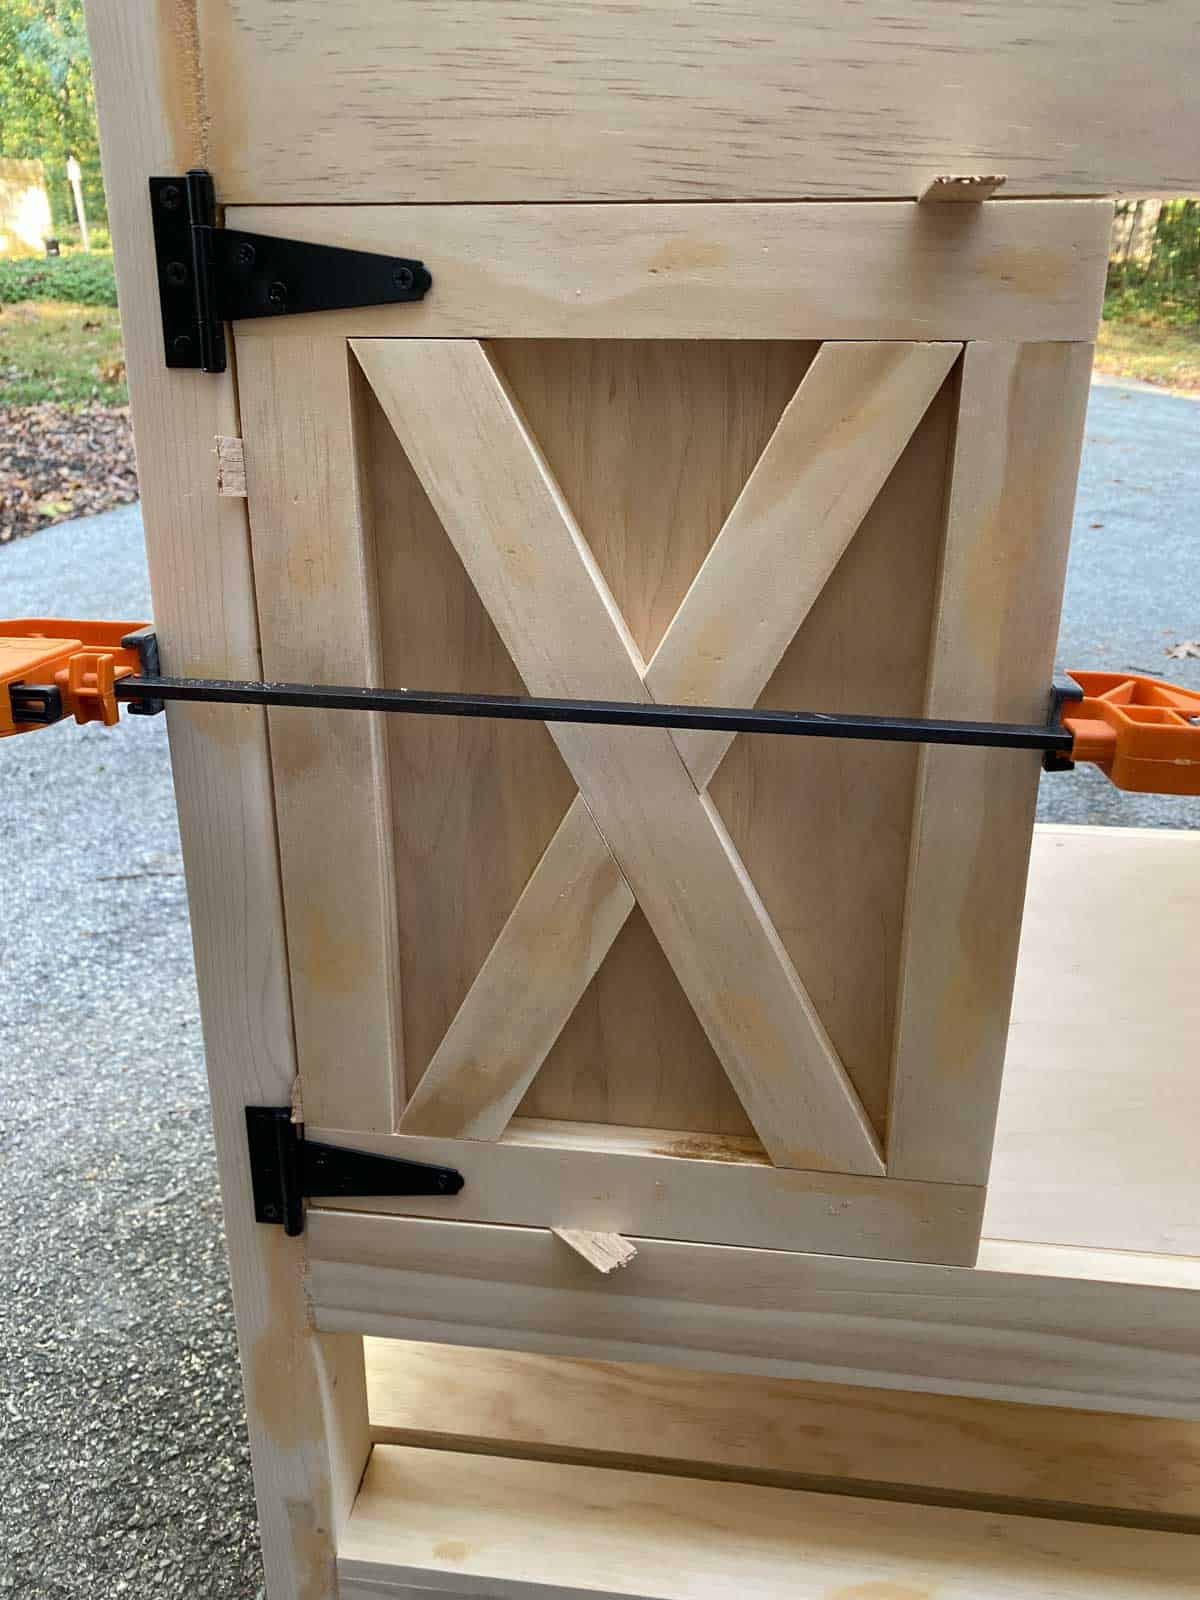
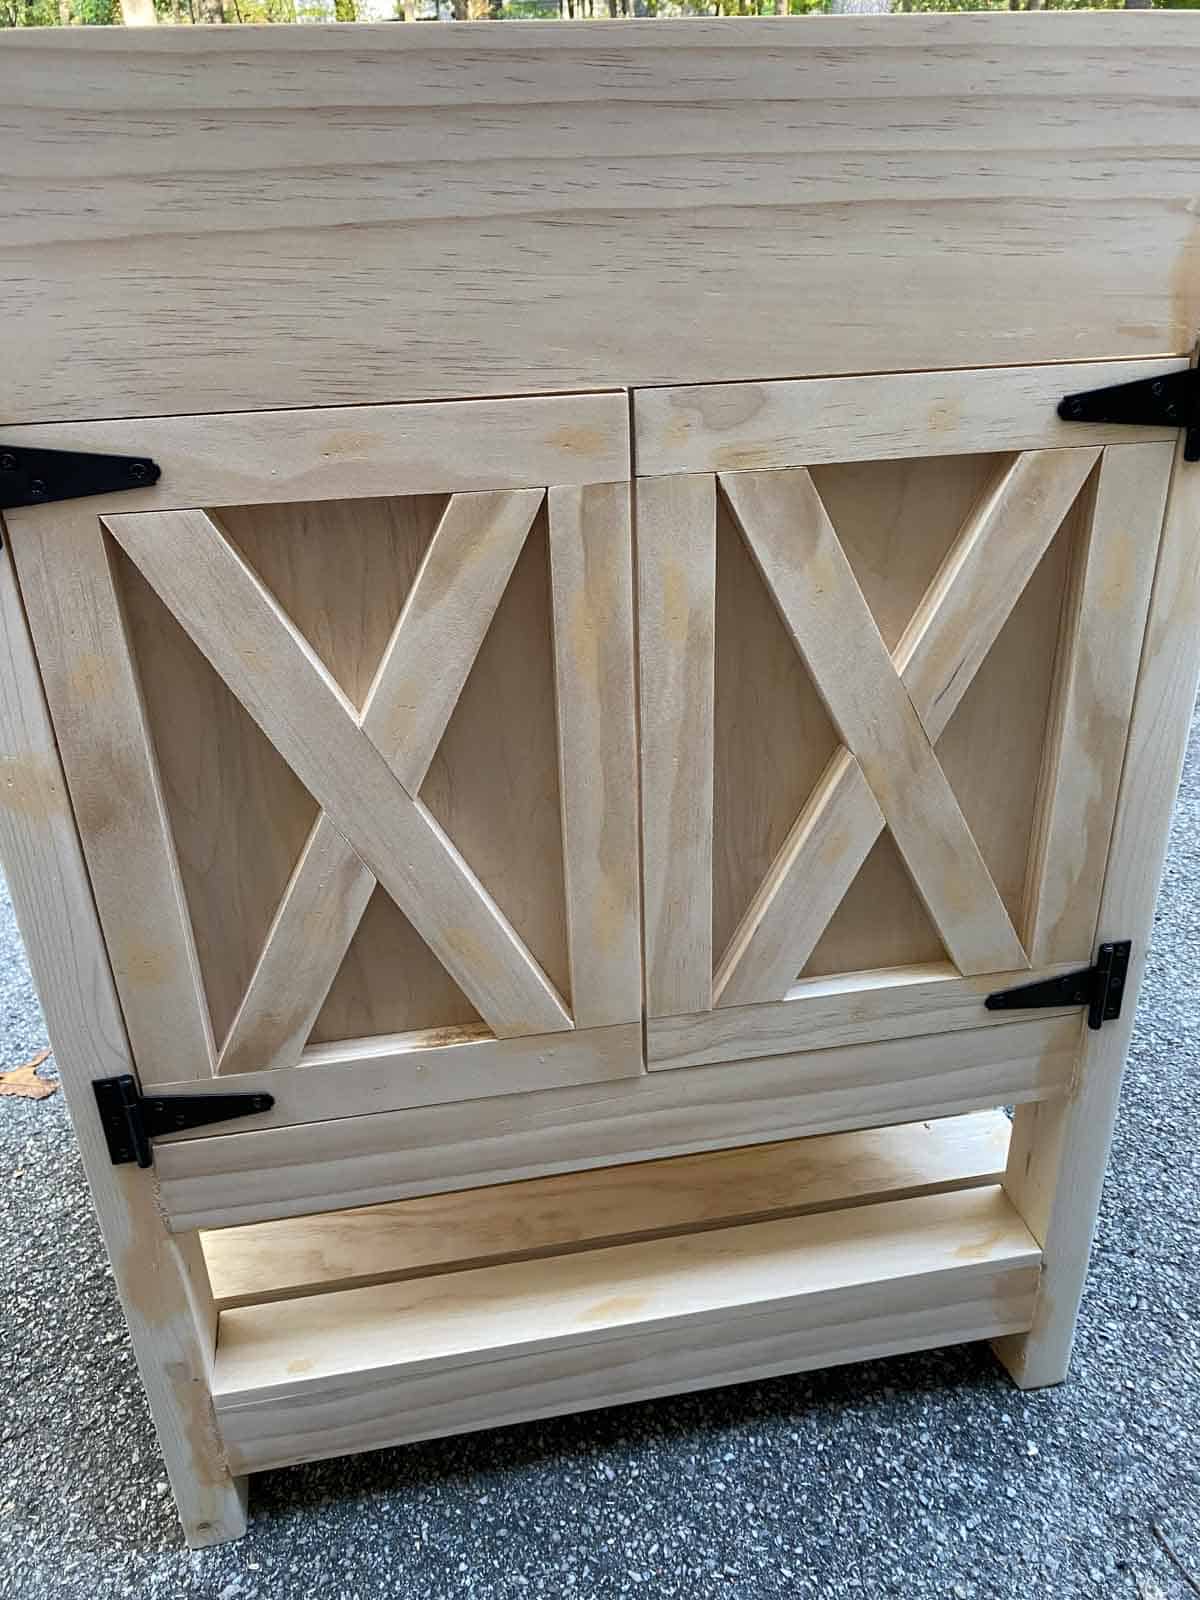
8. Create the X's on both doors using ½" x 3" x 96" wood. Just like the side panels, you need to adjust to fit. Use glue and nails to attach.
9. Use some shims so the door has a 1/16" gap all the way around. Mark where the hinge holes would be and attach.
10. Repeat with the other door and make sure it closes easily and doesn't rub against the other.
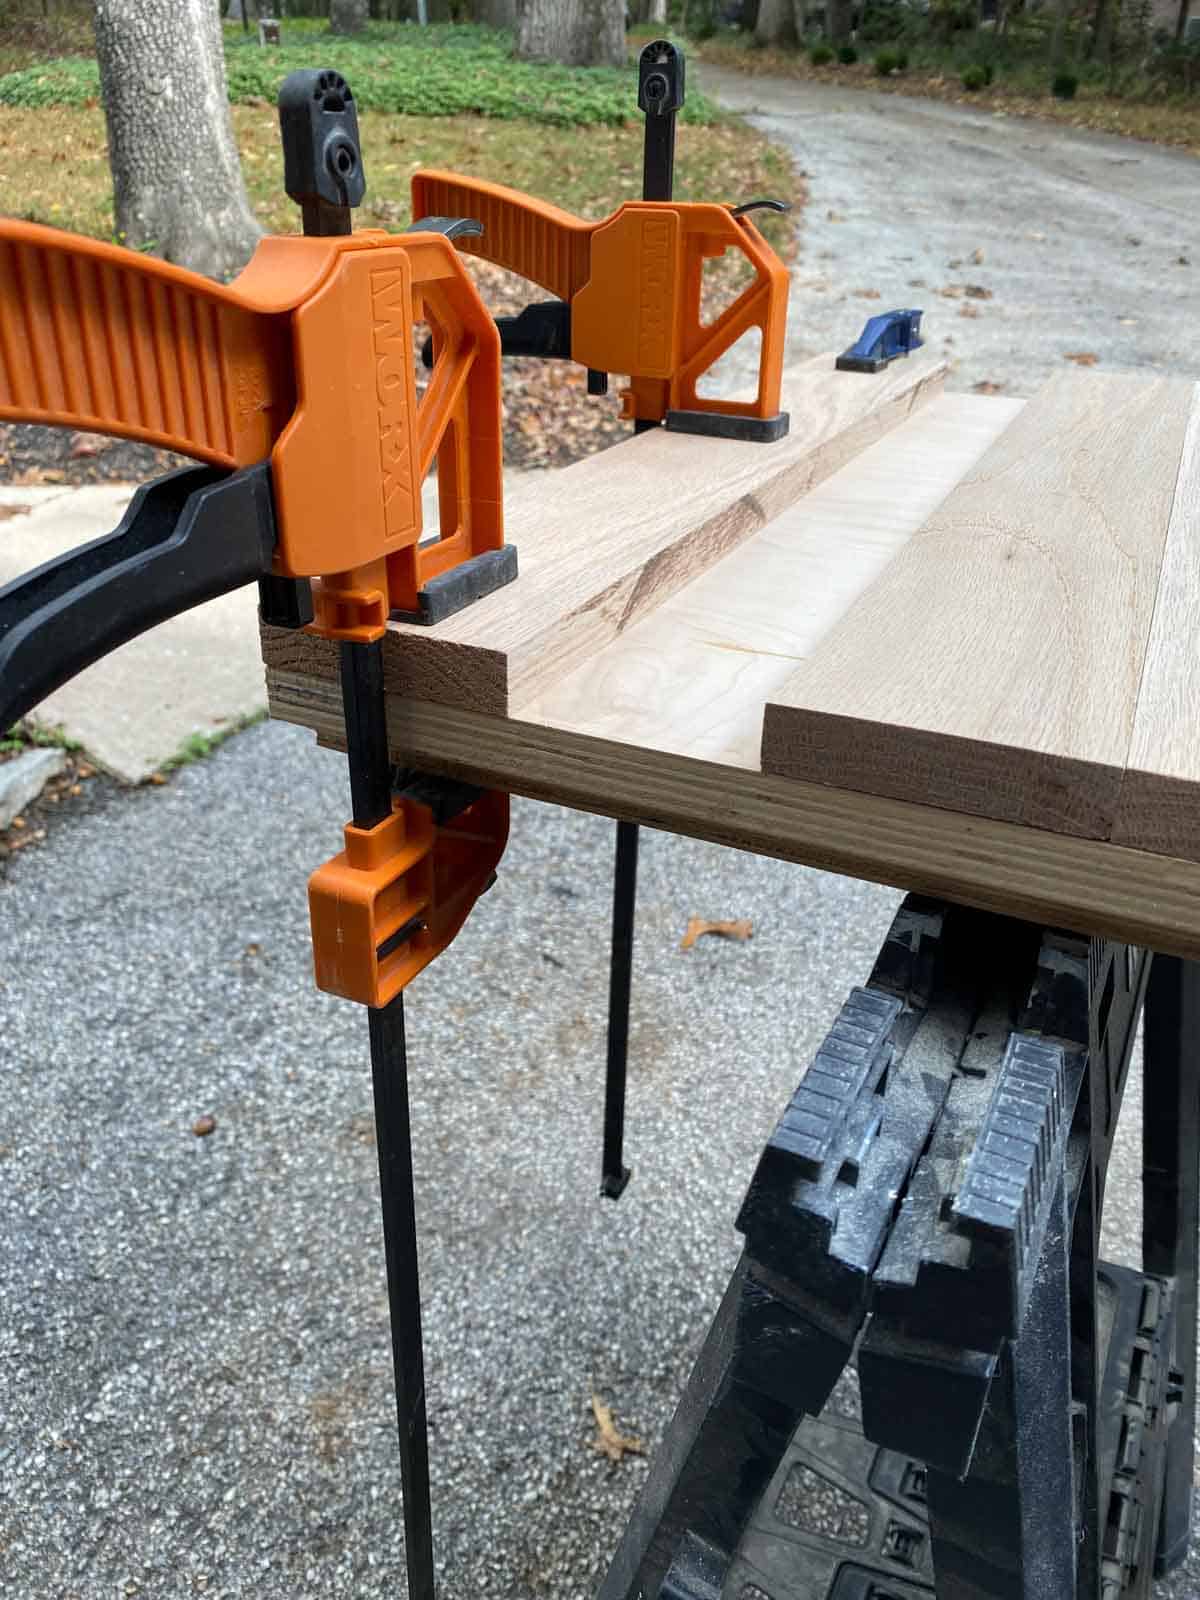
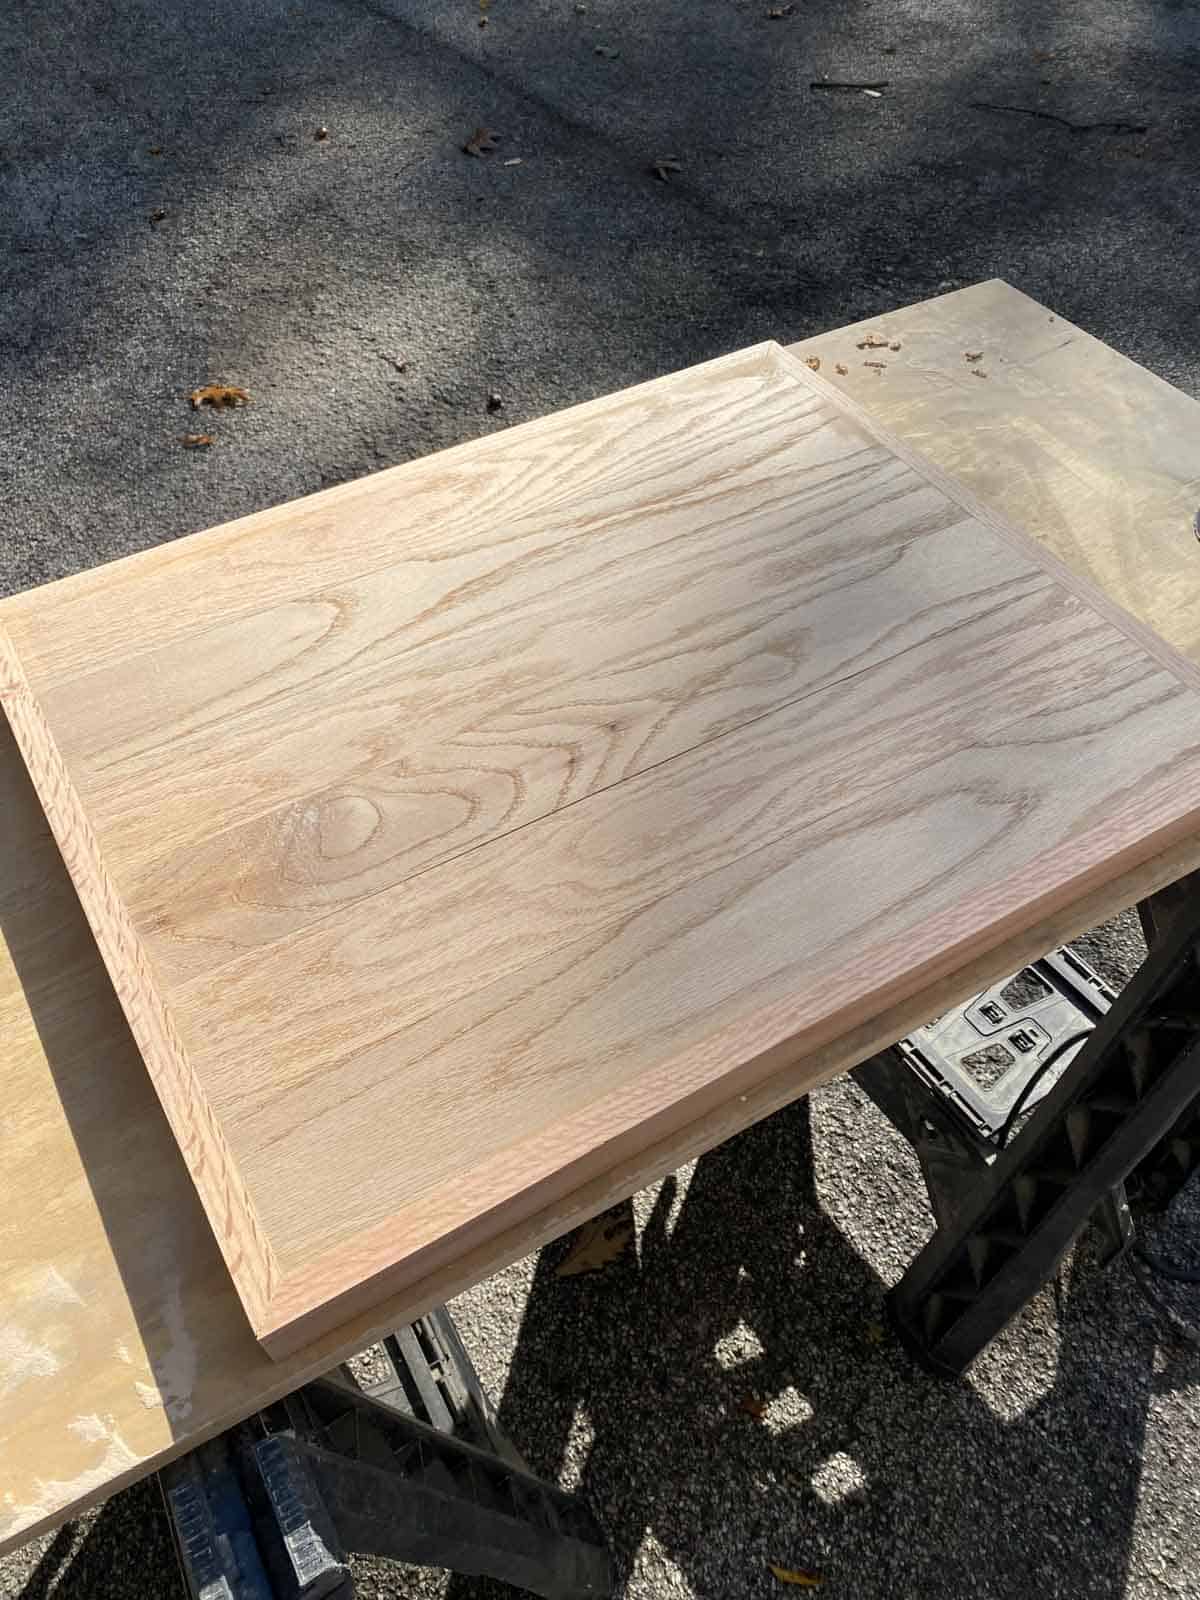
11. Planked the top plywood shelf with the ½″x 4″ oak wood. Use wood glue and nails to hold these in place.
12. Trim the outside of the top with the 1" x 2" x 48" oak wood and use glue and nails to attach.
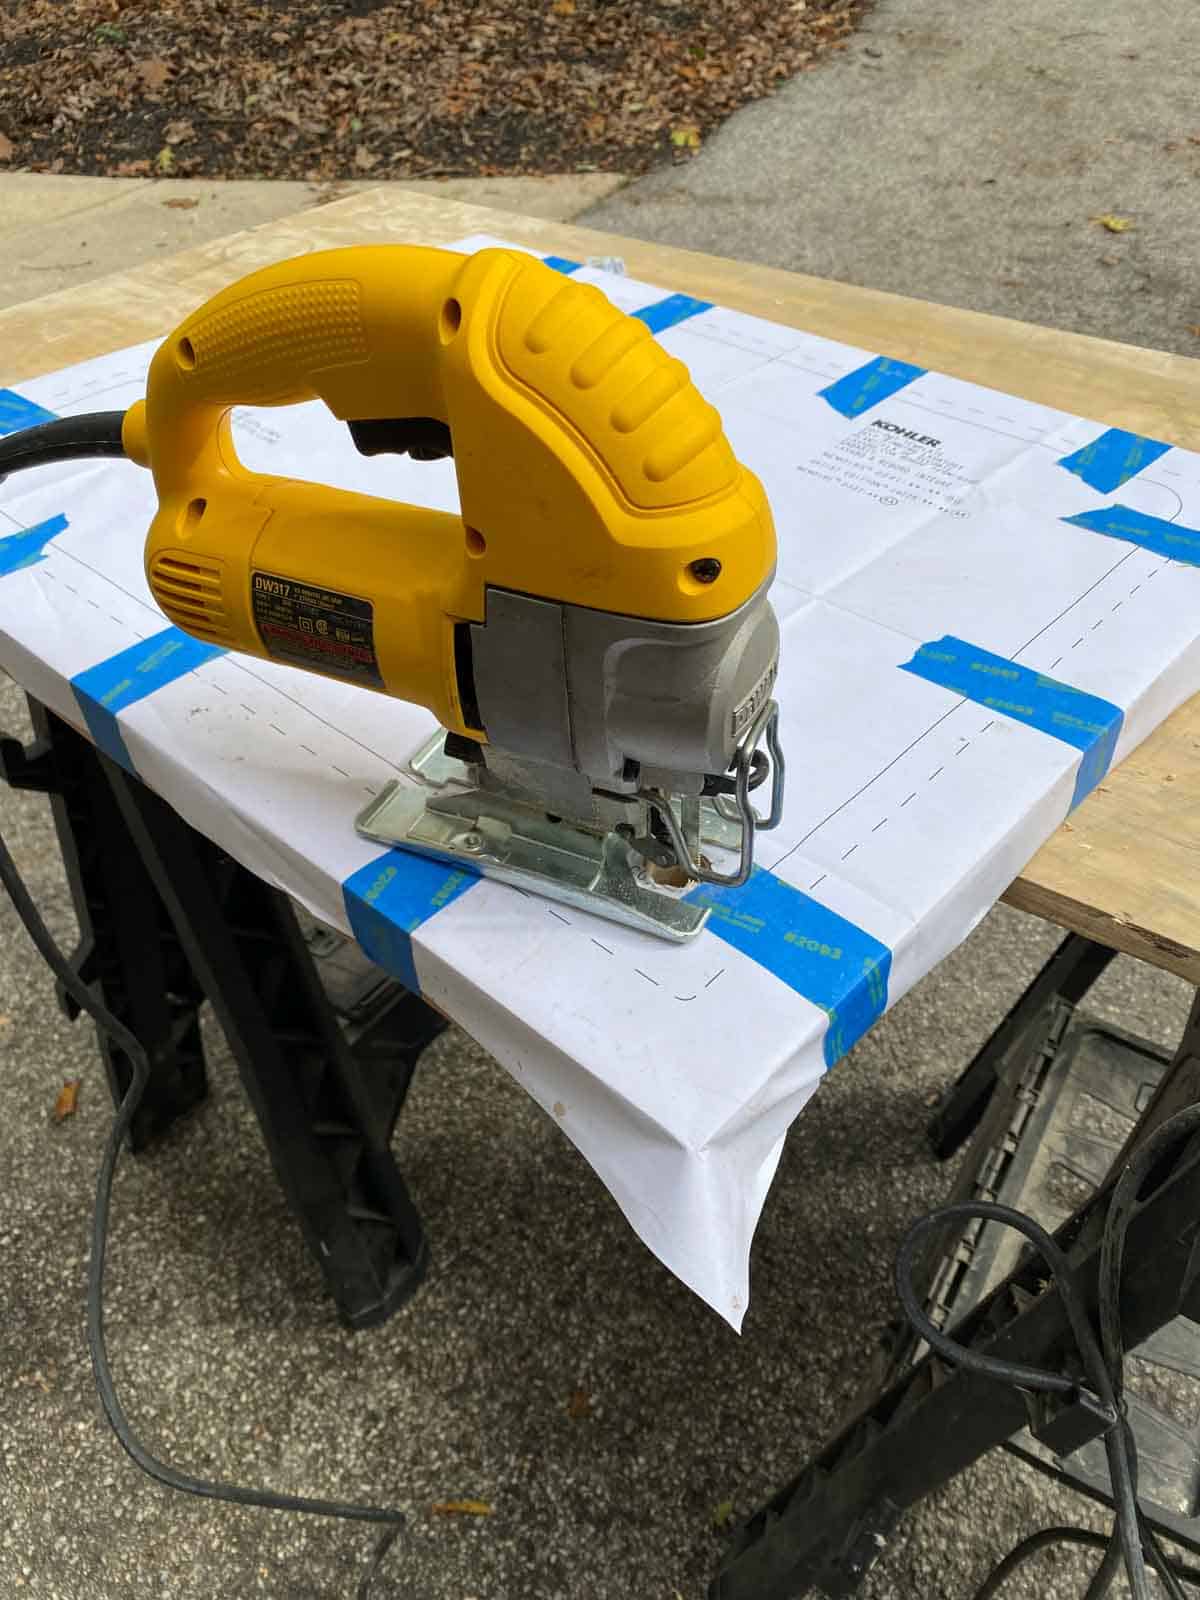
13. Add the template for the sink to the top and cut out with the jigsaw.
14. Add the top with the sink to the vanity, making sure everything fits.
15. Stain the top and paint the vanity to your liking. Add the hardware.
16. Make sure the plumbing is set up correctly and start using the farmhouse vanity.


Leave a Reply