This DIY blanket ladder has step-by-step instructions showing you just how easy it is and allows you to save some money by spending no more than $10.
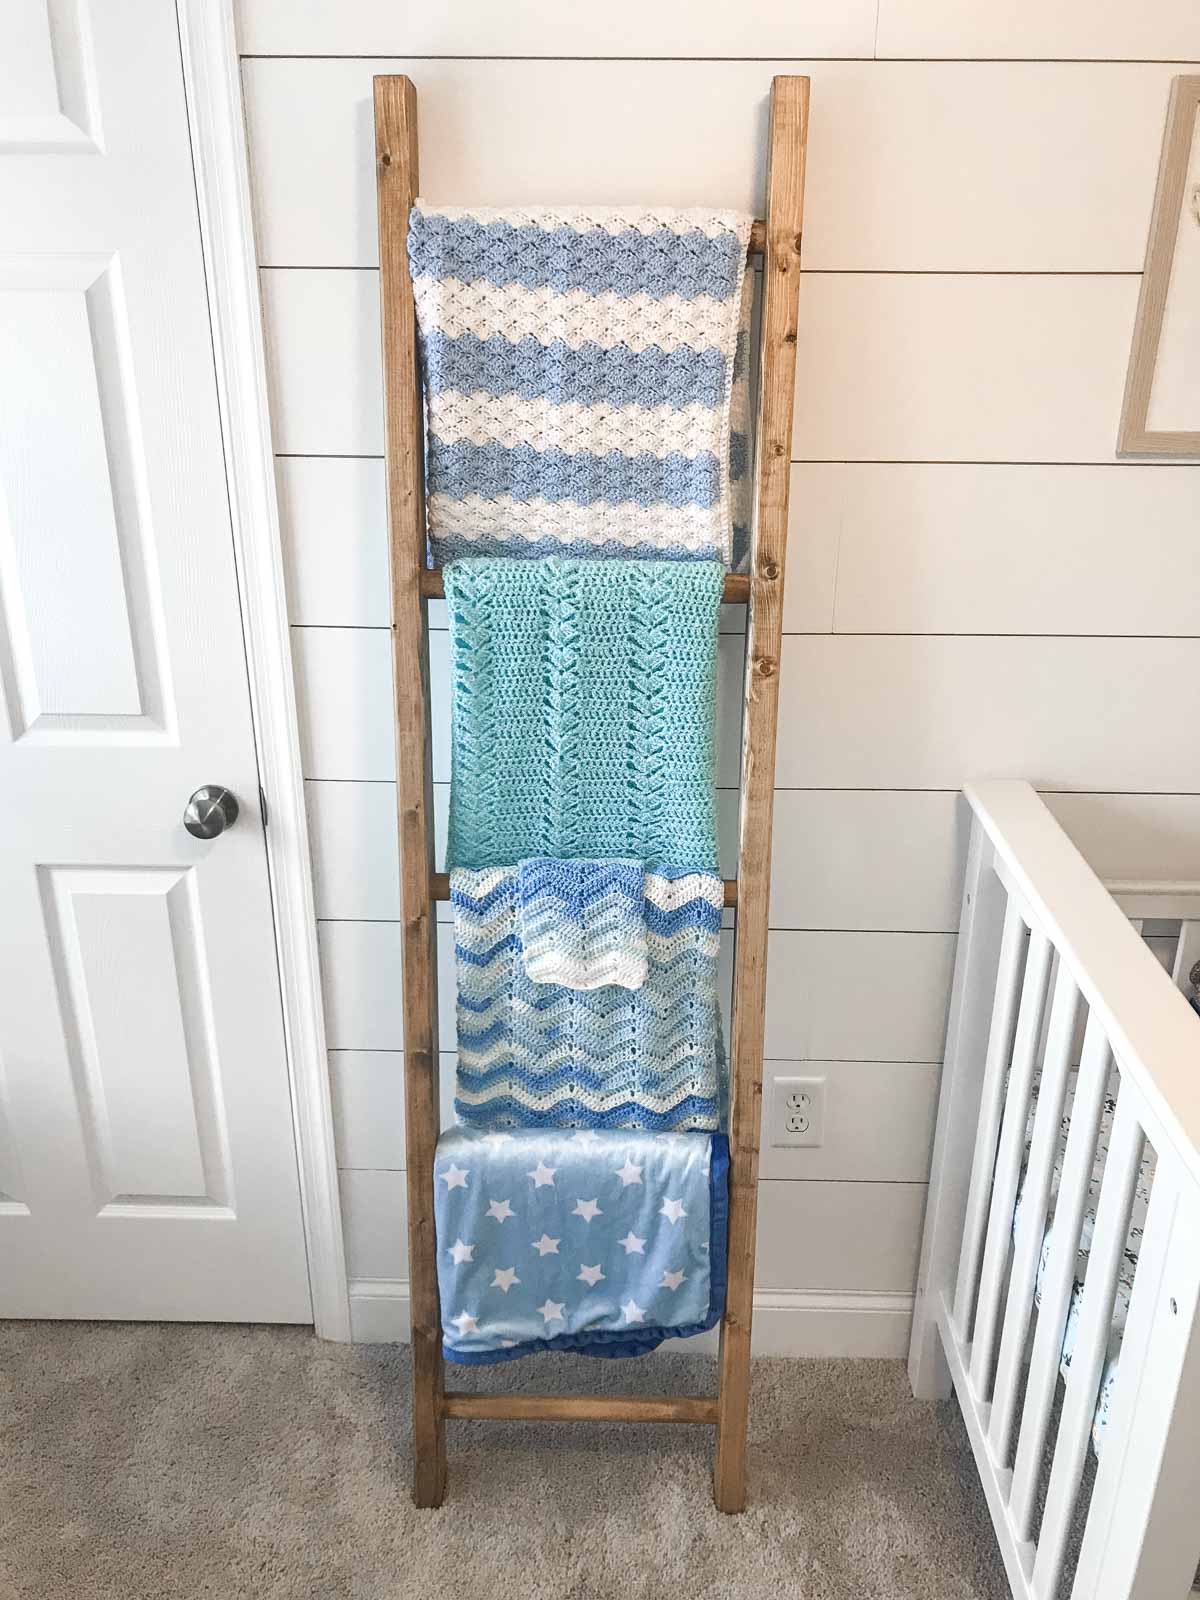
If you are looking for a blanket ladder, there are plenty of options out there, but you'll be spending at least $50 for something where the quality is probably just ok.
I have nothing against buying something, but where is the fun in that. You would actually be surprised how easy this DIY blanket ladder is to make. I might have spent an hour total on it, plus as I mentioned before, about $10.
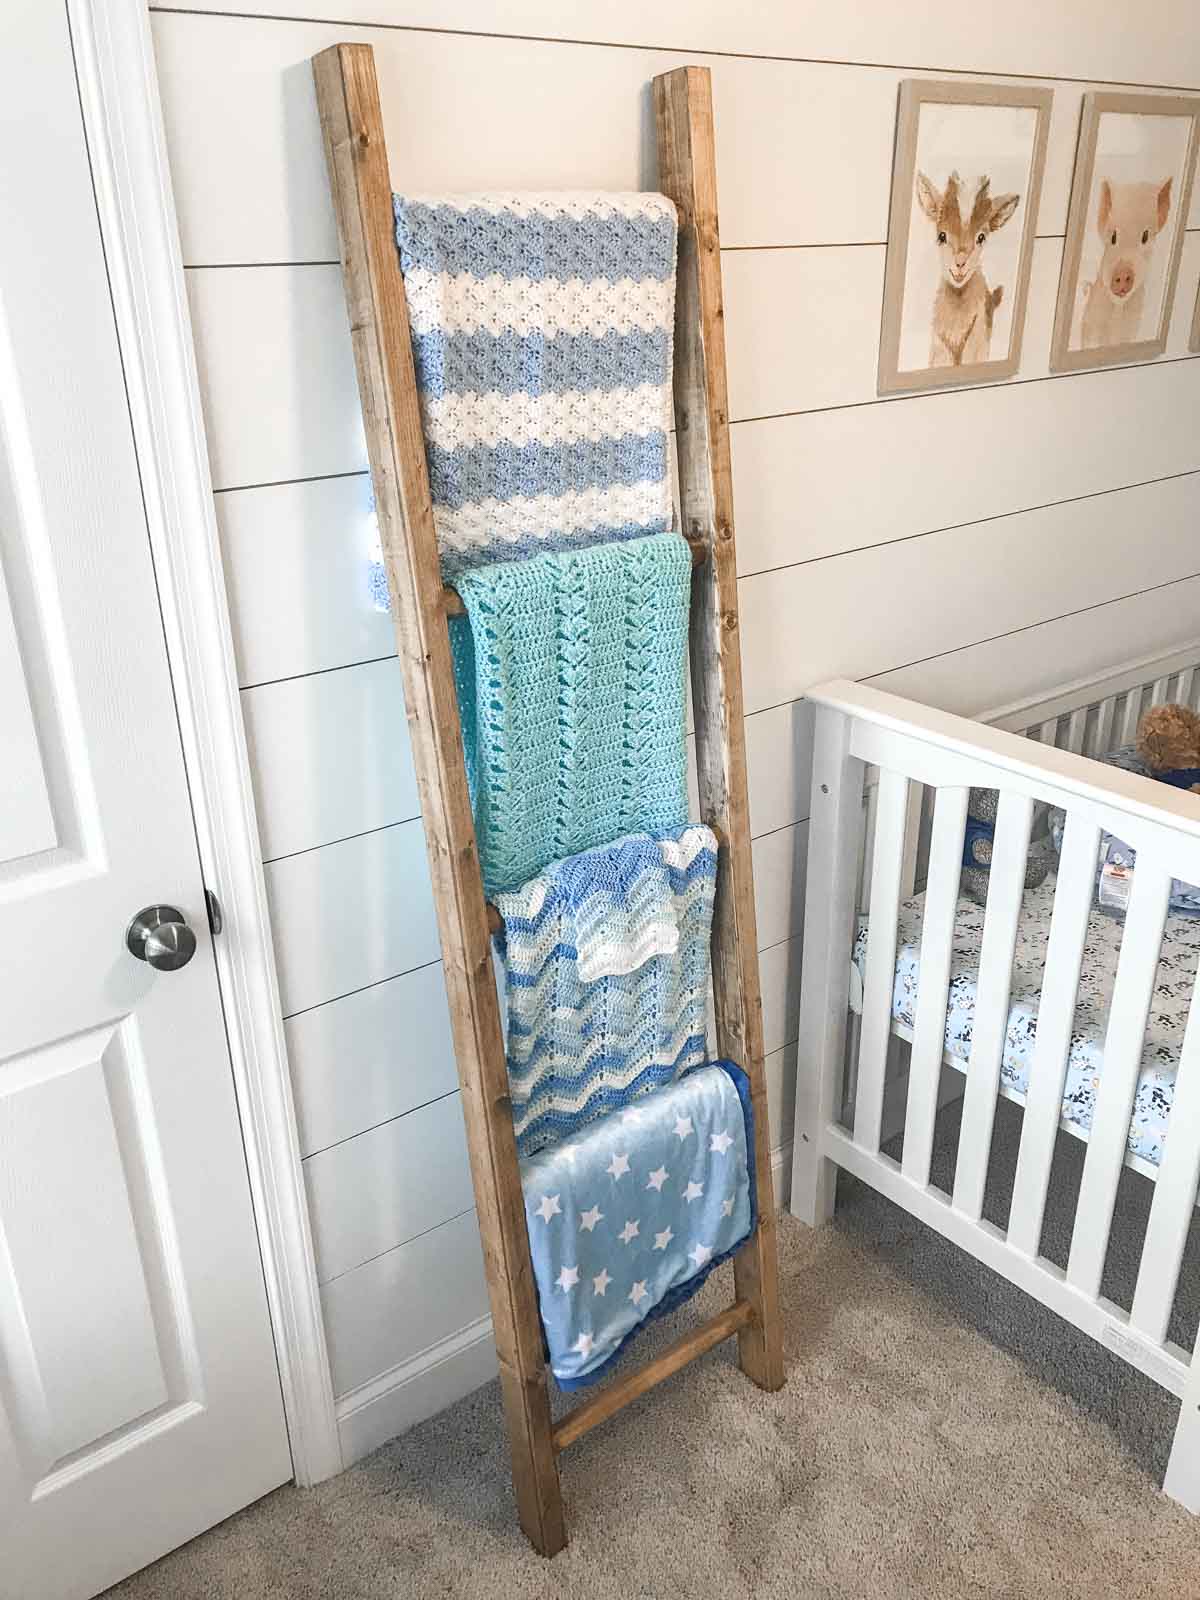
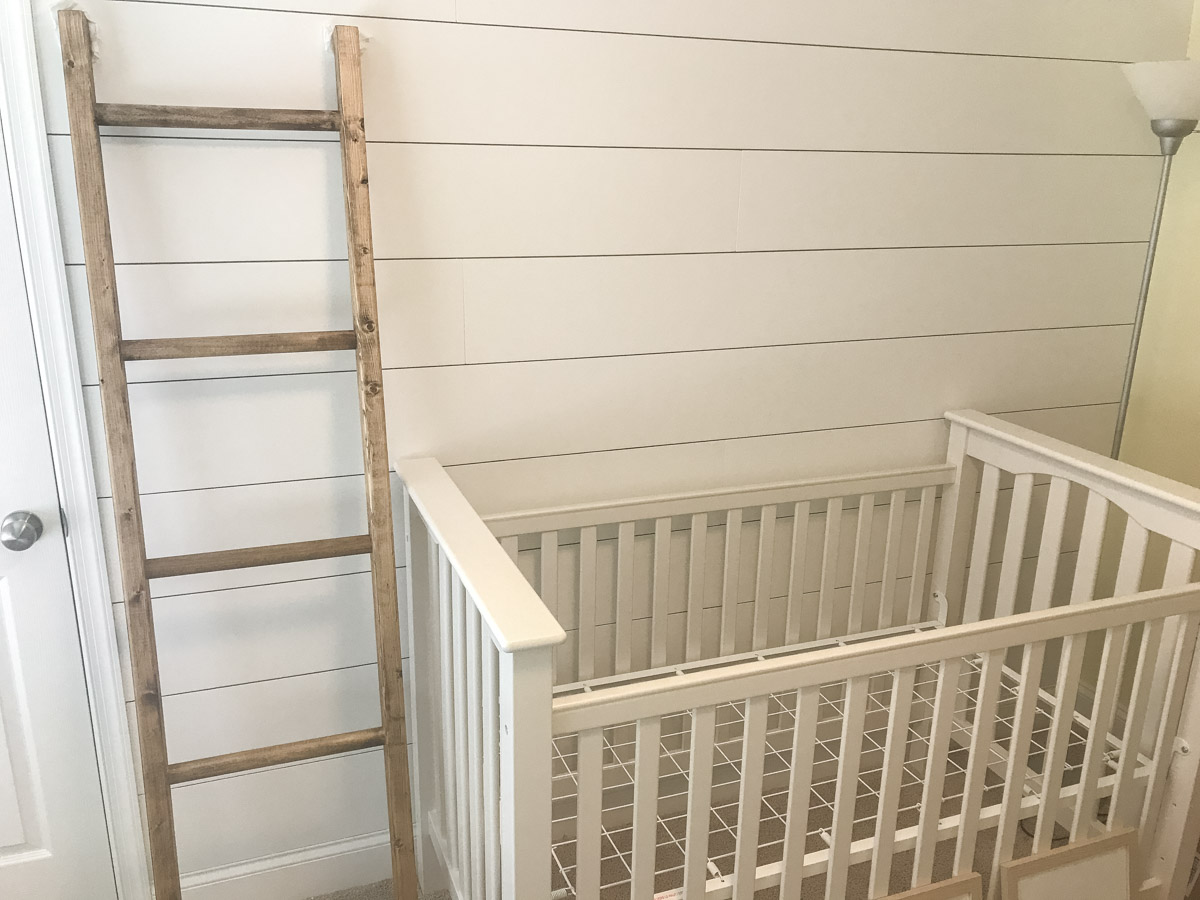
Last month when sharing how to make DIY shiplap, I mentioned how my wife and I wanted to have a farmhouse-themed nursery. When putting the crib against the wall, we realized there was some open space.
We also realized we had a ton of blankets. The DIY blanket ladder not only rounds out the space, but gives you a fun way to display all of those blankets.
What Type of Wood Do You Use?
To keep it cheap, there is nothing better than pine wood. If you are staining it, pine wood gives you a cool grain look as well.
How to Keep Ladder from Sliding
There are a few different ways to do this, but one is to cut the bottom at a slight angle which helps it settle on the floor. Another is using some small rubber pads on the bottom.
How to Secure Ladder to Wall
If you are in an area with high traffic or have a little one, you need to keep the DIY blanket ladder secured to the wall. The easiest way to do this is use some furniture wall straps which will secure it.
Pro Tips/Notes
- Pine wood is the cheapest and easiest to work with but if you want a sturdier ladder, go with oak.
- For staining, I prefer Danish oil as it stains and protects the wood.
- You can customize the height and width to your room. Just keep in mind you might need more or less wood.
- If you don't want to use dowels for steps, you can use 2x2s and glue and screw in.
Other DIY Projects
- Lift Top Coffee Table
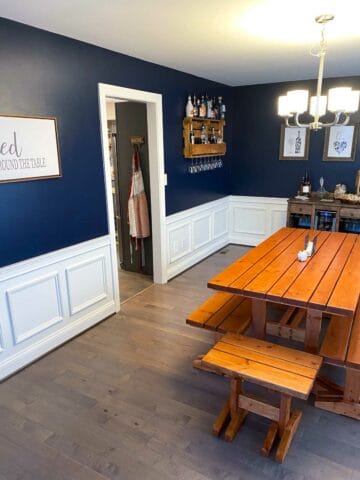
- Dining Room Wainscoting
- Wine Cooler Cabinet
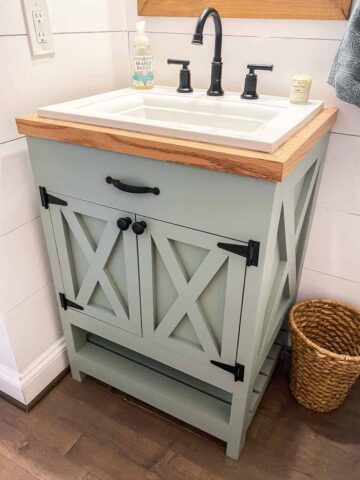
- Farmhouse Vanity
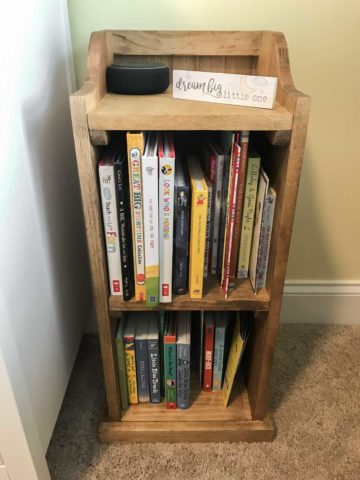
- 6 Cube Bookshelf
- Farmhouse Desk
If you’ve made this DIY blanket ladder or any other project on Chisel & Fork, please let me know how it turned out in the comments below! You can also follow me on Facebook, Instagram, Pinterest and YouTube to see more projects, meals and anything else I'm up to.
DIY Blanket Ladder
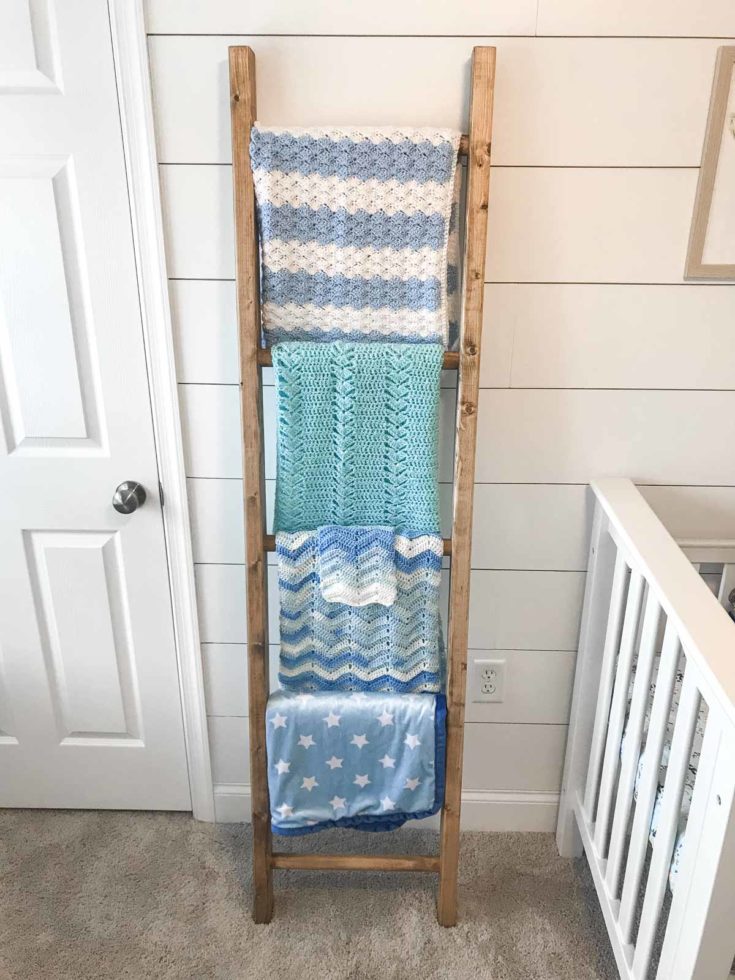
This DIY ladder has step-by-step instructions showing you just how easy it is and allows you to save some money by spending no more than $10.
Materials
- (2) 2" x 3" x 8′ pine wood
- (3) 1 ½" dowels @ 48"
- Wood glue
- Stain or paint
Tools
- Miter saw
- Drill press or power drill
- 1 ½ inch forstner bit
- Hand sander and sandpaper
- Clamps
Instructions
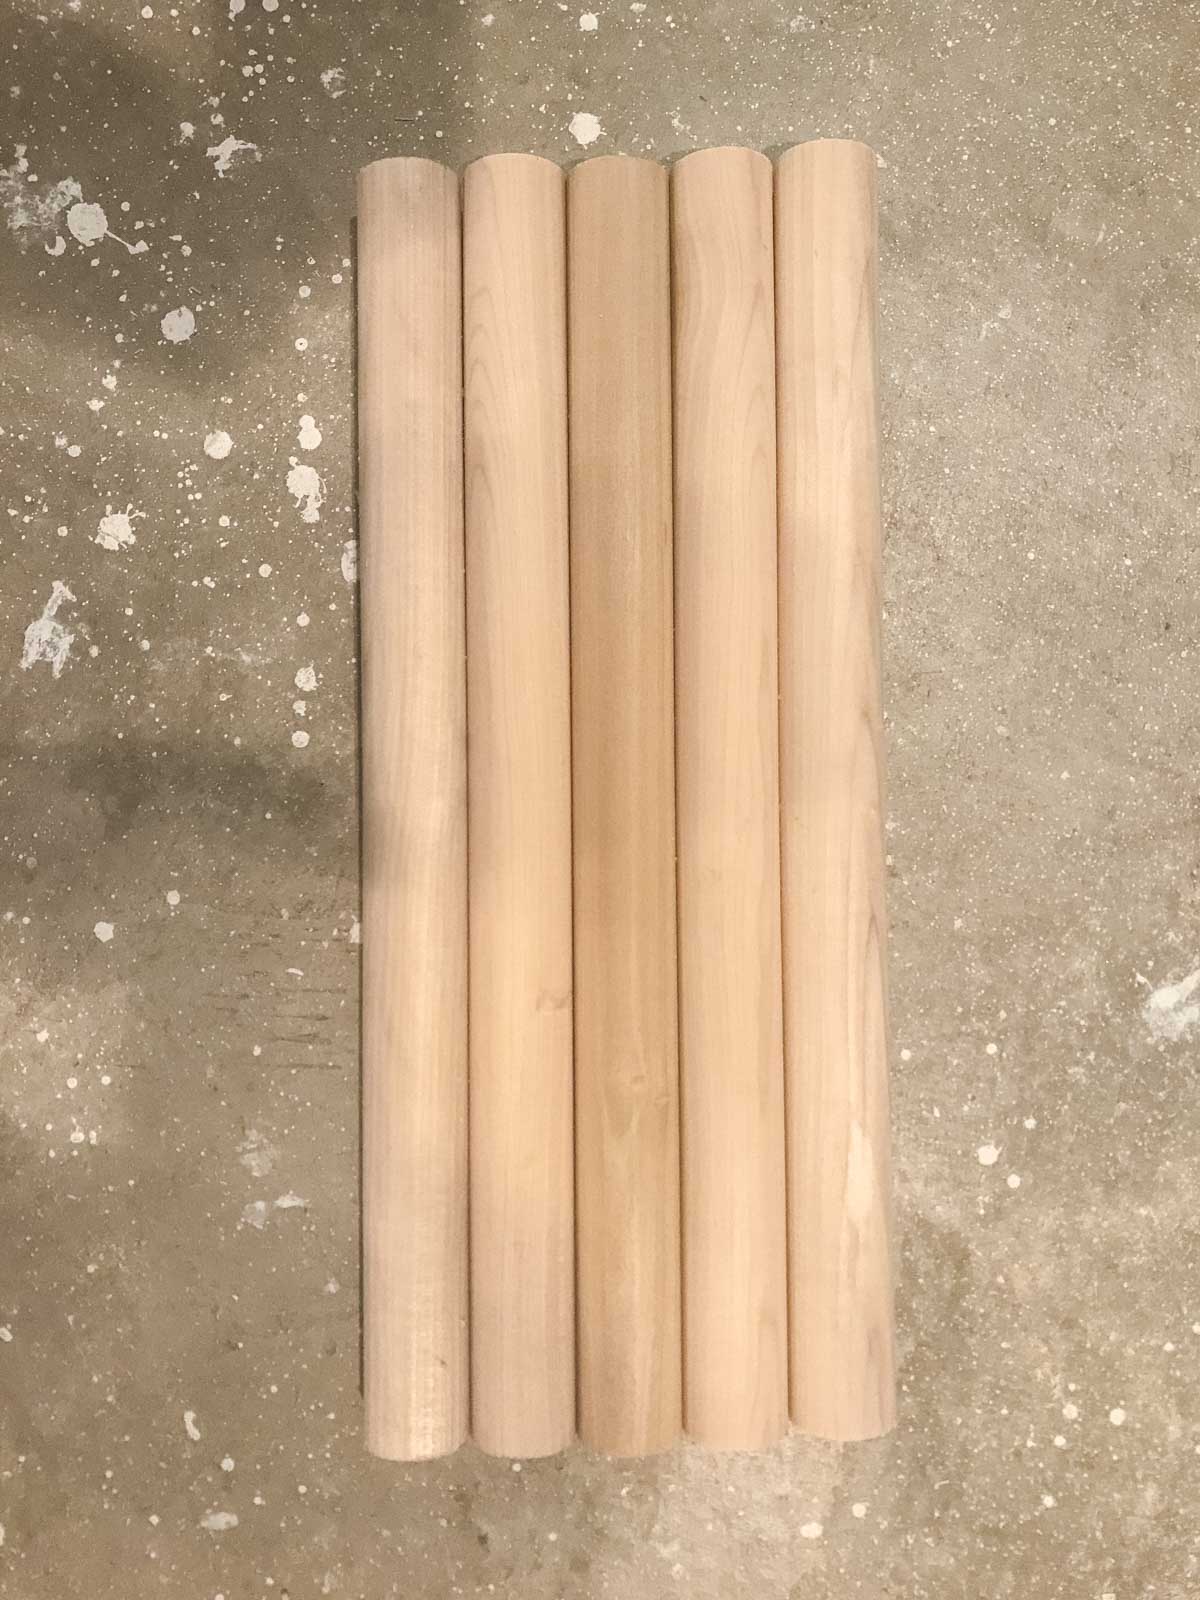
- Cut (2) – 2″ x 3″ @ 72″, (5) – 1 ½" dowels @ 16 ½″. Sand the pieces of wood until smooth.
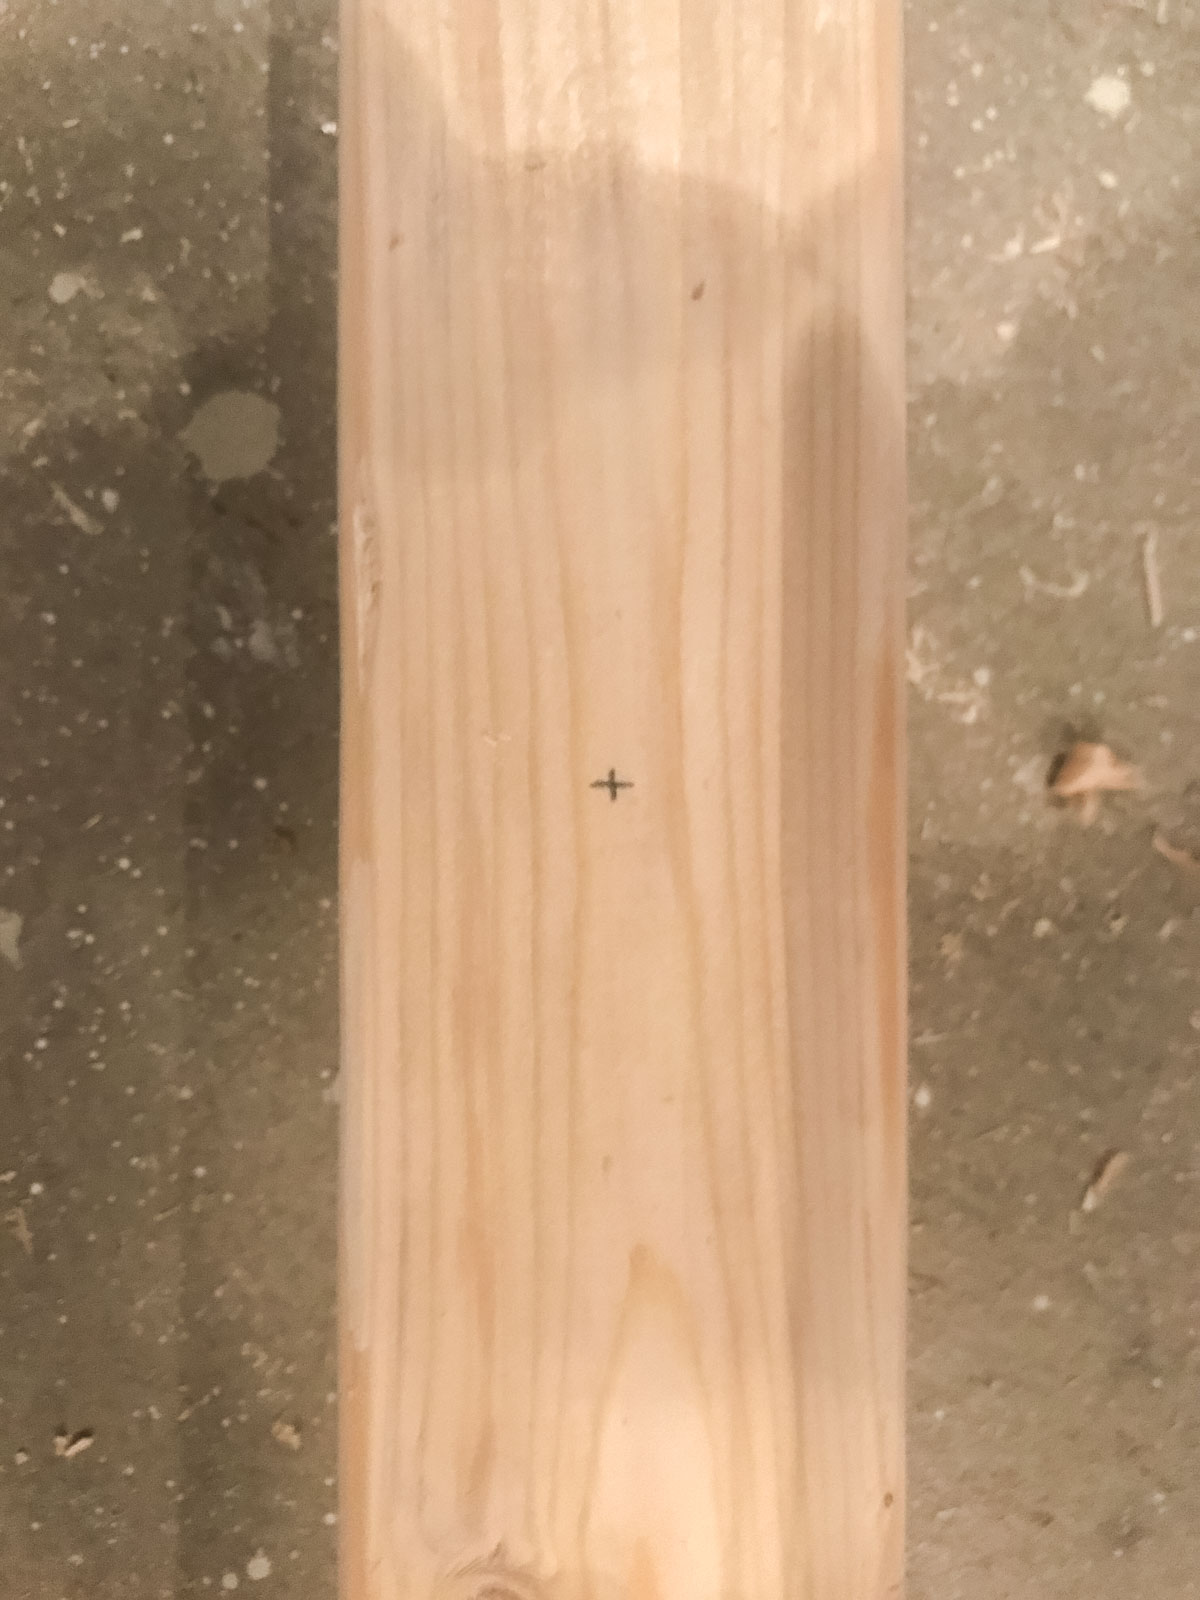
- On each 2" x 3" mark a spot in the center of the wood 6" from the top. From the 6" mark, then measure 15" and mark it. Repeat 3 more times where it is 15" from each other. This will give you 5 steps all evenly spaced apart.
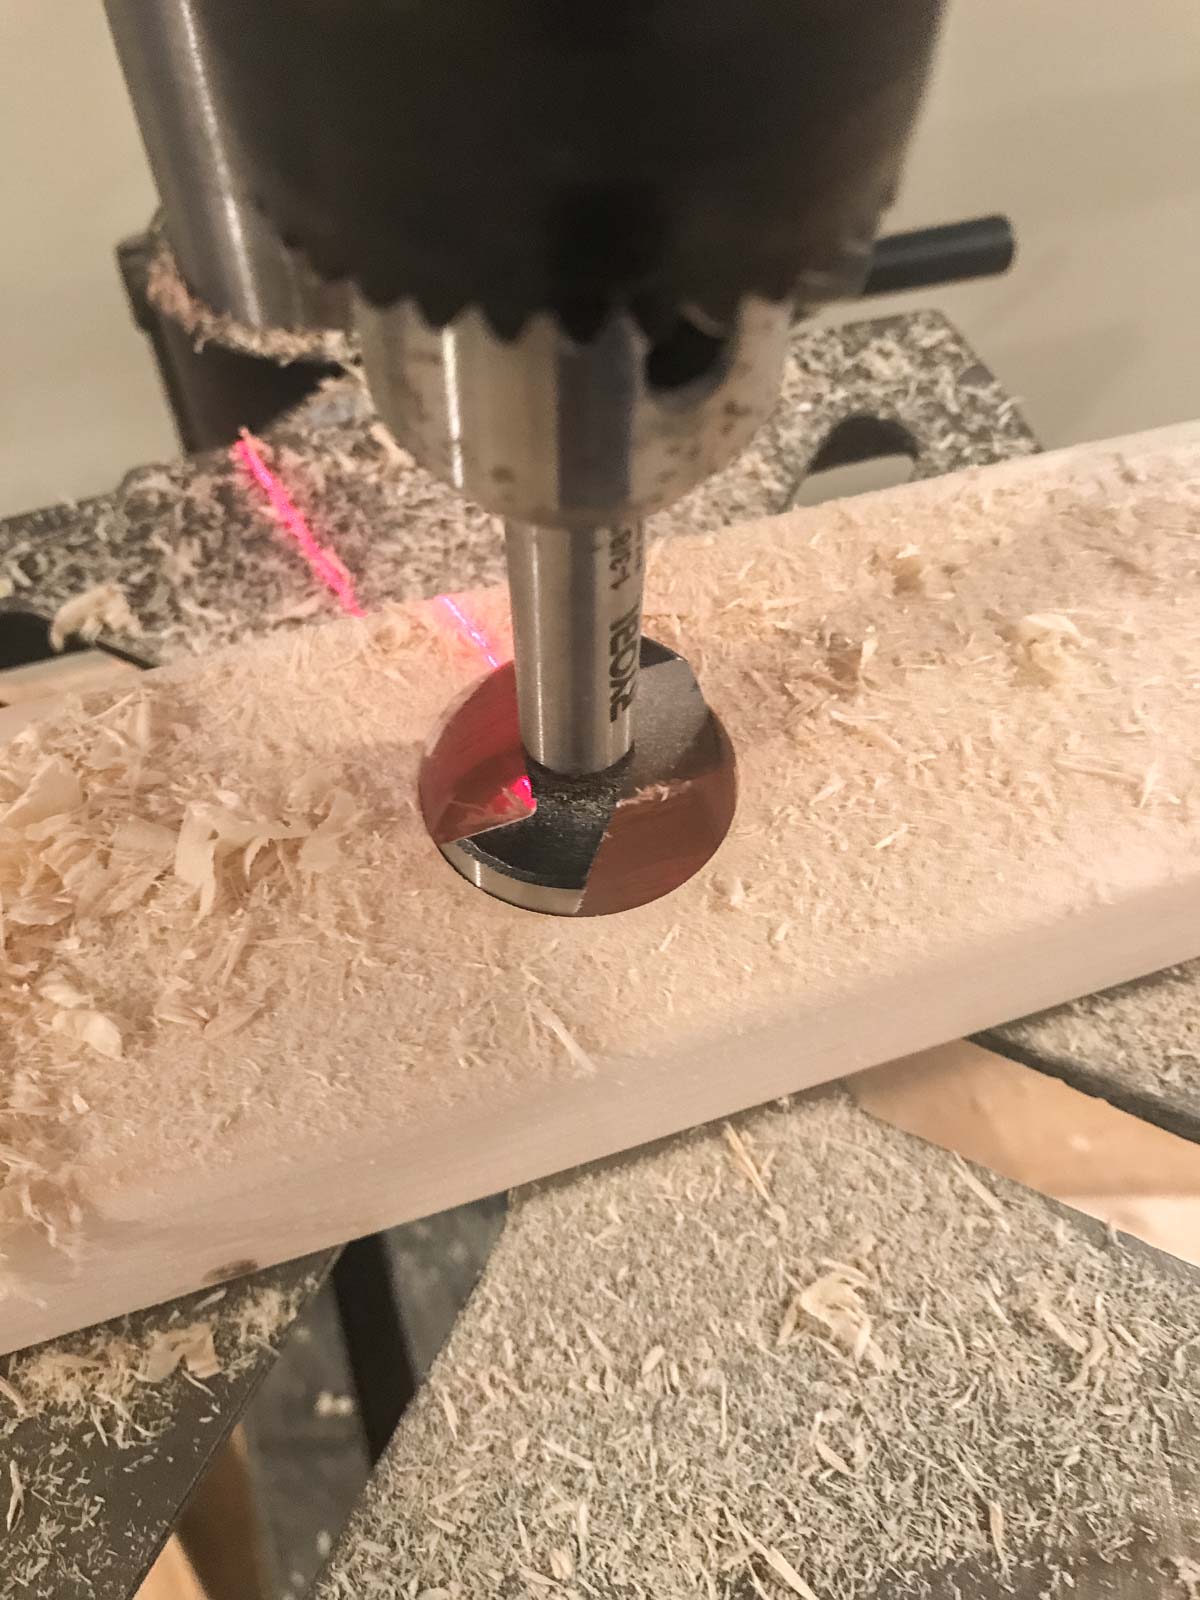
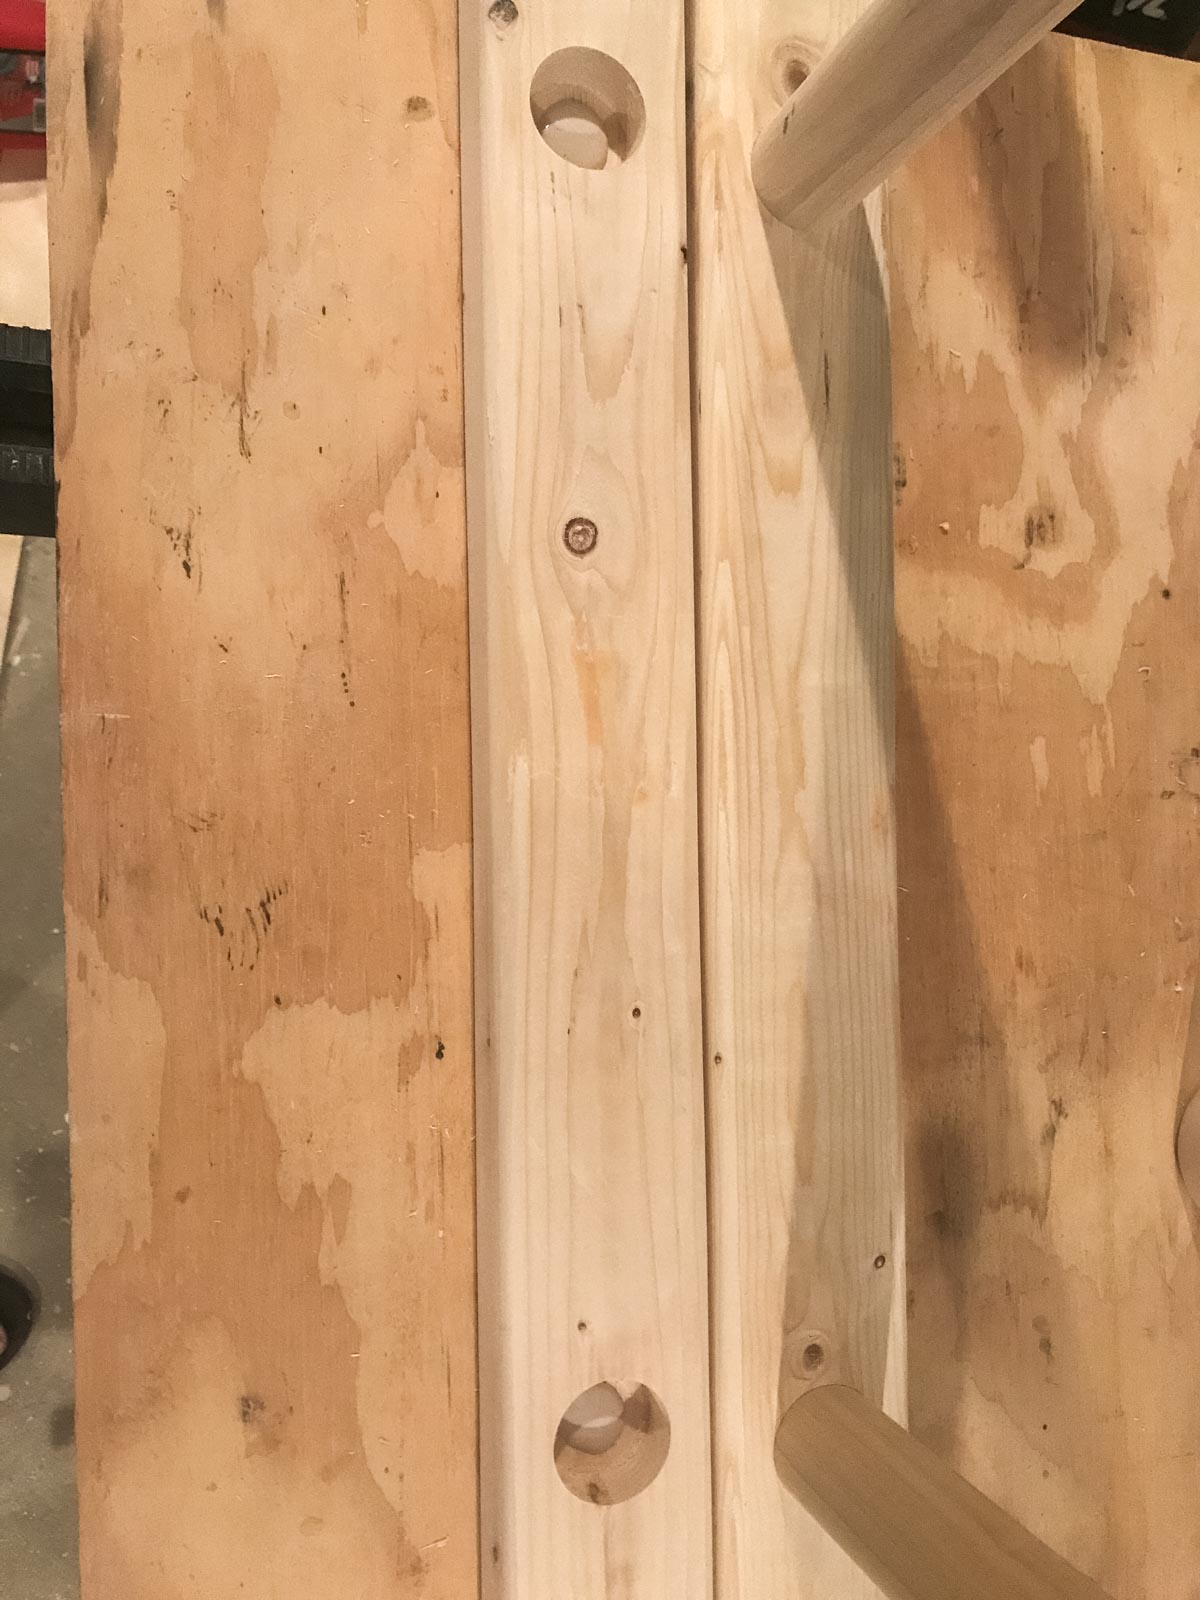
- Use the 1 ½ forstner bit with either a drill press or power drill and drill ¾" down on all 10 marks.
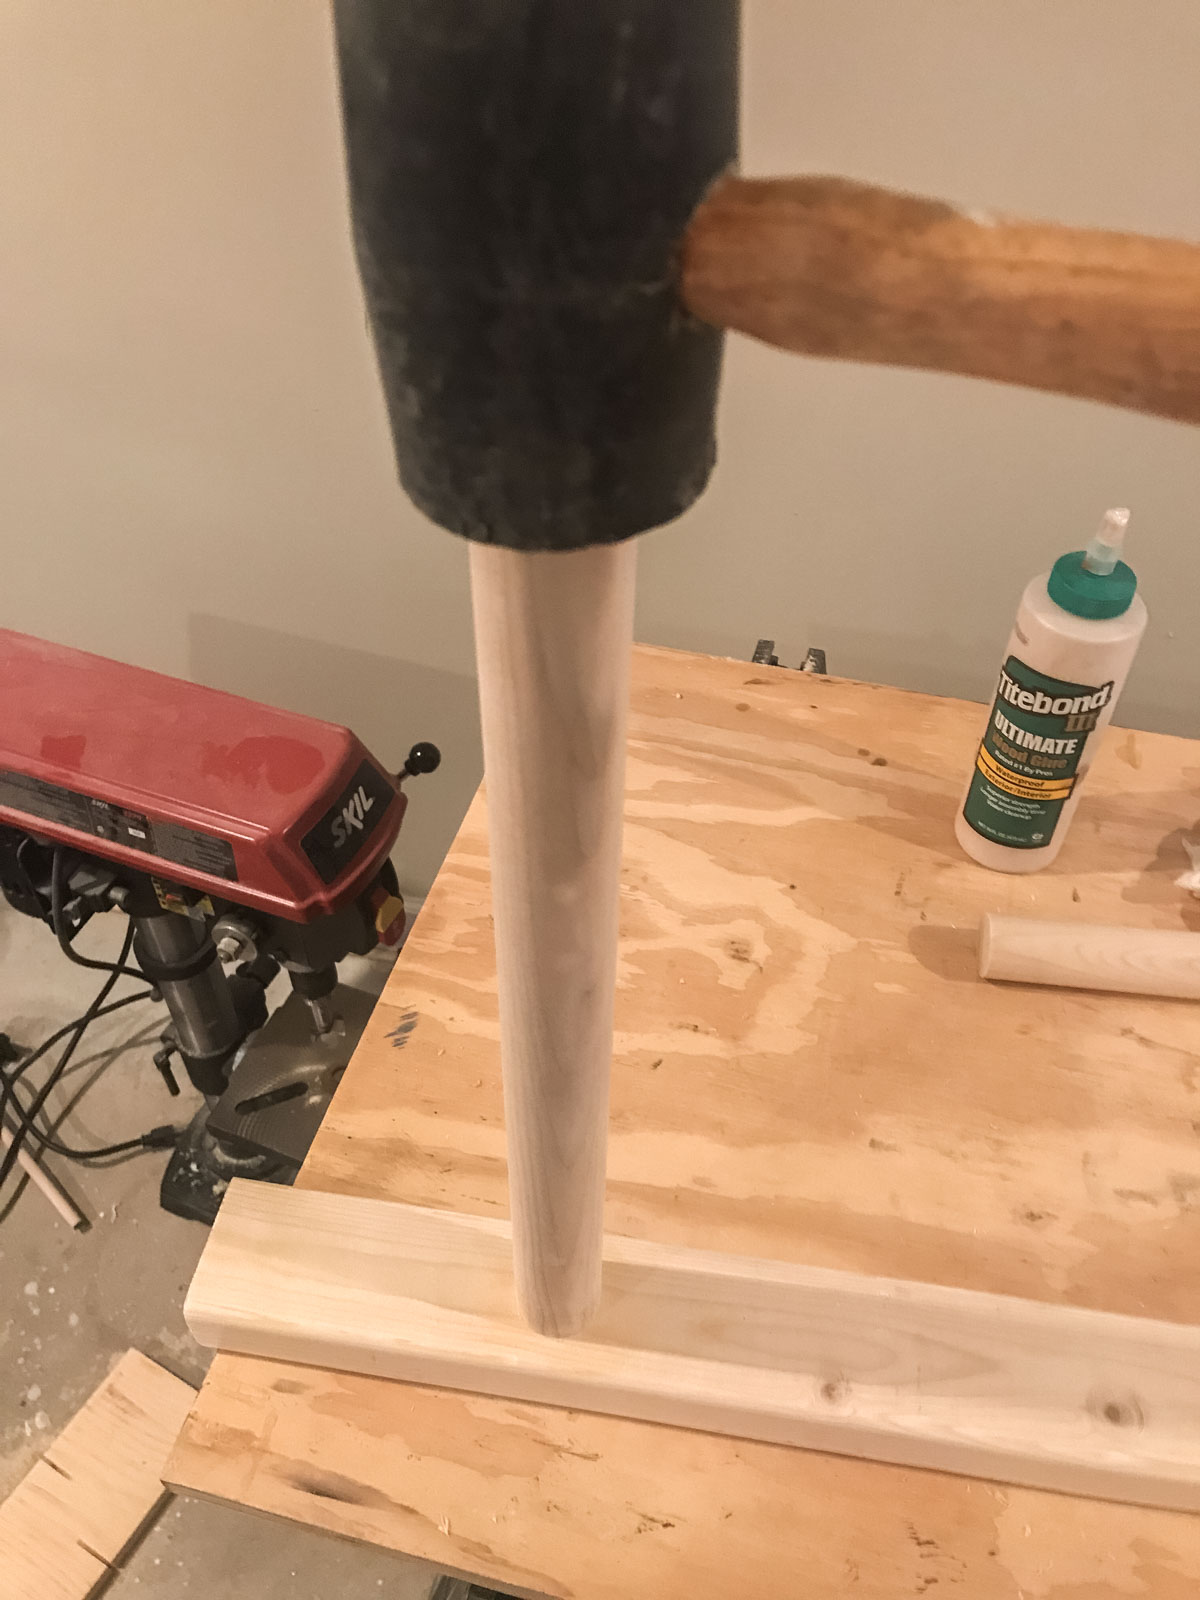
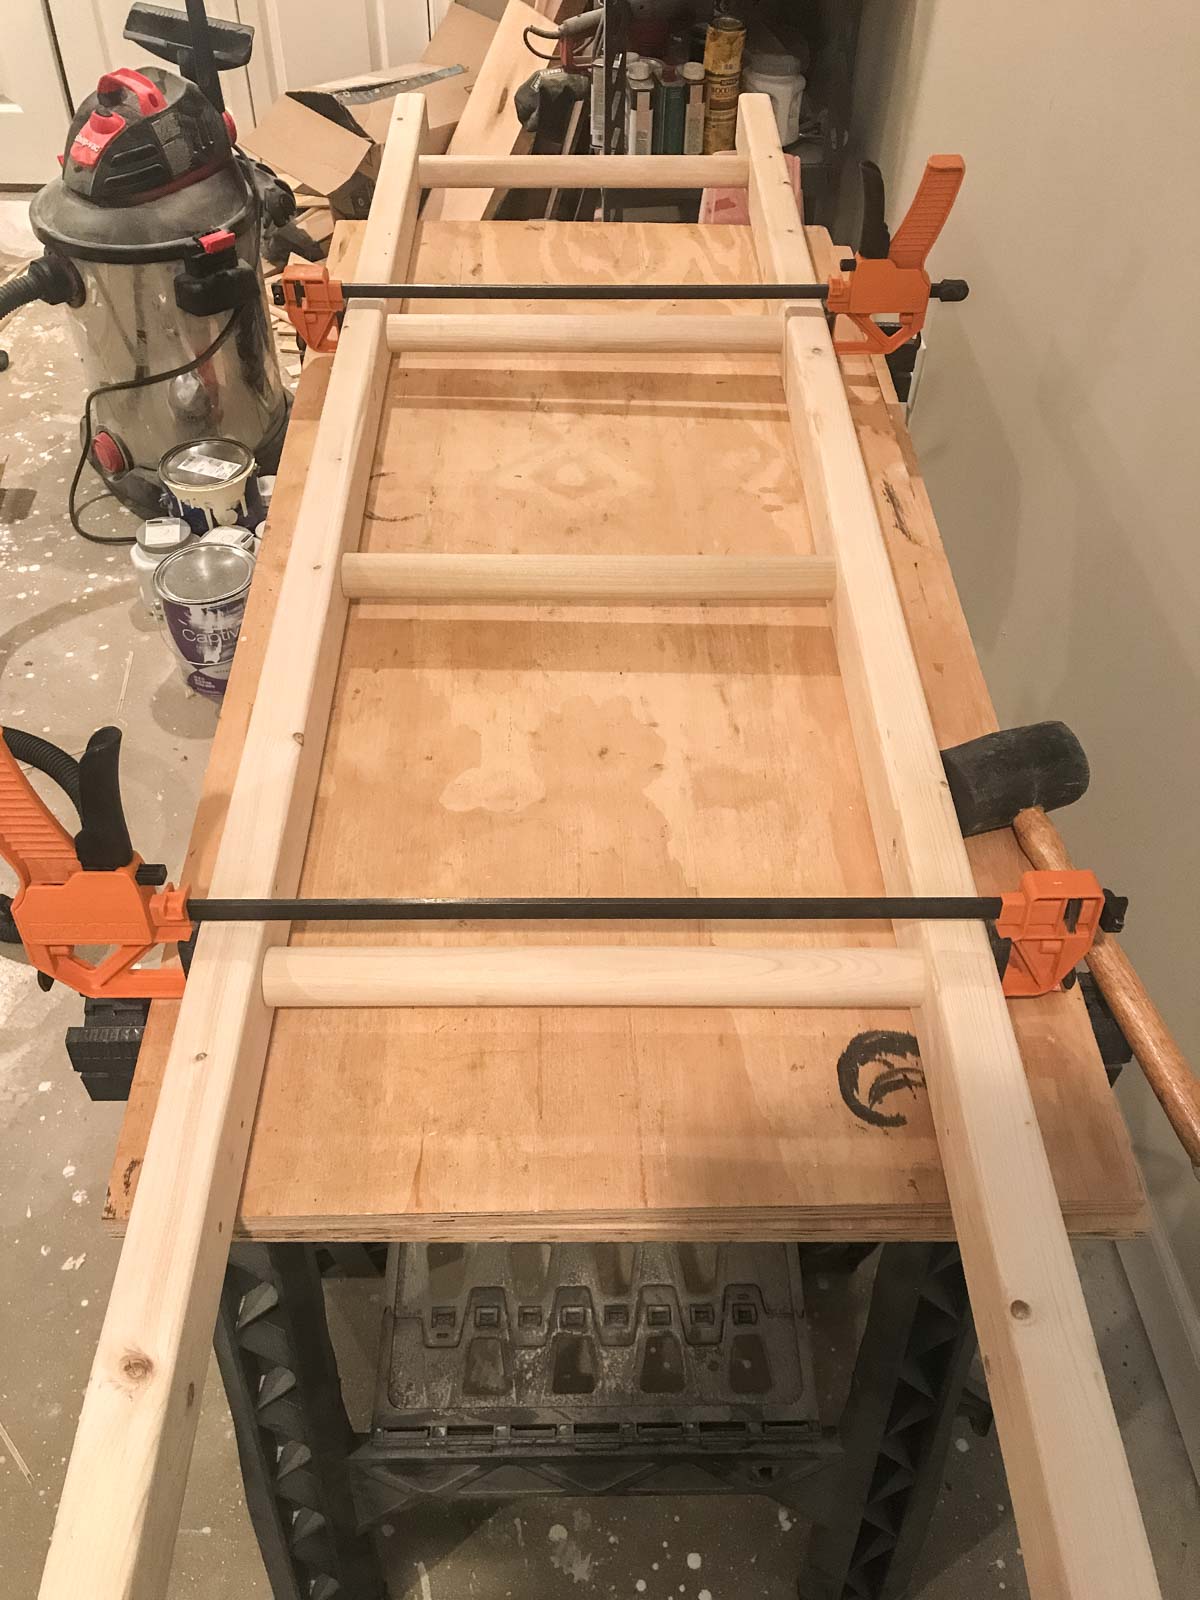
- Add glue into the bottom of 5 of the holes on one side of the ladder and use the rubber mallet to hammer in the wood dowels.
- Take the other leg of the ladder and add glue before hammering into the wooden dowels.
- Use a few clamps and clamp together the ladder for at least 30 minutes or until the glue is set.
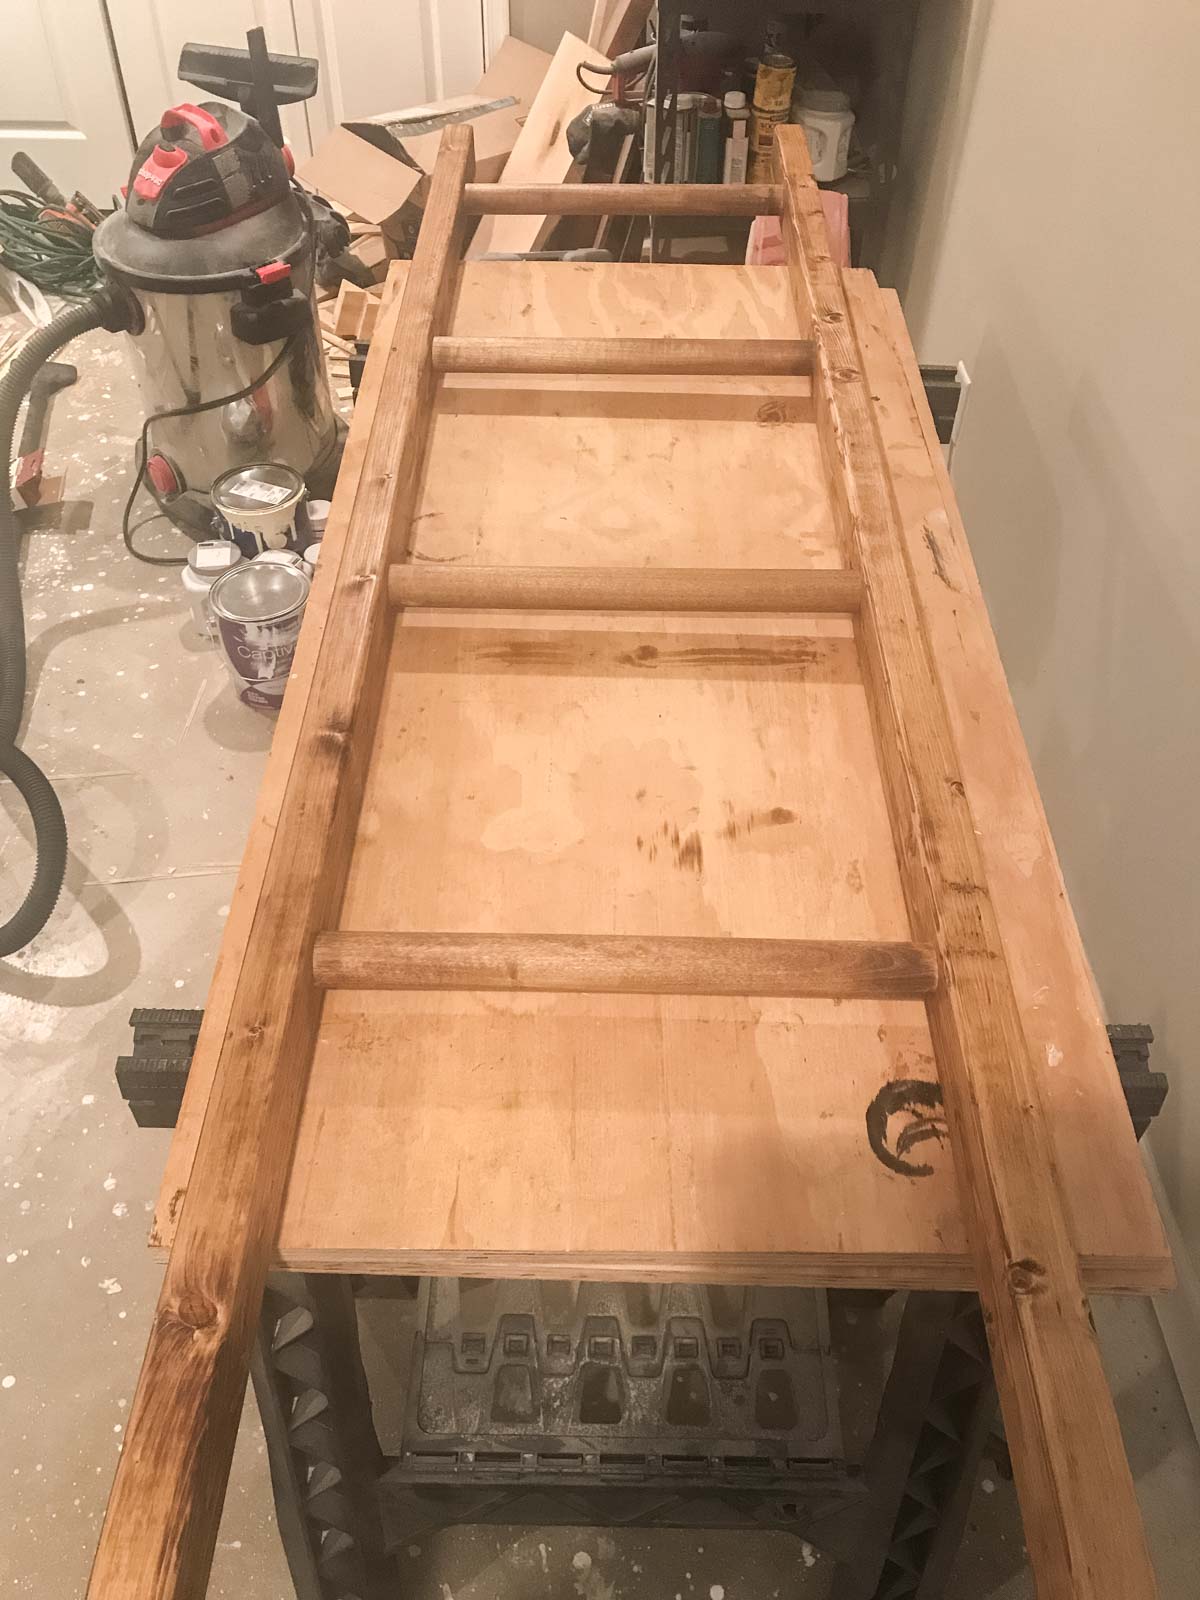
- Paint or stain the ladder.
- Set up ladder in the room.
Notes
- Pine wood is the cheapest and easiest to work with but if you want a sturdier ladder, go with oak.
- For staining, I prefer Danish oil as it stains and protects the wood.
- You can customize the height and width to your room. Just keep in mind you might need more or less wood.
- If you don't want to use dowels for steps, you can use 2x2s and glue and screw in.
Recommended Products
As an Amazon Associate and member of other affiliate programs, I earn from qualifying purchases.





Leave a Reply