This post may contain affiliate links. Please read my disclosure.
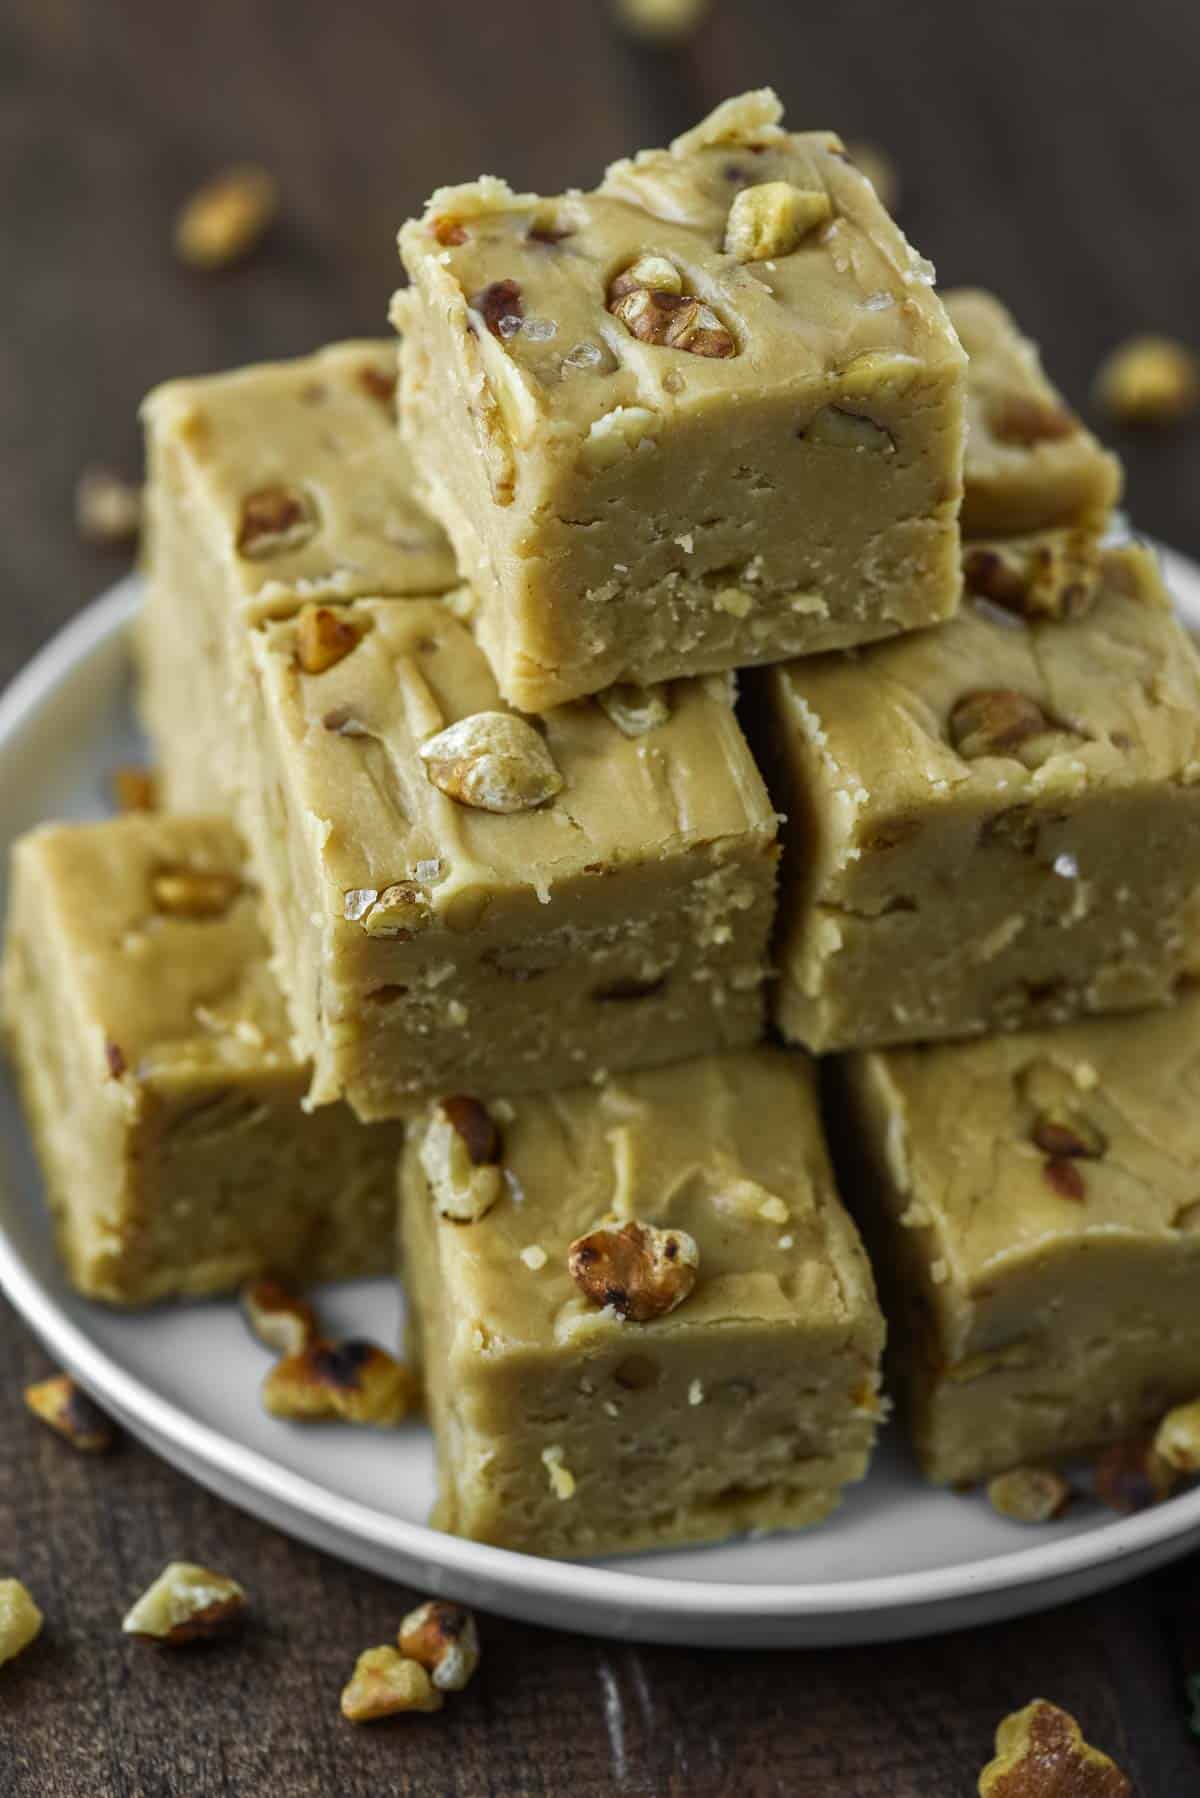
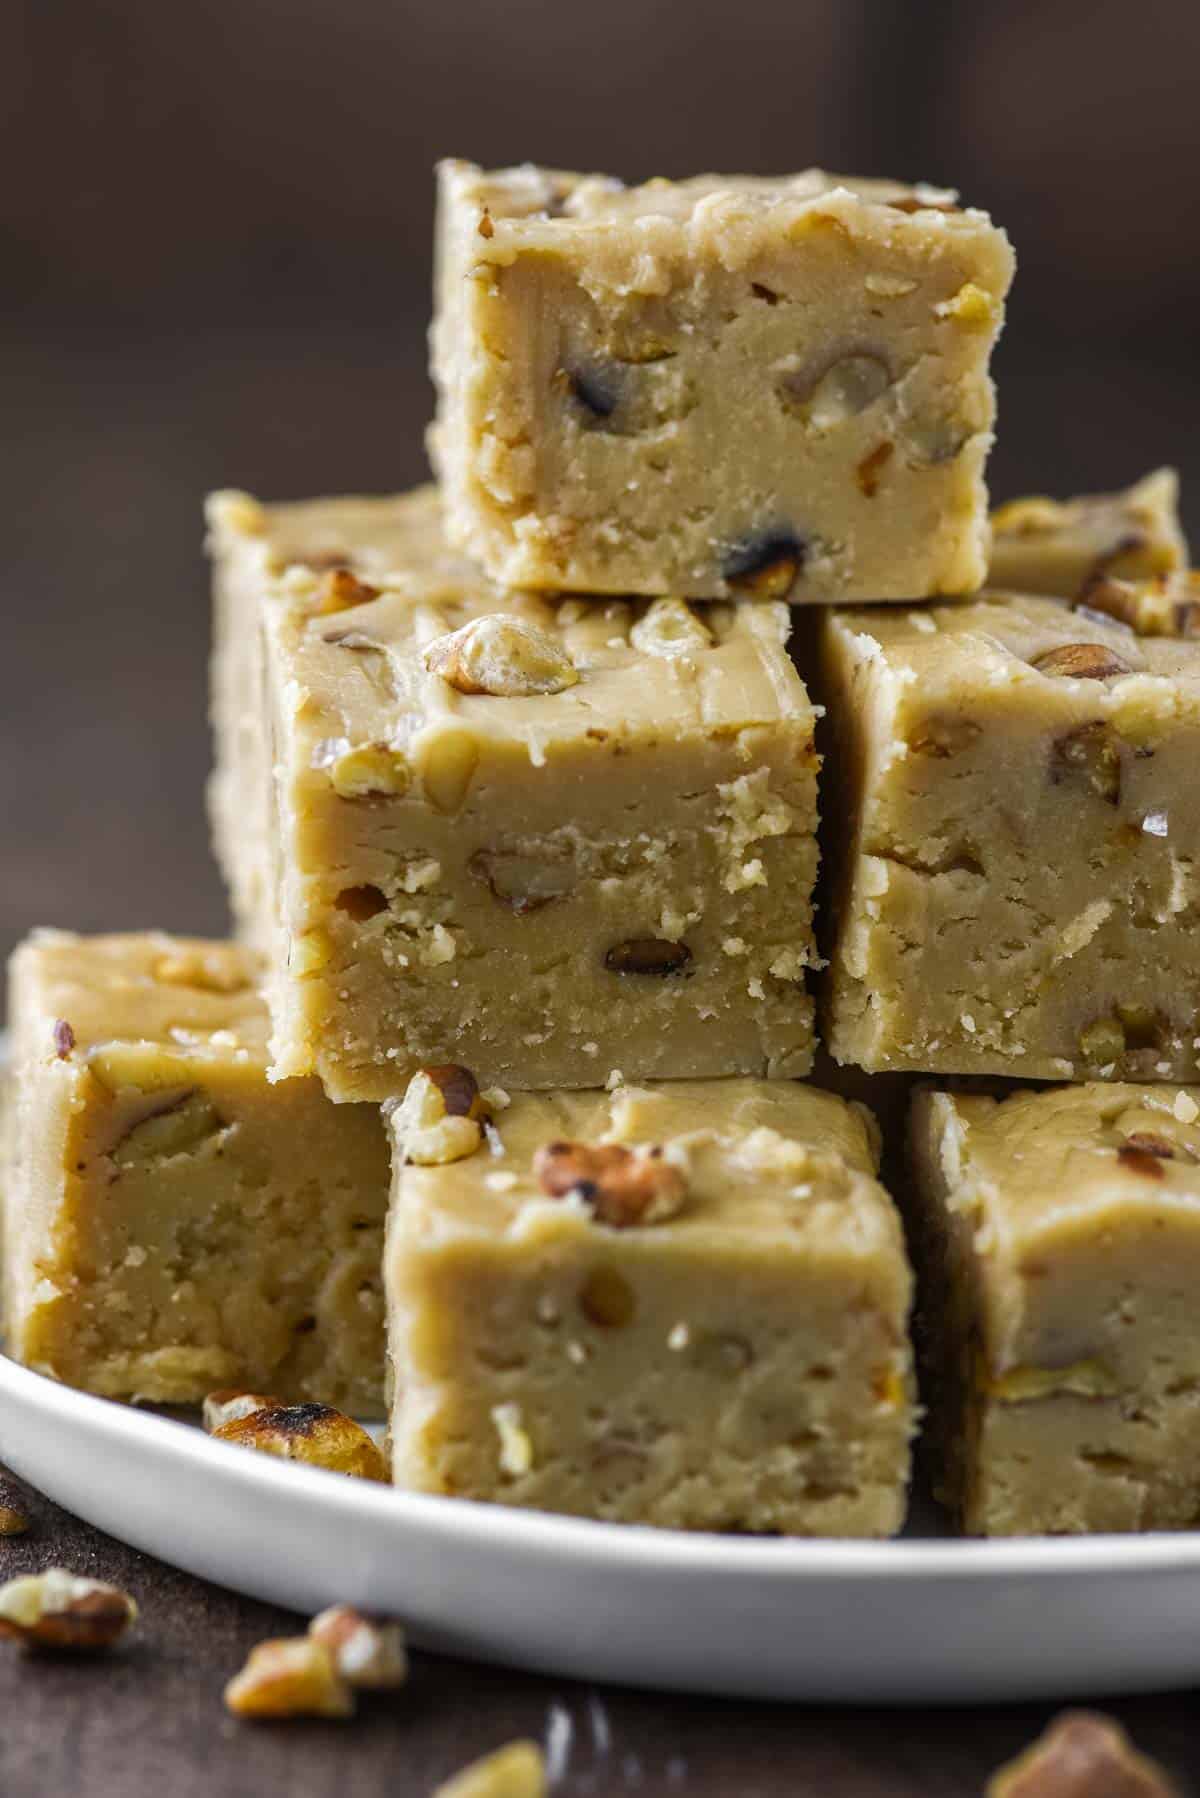
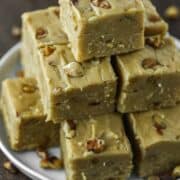
With just four ingredients, this maple walnut fudge is rich, creamy and a surprisingly simple dessert perfect for any occasion.
I love homemade candy - from chocolate pumpkin cups to dark chocolate peppermint pretzel bark to salted chocolate covered bourbon caramels.
But fudge is the "OG" of candy. Known for its creamy yet dense texture, it can be a little daunting if you've never made fudge before. But this recipe uses minimal ingredients and relies on the candy thermometer to get you that perfect piece of candy!
Why This Recipe Works
- Minimal ingredients - I mentioned before but this maple walnut fudge only uses four ingredients.
- Error proof - By only using maple syrup and cream as opposed to multiple ingredients, you reduce the risk for errors. You just heat to the correct temperature and let science do its work.
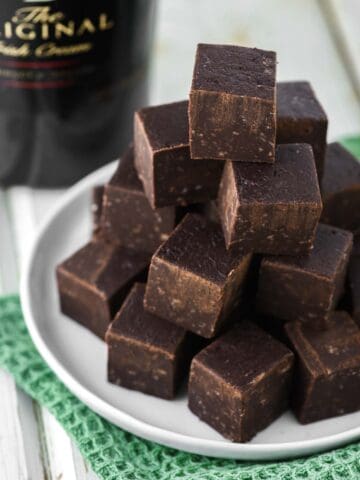
- Giftable - Since fudge can last for about 3 weeks at room temperature, it is a great gift during the holidays. It might be difficult to share though after you take a bite! Another tasty option is this Baileys fudge.
Jump to:
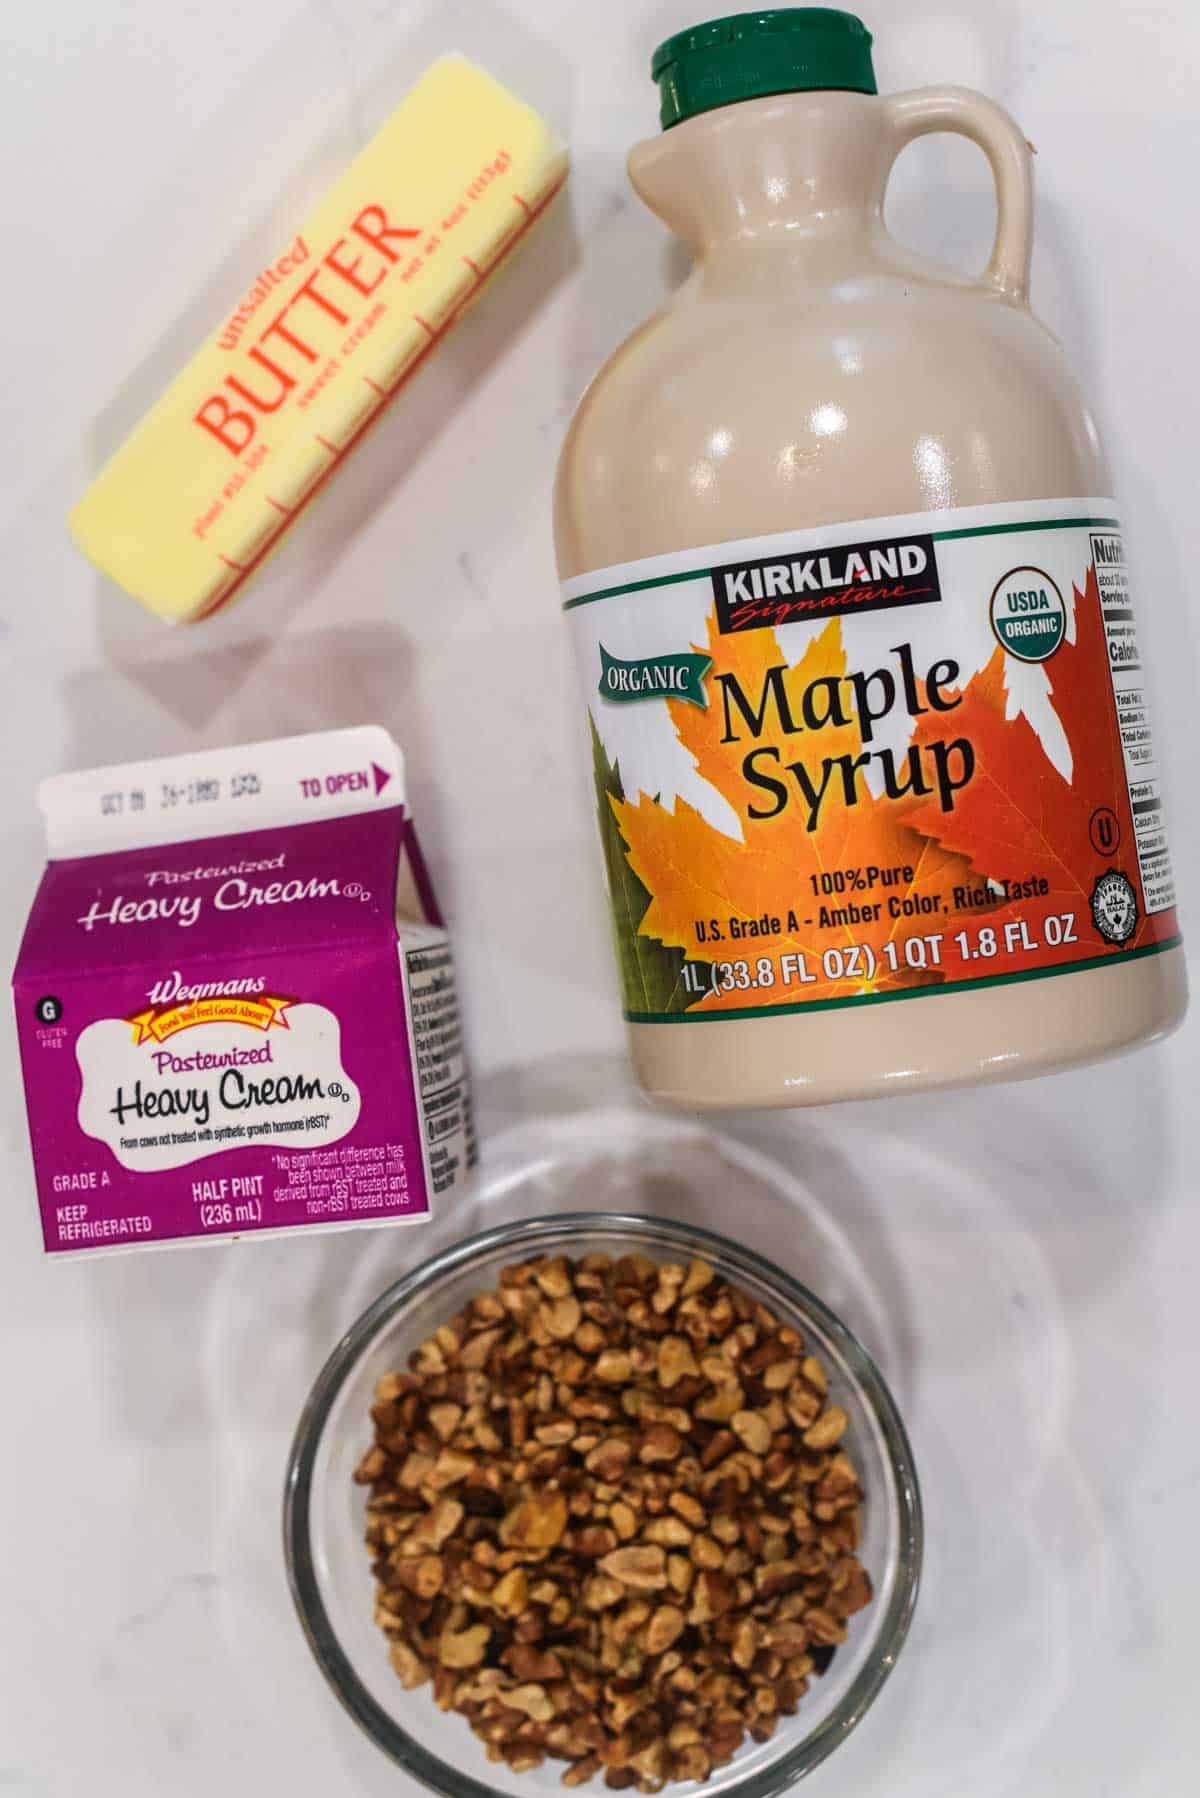
Ingredient Notes
- Maple syrup - Use real maple syrup for the best flavor. Avoid imitation maple syrups or pancake syrups, as they may not provide the authentic maple flavor you're looking for.
- Heavy cream - To achieve the desired texture, you can opt for heavy cream instead of condensed milk in your maple fudge recipe. You can use either regular heavy cream or heavy whipping cream for this purpose.
- Butter - Use unsalted butter for control over the fudge's salt content. If you only have salted butter, just don't add the optional salt at the end.
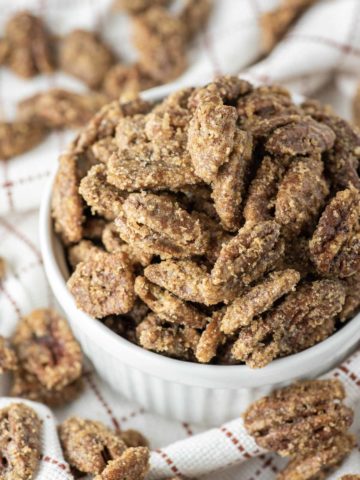
- Walnuts - Choose fresh, high-quality walnuts. It's a good practice to toast the walnuts lightly before adding them to the fudge. Toasting enhances their flavor and adds a pleasant crunch.
- Salt (Optional) - A small amount of salt can enhance the overall flavor of the fudge by balancing the sweetness. Adjust the salt quantity according to your taste preferences.
Step-by-Step Photos
Please note full ingredient list and instructions can be found in recipe card below.
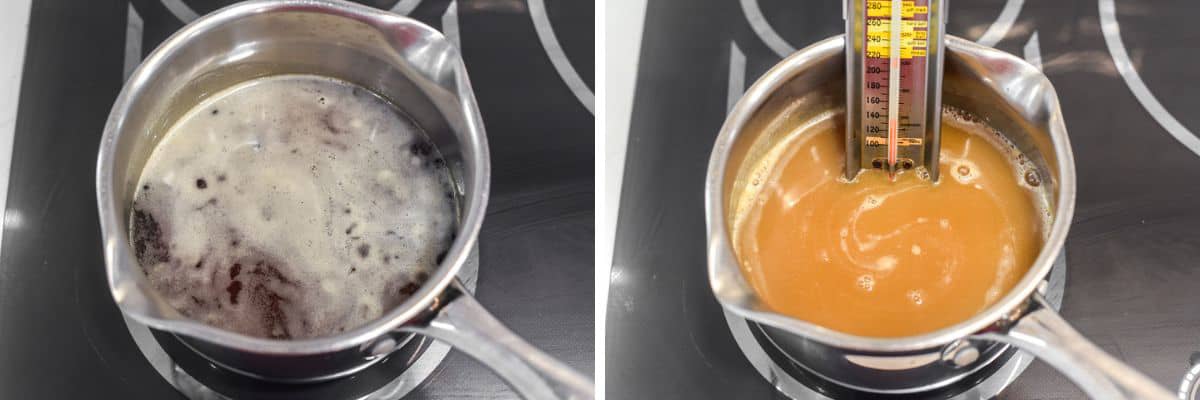
In a medium saucepan, bring the maple syrup to a boil. Once it boils, reduce the heat to a simmer and let it simmer for 5 minutes.
Add the heavy cream to the simmering syrup without stirring.
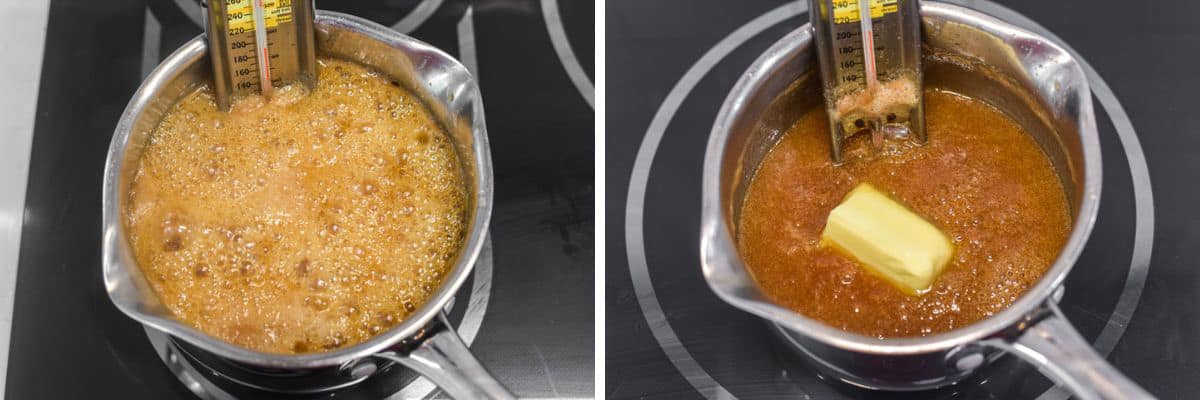
Bring the mixture back to a boil and continue simmering until it reaches 236ºF on a candy thermometer, which should take about 20-25 minutes.
Remove the saucepan from the heat and add the butter without stirring. Allow it to sit for 10 minutes.

Transfer the mixture to a mixing bowl equipped with a paddle attachment. Beat it on medium speed until it begins to thicken and loses its shine, which should take around 5 minutes. Gently fold in ½ cup of the walnuts.
Pour the fudge into the prepared loaf pan and spread it evenly. Sprinkle the remaining walnuts on top and add a pinch of salt if desired.
Place the pan in the refrigerator and allow the fudge to set, which typically takes about 2 hours.
FAQs
It is important to use a candy thermometer. Once the temperature reaches 236ºF, the fudge can be removed from the heat.
Keep in mind that there are stalls sometimes, so patience is necessary in getting to that temperature.
While a candy thermometer is helpful for precise temperature control, you can make fudge without one by using the "soft ball stage" test.
Drop a small amount of the boiling mixture into cold water; it should form a soft ball. This method may require more experience.
Yes. Simply omit the walnuts from the recipe.
Store the fudge in an airtight container in a cool, dry place or in the refrigerator. To prevent sticking, you can place parchment paper between the layers of fudge.
Homemade maple walnut fudge can last for about 2 to 3 weeks when stored at room temperature in an airtight container.
Yes, you can freeze fudge for longer-term storage. Wrap it tightly in plastic wrap or aluminum foil and place it in an airtight container or freezer bag. Thaw it in the refrigerator before consuming.
Equipment
Especially with this recipe, you need to have the right equipment. What is needed includes:
- Saucepan - You want a wide saucepan if possible so you can get to temperature quicker.
- Candy thermometer - Important in knowing when you get the precise temperature needed for the fudge.
- Stand mixer - Used to beat the fudge to help it cool and thicken.
- Bread pan - A 9x5 bread pan is perfect for letting the fudge cool
Pro Tips/Recipe Notes
- For authentic maple flavor, use real maple syrup rather than imitation or pancake syrups.
- Invest in a reliable candy thermometer and monitor the temperature of the fudge mixture carefully. Proper temperature control is crucial for achieving the right texture.
- Once the fudge mixture begins to boil, avoid stirring it. Stirring can introduce sugar crystals and result in a grainy texture. Instead, swirl the pan gently to ensure even heating.
- Depending on the size of the saucepan, the fudge can take some time to get to the correct temperature. Just be patient and if the temperature isn't rising, increase the heat.
- Toasting the walnuts before adding them to the fudge can enhance their flavor and add a nice crunch. Simply spread them on a baking sheet and toast in the oven for a few minutes until fragrant.
Other Dessert Recipes
If you’ve tried this maple walnut fudge or any other recipe on Chisel & Fork, please let me know how it turned out in the comments below! You can also follow me on Facebook, Instagram, Pinterest and YouTube to see more tasty meals and anything else I'm up to.
Maple Walnut Fudge
Ingredients
- 2 ¼ cups maple syrup
- 1 cup heavy cream
- ¼ cup unsalted butter
- ¾ cup chopped walnuts, toasted
- sea salt (optional)
Instructions
- Grease a 9x5 loaf pan with non-stick cooking spray and then line with parchment paper so it hangs over the sides.
- In a medium saucepan, bring maple syrup to boil. Reduce to simmer as soon as it starts to boil and simmer for 5 minutes.
- Add the heavy cream without stirring and bring mixture back to boil before reducing to simmer. Simmer until it reaches 236ºF on a candy thermometer, about 20-25 minutes.
- Remove from heat and add the butter without stirring. Let it sit for 10 minutes.
- Transfer to a mixing bowl with a paddle attachment and beat on medium speed until it starts to thicken and lose its shine, about 5 minutes. Fold in ½ cup of the walnuts.
- Pour the fudge into the loaf pan and spread it out evenly. Sprinkle with the remaining walnuts and some salt if desired. Place in the fridge until set, about 2 hours.
Notes
- For authentic maple flavor, use real maple syrup rather than imitation or pancake syrups.
- Invest in a reliable candy thermometer and monitor the temperature of the fudge mixture carefully. Proper temperature control is crucial for achieving the right texture.
- Once the fudge mixture begins to boil, avoid stirring it. Stirring can introduce sugar crystals and result in a grainy texture. Instead, swirl the pan gently to ensure even heating.
- Depending on the size of the saucepan, the fudge can take some time to get to the correct temperature. Just be patient and if the temperature isn't rising, increase the heat.
- Toasting the walnuts before adding them to the fudge can enhance their flavor and add a nice crunch. Simply spread them on a baking sheet and toast in the oven for a few minutes until fragrant.
Leave a Reply