This post may contain affiliate links. Please read my disclosure.
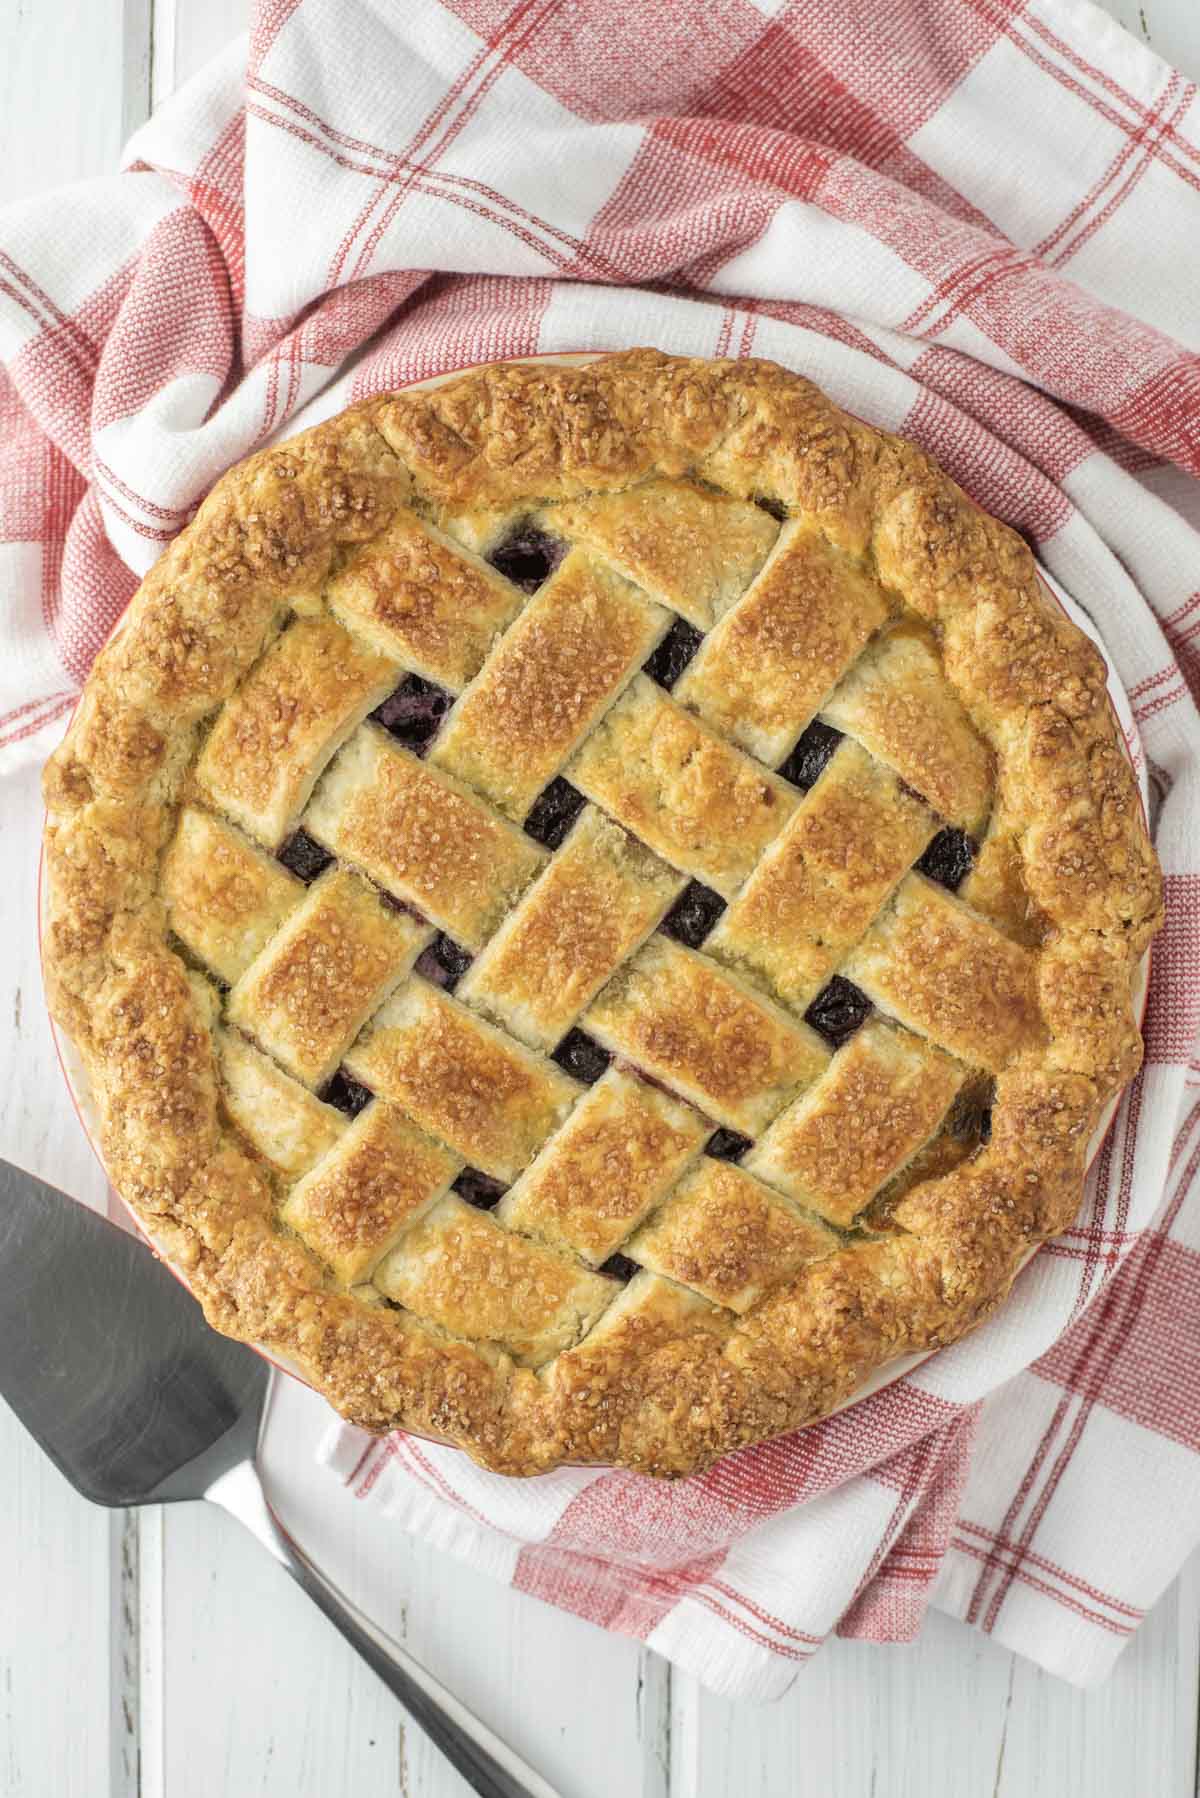
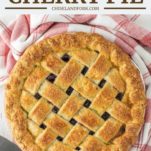
This homemade cherry pie recipe can be made with fresh or frozen cherries which allows you to enjoy it year round. It is made even better with a delicious flaky crust that melts in your mouth.
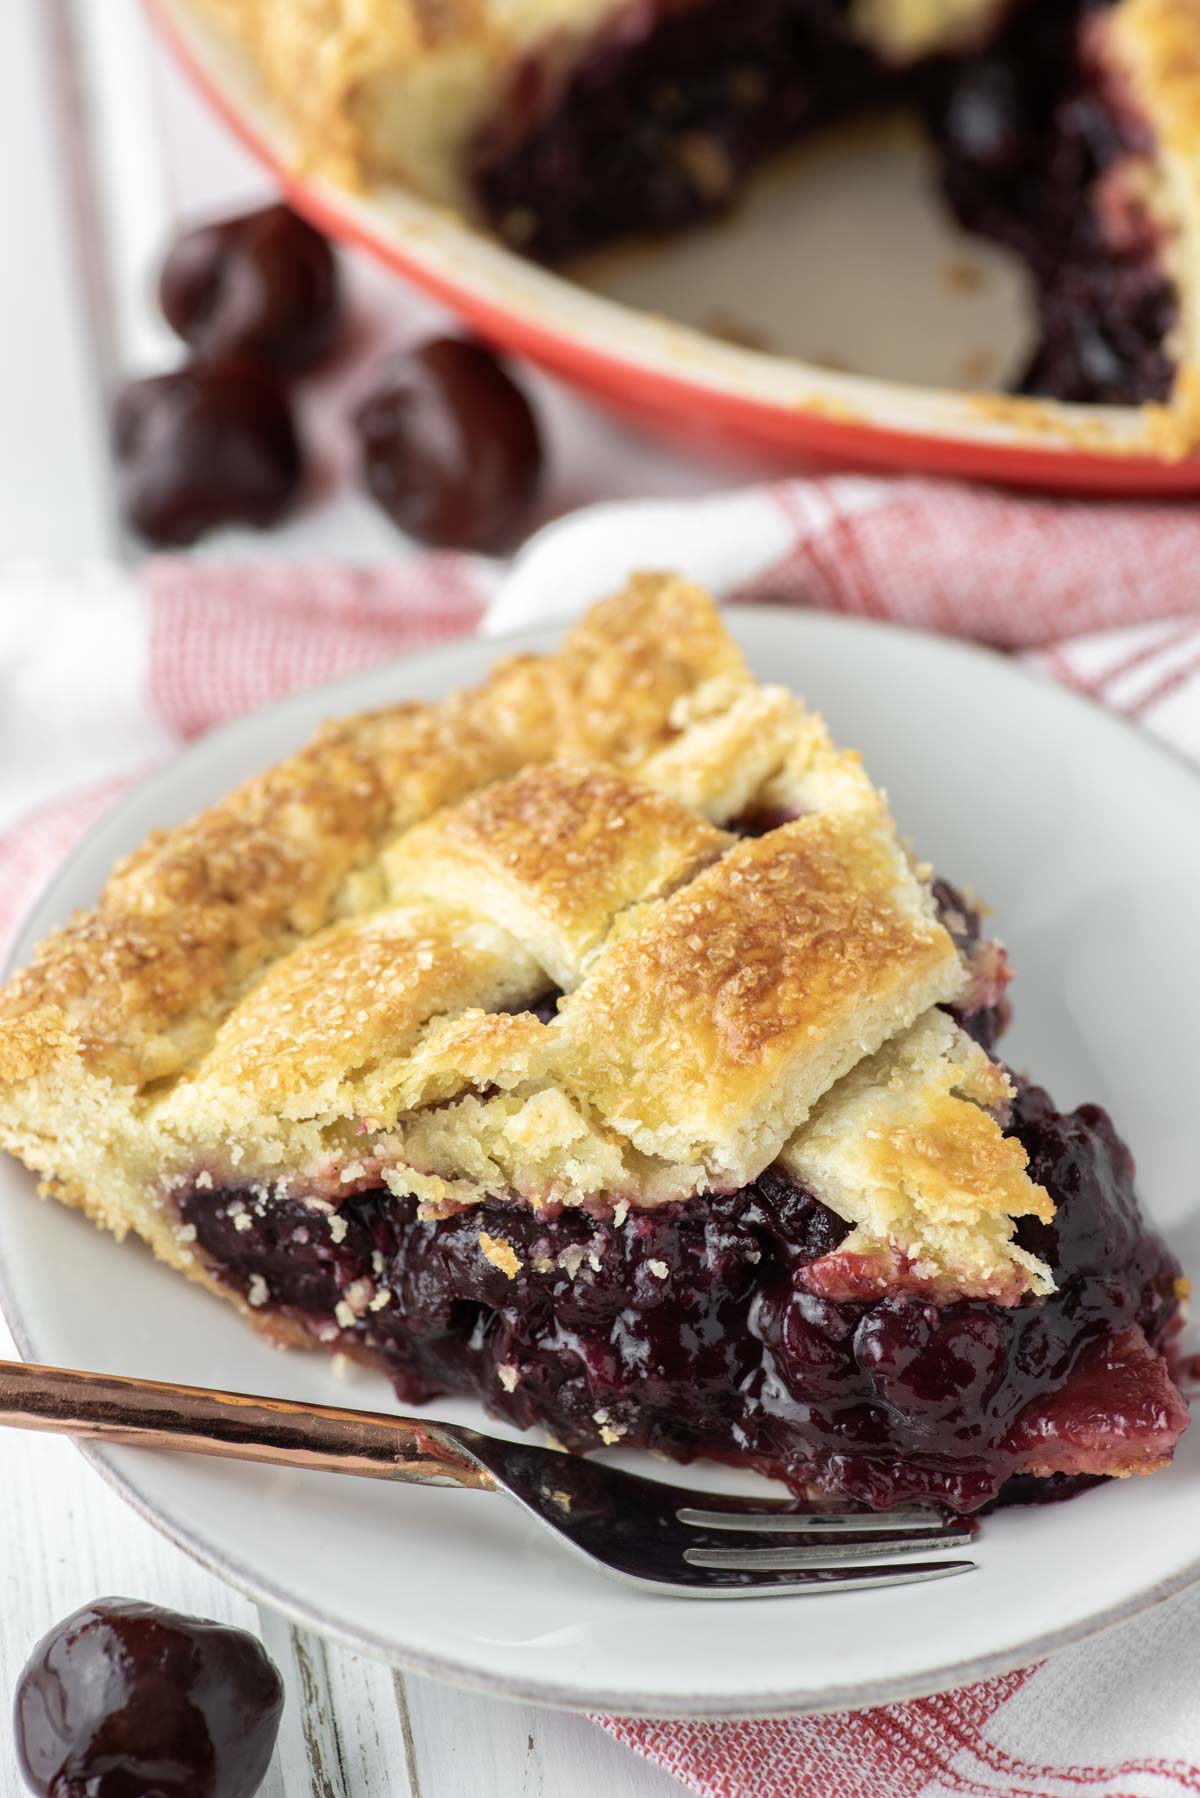
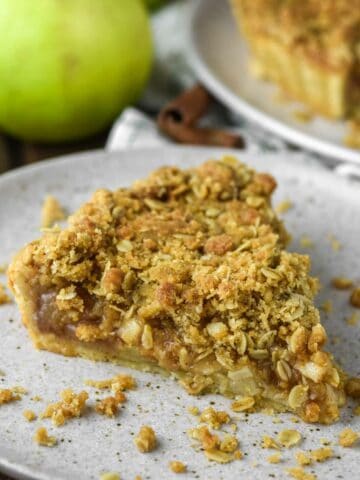
Happy Independence Day! I don't know about you but when I think of the 4th of July - I think of grilling and pie - from bison bacon jam burgers to apple crumb pie.
And during this time of year there isn't much more Americana than cherry pie.
Part of the reason that homemade cherry pie is so popular during the summer, is fresh cherries are only available from June through August, so you have to start while the iron is hot.
Luckily this cherry pie recipe can be made year round, but as always, fresh is better.
So what brought about this homemade cherry pie? Well my good friends, Chris and Selena were visiting and I asked Chris what his favorite dessert was. His response - cherry pie.
Originally I was going to take it easy and just buy some pie crust at the store, but decided why not truly make a homemade cherry pie, so I adapted the crust I've used for my tarts to make this pie.
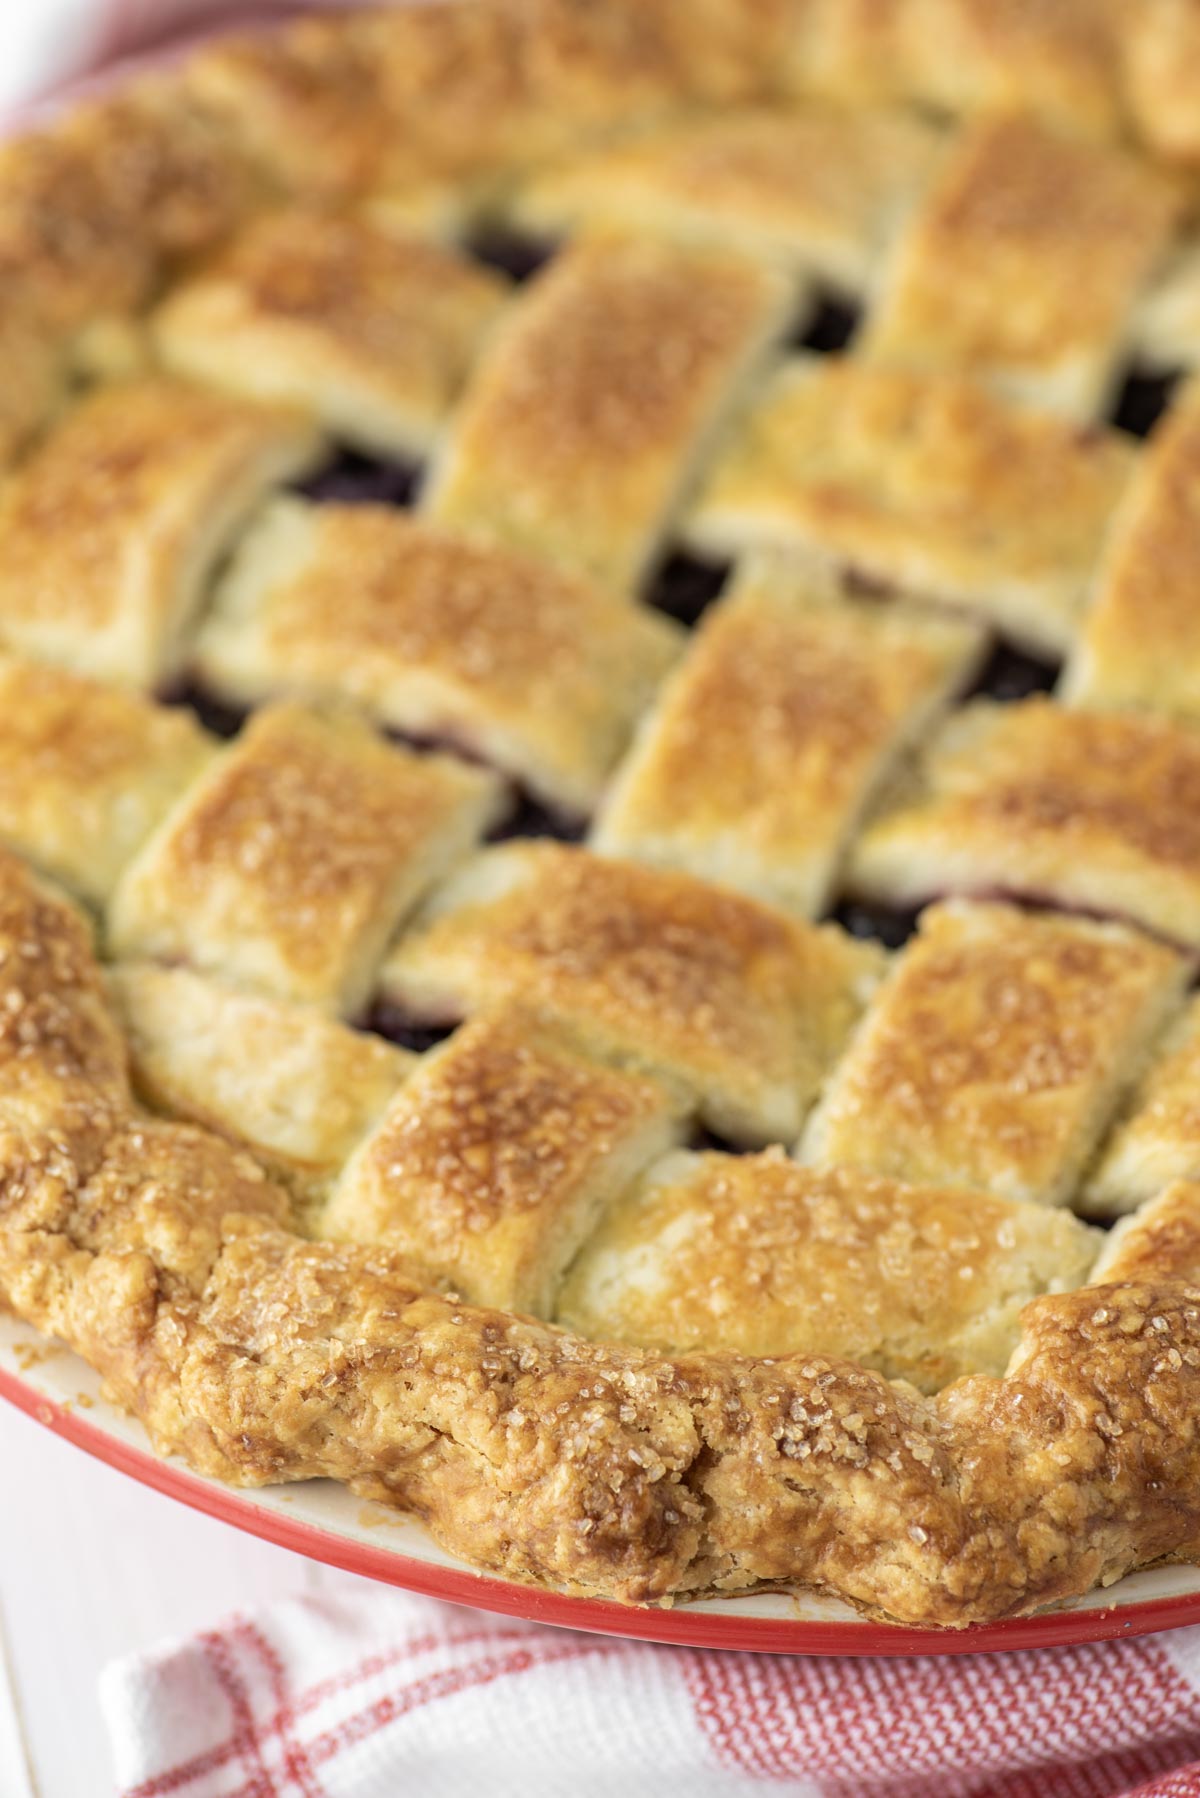
There is just something about making pie dough, rolling it out and smelling a freshly baked pie in the oven. Plus you can make fun designs like the lattice crust I used.
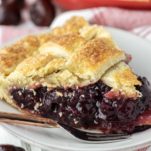
And while the homemade crust puts this pie over the top, it is the cherry pie filling that is the star and that begins and ends with fresh cherries. Just think about when you eat a fresh cherry and multiply the burst of flavor times 100 and that is what you get with this homemade cherry pie.
And if you really want to step your game up, top it with some copycat Cherry Garcia ice cream!
Jump to:
Recipe Ingredients
- All-purpose flour – main ingredient in forming the dough.
- Granulated sugar – adds a slight sweetness to the crust and used to sweeten the cherry pie filling.
- Salt – enhances the flavors of the pie.
- Unsalted butter – adds flakiness to pie crust as it cooks.
- Egg – helps bind the crust.
- Vanilla/almond extract – enhances the flavor.
- Sweet cherries - Bing cherries are most abundant, but use whatever sweet cherry you enjoy. They're great for cherry scones as well.
- Cornstarch - acts as a thickener for the filling.
- Lemon juice - adds just a touch of acid that is needed.
- Ground cinnamon - a little added warmth to the pie.
- Coarse sugar - sugar in the raw works for adding a nice crust and texture.
Step-by-Step Instructions
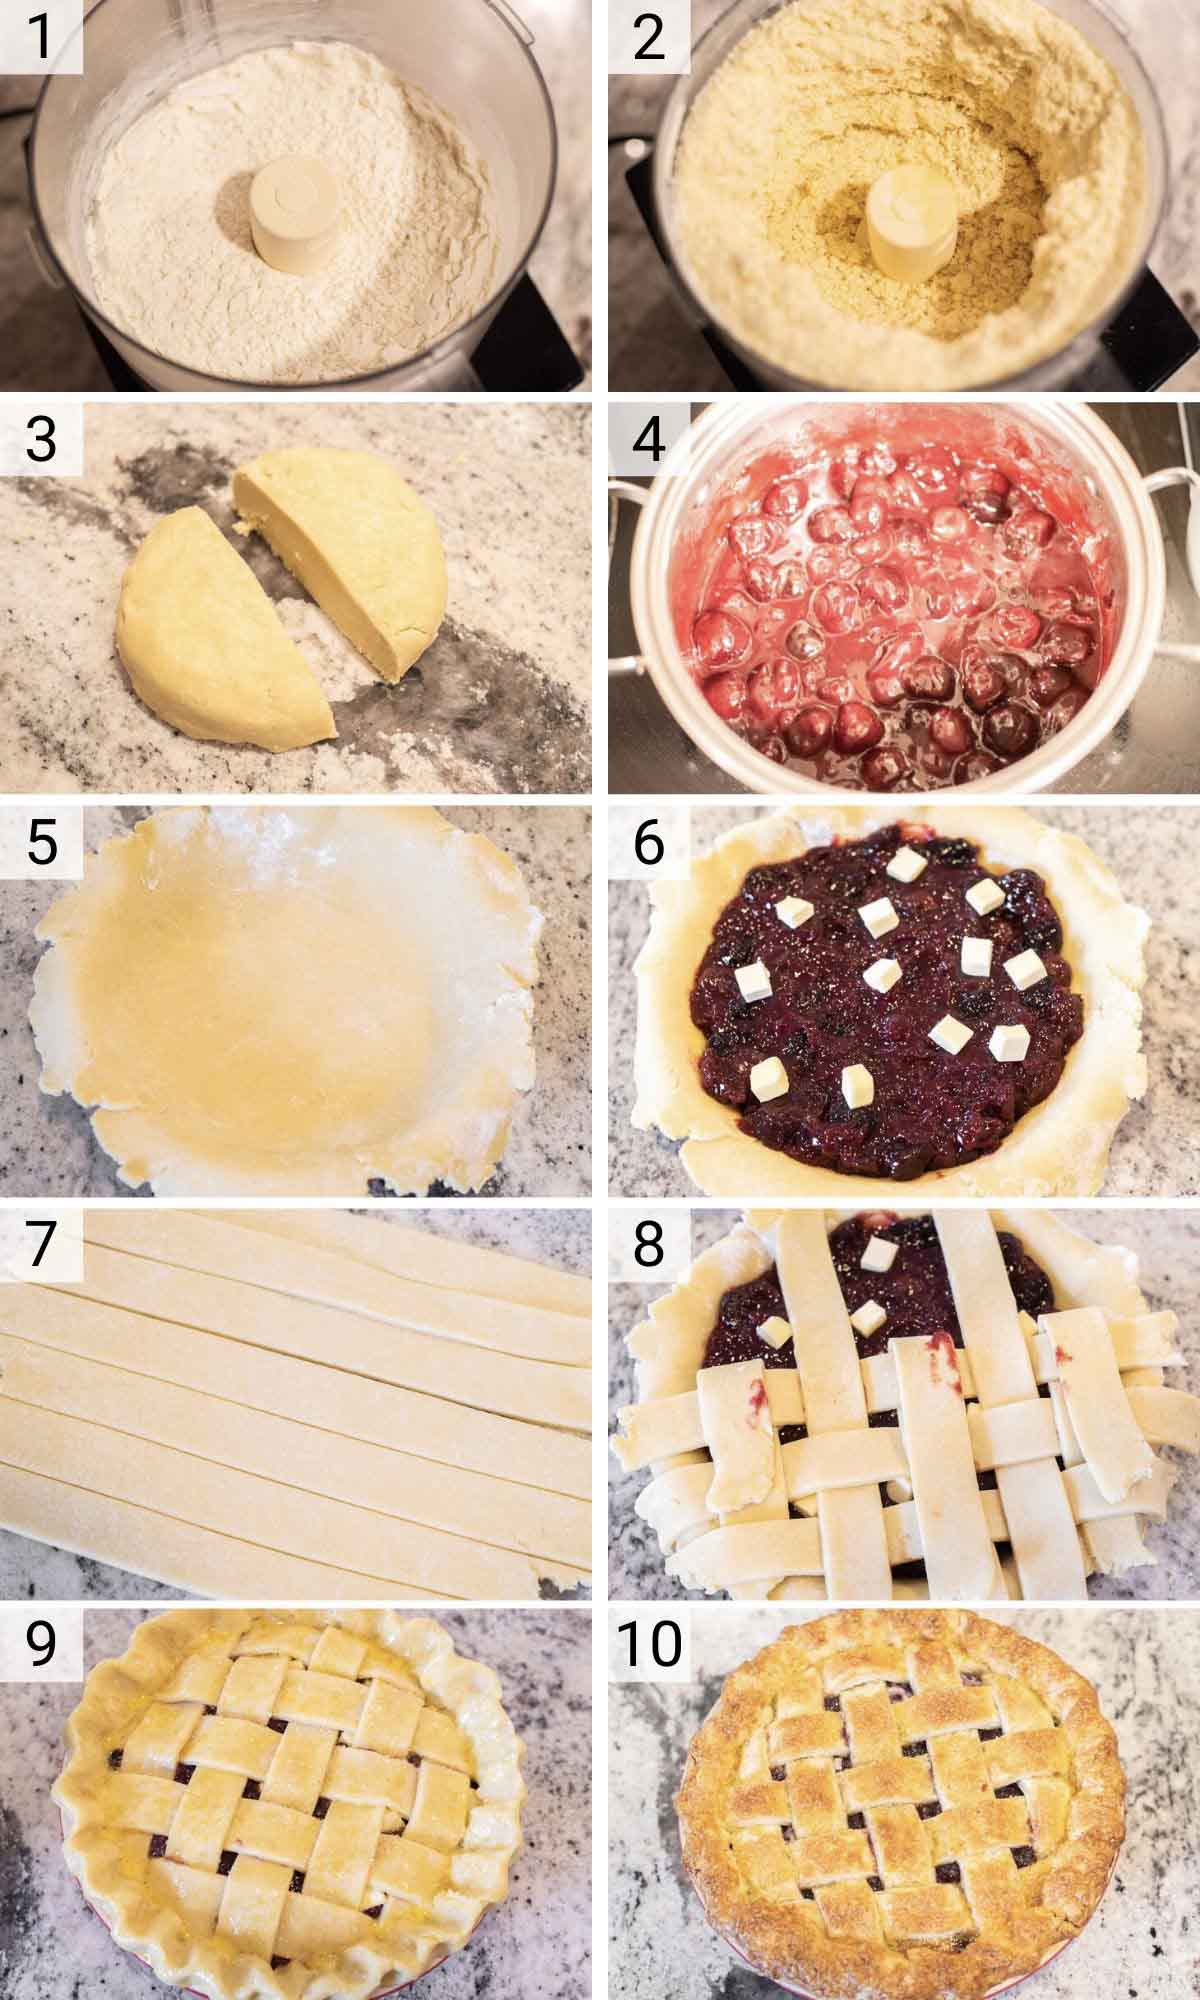
- Pulse together the dry ingredients in a food process until combined. Add the butter and pulse 15 times until it becomes a coarse meal.
- Whisk together the egg yolk, water and extract in a bowl. Add to the food processor and pulse until it clumps together. You don't want to pulse until a ball is formed.
- Add the dough to a lightly floured surface and form into a ball. Cut it in half and flatten to form a disk shape. Wrap in plastic wrap and place in the refrigerator for 1 hour or up to 3 days.
- With a large saucepan heated to medium-high, add the cherries, cornstarch, sugar, lemon juice, extracts, cinnamon and salt. You want to simmer for 8 minutes or so while stirring constantly. Once it starts to thicken, cook for another 2 minutes and transfer to a bowl, letting it cool to room temperature.
- Preheat the oven to 375°F with a baking sheet added. Remove a disk and let it come to room temperature for 10 minutes before beginning to roll. Roll it out on a lightly floured surface so it is 3 inches longer than the pie dish and about ⅙ inch in thickness. Press it into the bottom and sides of the dish and trim the dough that overhangs to about 1 ½ inches.
- Make and egg wash and brush the pie crust with a thin layer before pouring the cherry filling on top. Add cubed butter.
- Take the 2nd pie dough and roll to about 12 inches in diameter and ⅙ inch thick. Cut 10-12 strips about 1 inch in width.
- Add every other strip to the pie, making sure they are spaced evenly. Then create a lattice pattern by alternating and folding in the other strips, leaving ½ inch overhang.
- Press the edges into the bottom crust to crimp and brush the lattice and edges with egg wash. Sprinkle with sugar if desired.
- Place the pie dish on the baking sheet and bake for about 40-45 minutes or until the filling is bubbling. Cover the pie with aluminum foil for the last 10 minutes if it is browning too quickly.
Pie vs. Tart: What’s the Difference?
The biggest difference is in the texture. A pie crust should be flaky, light, tender and crisp. A tart crust is crumbly, rich, crisp and firm.
A pie can be just a bottom crust only, a top crust only or a top and bottom crust, while a tart is always a bottom crust. Pies are also always served in the dish they are baked in, while tarts are removed from the pan before being served.
Pitting Cherries
If you are buying fresh cherries, you'll need to pit them. And if you don't have a cherry pitter, it will take forever so I highly recommend buying one.
If you don't have a pitter, you can pluck off the stem and insert the end of a medium-large paper clip into the stem-hole. Snag the pit and scoop it out.
Lattice Crust
Lattice crust not only looks beautiful but helps vent the steam out when the pie is cooking. If you want step-by-step instructions, check out Simply Recipes.
FAQs
This cherry pie filling is best with sweet cherries. You can use a combination of Bing and Rainier or all of one or the other. However if you go for sour cherries, you need to add an extra ¼ cup of granulated sugar to this homemade cherry pie filling.
No one wants a soggy bottom and the egg wash helps develop a barrier between the dough and filling.
This usually happens if you don't cook it long enough. You also need to let it cool for at least 3 hours before serving.
Pro Tips/Recipe Notes
- Cook the cherry filling - by cooking the cherries with the added ingredients ahead of time, it traps the juices into the filling so they don't run out in the oven. This also allows you to use frozen cherries if necessary.
- Make sure there is ventilation - fruit pies like this homemade cherry pie need good ventilation to allow steam to be released. A lattice crust which I use works great, but you can also make another crust, but just properly vent holes.
- Bake pie on preheated baking sheet - by throwing the baking sheet in the oven when you preheat it, you help brown and cook the bottom crust quicker. It also catches any filling that might flow out.
- Don't forget the extras - egg wash helps create that beautiful golden sheen and the coarse sugar adds some sparkle, which never hurts.
Other Dessert Recipes
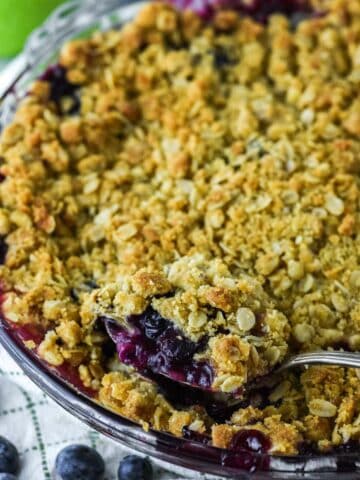
- Blueberry Crisp
- Chocolate Caramel Tart
- Strawberry Lemon Bars
- Butterscotch Cinnamon Pie
- Orange Creamsicles
- Strawberry Blueberry Pie
If you’ve tried this homemade cherry pie recipe or any other recipe on Chisel & Fork, please let me know how it turned out in the comments below! You can also follow me on Facebook, Instagram, Pinterest and YouTube to see more tasty meals and anything else I'm up to.
Cherry Pie
Ingredients
Pie Crust
- 3 cups all-purpose flour
- ¼ cup granulated sugar
- ½ teaspoon salt
- 2 ½ sticks unsalted butter, cut into cubes (20 tbsp)
- 2 egg yolks
- ¼ cup ice cold water
- 2 teaspoon vanilla extract
Cherry Pie
- 2 pie crust
- 2 lbs cherries, pitted (about 5 cups)
- ¼ cup cornstarch
- ⅔ cup granulated sugar
- 1 ½ tablespoon lemon juice
- 2 teaspoon vanilla extract
- ½ teaspoon almond extract
- ½ teaspoon cinnamon
- ¼ teaspoon kosher salt
- 2 tablespoon unsalted butter, cut into cubes
- 1 egg
- 1 tablespoon water or milk
- 2 tablespoon coarse sugar
Instructions
- Using a food processor, pulse together the flour, sugar and salt until combined. Add butter and pulse until mixture becomes coarse meal, about 15 pulses.
- In a small bowl, combine egg yolk, water and vanilla extract. Add the egg mixture to food processor and pulse until it starts to clump together. DO NOT pulse until ball is formed. It should be crumbly with large clumps of dough.
- Turn dough only a lightly floured surface and form into a ball. Cut in half and flatten each ball slightly to form a disk. Wrap each in plastic wrap and put in fridge for at least 1 hour or up to 3 days.
- While pie dough is in fridge, heat a large saucepan over medium-high heat and add the cherries, cornstarch, sugar, lemon juice, vanilla extract, almond extract, cinnamon and salt. Simmer while stirring constantly for about 8 minutes, or until the mixture starts to thicken. Reduce heat to low and cook for another 2 minutes. Transfer to a heatproof bowl and cool to room temperature.
- Remove one disk of dough from the fridge about 10 minutes before you begin rolling. On a lightly floured surface, roll the dough so that it is about 3 inches longer than you pie dish and is between ⅛ inch and ¼ inch in thickness. Press the dough into the bottom and along the sides of the pie plate, being careful not to puncture the dough. Use kitchen scissors to trim the dough overhang to about 1 ½ inches.
- Arrange a rack in the middle of the oven, set a baking sheet on it, and heat the oven to 375°F. Whisk the egg and water together to make an egg wash. Brush the inside of the pie crust with a thin layer of the egg wash. Pour the cooled filling into the crust. Top with cubes of butter.
- Unroll the second pie dough on lightly flour the surface and roll to 12 inches in diameter and about ⅛ inch to ¼ inch thick. Cut into 1-inch wide strips. There should be 10 to 12 strips. Transfer every other strip to the top of the pie, spacing them evenly. Create a lattice pattern by alternating and folding in the remaining strips, leaving about ½ inch overhang.
- Press the edges of the strips into the bottom pie crust edges to crimp. Brush the lattice and edges of the pie crust with egg wash and sprinkle with sugar.
- Place the pie on the hot baking sheet and bake until the filling is bubbling and crust is golden brown, about 50 to 60 minutes. If the edges of the pie crust are browning too quickly, cover the edges of the pie with aluminum foil. Let cool for at least 3 hours before serving.
Notes
- Cook the cherry filling - by cooking the cherries with the added ingredients ahead of time, it traps the juices into the filling so they don't run out in the oven. This also allows you to use frozen cherries if necessary.
- Brush the bottom crust with egg wash - no one wants a soggy bottom and the egg wash helps develop a barrier between the dough and filling.
- Make sure there is ventilation - fruit pies like this homemade cherry pie need good ventilation to allow steam to be released. A lattice crust which I use works great, but you can also make another crust, but just properly vent holes.
- Bake pie on preheated baking sheet - by throwing the baking sheet in the oven when you preheat it, you help brown and cook the bottom crust quicker. It also catches any filling that might flow out.
- Don't forget the extras - egg wash helps create that beautiful golden sheen and the coarse sugar adds some sparkle, which never hurts.




Chris says
So good!