


This post may contain affiliate links. Please read my disclosure.
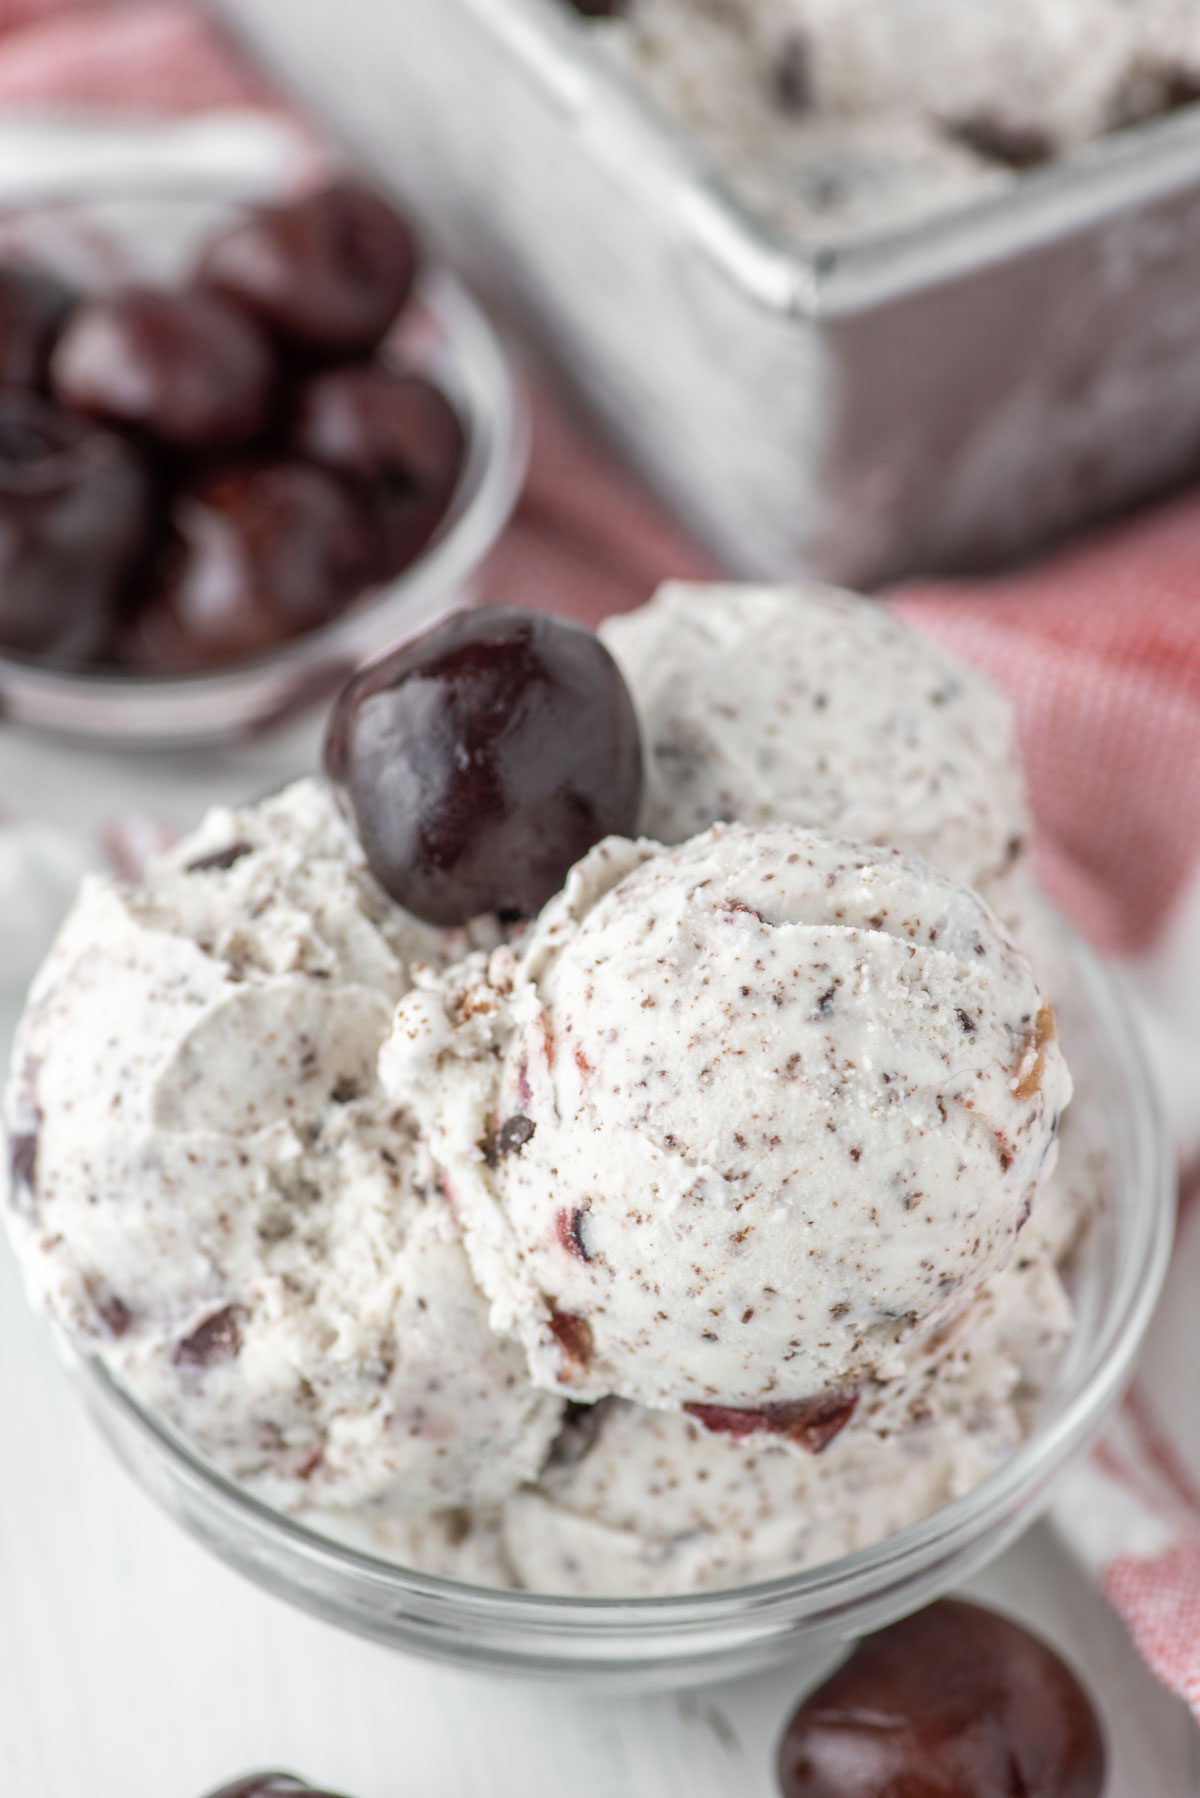
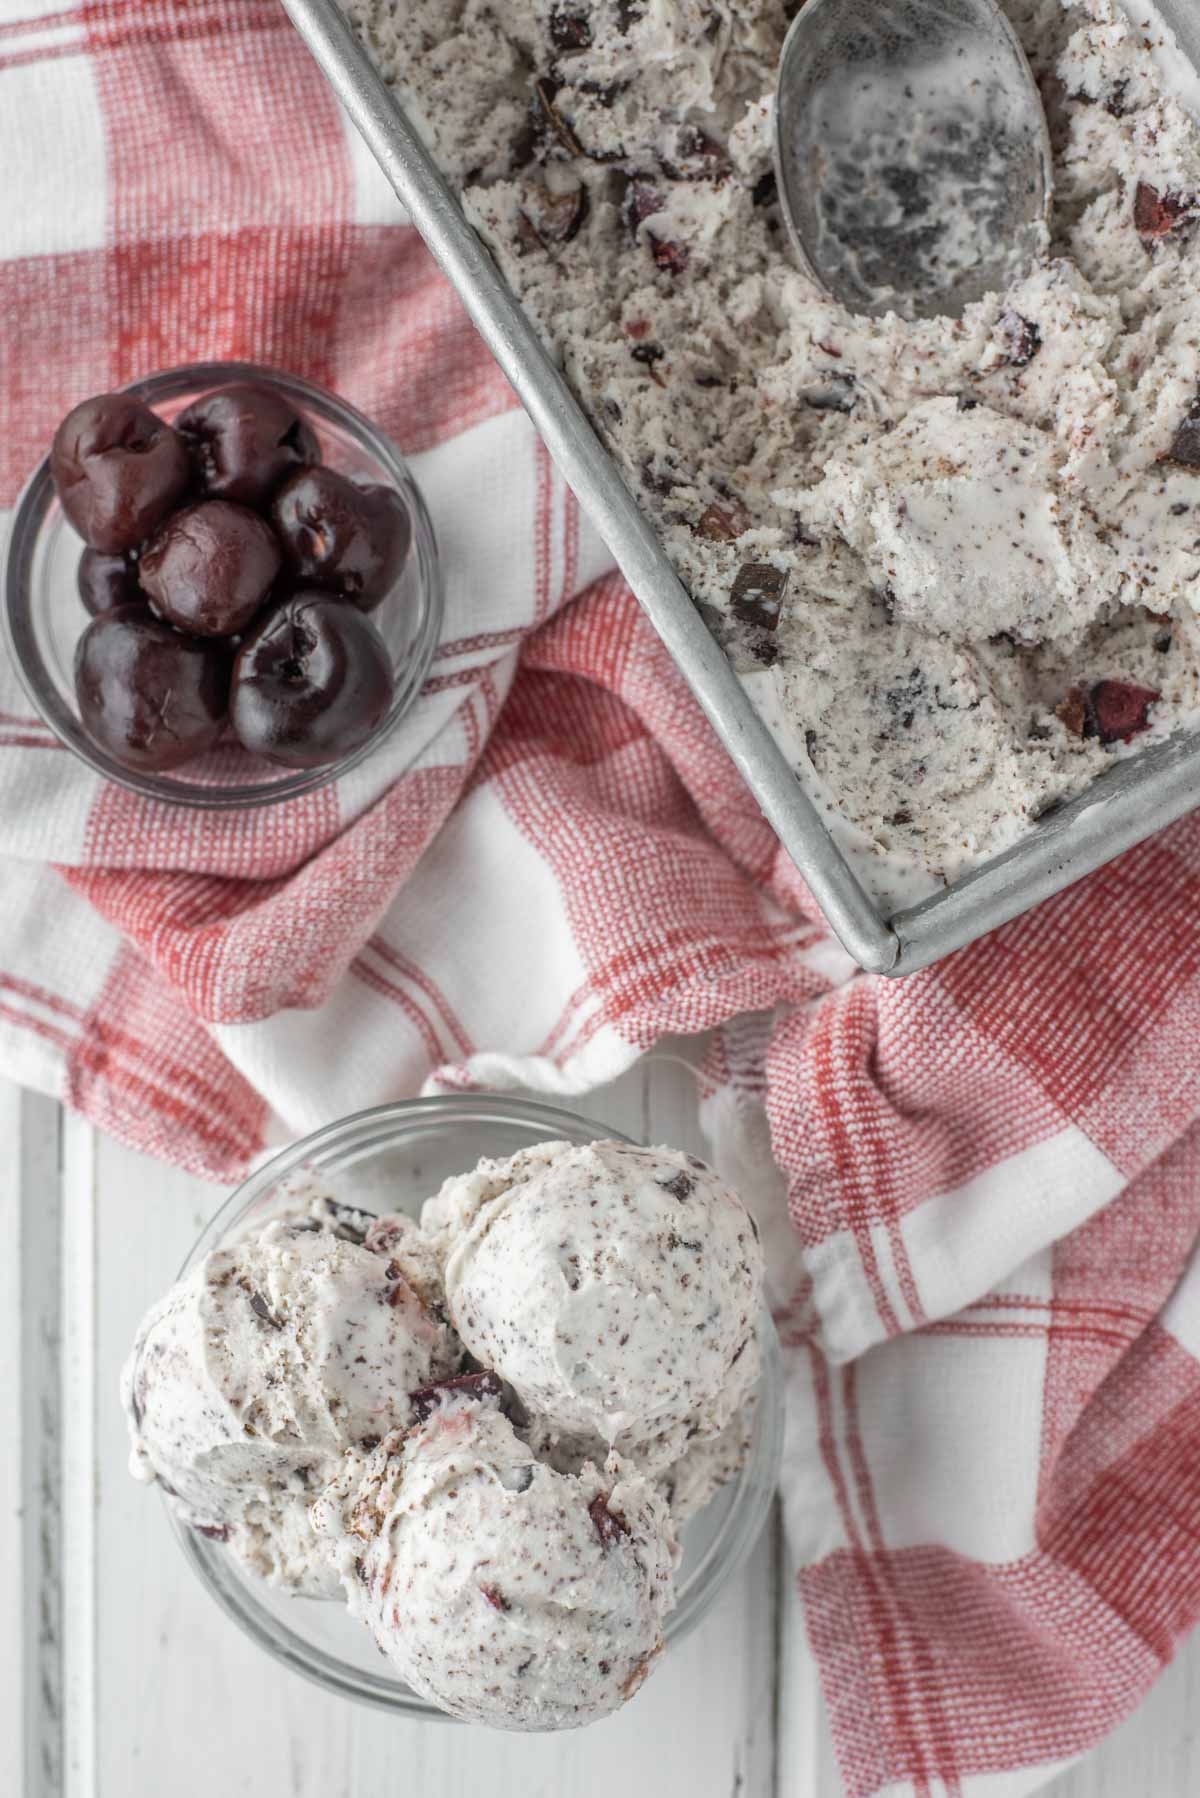
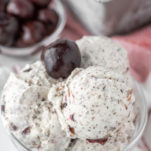
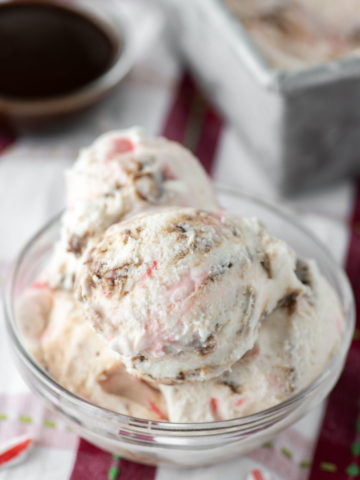
Loaded with cherries and chocolate chunks, this cherry chocolate chunk ice cream is inspired by Ben & Jerry's famous Cherry Garcia ice cream.
Who doesn't love ice cream? From strawberry ice cream to s'mores ice cream, the options are really endless.
But more importantly who doesn't love Ben & Jerry's ice cream? Ben & Jerry's actually releases their most popular flavors at the end of every year and for the longest time Cherry Garcia was their most popular flavor. This past year, Cherry Garcia checked in at #2, behind Half Baked, which I can agree with.
I'm a sucker for cookie dough, but I've got nothing against Cherry Garcia ice cream, which is why I'm making it today.
Both Lauren and I are huge ice cream fans, which can be a problem. If there is ice cream in the freezer, we're more than likely going to have some after dinner. So, we do our best to not have it in the freezer too often. I'll give you a hint... we aren't doing too well at this.
There are chocolate lovers, vanilla lovers and even fruit lovers when it comes to ice cream. So why not combine them all and make a unique version with this cherry chocolate chip ice cream.
Homemade ice cream is actually easier than most people think, especially if you're using something like a Cuisinart ice cream maker. So with that in mind, here is our take on Cherry Garcia ice cream. And don't forget, ice cream is always better with some chocolate syrup on top!
Jump to:
Recipe Ingredients
- Granulated sugar - adds sweetness to the ice cream.
- Salt - enhances the flavor.
- Xanthan gum - helps prevent ice crystals from forming.
- Heavy cream - creates the creamy texture you expect.
- Whole milk - using a good ratio of cream to milk is important.
- Light corn syrup - adds sweetness and prevents ice crystals.
- Vanilla extract - additional flavor for the Cherry Garcia ice cream.
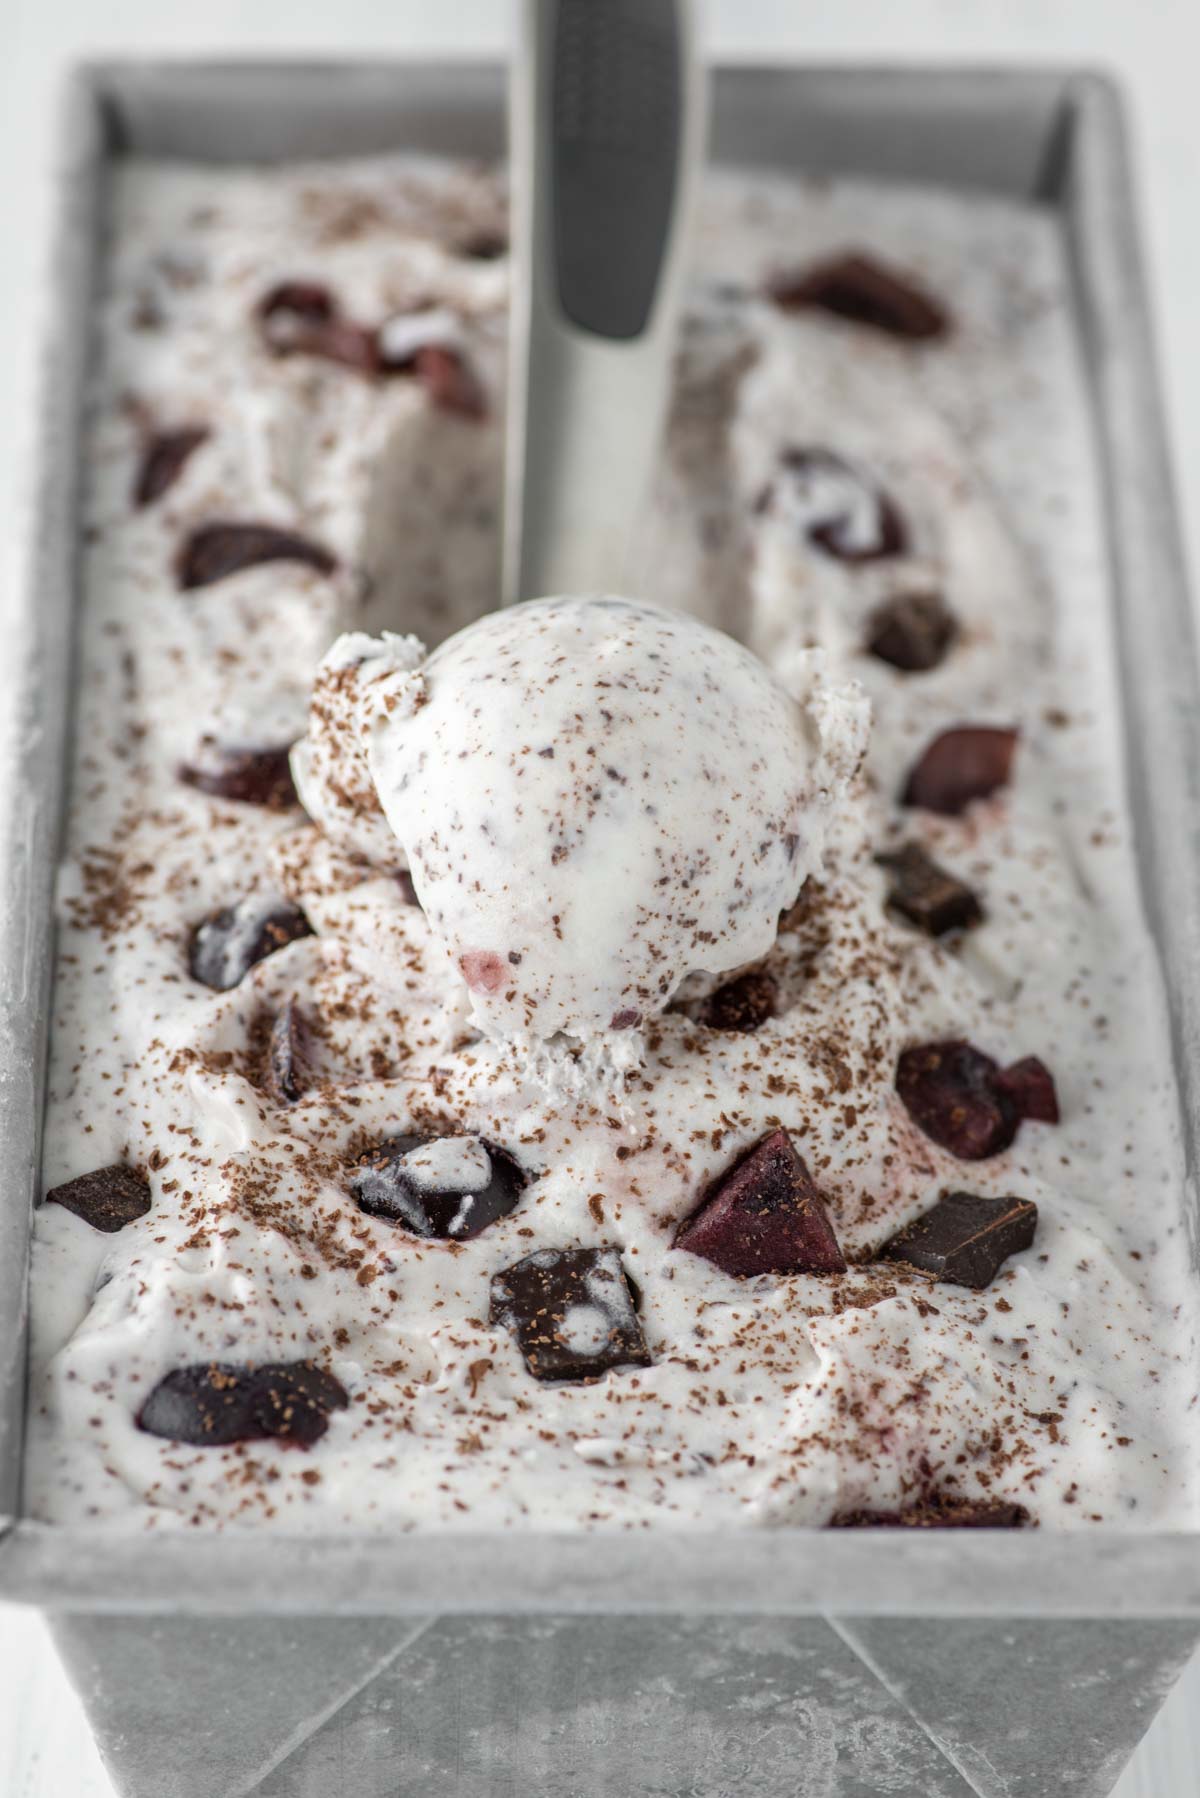
- Chocolate - chunks and shaved chocolate adds texture and flavor.
- Cherries - use sweet cherries. If you have extra, you can always use them to make cherry scones.
How to Make Ice Cream
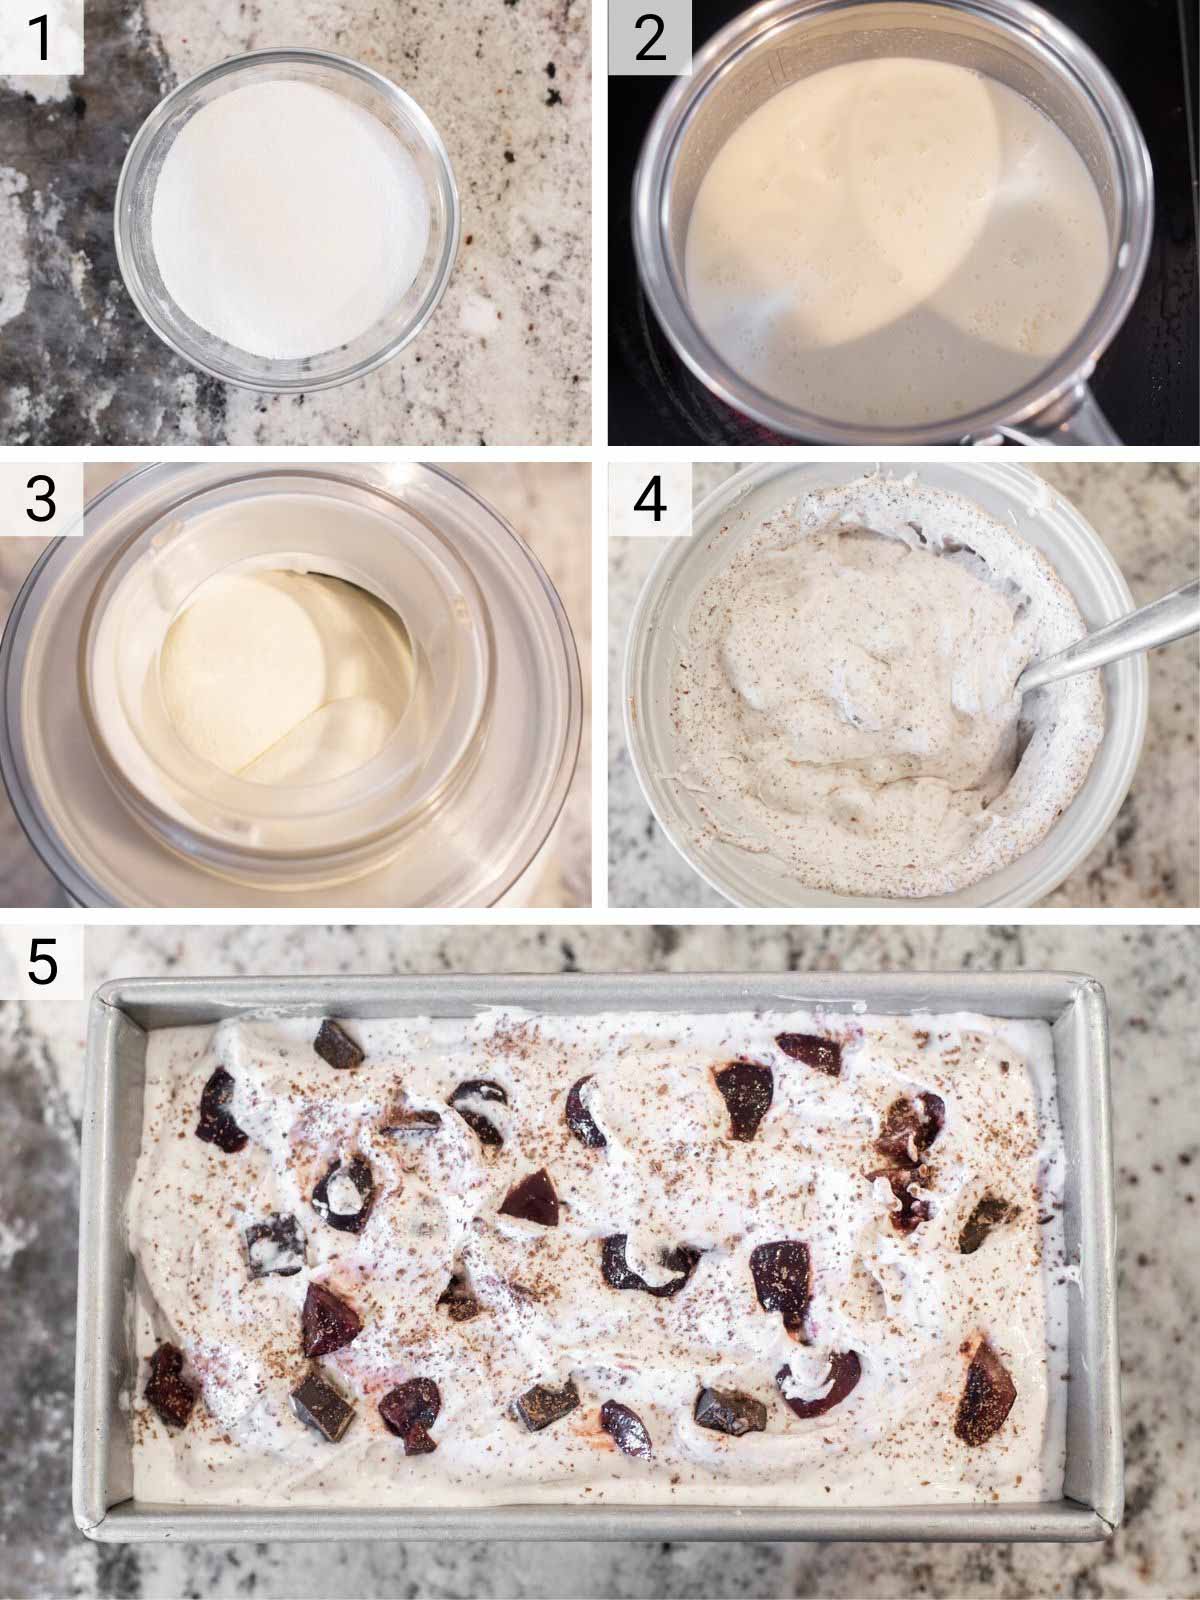
- Combine the dry ingredients in a small bowl.
- Heat the cream, milk and corn syrup in medium pot over medium heat. Add the sugar mixture and whisk until there aren't any lumps. Cook for about 2-3 minutes or until the sugar is dissolved. Remove from the heat and cover and put in the fridge for at least 6 hours or overnight.
- Once ready to make the ice cream, stir in the vanilla extract. Pour into the ice cream maker and churn for 20 minutes.
- Once the ice cream looks down, slowly add the chopped cherries and chocolate and churn for another 30 seconds.
- Transfer the homemade ice cream to a container and freeze for at least 4 hours.
FAQs
Bing cherries, which are the most common and easily accessible cherry is best. While is always better, you can use frozen cherries for the cherry chocolate chunk ice cream.
So this was actually something new I learned by watching the Tasty video. Xanthan gum helps stabilize the ice cream and prevents ice crystals from forming.
The usual problem with homemade ice cream is it will only lasts a couple of days before ice crystals form. But the xanthan gum helps battle this.
You can although I highly recommend trying to use whole milk and heavy cream as the high fat content creates the creamy texture when the ice cream is cooled.
Nearly any type of milk will work, and you can substitute half-and-half for the cream. But just keep in mind, it won’t be as creamy and could get icy.
It may be the cheapest one available, but the 1.5 quart Cuisinart Ice Cream Maker is super simple to use and makes the best ice cream at home.
Homemade Ice Cream Tips
- Use the best ingredients – when making ice cream you want to use the best ingredients possible so use free-range eggs and organic milk and cream. Also use high quality products when it comes to added flavorings like vanilla or chocolate. Never use imitation vanilla.
- Don’t cut the fat and calories – ice cream is not the dessert that you should be cutting the fat. It depends on the high-fat content to create a creamy texture. If you go lower fat, it will cause an icy ice cream. If you’re on a diet, just have a smaller scoop!
- Add extract at right time – if you add an extract or alcohol while the custard is too hot, you won’t get the actual flavor as it will cook out slightly. Just wait until right before you pour the custard into the ice cream maker to add it.
- Chill the custard – you don’t necessarily need to chill the custard overnight, but you want to chill until it is as cold as possible.
- Use frozen bowl – make sure your ice cream bowl has been frozen for at least 24 hours, otherwise you aren’t giving the ice cream a great chance of freeze.
- Start ice cream motor first – do not pour the custard in the frozen bowl before starting the ice cream maker. It will start freezing upon contact. You want the motor running and slowly pour the custard in.
- Add mix-ins at the end – never add your mix-ins at the beginning of the process. You want to add them when it looks like there is about a minute left in the churning process.
- Don’t overchurn – always error on the side of caution when it comes to churning your homemade ice cream. You do not want it to be hard. Remember it will continue to freeze once you place in the freezer.
- Keep it creamy – homemade ice cream can turn hard as we don’t add preservatives, however xanthan gum or a couple tablespoon of vodka will help keep it creamy.
Other Ice Cream Recipes
- Vanilla Bean Ice Cream
- Salted Caramel Ice Cream
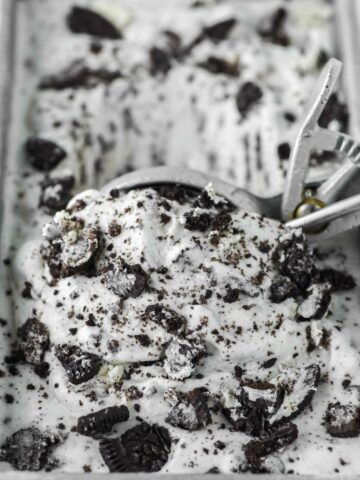
- Oreo Ice Cream
- Peppermint Ice Cream
- Malted Cookie Dough Ice Cream
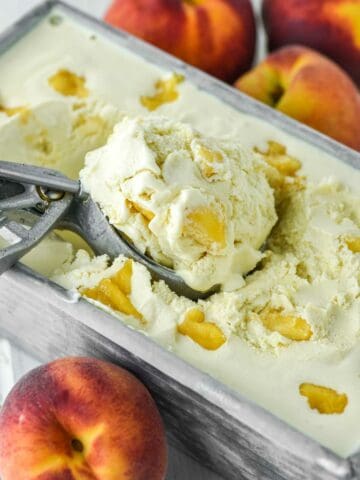
If you’ve tried this copycat Cherry Garcia ice cream or any other recipe on Chisel & Fork, please let me know how it turned out in the comments below. And if you like fruit in your ice cream, you can't go wrong with peaches and cream ice cream! You can also follow me on Facebook, Instagram, Pinterest and YouTube to see more tasty meals and anything else I'm up to.
Cherry Garcia Ice Cream
Ingredients
- ½ cup + 1 tbsp granulated sugar
- ½ teaspoon salt
- ¼ teaspoon xanthan gum
- 2 cups heavy cream
- 1 cup whole milk
- 2 tablespoon light corn syrup
- 1 teaspoon vanilla extract
- 1 cup sweet cherries, pits removed and chopped in quarters
- ¾ cup dark chocolate, chopped
- ¼ cup dark chocolate, shaved
Instructions
- In a small bowl, combine the sugar, salt and xanthan gum.
- Heat a medium pot over medium heat and add the cream, milk and corn syrup, whisking to combine. Whisk in the sugar mixture until there are no lumps. Cook until the sugar is dissolved, about 2-3 minutes. Remove the pot from heat. Cover and refrigerate for at least 6 hours or overnight.
- Before pouring in ice cream maker, stir in vanilla extract. Pour the mixture into an ice cream machine and churn for about 20 minutes (follow your ice cream maker directions).
- Once desired consistency, slowly add the cherries and chocolate to the ice cream maker and churn for 30 seconds longer until mixed through.
- Pour ice cream into a container and freeze in freezer for 4+ hours to get a desired consistency. Ice cream will last up to 6 months.
Notes
- Use the best ingredients – when making ice cream you want to use the best ingredients possible so use free-range eggs and organic milk and cream. Also use high quality products when it comes to added flavorings like vanilla or chocolate. Never use imitation vanilla.
- Don’t cut the fat and calories – ice cream is not the dessert that you should be cutting the fat. It depends on the high-fat content to create a creamy texture. If you go lower fat, it will cause an icy ice cream. If you’re on a diet, just have a smaller scoop!
- Add extract at right time – if you add an extract or alcohol while the custard is too hot, you won’t get the actual flavor as it will cook out slightly. Just wait until right before you pour the custard into the ice cream maker to add it.
- Chill the custard – you don’t necessarily need to chill the custard overnight, but you want to chill until it is as cold as possible.
- Use frozen bowl – make sure your ice cream bowl has been frozen for at least 24 hours, otherwise you aren’t giving the ice cream a great chance of freeze.
- Start ice cream motor first – do not pour the custard in the frozen bowl before starting the ice cream maker. It will start freezing upon contact. You want the motor running and slowly pour the custard in.
- Add mix-ins at the end – never add your mix-ins at the beginning of the process. You want to add them when it looks like there is about a minute left in the churning process.
- Don’t overchurn – always error on the side of caution when it comes to churning your homemade ice cream. You do not want it to be hard. Remember it will continue to freeze once you place in the freezer.
- Keep it creamy – homemade ice cream can turn hard as we don’t add preservatives, however xanthan gum or a couple tablespoon of vodka will help keep it creamy.
Leave a Reply