This post may contain affiliate links. Please read my disclosure.
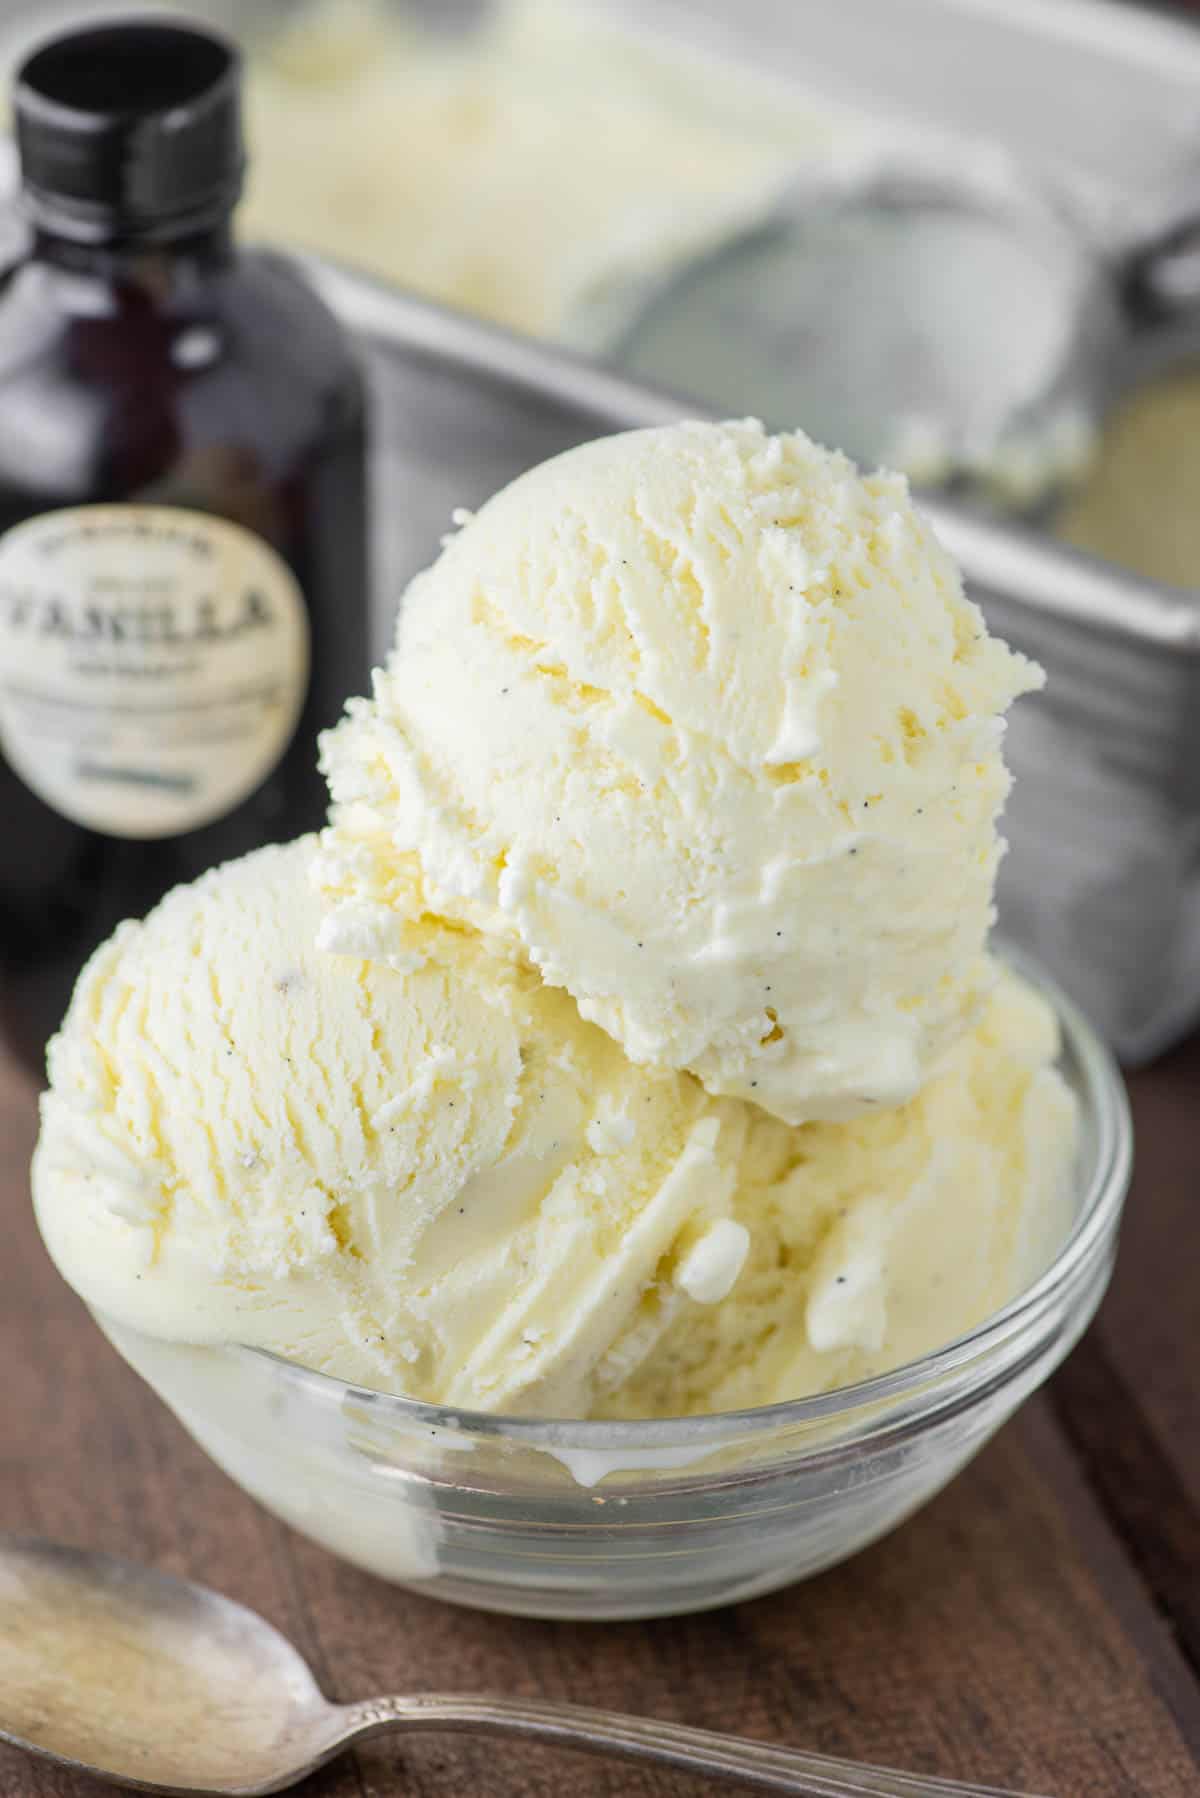
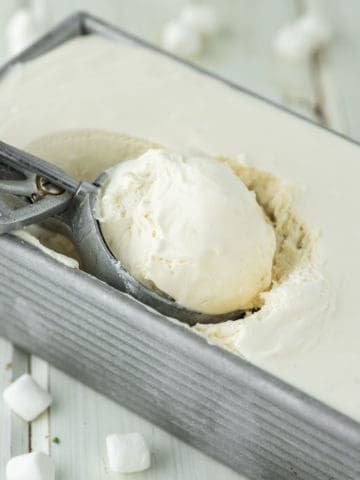
Loaded not only with seeds from fresh vanilla beans, but homemade vanilla extract as well, this vanilla bean ice cream is hard to top! There isn't much better than homemade ice cream.
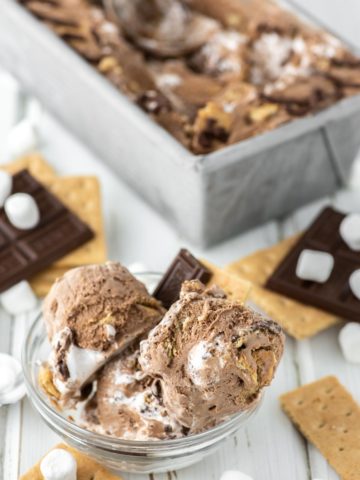
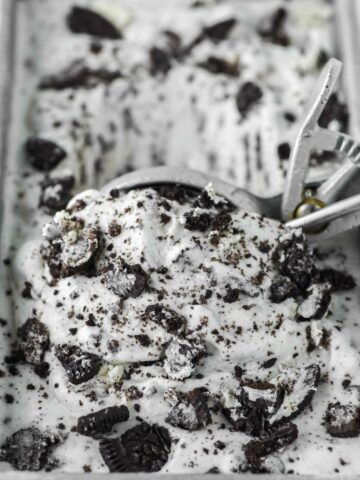
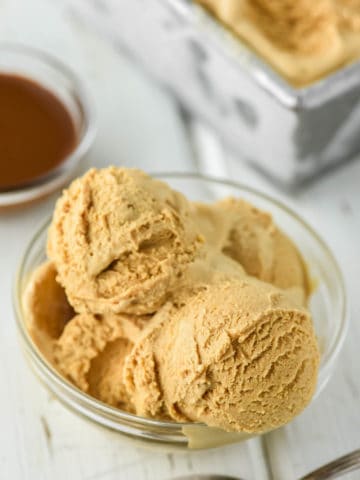
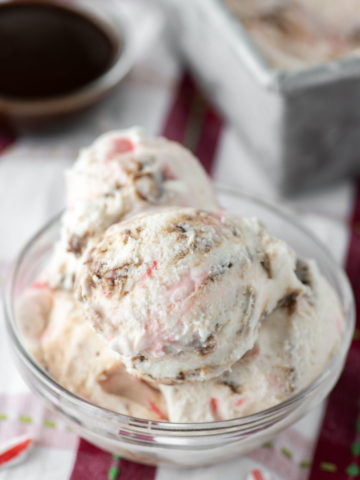
When I make homemade ice cream these days, it is at the top of the list as well as graham cracker ice cream, malted cookie dough ice cream, strawberry ice cream and chocolate Oreo ice cream.
When it comes to ice cream, most people are either team chocolate or team vanilla. There is a reason they are the top 2 most popular in the country.
But for me, I like both, depending on my mood. And this vanilla bean ice cream hits the spot when I'm craving vanilla.
Why This Recipe Works
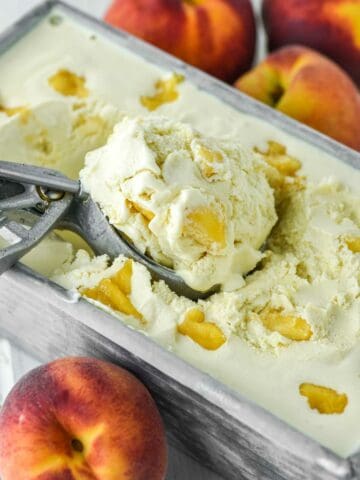
- Vanilla lovers - if you are a fan of vanilla, this ice cream is vanilla on steroids. It also makes for a great base for peaches and cream ice cream.
- Better than store-bought - the beauty of homemade ice cream is you know what you're putting in it and it tastes better than anything at the grocery store.
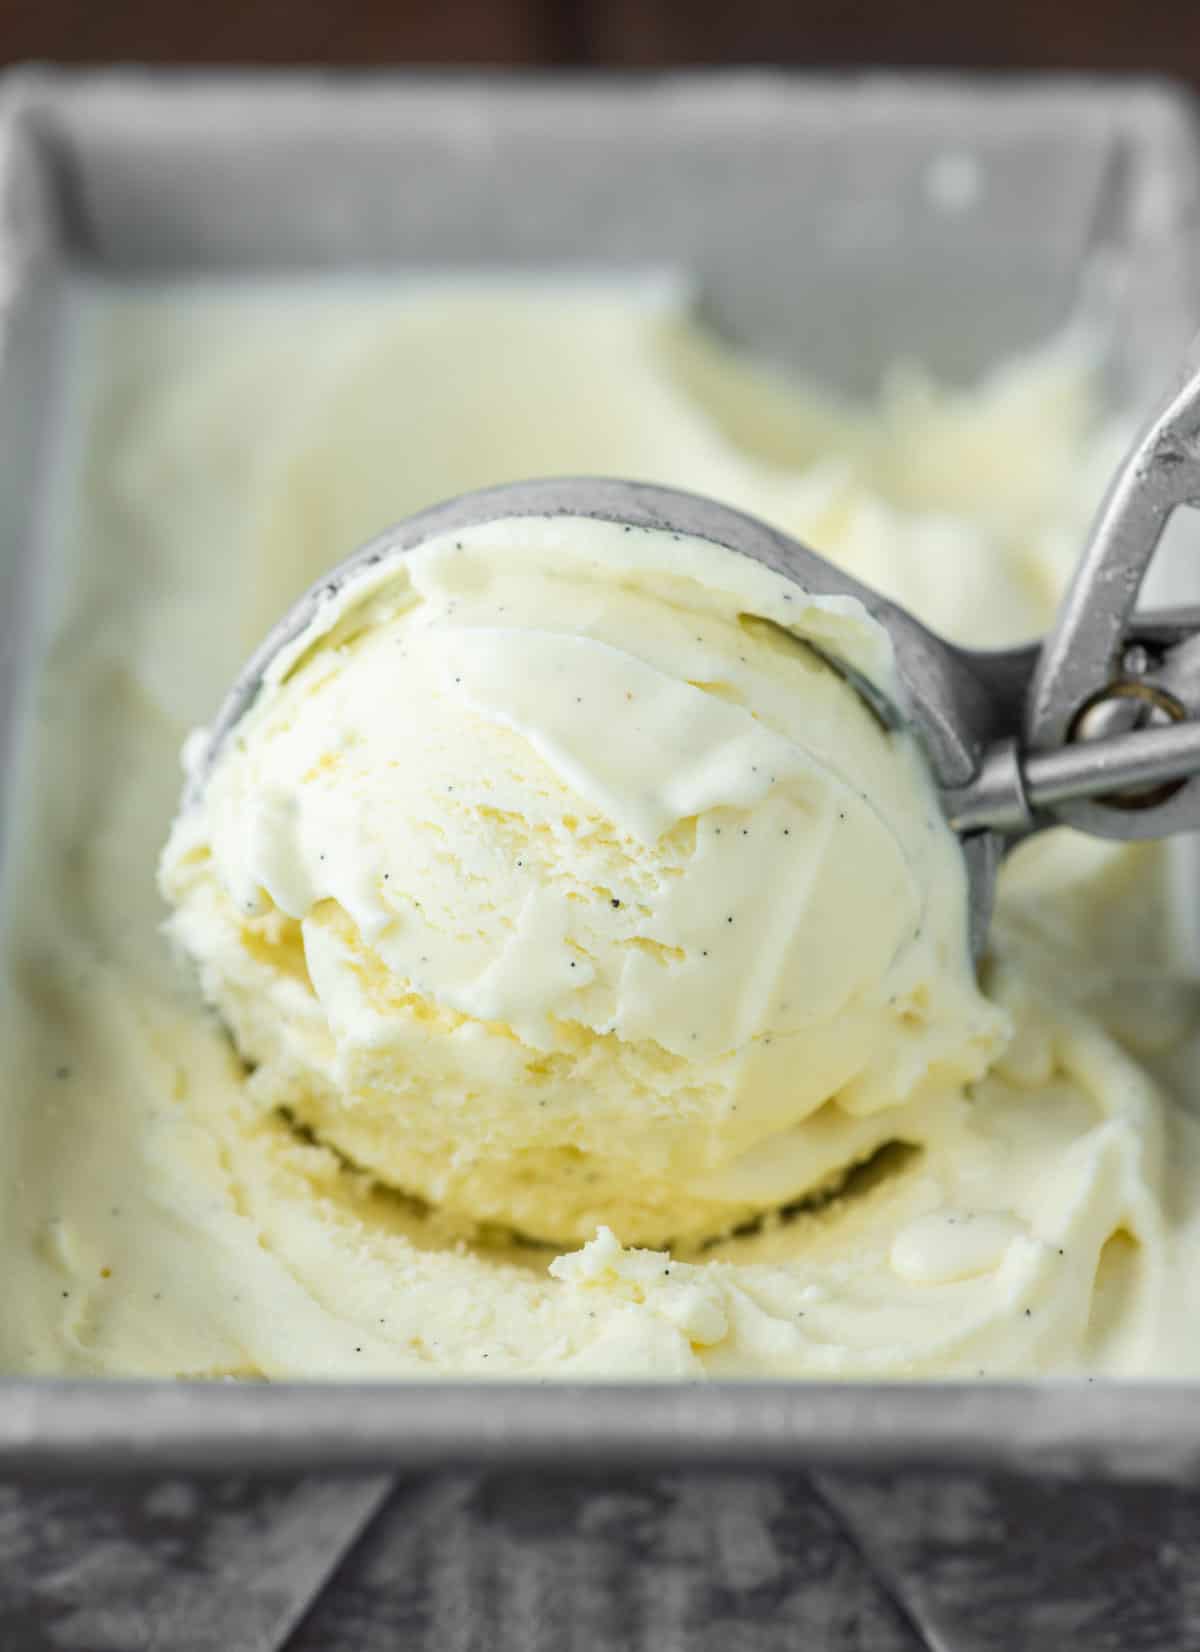
- Impress guests - by making enough for 10-12 scoops, depending on the size, you have enough ice cream for a party.
Jump to:
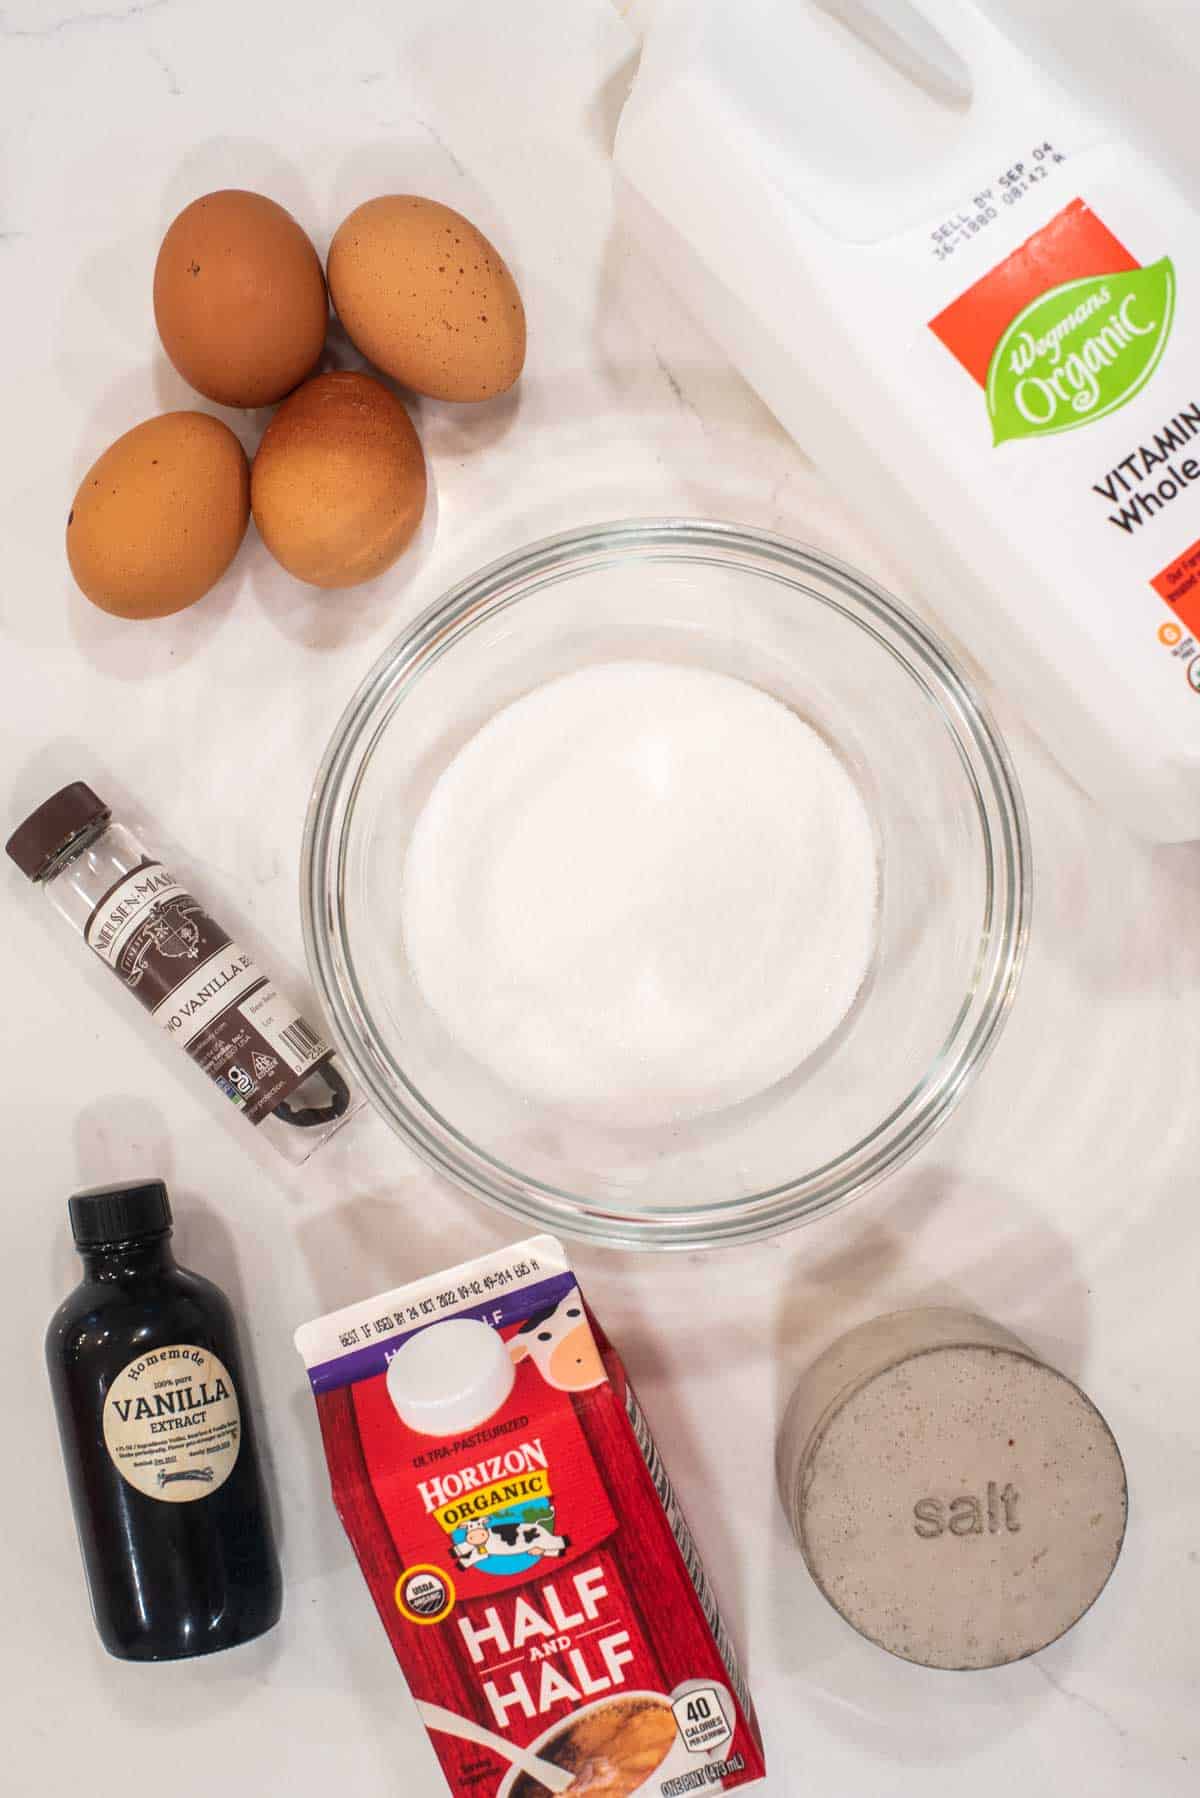
Recipe Ingredients
- Heavy cream and milk - the 2:1 ratio of heavy cream to milk gives you the right fat content to create that creamy texture you except with ice cream.
- Madagascar vanilla bean - gives that deep vanilla flavor.
- Eggs - important in stabilizing the ice cream and adds extra richness.
- Granulated sugar - where the sweetness comes from.
- Vanilla extract and salt - enhances the flavor.
Ingredient Swaps
As with any recipe, you can switch things up if needed. Some variations include:
- Whole milk and heavy cream are my go-tos, but you can also use any skim milk and half-and-half if needed. It just won't be as creamy.
- I'm a fan of the Madagascar vanilla bean, as it has that classic vanilla flavor so well-known but the Tahitian vanilla bean can be used as well. It has a slightly more floral note.
- I use granulated in this ice cream recipe, but light brown sugar is a good substitute and offers a slightly different flavor.
Step-by-Step Photos
Please note full ingredient list and instructions can be found in recipe card below.
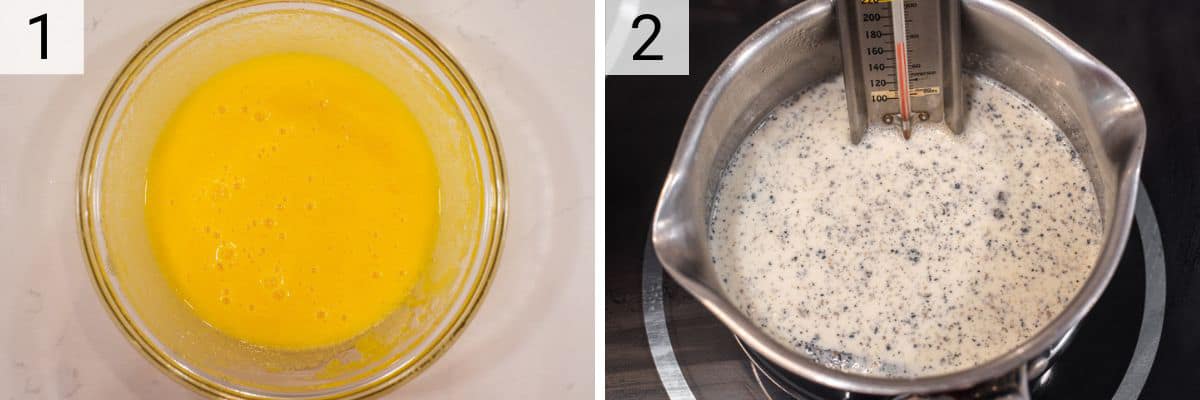
Whisk the egg yolks with the sugar until incorporated and the mixture is thick and pale yellow.
Split the vanilla bean in half and scrape out the seeds. Add to a saucepan over medium-low heat with the cream and milk. Heat until it reaches 165°F.
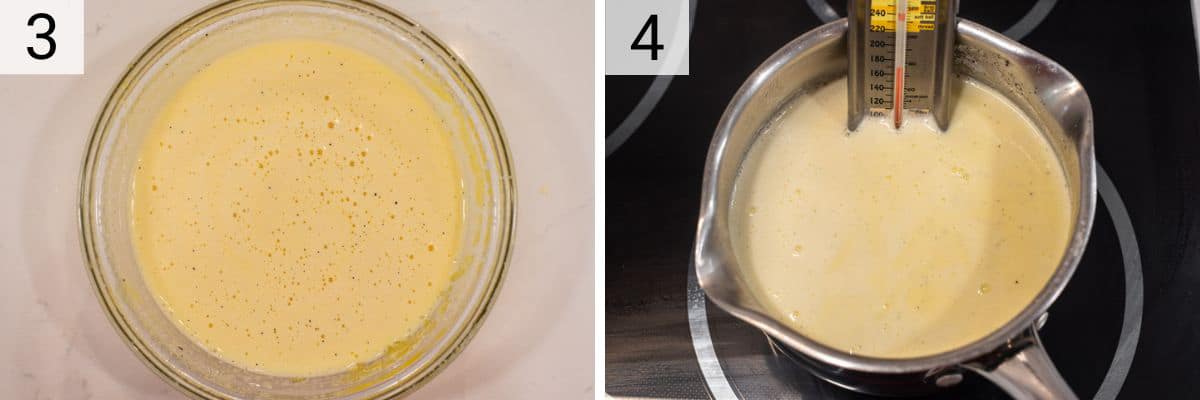
Temper the egg yolks by slowing adding some of the hot cream mixture and whisk constantly.
Now add it back into the saucepan and heat on low until it reaches 165°F. Pour through a fine mesh strainer and let cool before refrigerating for 4 hours or overnight.
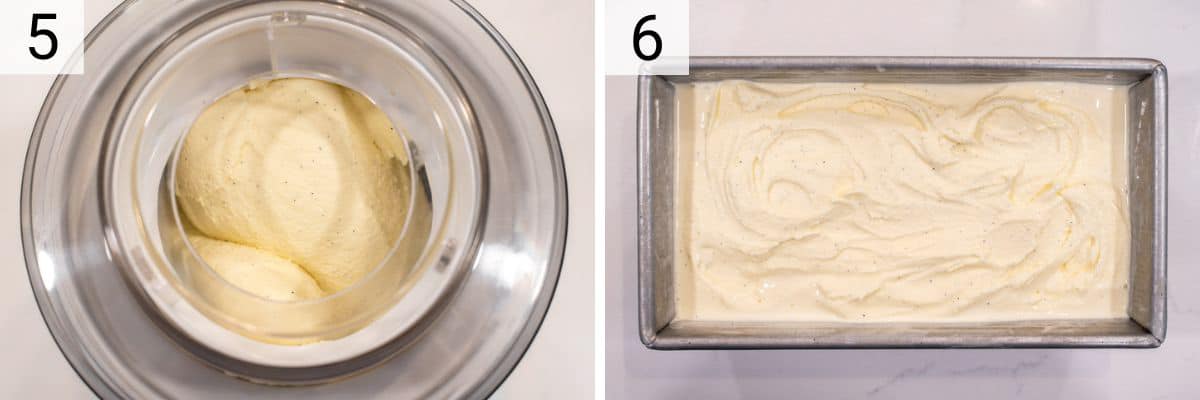
Once ready, stir in the vanilla extract and salt and then pour into an ice cream machine while it is churning. Churn for 20 minutes or until desired consistency is reach. Transfer to an airtight container and freeze until solid.
FAQs
It may be the cheapest one available, but the Cuisinart Ice Cream Maker is super simple to use and makes the best ice cream at home.
You can although I highly recommend trying to use whole milk and heavy cream as the high fat content creates the creamy texture when the ice cream is cooled.
Nearly any type of milk will work, and you can substitute half-and-half for the cream. But just keep in mind, it won't be as creamy and could get icy.
Yes. It is done for two reasons. One is by heating the milk and cream then allowing the vanilla beans to steep you infuse more flavor into the ice cream.
The second and more important reason is when adding the eggs, while the chance is very small, if you bring to 165°F you kill the risk of salmonella.
No, but it makes all the difference in the world. It isn't tilted "Vanilla Bean Ice Cream" for no reason.
Just use one tablespoon of vanilla extract instead of you don't want to buy a fresh vanilla bean. You won't get the little speaks of vanilla throughout your ice cream however!
So in general, eggs help prevent ice crystals but I also add Xanthan gum a lot of times to my recipes. Xanthan gum helps stabilize the ice cream and prevents ice crystals from forming.
The usual problem with homemade ice cream is it will only lasts a couple of days before ice crystals form. But the Xanthan gum helps battle this. Just add ¼ teaspoon to the sugar and egg yolks.
How to Temper Eggs
If you've never tempered eggs, it can be a little intimidating but it actually is quite easy.
Tempering just means you are getting the eggs ready to put in a hot custard. If you just pour the eggs in, they'll scramble, so you want to do it very slowly.
You do this by pouring a few spoonfuls of the hot mixture into the egg yolks, whisking constantly. By doing this, you bring it to temperature of the ice cream mixture. You then slowly pour the egg yolks back in the the mixture and whisk constantly.
You cook for another couple of minutes to kill the bacteria. If you want to 100% make sure you have no scramble eggs, pour it through a fine mesh strainer.
Desserts that Go with Vanilla Bean Ice Cream
The beauty of vanilla ice cream is it goes with so many other desserts. Some options include:
- Apple Pie with Crumb Topping
- Chocolate Lava Cakes
- Spice Cake
- Homemade Cherry Pie
- Chocolate Peanut Butter Skillet Cookie
- Yellow Cake with Chocolate Frosting
- Pumpkin Lava Cake
- Blueberry Crisp
- Butterscotch Cinnamon Pie
Equipment
The equipment you use is important to how the vanilla bean ice cream recipe turns out. What is needed is the following:
- Saucepan - needed to make the custard.
- Candy thermometer - helps you know when the egg mixture reaches temperature where the bacteria is killed.
- Large bowl - used to whisk together the eggs.
- Ice cream maker - churns the base into ice cream.
- Loaf pan - a loaf pan is a good way to keep the ice cream in the freezer.
Pro Tips/Recipe Notes
- Use the Best Ingredients - when making ice cream you want to use the best ingredients possible so use free-range eggs and organic milk and cream. Also use high quality products when it comes to added flavorings like vanilla extract. Never use imitation vanilla.
- Don't Cut the Fat and Calories - ice cream is not the dessert that you should be cutting the fat. It depends on the high-fat content to create a creamy texture. If you go lower fat, it will cause an icy ice cream. If you're on a diet, just have a smaller scoop!
- Add Extract at Right Time - if you add an extract or alcohol while the custard is too hot, you won't get the actual flavor as it will cook out slightly. Just wait until right before you pour the custard into the ice cream maker to add it.
- Chill the Custard - you don't necessarily need to chill the custard overnight, but you want to chill until it is as cold as possible.
- Use Frozen Bowl - make sure your ice cream bowl has been frozen for at least 24 hours, otherwise you aren't giving the ice cream a great chance of freeze.
- Start Ice Cream Motor First - do not pour the custard in the frozen bowl before starting the ice cream maker. It will start freezing upon contact. You want the motor running and slowly pour the custard in.
- Don't Overchurn - always error on the side of caution when it comes to churning your ice cream. You do not want it to be hard. Remember it will continue to freeze once you place in the freezer.
- Keep It Creamy - homemade ice cream can turn hard as we don't add preservatives, however Xanthan gum or a couple tablespoon of vodka will help keep it creamy.
Other Ice Cream Recipes
If you’ve tried this vanilla bean ice cream or any other recipe on Chisel & Fork, please let me know how it turned out in the comments below! You can also follow me on Facebook, Instagram, Pinterest and YouTube to see more tasty meals and anything else I'm up to.
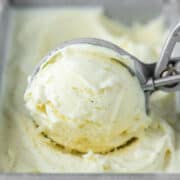
Vanilla Bean Ice Cream
Ingredients
- 2 cups heavy cream
- 1 cup whole milk
- 1 Madagascar vanilla bean, seeds scraped out
- 4 egg yolks
- ⅔ cup granulated sugar
- 1 teaspoon vanilla extract
- ⅛ teaspoon salt
Instructions
- Combine milk and cream in a medium-sized saucepan over medium-low heat. Split the vanilla bean in half lengthwise and scrape the seeds with a knife and add to mixture. Stirring occasionally, heat until the mixture reaches a temperature of 165°F and bubbles start to form around the edges.
- While the milk mixture is heating, whisk the egg yolks together until smooth in a heatproof bowl. Gradually whisk in the sugar until well incorporated and the mixture is thick and a pale yellow color.
- Temper the egg yolks by very slowly pouring the hot milk mixture while whisking constantly. Pour this mixture back into the saucepan and heat, stirring frequently, on low heat to a temperature of 165°F. The mixture should be slightly thickened, enough to coat the back of a spoon. It should not come to a boil.
- Pour the custard mixture through a fine mesh strainer into a clean bowl in an ice bath to cool the mixture completely, stirring constantly. Cover and refrigerate at least 4 hours or overnight.
- Remove the custard from the refrigerator and stir in the vanilla extract and salt. Pour the mixture into an ice cream machine and churn for about 20 minutes (follow your ice cream maker directions).
- Transfer ice cream to airtight container and freeze until solid, about 2 hours.
Notes
- Use the Best Ingredients - when making ice cream you want to use the best ingredients possible so use free-range eggs and organic milk and cream. Also use high quality products when it comes to added flavorings like vanilla or chocolate. Never use imitation vanilla.
- Don't Cut the Fat and Calories - ice cream is not the dessert that you should be cutting the fat. It depends on the high-fat content to create a creamy texture. If you go lower fat, it will cause an icy ice cream. If you're on a diet, just have a smaller scoop!
- Add Extract at Right Time - if you add an extract or alcohol while the custard is too hot, you won't get the actual flavor as it will cook out slightly. Just wait until right before you pour the custard into the ice cream maker to add it.
- Chill the Custard - you don't necessarily need to chill the custard overnight, but you want to chill until it is as cold as possible.
- Use Frozen Bowl - make sure your ice cream bowl has been frozen for at least 24 hours, otherwise you aren't giving the ice cream a great chance of freeze.
- Start Ice Cream Motor First - do not pour the custard in the frozen bowl before starting the ice cream maker. It will start freezing upon contact. You want the motor running and slowly pour the custard in.
- Don't Overchurn - always error on the side of caution when it comes to churning your ice cream. You do not want it to be hard. Remember it will continue to freeze once you place in the freezer.
- Keep It Creamy - homemade ice cream can turn hard as we don't add preservatives, however Xanthan gum or a couple tablespoon of vodka will help keep it creamy.
Chris says
Really not much better than vanilla ice cream!