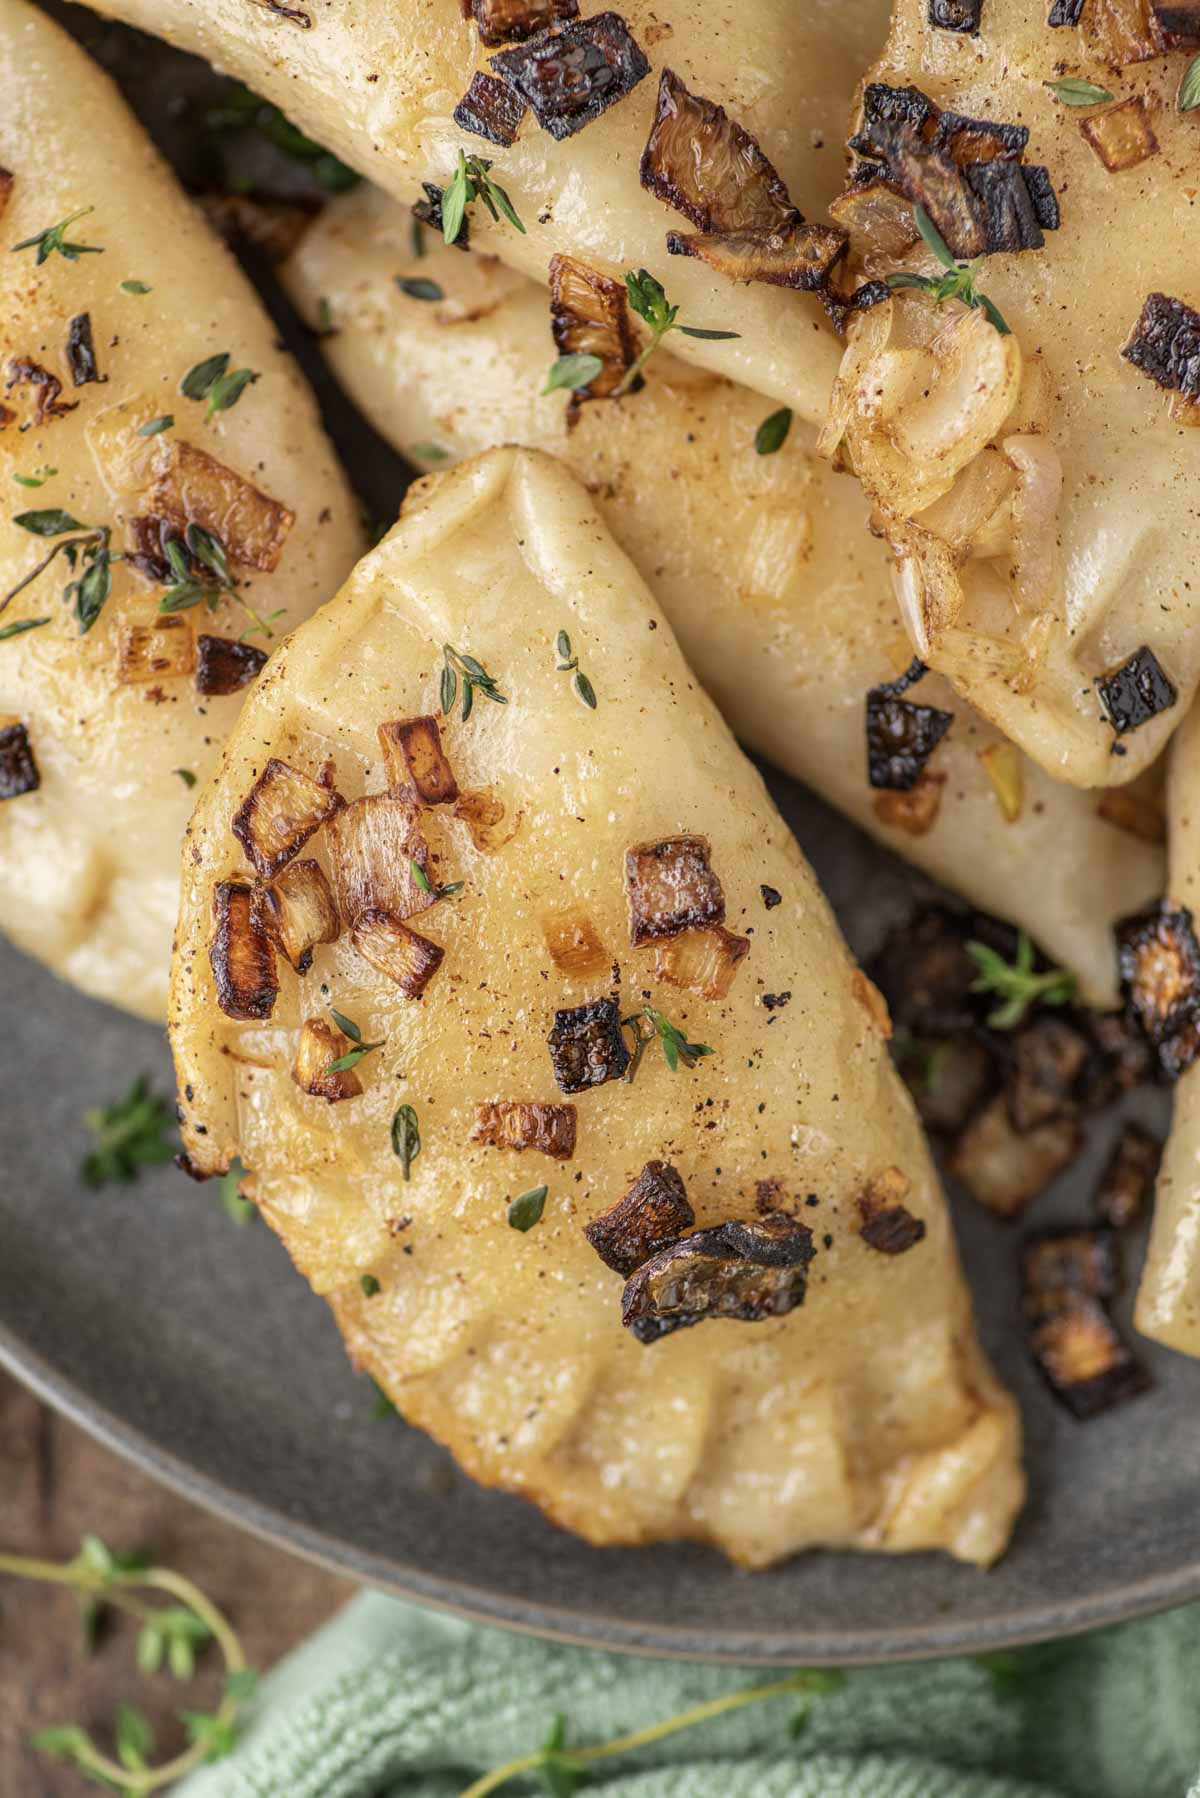
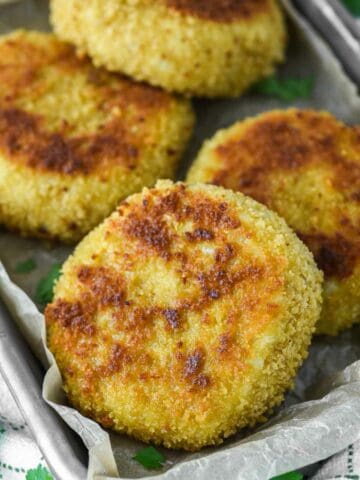
Inspired by a dish where the popularity knows no bounds in Poland, these homemade pierogies with cheddar cheese might make you think you're in Poland eating them!

Ahh homemade pierogies! Who doesn't love them? Well surprisingly, my wife had never even had them until I met her. Portland is well-known for their food carts and there was one particular place that had the best pierogies. Every time I walked by it I had to buy some, so naturally I introduced it to Lauren and she was immediately hooked.
If you've never had them I feel quite sorry for you as you're totally missing out. For those who love some history, pierogies actually originated in Poland back in the 13th century. They really took off in the US in the 1960s when grocery stores started carrying frozen pierogies.
With that in mind I have never actually made homemade pierogies. I've always just bought the aforementioned frozen Mrs. T's which aren't bad but not like the ones I had in Portland.
So I recently decided to give it a try. The dough was surprisingly easy. Yes it takes longer and is more work than just buying frozen ones but you'll notice the difference.
You can make these big enough and have enough filling where they are almost a meal in itself but I like to have something with it, whether it's sausage or chicken paprikash. If you're like me and love cheddar pierogies but have never made them, I suggest taking the risk like I did and give them a try.
And if you want a pasta version, you can never go wrong with this pierogi lasagna.
Jump to:
Recipe Ingredients
- All-purpose flour - has the right amount of gluten to create the correct texture for these homemade pierogies.
- Salt - enhances the flavor.
- Vegetable oil - adds some moistness to the dough.
- Mashed potatoes - make your own or buy ready-made mashed potatoes.
- Sharp cheddar cheese - use quality cheese as the flavor comes from it.
- Sour cream - pierogies and sour cream just go together.
- Shallots - used for the filling and the sauce.
- Butter - browning the butter creates a flavorful sauce.
Step-by-Step Instructions
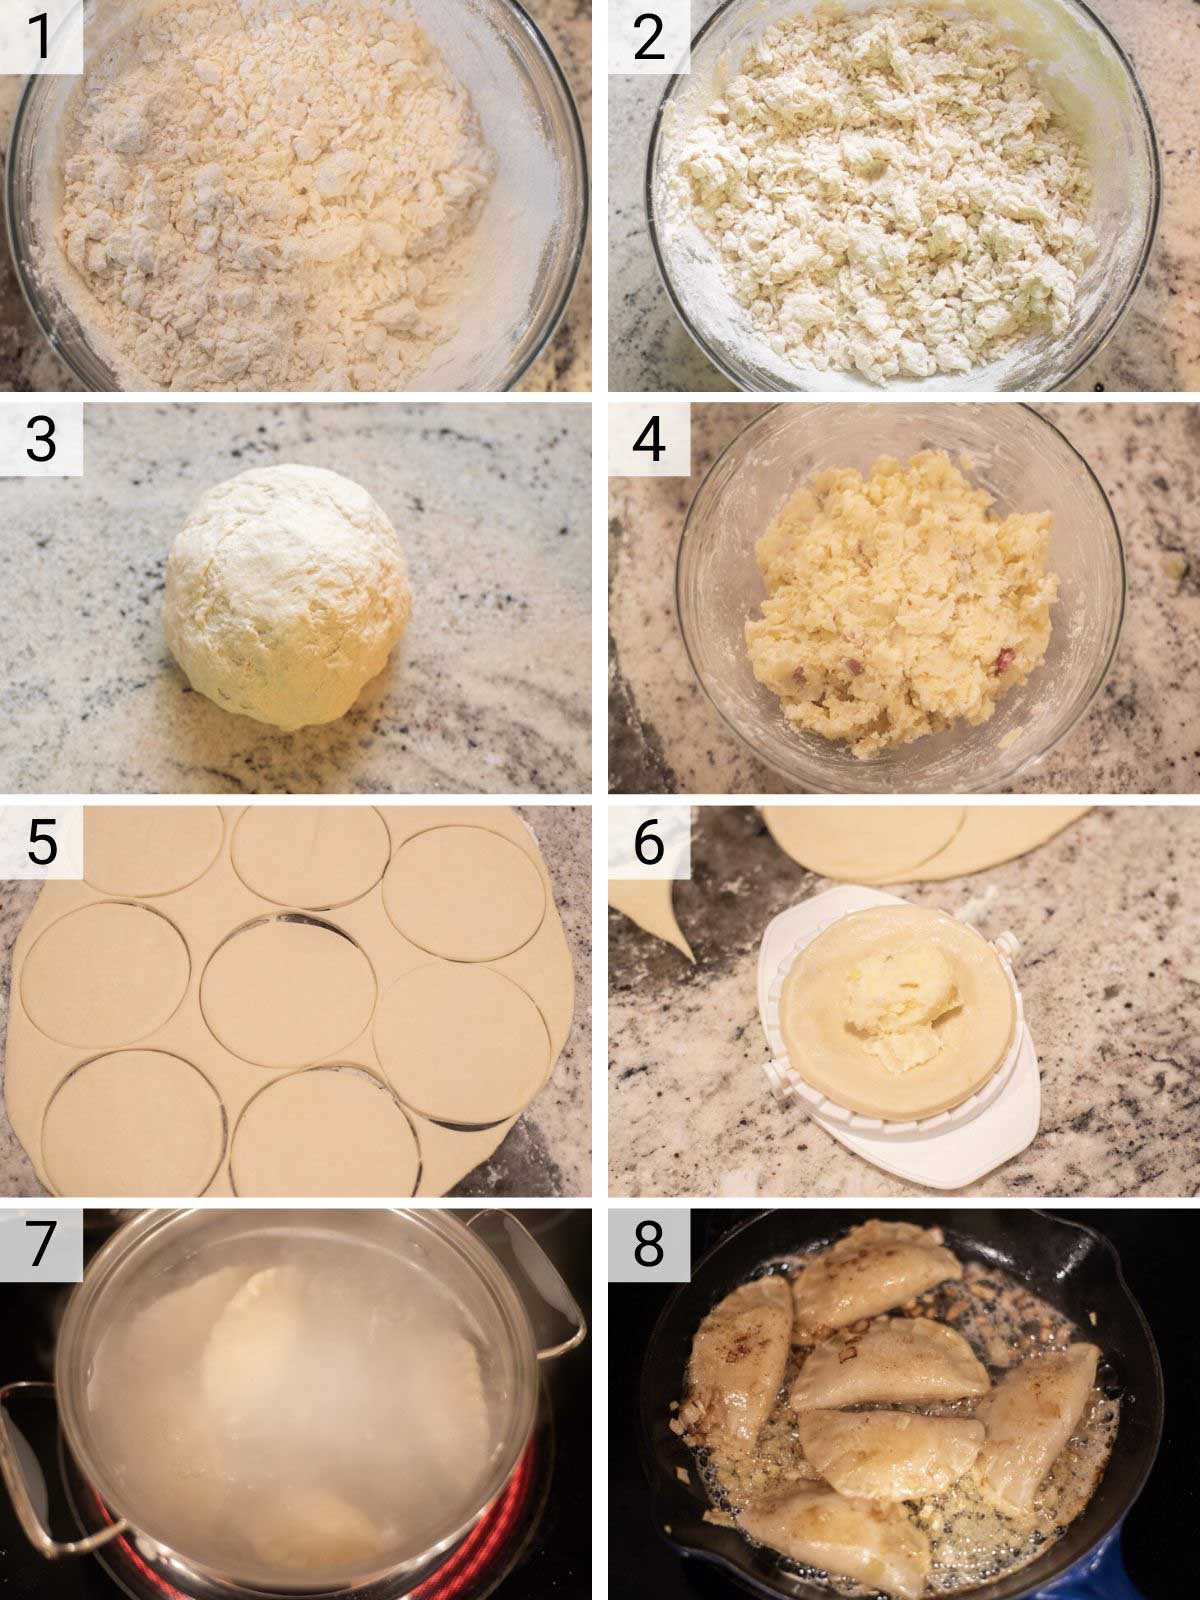
- In large bowl, sift flour. Add ½ teaspoon salt and pour in ¾ cup boiling water, stirring with a wooden spoon. You'll want to break up the clumps. Cover bowl with kitchen towel and set aside for 5 minutes.
- Add ¼ cup cold water to bowl and stir until there are no clumps. Cover again for 15 minutes.
- Add vegetable oil and start kneading until dough becomes smooth. You should knead for 5-10 minutes until dough is stretchy and somewhat adhesive. Cover bowl for 45 minutes.
- Make the filling by mixing together mashed potatoes, cheese, sour cream, sauteed shallots and ½ teaspoon salt. Set aside.
- Roll out dough on flour surface to ⅛" thickness. Use cup or ramekin that is 3-4" in diameter to cut circle.
- Brush some water around edge and place 1 tablespoon of filling in each circle. Fold the dough together and press down edges with fork.
- Boil in pot of salted water for 5 minutes or until pierogies float.
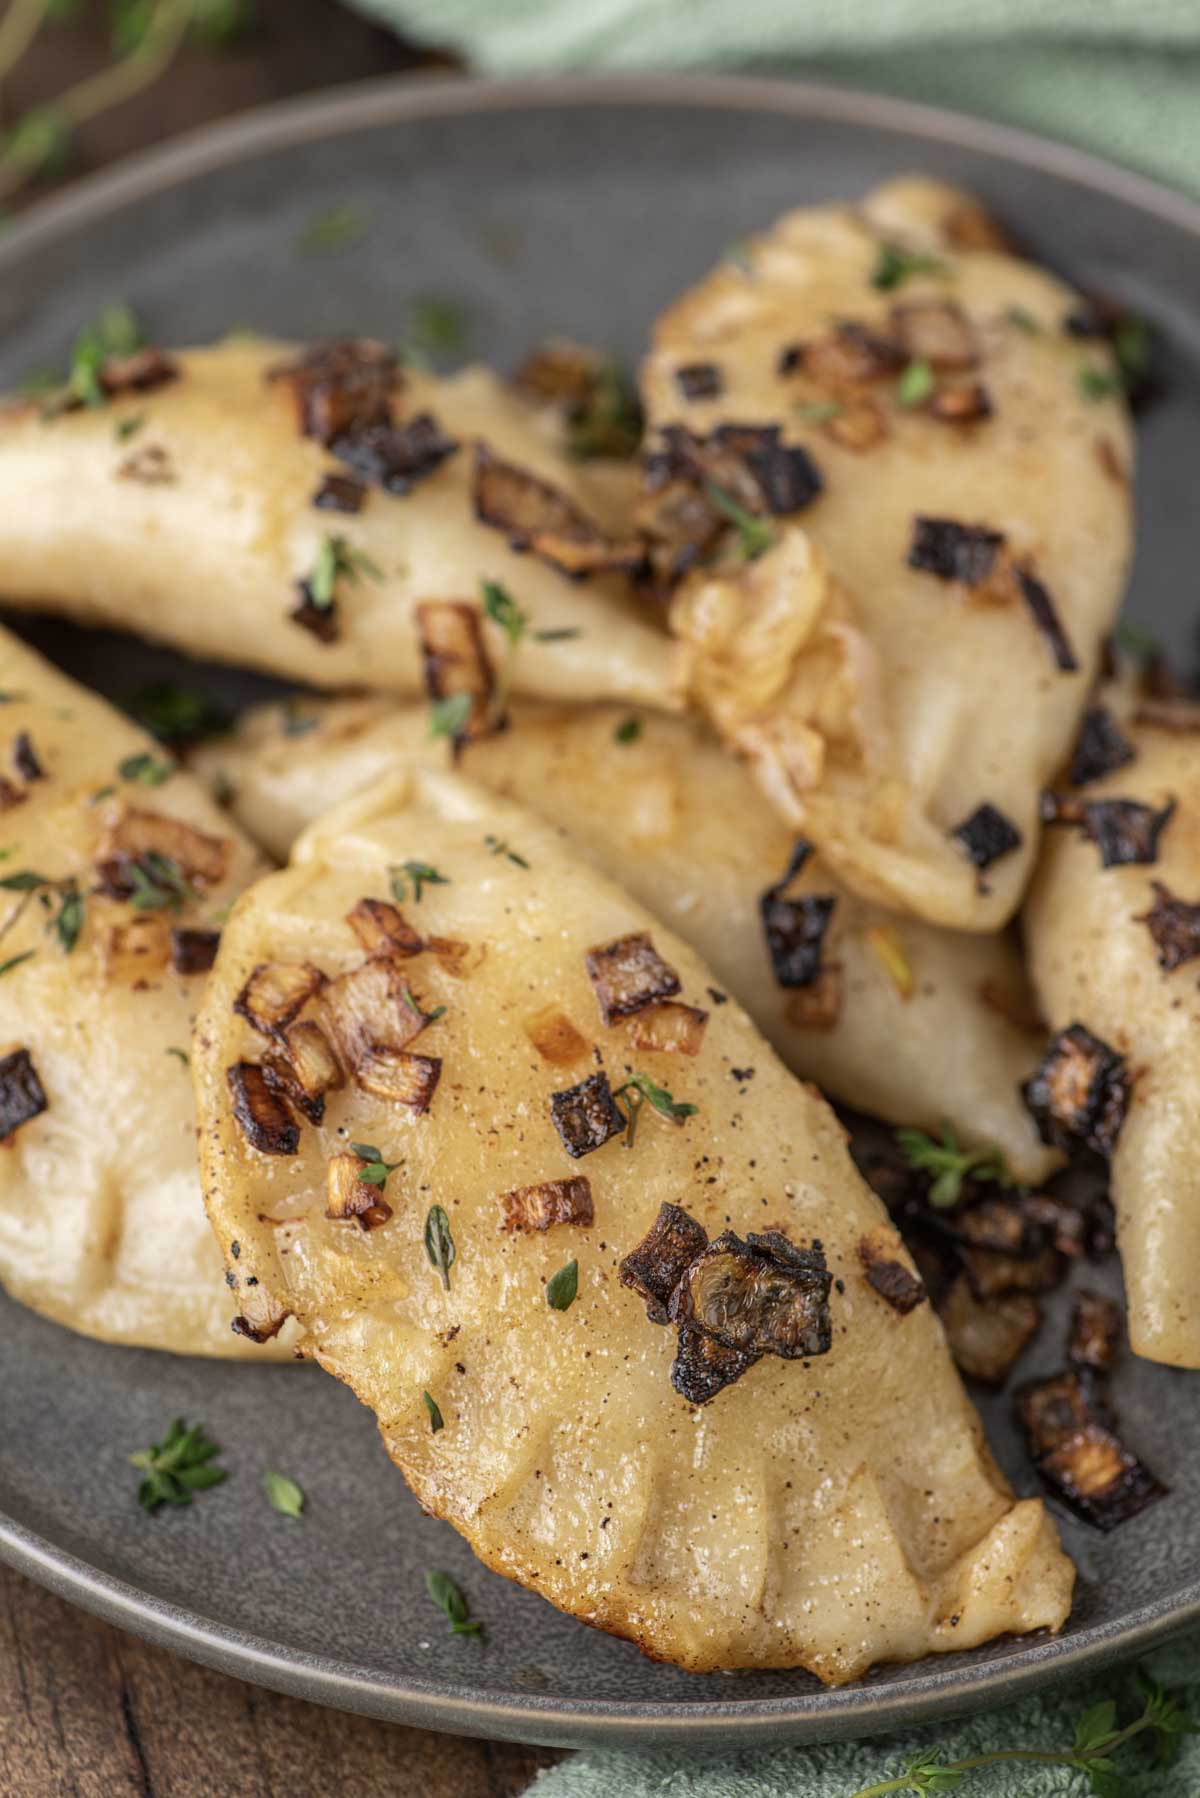
- Add drained pierogies to large skillet of melted butter with shallots just to coat get slightly crispy. Serve immediately.
How to Cook Pierogies
There are a few different ways to cook homemade pierogies:
- Boil - Boil in salted water and once they rise, you'll want to cook for an additional 2 minutes
- Saute - Boil until they rise then saute in sauce like above. You want to brown them on each side.
- Fry - Boil until they rise then let cool. Add to oil and fry for 2-3 minutes per side.
- Steam - Steam for 10 minutes.
Variations
Your imagination holds no bounds here. You could do something like a sweet potato fill or a beef pierogi or a more traditional sauerkraut filling. You can't go wrong with any of them with these homemade pierogies.
What to Serve with Pierogies
Pierogies are a little unique in that they can be the main or side dish. Some options to serve these homemade pierogies with include:
- Kielbasa
- Shaved Brussels Sprouts with Bacon
- Chicken Schnitzel
- Roasted Carrots, Parsnips and Brussels Sprouts
- Cabbage and Bacon
FAQs
Pierogies are dough dumpling stuffed with a filling such as potato or cheese and usually served as a dish with onions or sour cream.
There can be a variety of factors but the most common are you didn't knead well enough, you didn't let it rest or you used cold water.
Yes you can. Boil the pierogies for 1 minute and then place in pot of ice water to stop the cooking process. Place on a baking sheet and put in freezer. Once frozen, place in plastic bag and use when ready. Boil for 5 minutes and the saute when ready to use.
Pro Tips/Recipe Notes
- The water you mix into the flour must be boiling, which helps make the dough for the pierogies soft and pliable.
- Don’t use pre-shredded cheese. It doesn’t taste as good and also has additional ingredients that you don’t need.
- If you don't have a pierogi dough press, you can use a ramekin and use a knife to cut out the shape.
- The key to cheddar pierogies is to make sure to seal it shut so that none of the filling comes out during cooking. Don’t let any of the filling get in between the dough edges or you won’t be able to get a good seal.
Other Side Dish Recipes
- Potato Latkes
- Garlic Mashed Cauliflower
- Crispy Roasted Potatoes
- Shaved Brussels Sprouts with Bacon
- Goat Cheese Polenta
If you’ve tried these homemade pierogies or any other recipe on Chisel & Fork, please let me know how it turned out in the comments below! You can also follow me on Facebook, Instagram, Pinterest and YouTube to see more tasty meals and anything else I'm up to.
Homemade Pierogies
Ingredients
Pierogies
- 3 cups all-purpose flour
- 1 teaspoon salt (divided)
- ¾ cup boiling water
- ¼ cup cold water
- ½ teaspoon vegetable oil
- 1 cup mashed potatoes
- 1 cup sharp cheddar cheese, shredded
- ¼ cup sour cream
- 2 tablespoon sauteed shallots, chopped
Brown Butter
- ½ cup unsalted butter
- 2 shallots, chopped
Instructions
- Sift 3 cups of flour in large bowl. Add ½ teaspoon of salt. Pour ¾ cup of boiling water into the bowl, while stirring with a wooden spoon. There will be lumps so break them up. Cover the bowl with kitchen towel and set aside for 5 minutes.
- After 5 minutes, add ¼ cup of cold water and stir until there are no large clumps. Cover again with kitchen towel and set aside for 15 minutes.
- Add ½ teaspoon of vegetable oil and start kneading until the dough becomes smooth and a uniform mass. It will be slightly sticky at first but will form into a ball after 5-10 minutes of kneading. It should be stretchy and a bit adhesive. Cover in bowl for 45 minutes. This is just done to allow the gluten in the flour to relax a little. Do not expect it to rise.
- While dough is resting make the filling. Mix together the mashed potatoes, cheddar cheese, sour cream, sauteed shallots and ½ teaspoon of salt. It should stick together when your can form a ball.
- Add flour onto surface and roll out the dough until you reach a thickness of about ⅛ inch. Use a cup or ramekin that is about 3-4 inches in diameter. Place on top of dough and use a knife to cut a circle. With cut circle, put some water around the entire edge, so once folded it will stick together. Place 1 tablespoon of filling inside each circle. Fold the dough and press together with a fork. Collect scraps of dough, knead again and roll out and repeat above steps.
- For the pierogies you are going to eat right now, boil in pot of salted water for about 5 minutes or until they float. While they are boiling heat the butter over medium heat in a large skillet. Add the shallots and cook for about 2 minutes. Drain the pierogies and add them to the skillet and cook on each side for 2 minutes. Serve immediately.
- If you are freezing the pierogies or not eating all of them, boil for 1 minute and then place in pot of ice water to stop the cooking process. Place on a baking sheet and put in freezer. Once frozen, place in plastic bag and use when ready. Boil for 5 minutes and the saute when ready to use.
Notes
- The water you mix into the flour must be boiling, which helps make the dough soft and pliable.
- Don’t use pre-shredded cheese. It doesn’t taste as good and also has additional ingredients that you don’t need.
- If you don't have a pierogi dough press, you can use a ramekin and use a knife to cut out the shape.
- The key to pierogies is to make sure to seal it shut so that none of the filling comes out during cooking. Don’t let any of the filling get in between the dough edges or you won’t be able to get a good seal.

Chris says
I LOVE pierogies!