This post may contain affiliate links. Please read my disclosure.
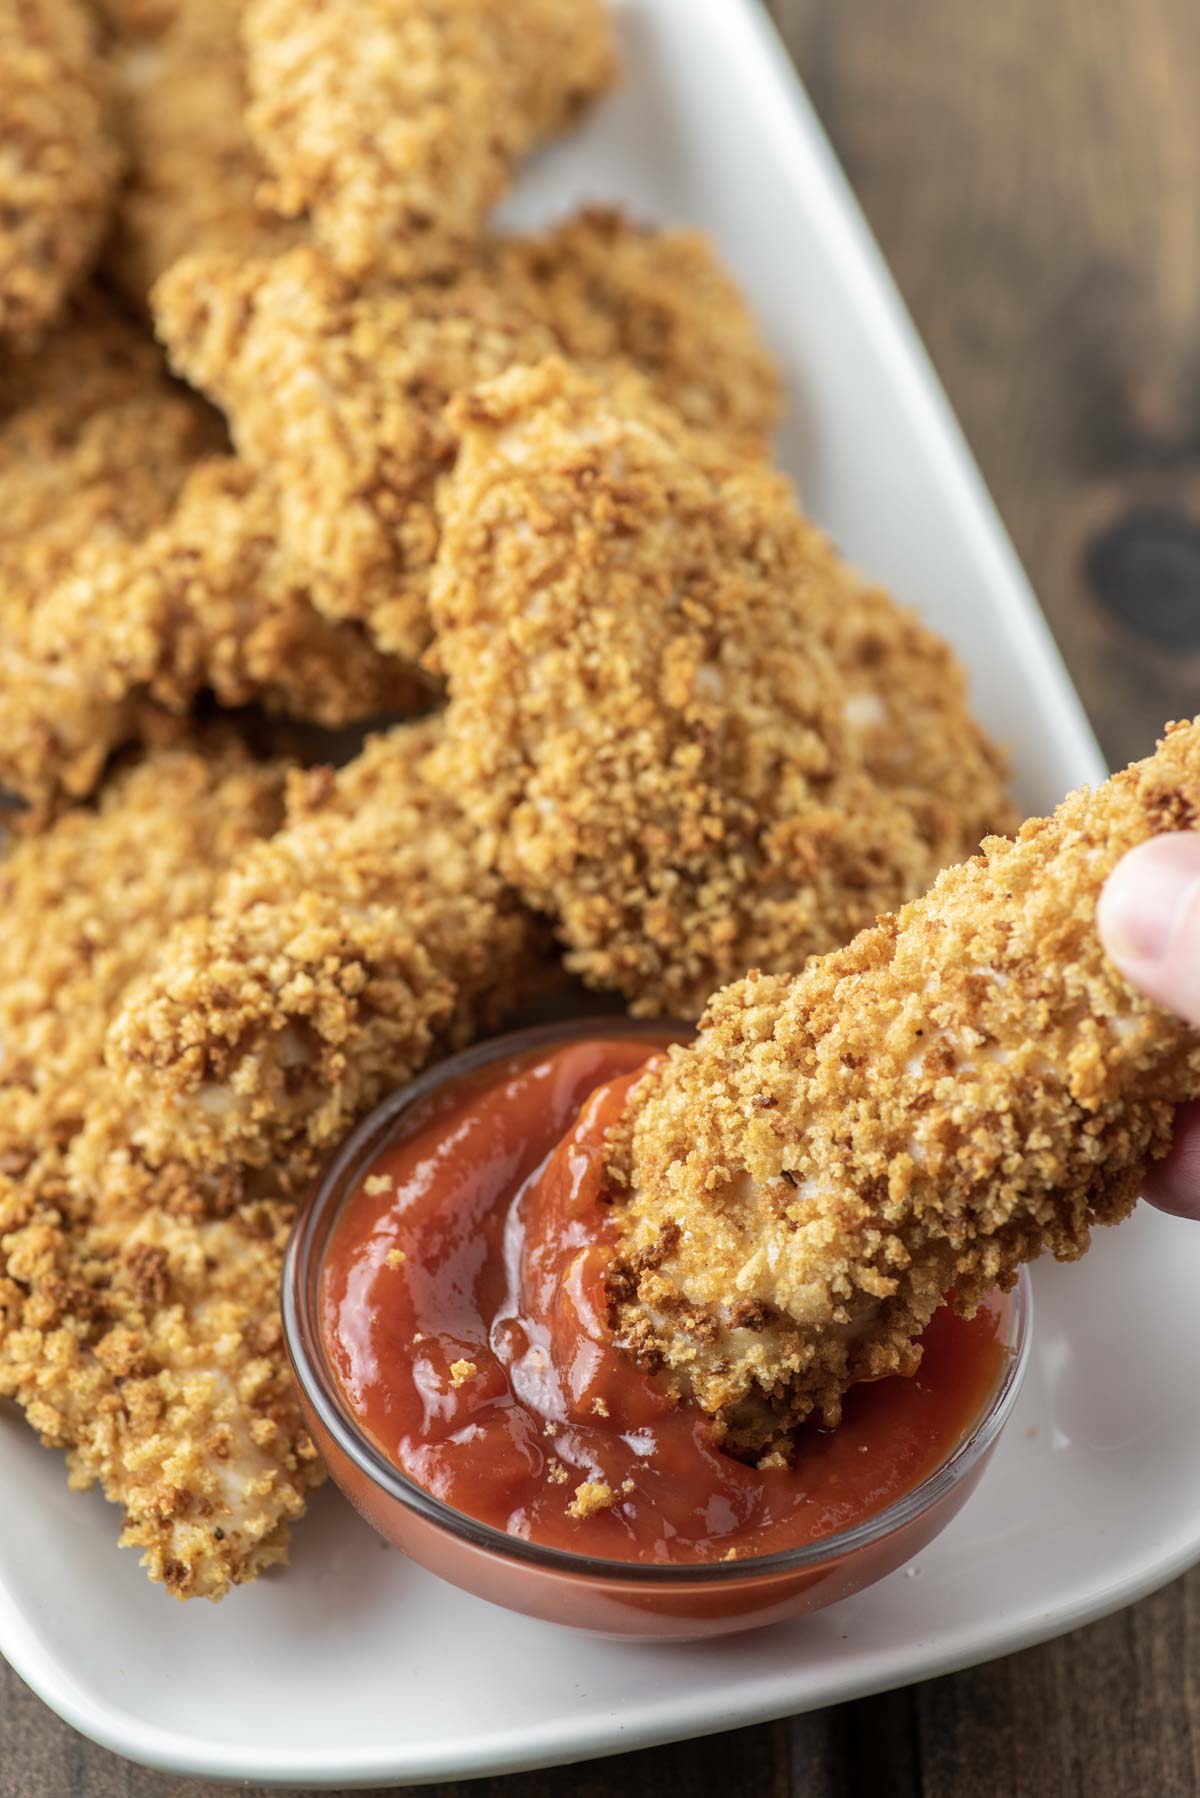
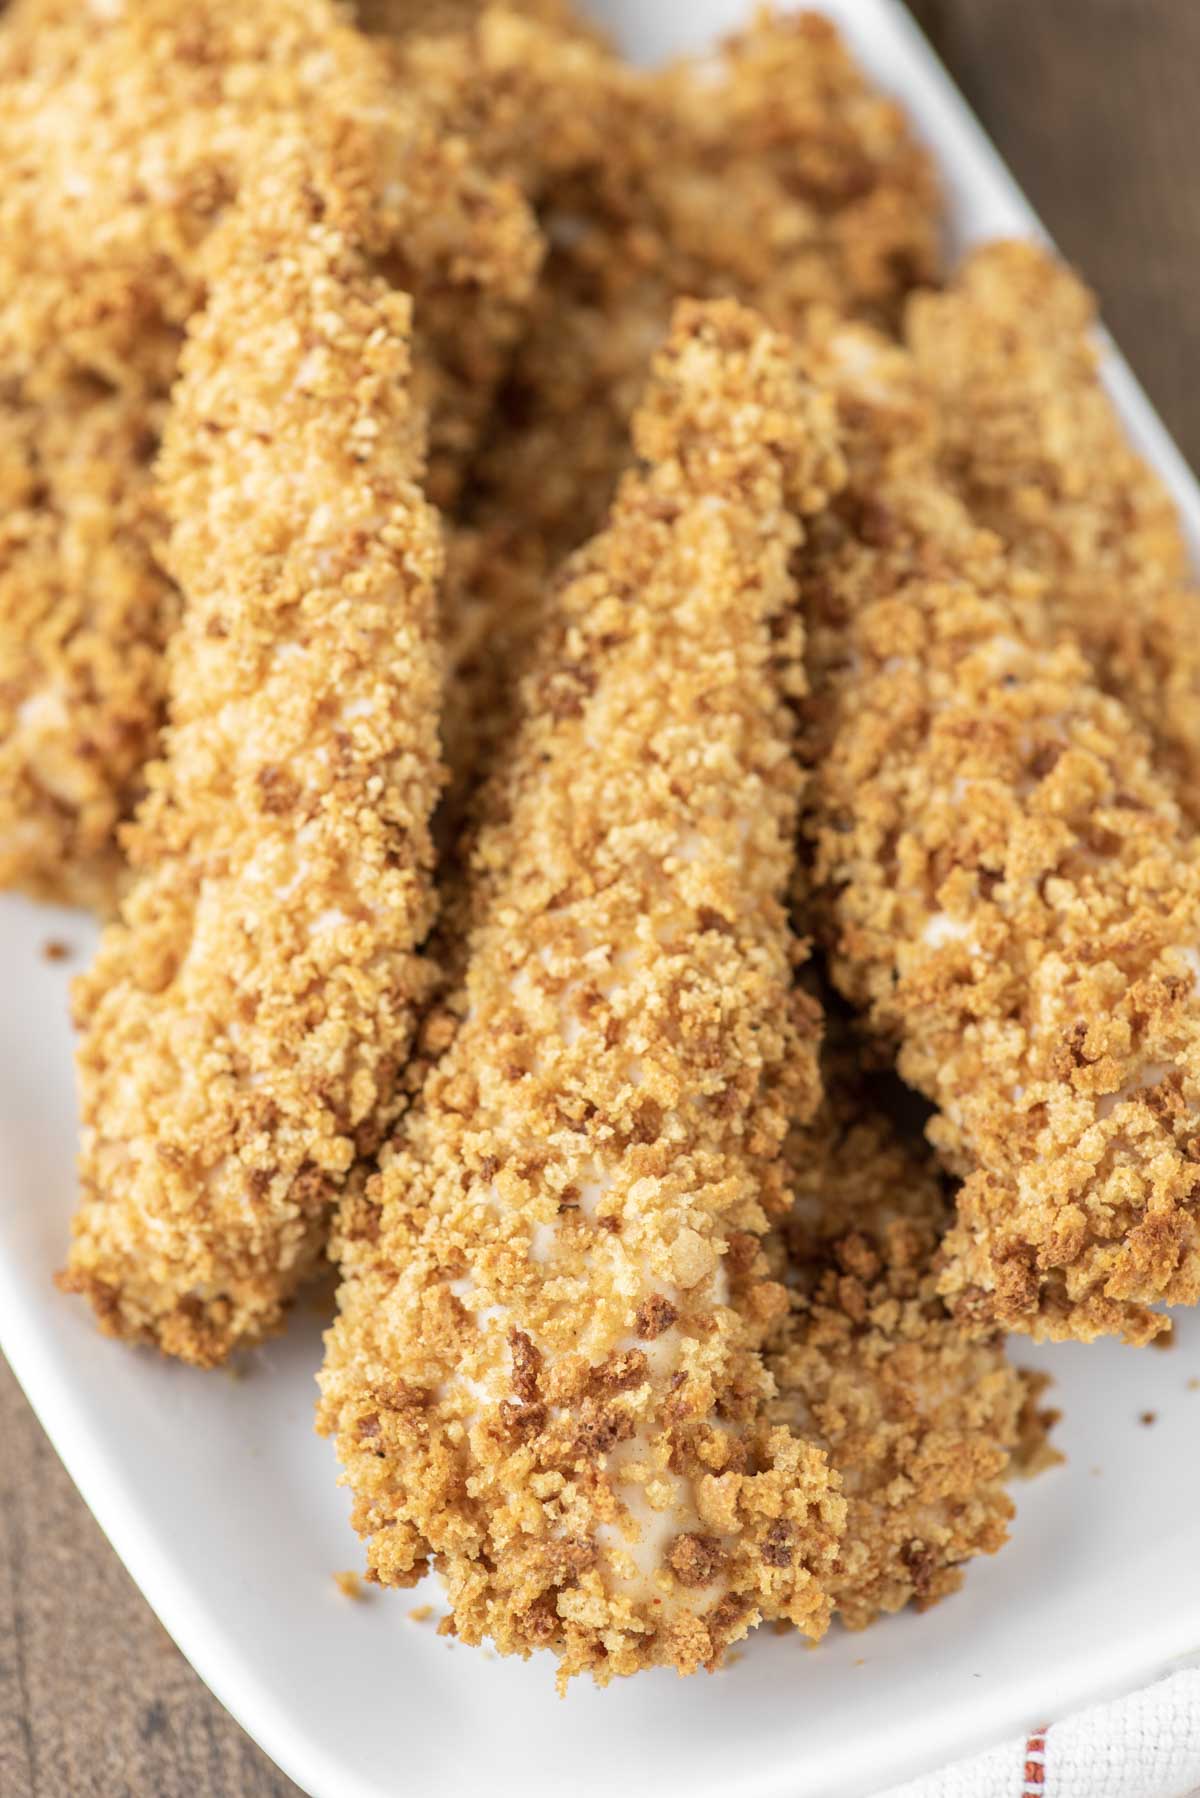
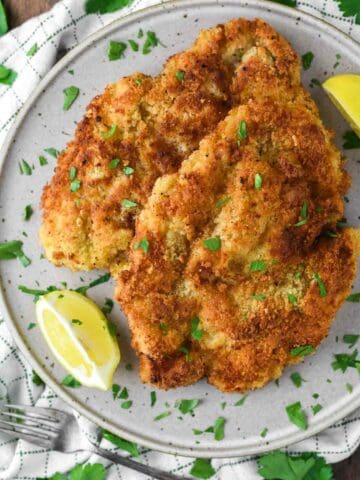
If you're craving fried chicken but need something healthier, these oven baked chicken tenders will have you wanting more. And if you like chicken with cheese and ham, you can never go wrong with baked chicken cordon bleu. They are great for a main course or appetizer.
I'm all about chicken dishes - from breaded chicken Parmesan to BBQ chicken kebabs to chicken fritters to a buttermilk chicken sandwich. But I don't have just chicken tenders very often. But today I had to have my crispy baked chicken tenders.
I know what you're thinking... baked and crispy don't normally go together. When having chicken tenders, frying is the only way to go right? Wrong! You just haven't found the right recipe until now with these baked breaded chicken tenders. Believe me I was in the same boat as you before making these for the first time.
January is all about healthy or lightened up recipes. While I wouldn't qualify these chicken tenders as "healthy," they are definitely healthier than fried chicken.
There are two keys to making this chicken crispy. The first is roasting the panko breadcrumbs for a few minutes before coating the chicken in it. And panko is a must to get this crispy.
If you use regular breadcrumbs then you have no one to blame but yourself! Secondly the batter is key in having the panko stick easily to the healthy chicken tenders so it stays coated.
So if you're like me and crave some good old-fashioned fried chicken with macaroni and cheese, but you don't want all the extra calories from frying then I suggest giving these oven baked chicken tenders a try.
I can't help you on a lightened up mac and cheese though, at least not yet... And if you prefer chicken nuggets, try these baked chicken nuggets.
Jump to:
Recipe Ingredients
- Chicken tenderloins - you can also use chicken breasts and cut to get tenders.
- Panko breadcrumbs - the only way to go for these healthy chicken tenders.
- Egg - helps bind the panko to the chicken.
- All-purpose flour - sticks to the tenderloins for a crispy bake.
- Milk - thins out the batter just enough to dip into.
- Mayonnaise - can also use yogurt or sour cream.
- Paprika, salt, garlic powder, black pepper - enhances the flavor.
Step-by-Step Instructions
- Spread panko breadcrumbs on baking sheet and spray with oil spray. Bake in oven at 400°F for 3 minutes or until golden brown. Transfer to bowl.
- In a medium bowl, whisk together the egg, flour, milk, mayonnaise and spices. Add chicken to flour batter and toss to coat.
- Press chicken tender into breadcrumb mixture, making sure it's entirely coated.
- Place chicken on a cooling rack on baking sheet and bake for 15-20 minutes or until the chicken is done.

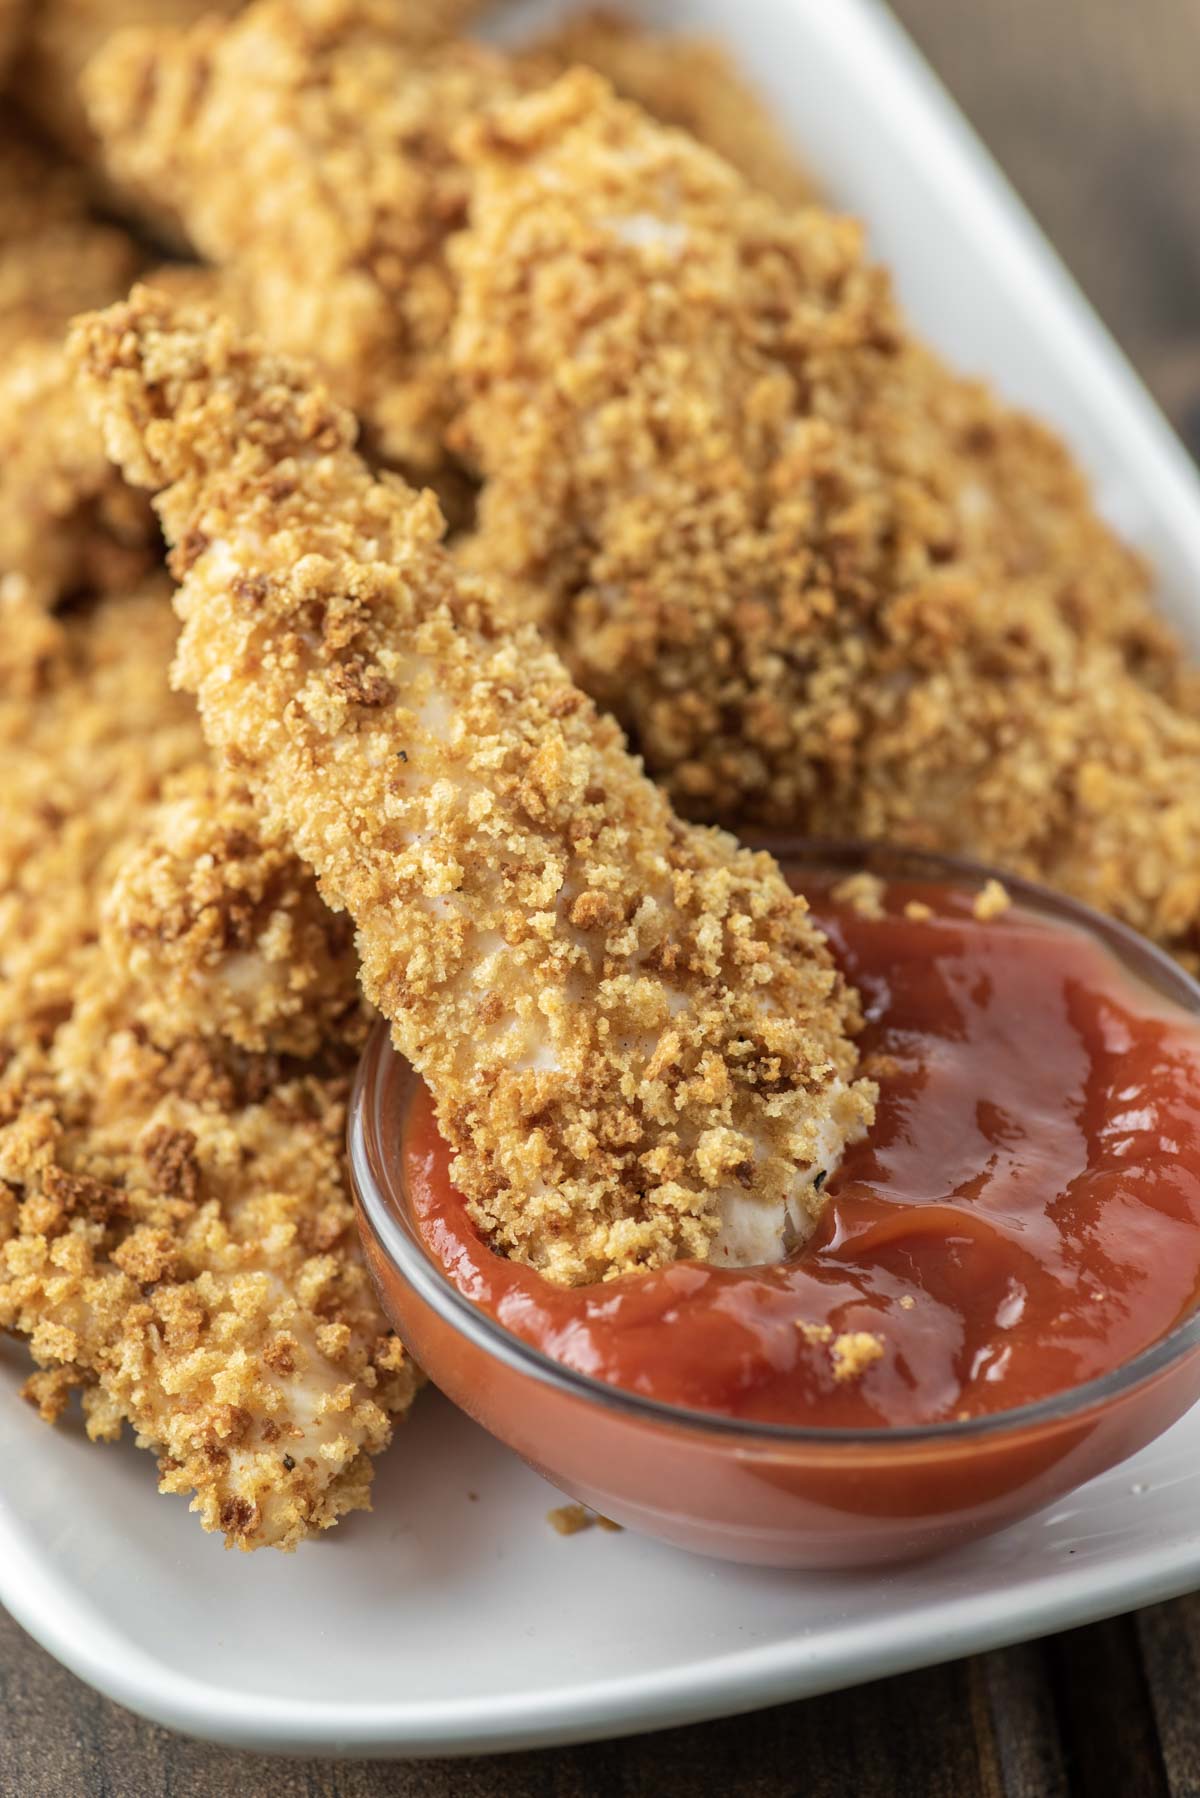
Dipping Sauces
It's all about your preferences when it comes to dipping these healthy chicken tenders for added flavor. Some options include:
- Honey mustard sauce
- Honey garlic butter sauce
- BBQ sauce
- Copycat Chick-fil-A sauce
- Buffalo sauce
- Ketchup
FAQs
In the market, they are just breasts cut into strips. They are also called fillets or fingers.
But in reality, they are parts in the chicken beneath the breasts – essentially, the tenderloin and is pretty much the same as the pork’s tenderloin.
The panko breadcrumbs are key to making these chicken tenders crispy, so I would recommend using them to make these healthy chicken tenders.
As they are processed into flakes instead of crumbs, they give a light, airy, and delicate texture that helps it crisp as it cooks.
At the end of the day panko is made without crust where regular breadcrumbs are made with it.
You know the chicken is cooked when it reaches 165°F with an instant-read thermometer or if you cut into the chicken and the juices run clear and there is no pink. Honestly, I always just cut the chicken to see when it is done. If it isn’t just cook slightly longer.
You can actually toast the breadcrumbs and put the chicken in the batter and then leave up to 2 days in the fridge.
If you want to coat the chicken, you can do it 1 day ahead of time before baking, but freezing raw chicken won't work.
Leftovers will store well in an airtight container for 1 to 2 days in the fridge. You can place in the freezer for up to 3 months.
To reheat, place the chicken tenders on cooling rack and cover with aluminum foil. Cook at 350°F until the chicken is warmed through.
Pro Tipes/Recipe Notes
- I’ve mentioned it multiple times but panko breadcrumbs are best for crispy chicken tenders.
- Pre-bake the breadcrumbs for 3 minutes so they will be extra crispy. If you don’t the chicken will be done before the breadcrumbs are browned and crispy.
- Place chicken on wire cooling rack which allows for all sides of the chicken to cook. If you skip this step, the bottom won’t be crispy. The wire rack allows for hot air circulation to cook the chicken.
Other Chicken Recipes
- Baked Teriyaki Chicken Wings
- Easy Chicken Piccata
- Grilled BBQ Chicken
- Honey Lemon Chicken
- Balsamic Peach Chicken
If you’ve tried these oven baked chicken tenders or any other recipe on Chisel & Fork, please let me know how it turned out in the comments below! You can also follow me on Facebook, Instagram, Pinterest and YouTube to see more tasty meals and anything else I'm up to.
Oven Baked Chicken Tenders
Ingredients
- 1 lb chicken tenderloins
- 1 ½ cups panko breadcrumbs
- 1 egg
- 2 tablespoon all-purpose flour
- 2 tablespoon milk
- 1 tablespoon mayonnaise
- ½ teaspoon paprika
- ½ teaspoon salt
- ¼ teaspoon garlic powder
- ¼ teaspoon black pepper
Instructions
- Preheat oven to 400°F. Spread panko breadcrumbs on baking sheet and spray with oil spray. Bake for 3 minutes or until golden brown. Transfer to a medium bowl.
- In another bowl, whisk together the egg, flour, milk, mayonnaise, paprika, salt, garlic powder and black pepper. Add the chicken to the batter and toss to coat.
- Place a cooling rack on a baking sheet. Take a piece of chicken and press breadcrumbs to adhere. Place on rack on baking sheet and repeat until each piece of chicken is coated. Spray the chicken with some oil spray. Cook for 15 to 20 minutes or until chicken is done. Remove from oven and serve with your choice of sauce.
Notes
- I’ve mentioned it multiple times but panko breadcrumbs are best for crispy baked chicken tenders.
- Pre-bake the breadcrumbs for 3 minutes so they will be extra crispy. If you don’t the chicken will be done before the breadcrumbs are browned and crispy.
- Place chicken on wire cooling rack which allows for all sides of the chicken to cook. If you skip this step, the bottom won’t be crispy. The wire rack allows for hot air circulation to cook the chicken.
- You know the chicken is cooked when it reaches 165°F with an instant-read thermometer or if you cut into the chicken and the juices run clear and there is no pink. Honestly, I always just cut the chicken to see when it is done. If it isn’t just cook slightly longer.
- Leftovers will store well in an airtight container for 1 to 2 days in the fridge. To reheat, place the chicken tenders on cooling rack and cover with aluminum foil. Cook at 350°F until the chicken is warmed through.
Chris says
I have trouble connecting crispy and baked together but they do look good!
Debra Powers says
Yum. Made two minor changes. Omitted the listed spices and added half a package of dry Ranch Dressing mix to the batter, and a cup of fresh parmesan to the bread crumbs. Toasting the panko before rolling the chicken is brilliant!
Ryan says
Glad you enjoyed it!