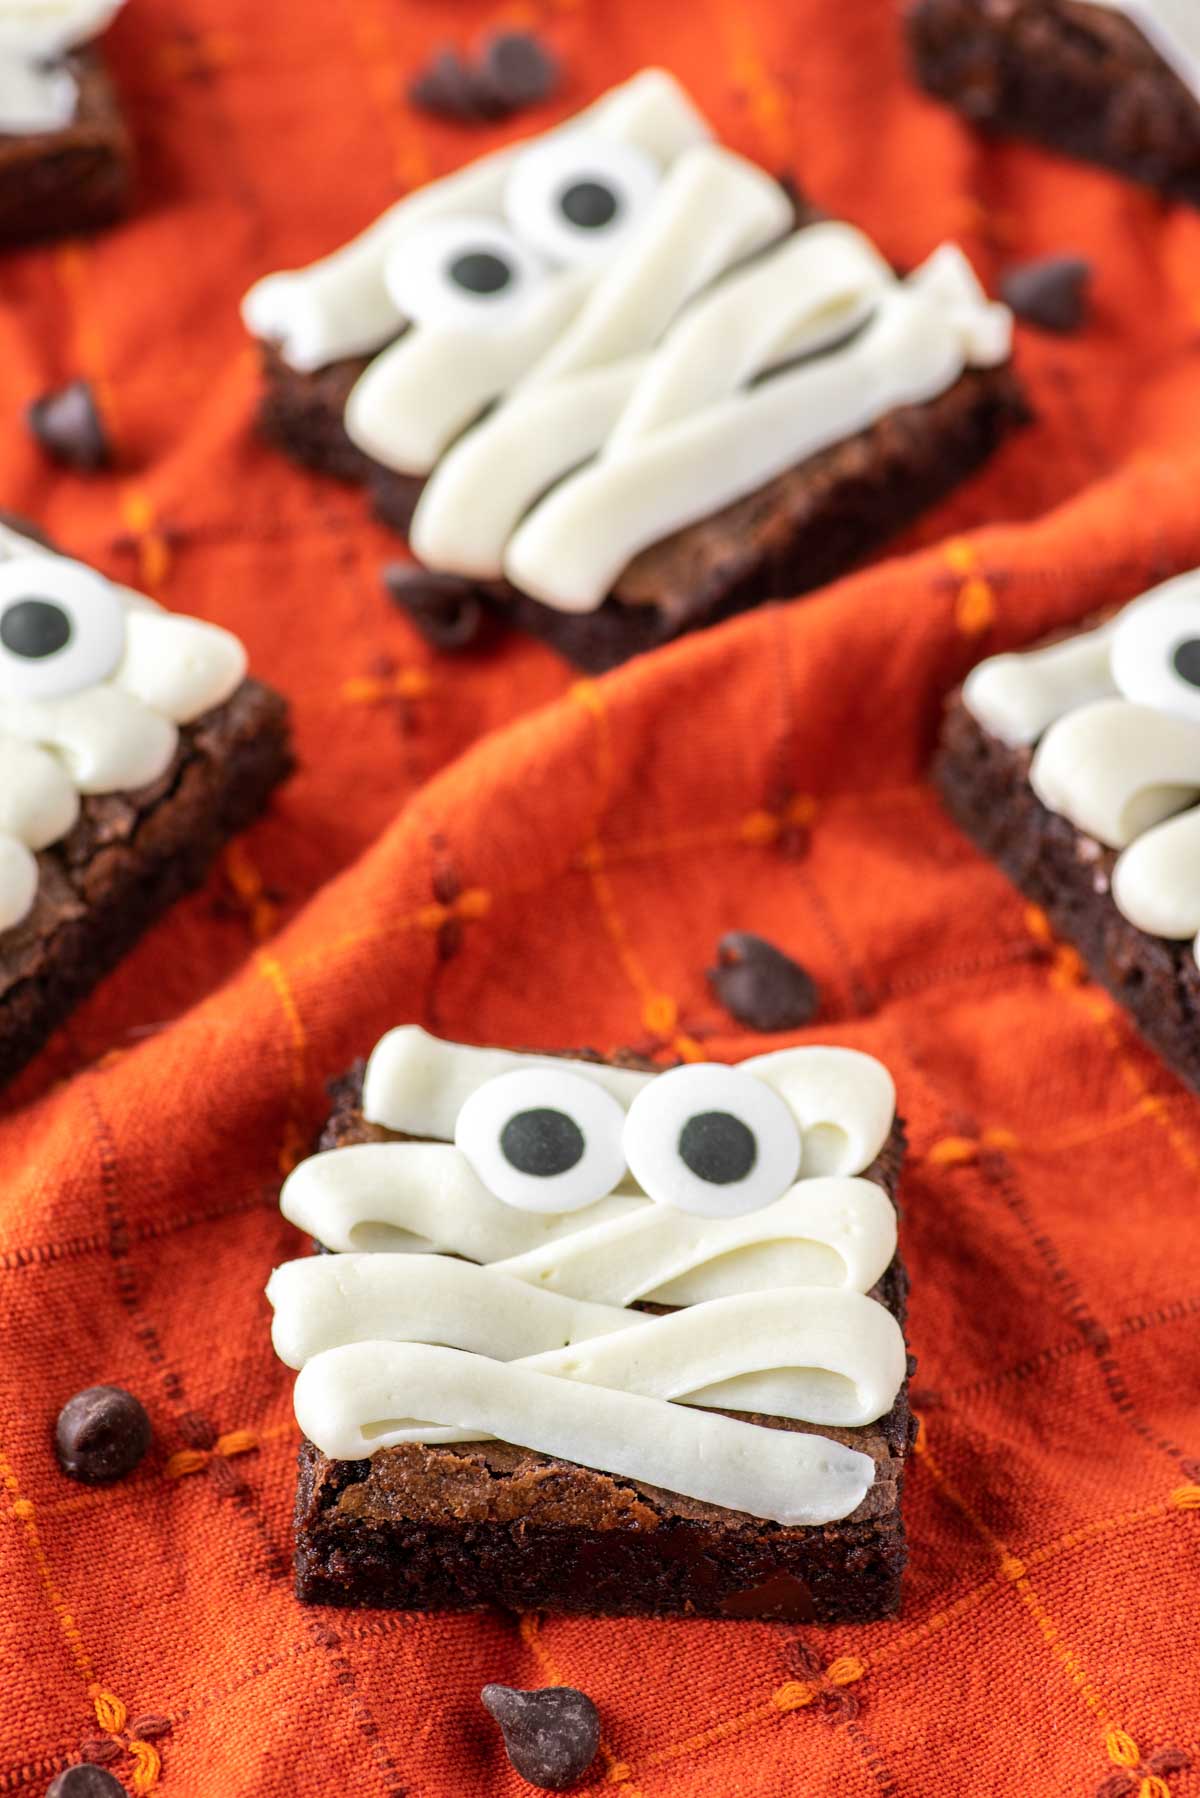
If you're looking for a Halloween-themed dessert that will be a hit everywhere, look no further than these homemade chocolate mummy brownies.
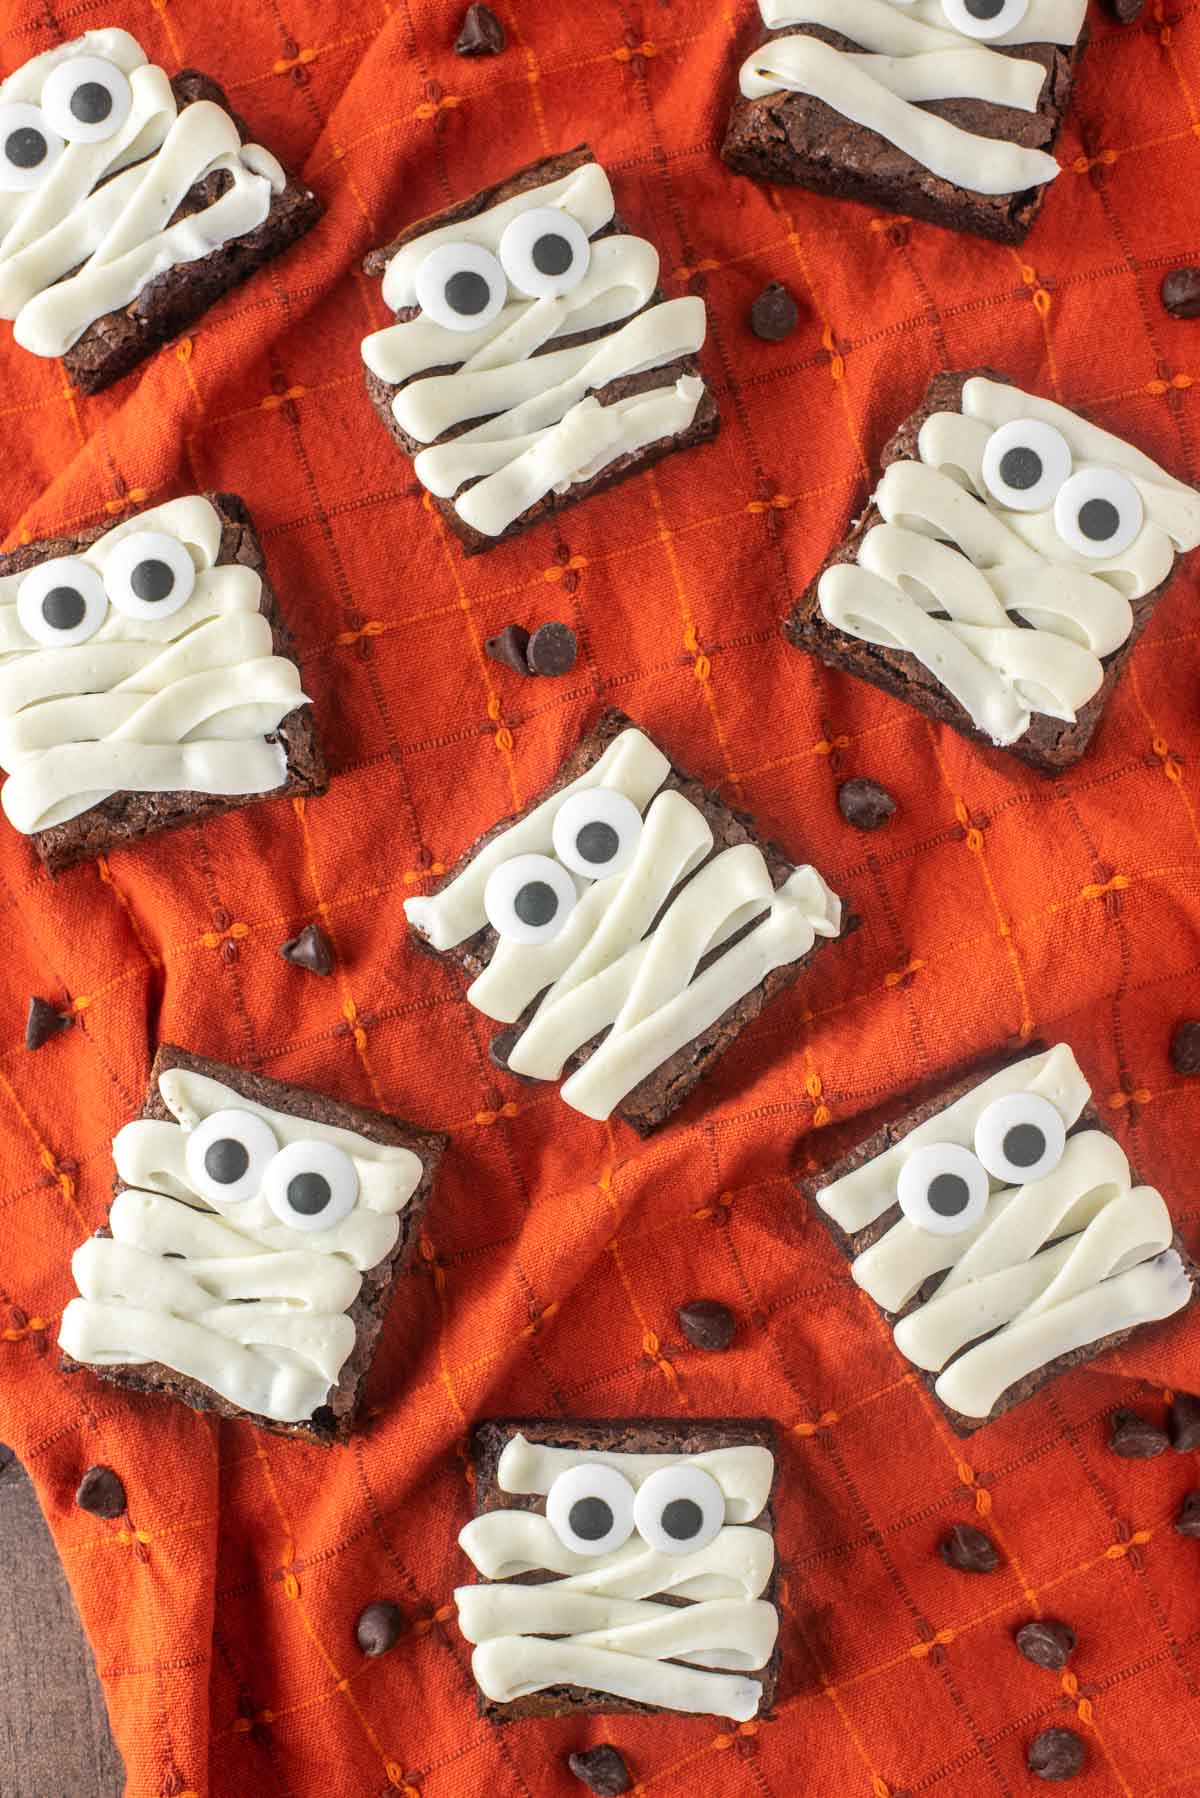
With Halloween here, I figured it was time I broke out these spooky-themed mummy brownies. They may look fancy but really couldn't be easier to make. I should warn you these are for chocolate lovers only. If you don't like chocolate... I mean moving on!
You may be thinking why take the time to make homemade brownies when mixes are so easy and so good. To be fair I was in that crowd before making these chocolate brownies. It really isn't much extra work to make these fudgy brownies and the extra 5 minutes are so worth it.
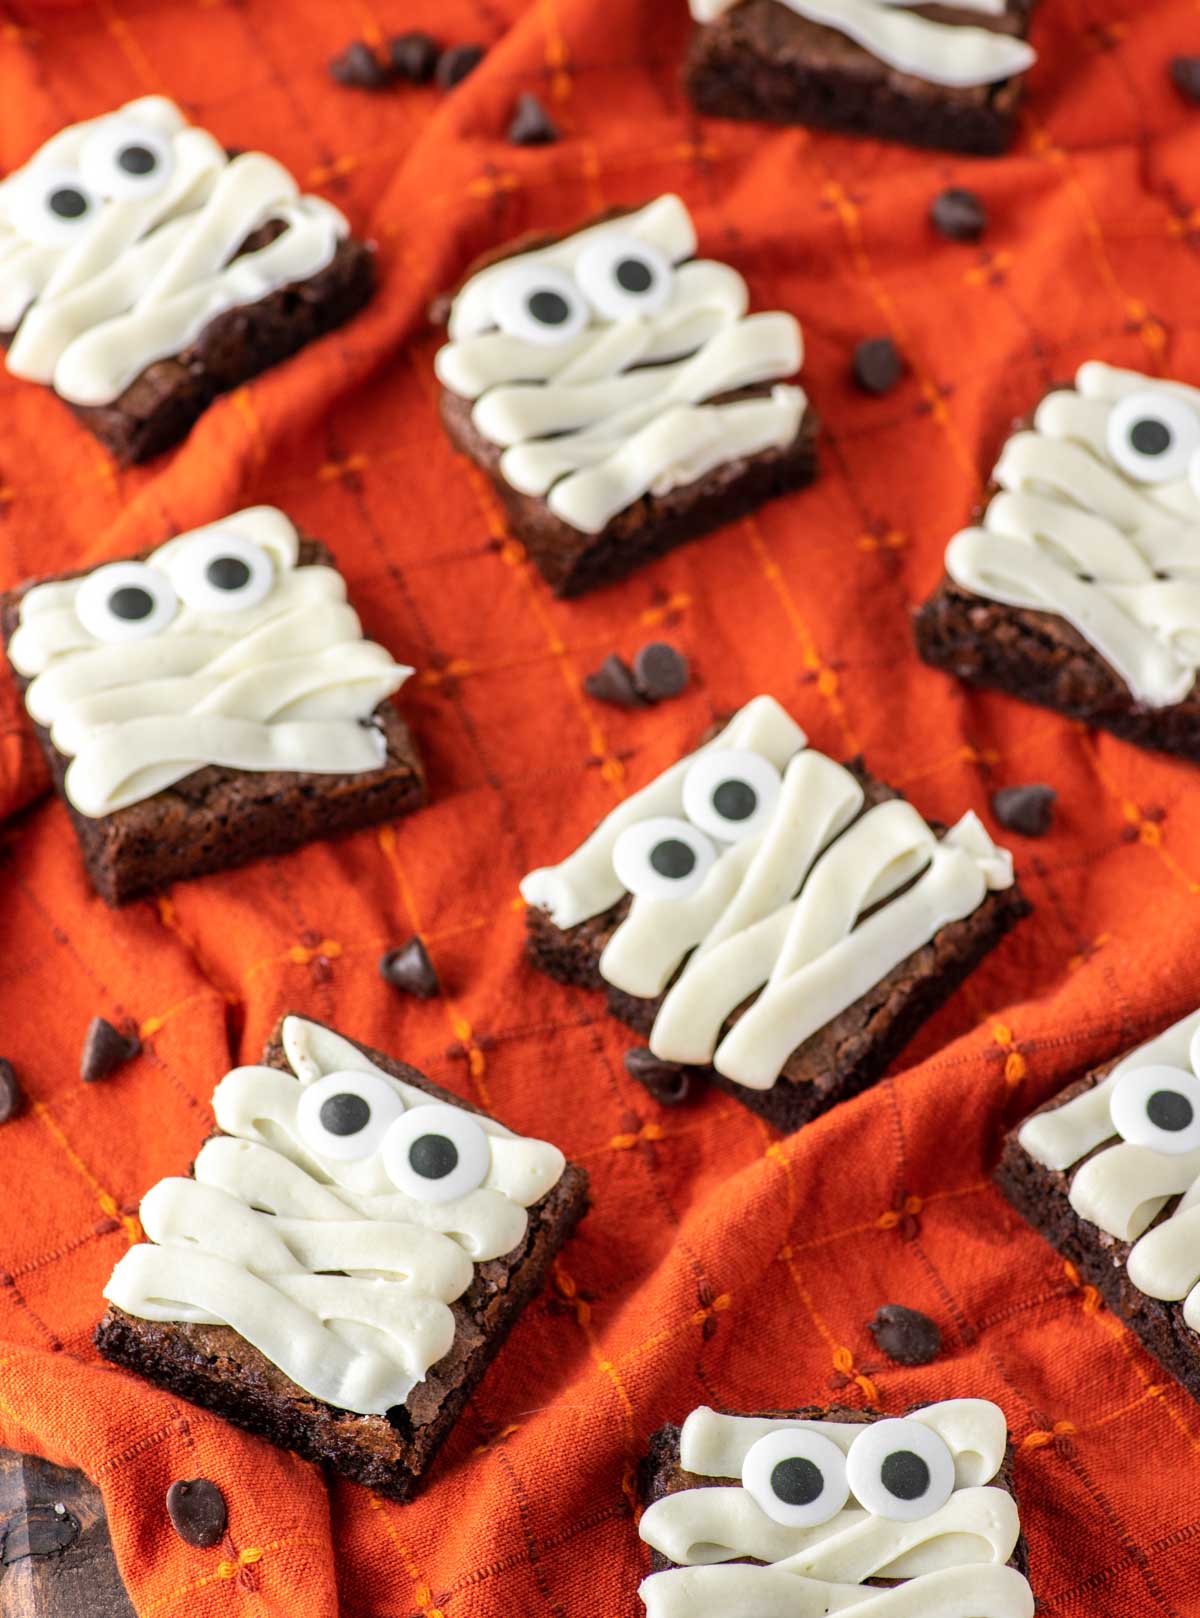
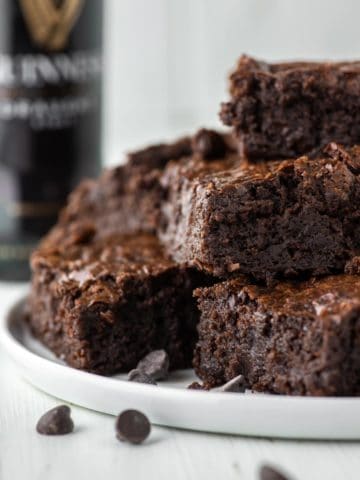
Make no mistake - these are fudgy brownies, not cake-like brownies. So if you're a fan of the latter, well I feel sorry for you. The real key is to not overbake them! Oh and just the recipe for the chocolate brownie is good enough on its own, but as this is a Halloween-themed dessert, you have to make the homemade frosting for the bandages to look like a mummy.
So if you're looking for a dessert that will be a hit at a Halloween party, then look no further than these mummy brownies. And if you’re looking for another Halloween treat, try these rice krispies bat treats.
Jump to:
Ingredient Notes
- Chocolate - I like to use a combination of semi-sweet chocolate chips and cocoa powder.
- Eggs - whisking the eggs not only helps create that crinkle top that everyone loves, but it adds structure.
- Espresso powder - no it doesn't make the brownies taste like coffee. Just adds some richness to the chocolate.
- Baking powder - allows the brownies to rise.
- Buttercream frosting - the homemade frosting with butter, milk, vanilla extract and powdered sugar is worth the little bit extra work.
Ingredient Swaps
As with any recipe, you can exchange some of the ingredients with these mummy brownies. The variations include:
- While semi-sweet chocolate is my go-to, milk or dark chocolate also works.
- I use granulated sugar for a slightly airier batter, but light or dark brown sugar is a good substitute.
- I go with unsweetened cocoa powder as these brownies are already pretty chocolatey, but if you want it even richer, use dark cocoa powder.
Step-by-Step Photos
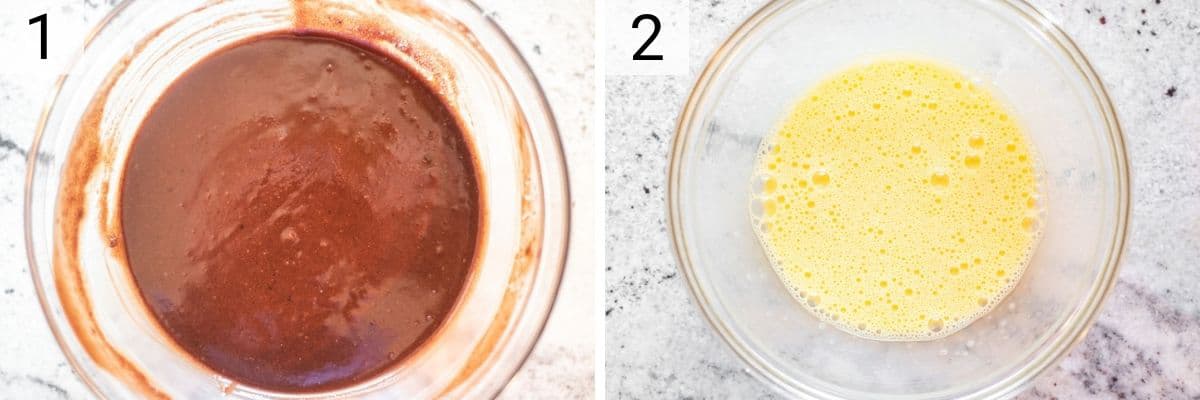
Microwave the butter and ¾ cup of the chocolate until melted. In another bowl, whisk together the eggs until bubbly on top.
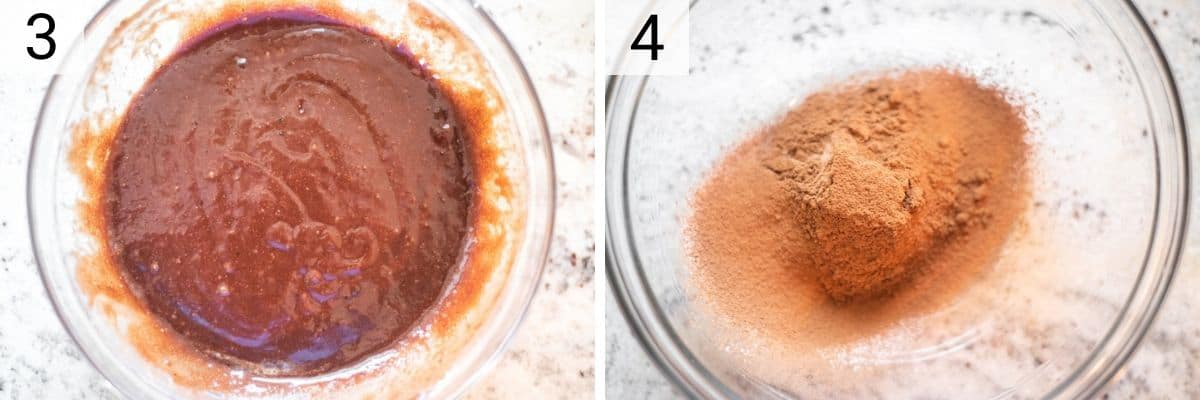
Stir in the sugar, vanilla and espresso in the melted chocolate before adding the eggs. In another bowl, sift together the dry ingredients.
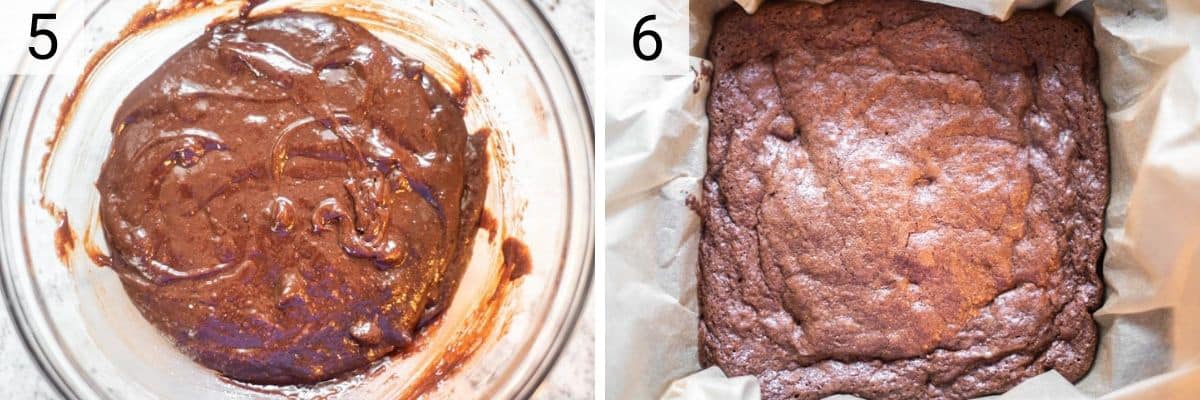
Finally add the dry ingredients and remaining chocolate chips to the wet ingredients and stir until just combined. Line an 8x8 square pan with parchment paper and butter generously. Then pour the batter evenly in the pan. Bake at 350°F for 25-30 minutes or until done.
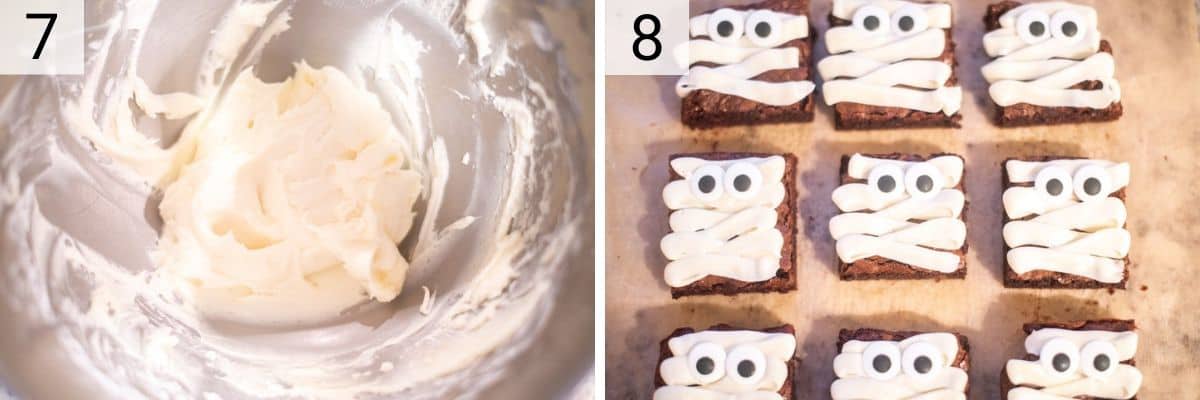
Now make the frosting by beating all of the ingredients together in a bowl. Now pipe frosting over the brownies in a zigzag motion for mummy wrapping. Add two eyeballs.
FAQs
Yes you can just buy a brownie mix, but these homemade mummy brownies are maybe 5 minutes extra work and totally worth it. Plus if you bake all the time, you probably already have all the ingredients.
As for the frosting, if you don’t want to make it, you can buy some white chocolate melts. Just place the white chocolate in a bowl and microwave for 30 second intervals, stirring between each until melted. Then just place in a ziploc and cut a corner and pipe over the brownies.
A typical brownie recipe uses just cocoa powder but using primarily chocolate chips helps make these brownies extra fudgy. With that said, if you want just cocoa powder, use ½ cup instead.
Use quality chocolate when making these brownies as that is where the flavor comes from. I like to use Ghirardelli Semi-Sweet Chocolate Chips.
You will know when the brownies are done when you insert a toothpick and a few crumbs are on it. The toothpick should not come out clean, otherwise it is overbaked at that point.
Make sure you grease and line your pan with some parchment paper. Crumble it up and then spread out so it will easy fit in the pan.
To maximize the shelf life of the mummy brownies, place it in a covered airtight container or cover with plastic wrap to prevent it from drying out.
• Brownies at room temperature will last 2-3 days
• Brownies in the fridge will last 1 week
• Brownies in the freezer will last 3 months
Pro Tips/Recipe Notes
- Use quality chocolate when making these brownies as that is where the flavor comes from. I like to use Ghirardelli Semi-Sweet Chocolate Chips.
- Don’t overbeat the eggs as it introduces air and makes the brownies more cake-like and less dense. You should beat just until bubbles form on top.
- Sifting together the dry ingredients fluffs them up and allows the wet ingredients to bind more quickly and evenly.
- You will know when the brownies are done when you insert a toothpick and a few crumbs are on it. The toothpick should not come out clean, otherwise it is overbaked at that point.
- Let the brownies cool completely before cutting them so you can get clean cuts.
- Be a little messy when it comes to piping the mummy bandages over the brownies. It should look like a mummy!
Other Dessert Recipes
If you’ve tried these mummy brownies or any other recipe on Chisel & Fork, please let me know how it turned out in the comments below! You can also follow me on Facebook, Instagram, Pinterest and YouTube to see more tasty meals and anything else I’m up to.

Mummy Brownies
Ingredients
Chocolate Brownies
- ½ cup unsalted butter
- 1 cup semi-sweet chocolate chips
- ¾ cup granulated sugar
- 1 teaspoon vanilla extract
- 1 teaspoon instant espresso
- 2 eggs
- ¼ cup all-purpose flour
- ¼ cup unsweetened cocoa powder
- ½ teaspoon baking powder
- ¼ teaspoon salt
- candy eyes
Vanilla Buttercream Frosting
- ½ cup unsalted butter at room temperature (1 stick)
- 1 ½ cups powdered sugar
- 1 teaspoon vanilla extract
- 1 tablespoon milk
Instructions
- Preheat oven to 350°F. Line an 8x8 square pan with parchment paper and butter generously.
- In a microwavable bowl, melt butter and ¾ cup chocolate chips until melted and smooth. Stir in 30 second intervals. Stir in sugar, vanilla and espresso.
- In a small bowl, whisk the eggs until bubbly on top, about 1 minute. Add the eggs to the chocolate mixture.
- In another small bowl, sift together the flour, cocoa powder, baking powder and salt. Add the dry ingredients to the wet ingredients and mix until just combined and then add the remaining chocolate chips.
- Spread evenly into the pan and bake for 25-30 minutes. A cake tester should come up with a couple of crumbs. Let cool and then cut into 9 squares.
- In a stand mixer fitted with a whisk attachment add the butter and sugar and mix on low-speed until blended and then increase speed to medium and beat for about 3 minutes..
- Add vanilla and milk and continue to beat on medium speed for 1 more minute, adding more milk if needed for spreading consistency. Place in fridge until ready to use on brownies.
- Pipe frosting over brownies in zigzag motion for mummy wrapping. Attach two eyeballs to each brownie.
Notes
- Grease and line your pan with parchment paper so you can easily get the brownies out.
- Use quality chocolate when making these brownies as that is where the flavor comes from. I like to use Ghirardelli Semi-Sweet Chocolate Chips.
- Don't overbeat the eggs as it introduces air and makes the brownies more cake-like and less dense. You should beat just until bubbles form on top.
- Sifting together the dry ingredients fluffs them up and allows the wet ingredients to bind more quickly and evenly.
- You will know when the brownies are done when you insert a toothpick and a few crumbs are on it. The toothpick should not come out clean, otherwise it is overbaked at that point.
- Let the brownies cool completely before cutting them so you can get clean cuts.
- Be a little messy when it comes to piping the mummy bandages over the brownies. It should look like a mummy!
- Brownies can be stored in airtight container on the counter for up to three days, or in the refrigerator for up to five days.
Chris says
Very cute!
Kathy says
I want some!