This post may contain affiliate links. Please read my disclosure.
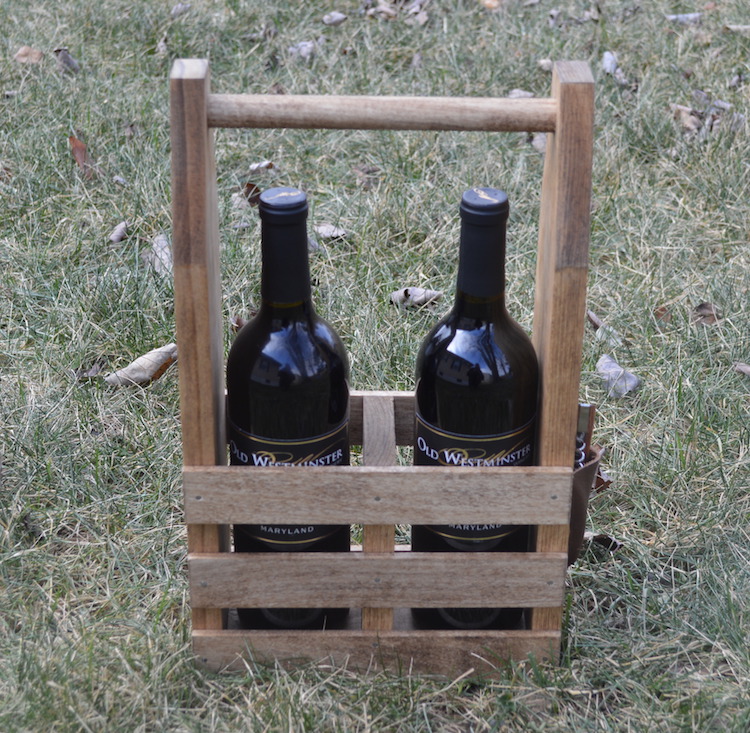
If you're wanting to make a gift for a wine enthusiast, then this wine caddy plan is the perfect way to show someone you care.
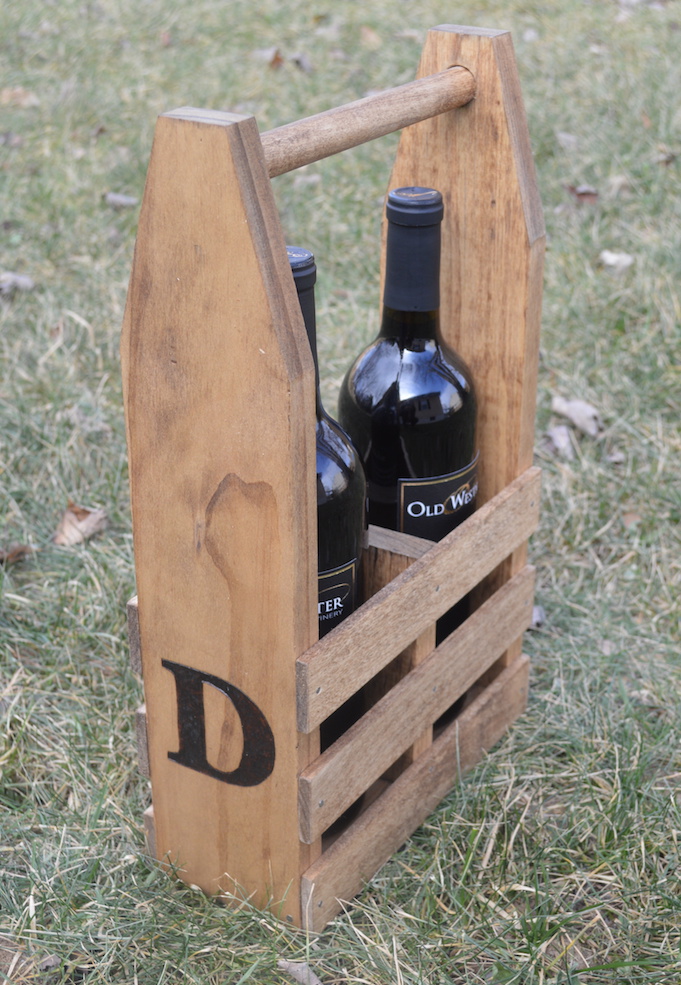
When Lauren and I started dating back in the day, I had never had a glass of wine. Granted, I had sipped it here and there, but never actually finished a glass. Beer was always my beverage of choice, but things quickly changed. Looking back, I really don't remember if it was one specific wine that opened my eyes, but it's funny how now I hardly ever drink beer. So with Father's Day just around the corner, I figured it appropriate to share my wooden wine caddy.
The more parties and outdoor picnics we've gone to over the years, plus enjoying wine and wine more and more is what inspired me to want to make a wine caddy. It's just a cool way to bring some wine. When looking for inspiration on how to make it, I came across plans from Jaime Costiglio. She has step by step instructions if you want to build from her plans. I changed it slightly to my specifications. You can easily just make this a one bottle wine caddy as well or a wine caddy with two glass holders.
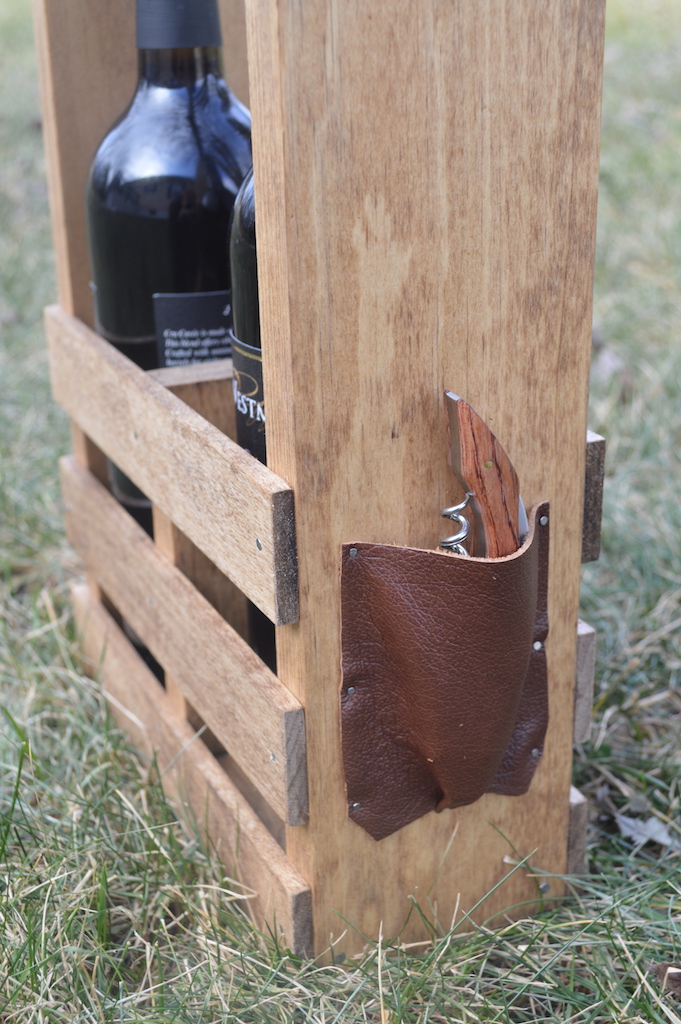
The one thing that was missing however was a place to put a wine bottle opener. I saw some just build a small box on the side out of wood but I wanted something more unique and realized a leather pouch would be perfect. No it's not a requirement, but it adds a nice touch. Leather can be easily found on Amazon in case you were curious.
So if you are up to making one yourself or you have a father that loves wine, give this wine caddy a try. And if this inspired you to make and sell your own projects, here are some great ideas to sell on Esty.
Tips for Wine Caddy
- Pine wood is the cheapest and easiest to work with but if you want a sturdier wine caddy, go with oak.
- You can also make this a one wine bottle caddy be reducing the bottom, side rails and handle by half.
- For staining, I prefer Danish oil as it stains and protects the wine caddy.
Other DIY Gift Ideas Similar to this Wine Caddy
- Two Glass Wine Caddy
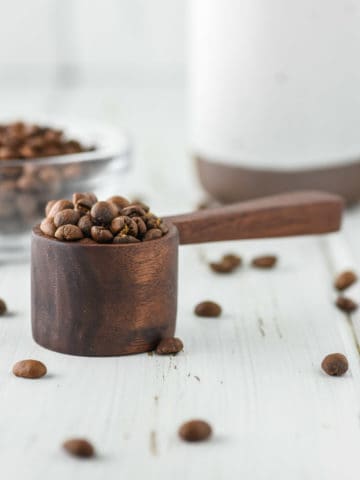
- Handmade Wooden Coffee Scoop
- Beer Caddy
- Magnetic Beer Bottle Opener
- DIY Triangle Peg Game
- Homemade Soy Candles
If you’ve made this Wine Caddy or any other project on Chisel & Fork, please let me know how it turned out in the comments below! You can also follow me on Facebook, Instagram, Pinterest and YouTube to see more projects, meals and anything else I'm up to.
Wine Caddy
If you're wanting to make a gift for a wine enthusiast, then this wine caddy plan is the perfect way to show someone you care.
Materials
- (1) 1″ x 4″ x 4′ pine wood
- (2) ¼″ x 2″ x 3′ pine wood
- (1) ¾" dowel @ 10″
- wood glue
- 1 ¼" finish nails
- ¾" finish nails
- 4" x 4" leather square
- wine bottle opener
- Stain or paint
Tools
- Table Saw
- Miter Saw
- Hand sander and sandpaper
- Hammer or brad nailer
Instructions
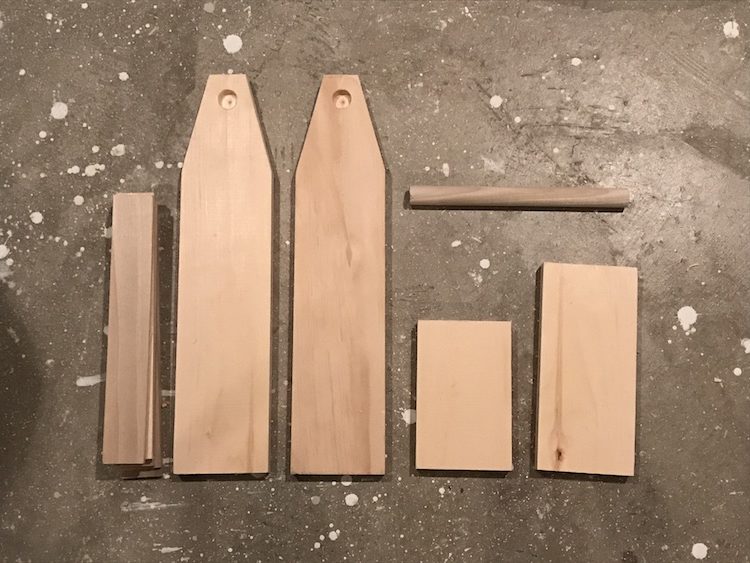
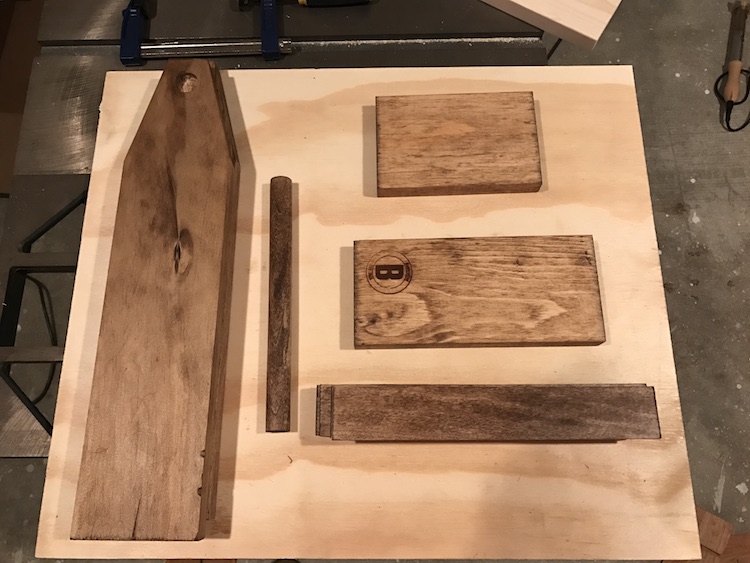
- Make the following cuts: (2) – 1″ x 4″ @ 15 ½″, (1) – 1″ x 4″ @ 7 ¾″, (1) – 1″ x 4″ @ 4 ¾″, (6) – ¼″ x 2″ @ 9 ¼″, (1) – ¾″ dowel @ 10″

- Take your two 15 ½" pieces and mark 11" up from the bottom on both sides and 2" from center on each side on top. Make the diagonal cuts with either a miter saw or table saw.
- Using a ¾" Forstner bit, drill a hole down 2 in from the top of your two 15 ½" pieces, stopping halfway. I like to make sure everything fits together.
- At this point, if you are going to do a letter on the front of one of the 15 ½" pieces, this would be when I'd woodburn. Just trace the letter and use a woodburn pen to burn it in.
- If you are going to stain the caddy, I'd stain during this time as it's harder to stain once everything is put together.
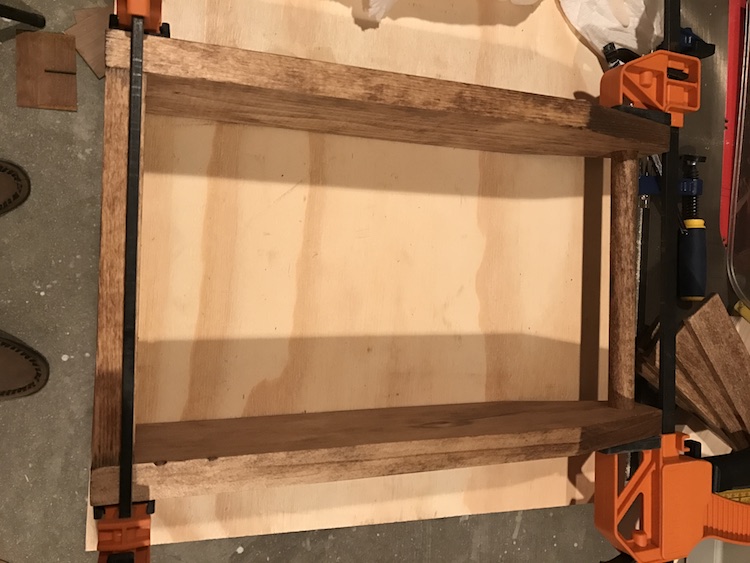
- Apply a small amount of glue and insert your ¾" dowel into each side and let set. Glue the bottom as well. Clamp the pieces together and let dry for about 30 minutes. Once everything is clamped, nail the bottom in place.
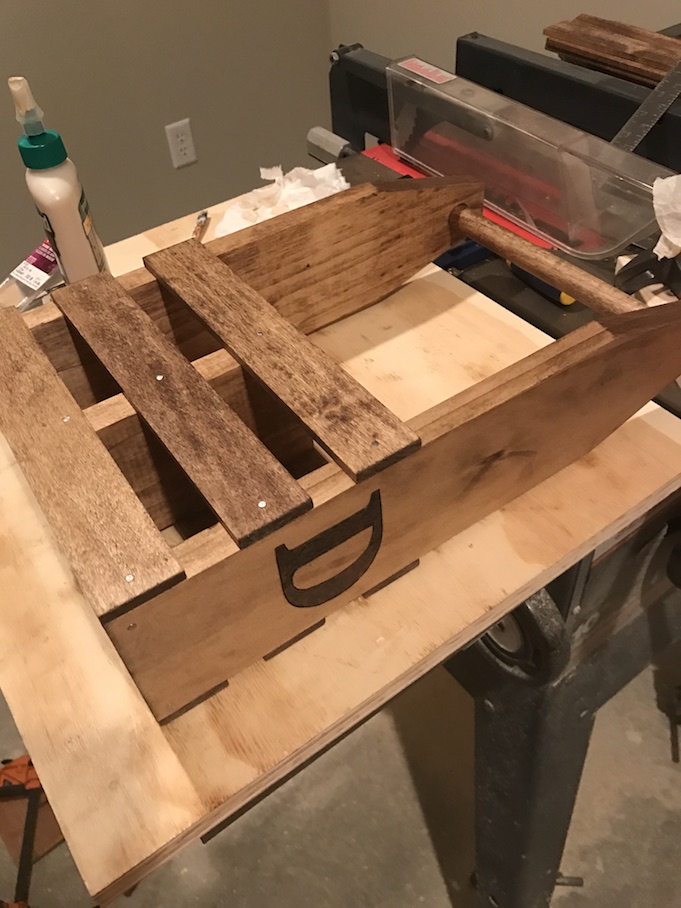
- Attach the center divider with glue and nails from the bottom.
- Take one of your 9 ¼" side pieces and apply a small amount of glue to both sides and fasten with a ¾" nail on both sides so that is flat to the bottom. Repeat on the other side. Add the second side piece 1" above the other side pieces and glue and nail. Repeat on other side. Then apply the third side piece 1" above and repeat on the other side.

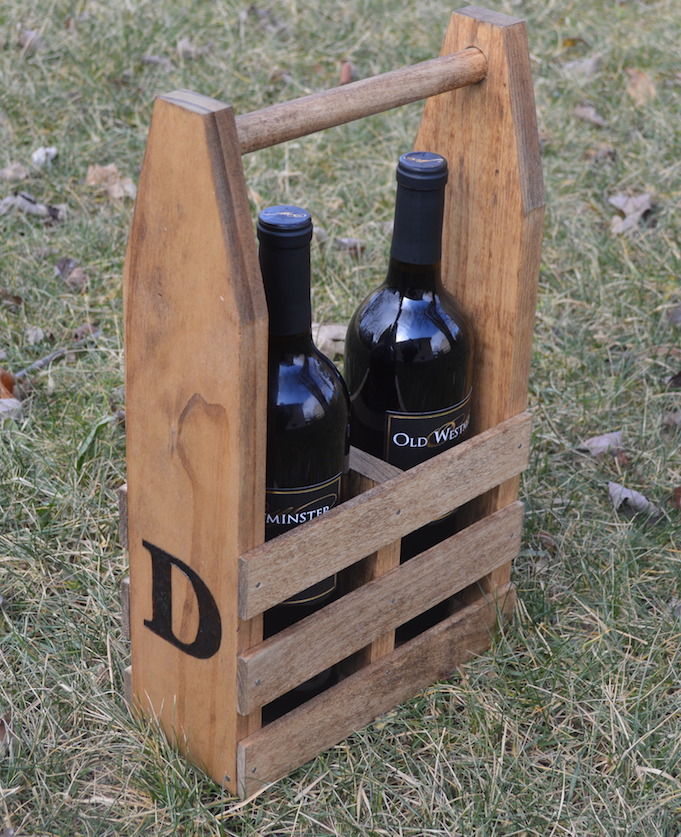
- Take a piece of leather and cut to fit the bottle opener. Nail into one of the sides.
- Enjoy or give as a gift.


Notes
- Pine wood is the cheapest and easiest to work with but if you want a sturdier wine caddy, go with oak.
- You can also make this a one wine bottle caddy be reducing the bottom, side rails and handle by half.
- For staining, I prefer Danish oil as it stains and protects the wine caddy.
Recommended Products
As an Amazon Associate and member of other affiliate programs, I earn from qualifying purchases.
Jeff Budde says
Hey I made this wine caddy this weekend and it came out great! Used oak, and medium walnut danish oil. I switched out the wooden dowel handle for steel pipe, but otherwise used all of your specs. Also I inset a rare earth magnet in the one end panel to hold a wine bottle opener. Thanks for the inspiration, look forward to making more of your ideas! I can email you some pics if you like.
Cheers!
Jeff
Ryan says
Awesome! Would love to see how it turned out. Email me at ryan@chiselandfork.com.