This post may contain affiliate links. Please read my disclosure.
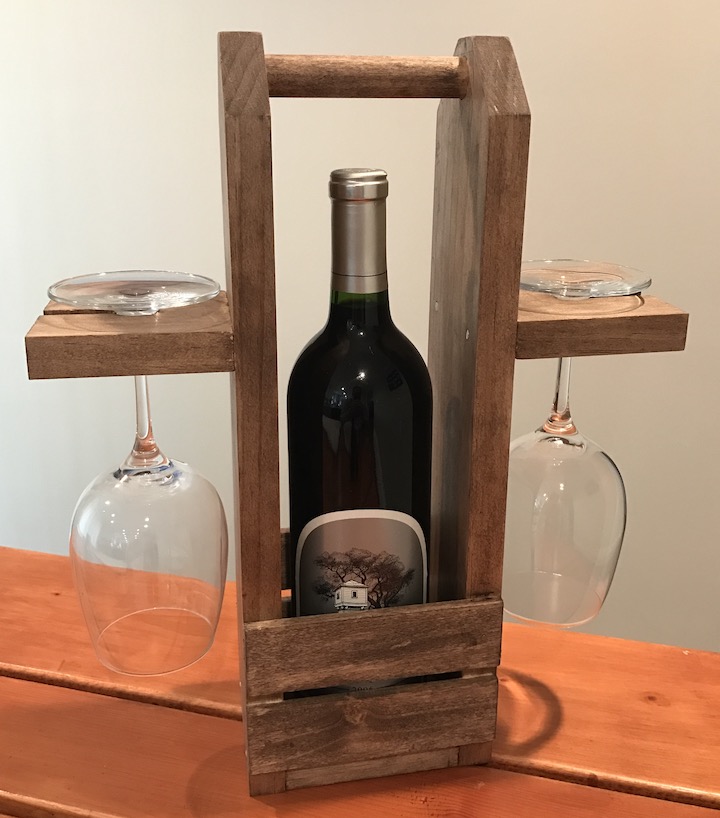
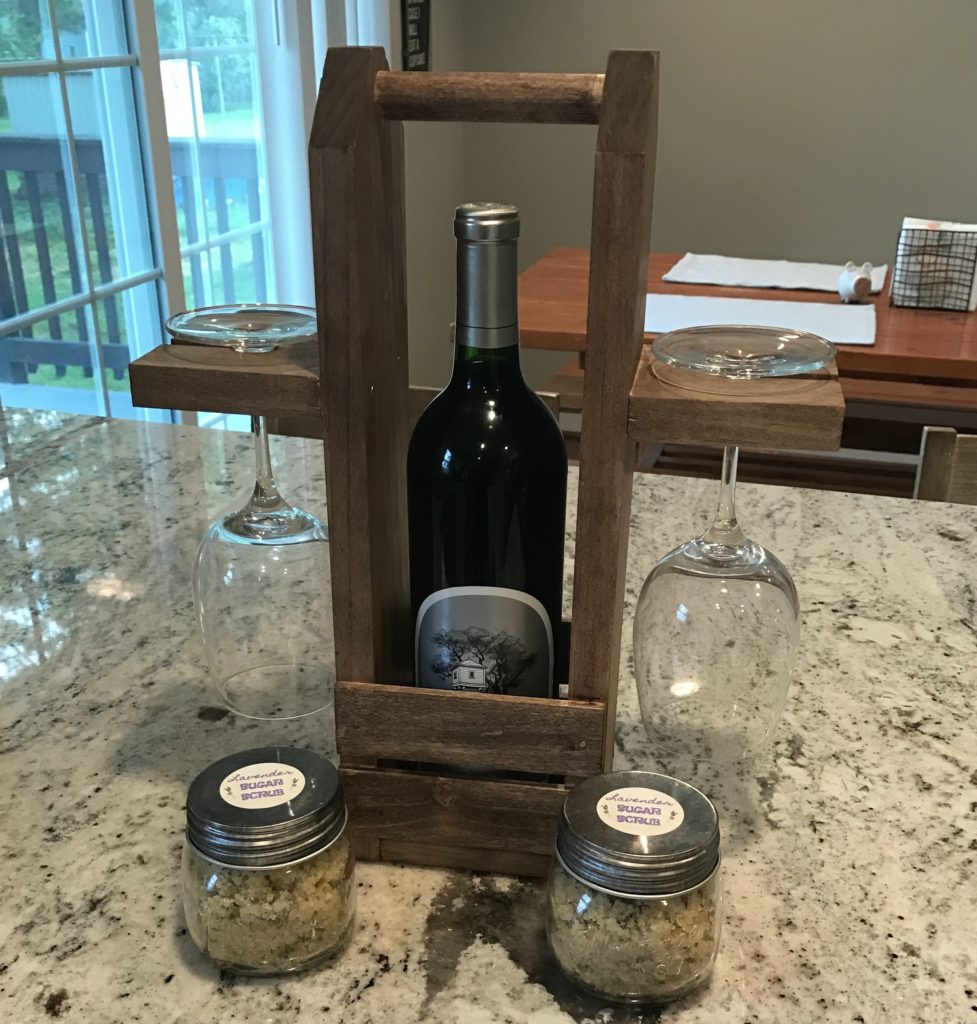
This wine bottle and glass caddy is the perfect DIY gift for wine lovers or for yourself and can be built in as little as four hours.
So as I mentioned last week when talking about the lavender sugar scrub I made for Lauren's birthday (can be found here), I had made a few other gifts for her. This two glass wine caddy is the type of project I really enjoy making. It's simple, made out of wood, and takes less than four hours to make! PS there are actually quite a few DIY wine holders out there and this is another great one from Down Home Inspiration.
Before I had met Lauren I maybe had one or two glasses of wine in my life. Beer was what I enjoyed most, but the introduction of wine by her quickly changed everything. I soon realized how much a glass of wine can make a good dinner great! Since converting to wine, we've been to wine festivals, wineries and tried many different types of wine at our house (normally on a Friday night). When thinking of how I could combine our love of wine into a handmade gift, I was inspired by beer caddies I made for my groomsmen for our wedding.
This two glass wine caddy is very simple to make and is great to take on a picnic!
Wine Bottle and Glass Caddy Shopping List:
- 1" x 4" x 4' pine board
- ¾" x 36" wooden dowel
- ¼" x 2" x 2' pine board
- Titebond III wood glue
- 1 ½" nails
- 80, 150, 220 grit sandpaper
Tools
Cut List
- 2 - 1" x 4" @ 16" (sides)
- 2 - 1" x 4" @ 3 ½" (shelves)
- 1 - 1" x 4" @ 3 ¾" (bottom)
- 4 - ¼" x 2" @ 5 ¼" (slats)
- 1 - ¾" dowel @ 4 ¼" (handle)
How to Make a Wine Bottle and Glass Caddy:
Step 1:
Begin by sanding all of the wood. It's easier to sand before cutting down. Use 80, 150, and 220 grit sandpaper to make as smooth as possible.
Step 2:
Use the miter saw to make the necessary cuts on the wood. Begin with the 1" x 4" x 4' pine board by cutting the two longest pieces at 16" each (sides). Then cut the two shelves at 3 ½" and the bottom at 3 ¾". Cut the ¼" x 2" pine board into 4 pieces each at 5 ¼". Finally cut the ¾" dowel at 4 ¼".
Step 3:
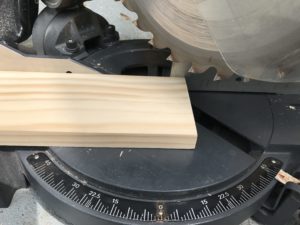
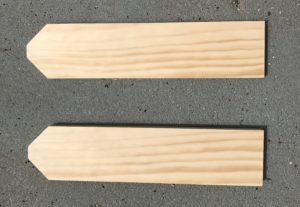
Turn the miter saw to a 45 degree angle. Mark the end of the wood at 1 ½" past the saw gauge. Cut the side profile of both 16" pieces of wood.
Step 4:
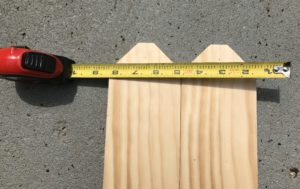
Mark a spot ¾" down from the edge of both side panels directly in the center. Drill two holes using your power drill for the handle into the side panels. You'll only want to drill about ½" deep into the wood using either a ¾" forstner or drill bit.
Step 5:
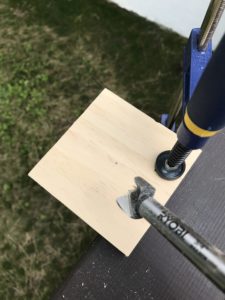
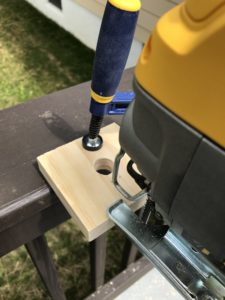
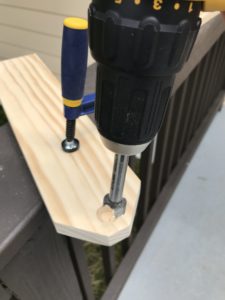
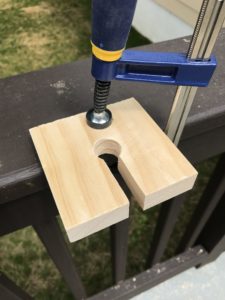
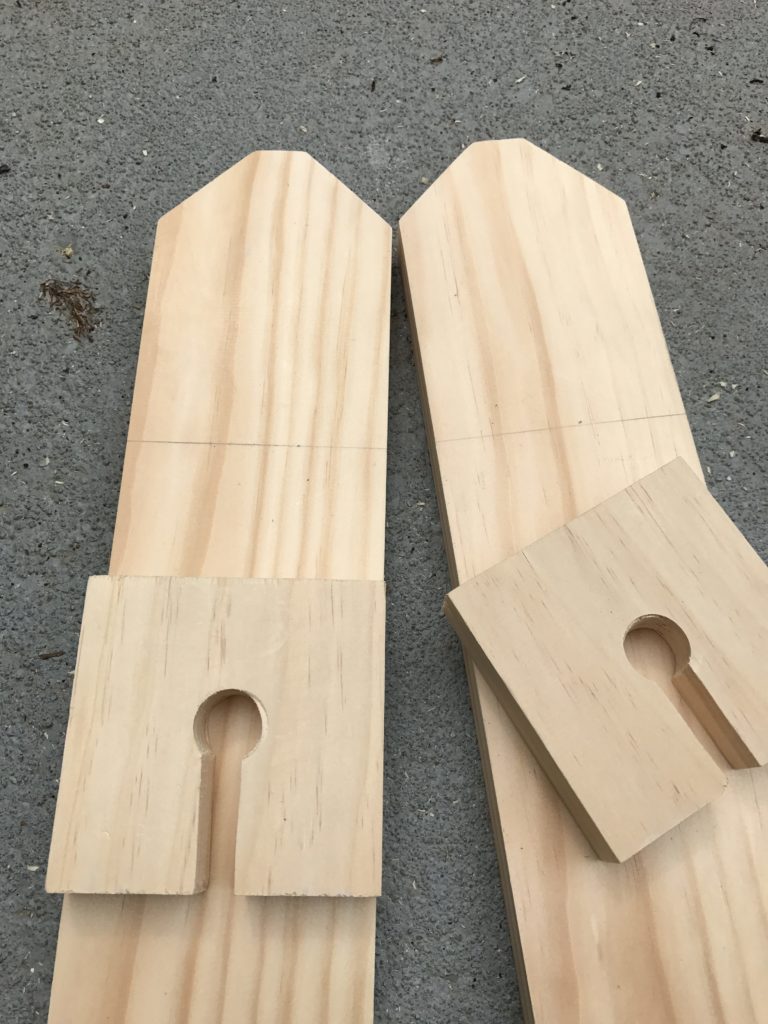
Clamp the two 3 ¾" shelves that will be used to hang the wine glasses. Mark a spot directly in the middle of both shelves and drill a hole completely through with your ¾" forstner or drill bit. Use your jig saw to then cut toward the hole of both shelves to create an area for the wine glasses to slide through to the hole to hang.
Step 6:
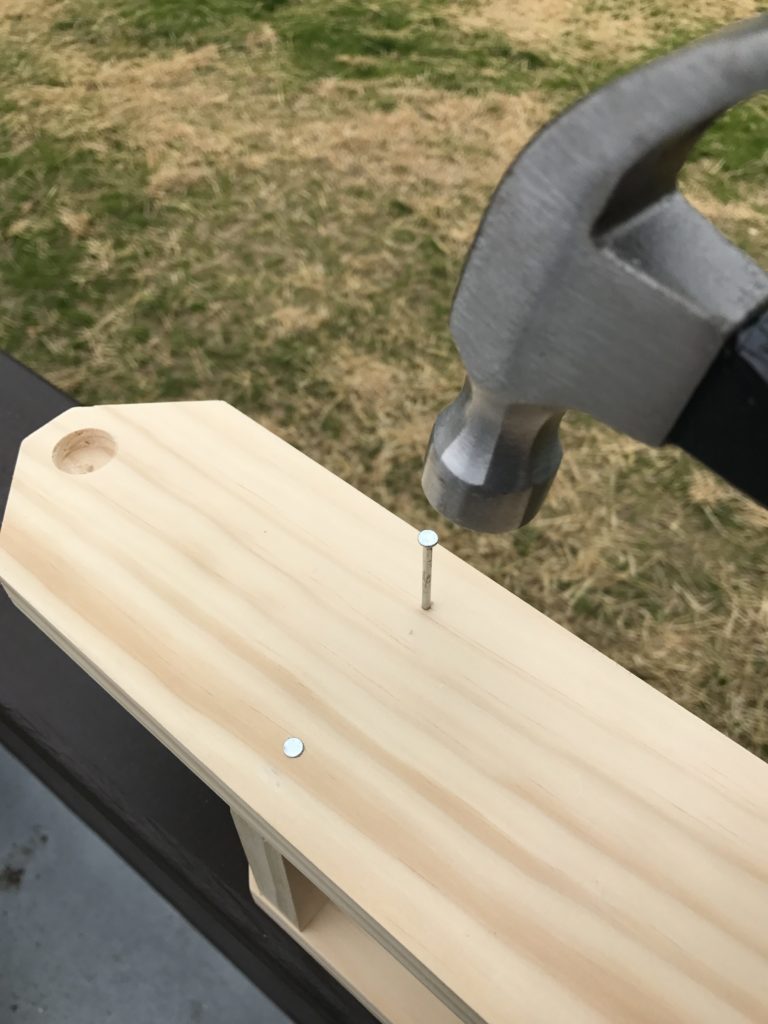
Mark a straight line down 6" from the top of both side panels. Glue both shelves just under the line on each side panel. Reinforce with brad nails.
Step 7:
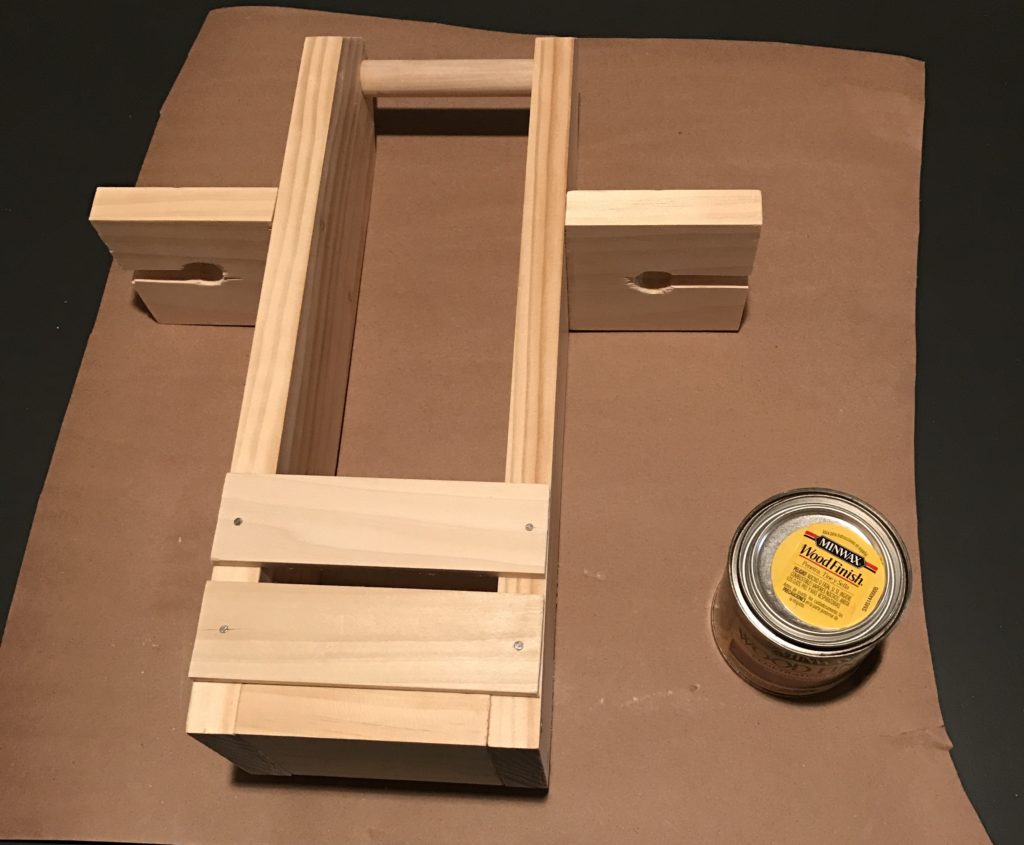
Attach the 3 ¾" bottom to the bottom of both side panels using the glue and then reinforce with brad nails.
Step 8:
Attach the side slats onto the side panels, spacing each about ¼" apart using glue and brad nails.
Step 9:
I like the look of nails showing but if you want to hide them, fill the nail holes with wood filler and sand.
Step 10:
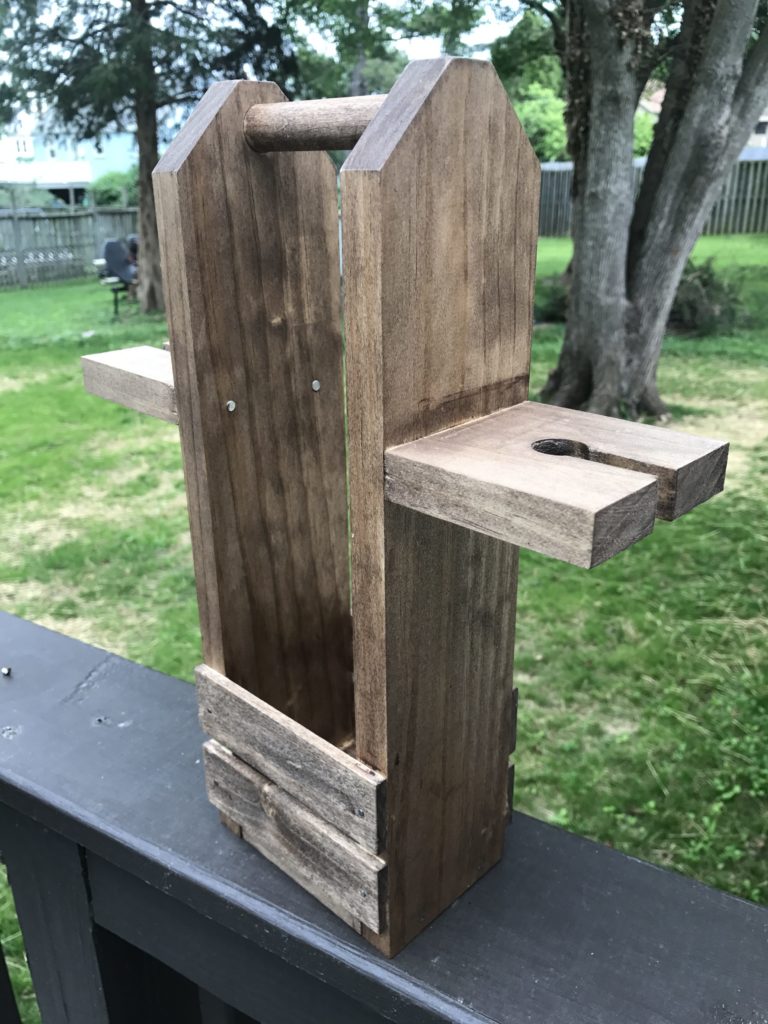
Now you can stain or paint the caddy. I used special walnut to stain the caddy. Once dry it's ready for use!



Theodore Vise says
Hi there, would you mind helping me out with a question I have? Is there a particular brand of drill driver you prefer? Dewalt seems pretty good. Or do you think a cheaper brand is good like Ryobi? I just got a job where I need a Lithium Ion tool kit. Thank you very much! 🙂
Ryan says
I'm a big fan of Dewalt. Most of my tools are Dewalt but I've heard good things Ryobi.