This post may contain affiliate links. Please read my disclosure.
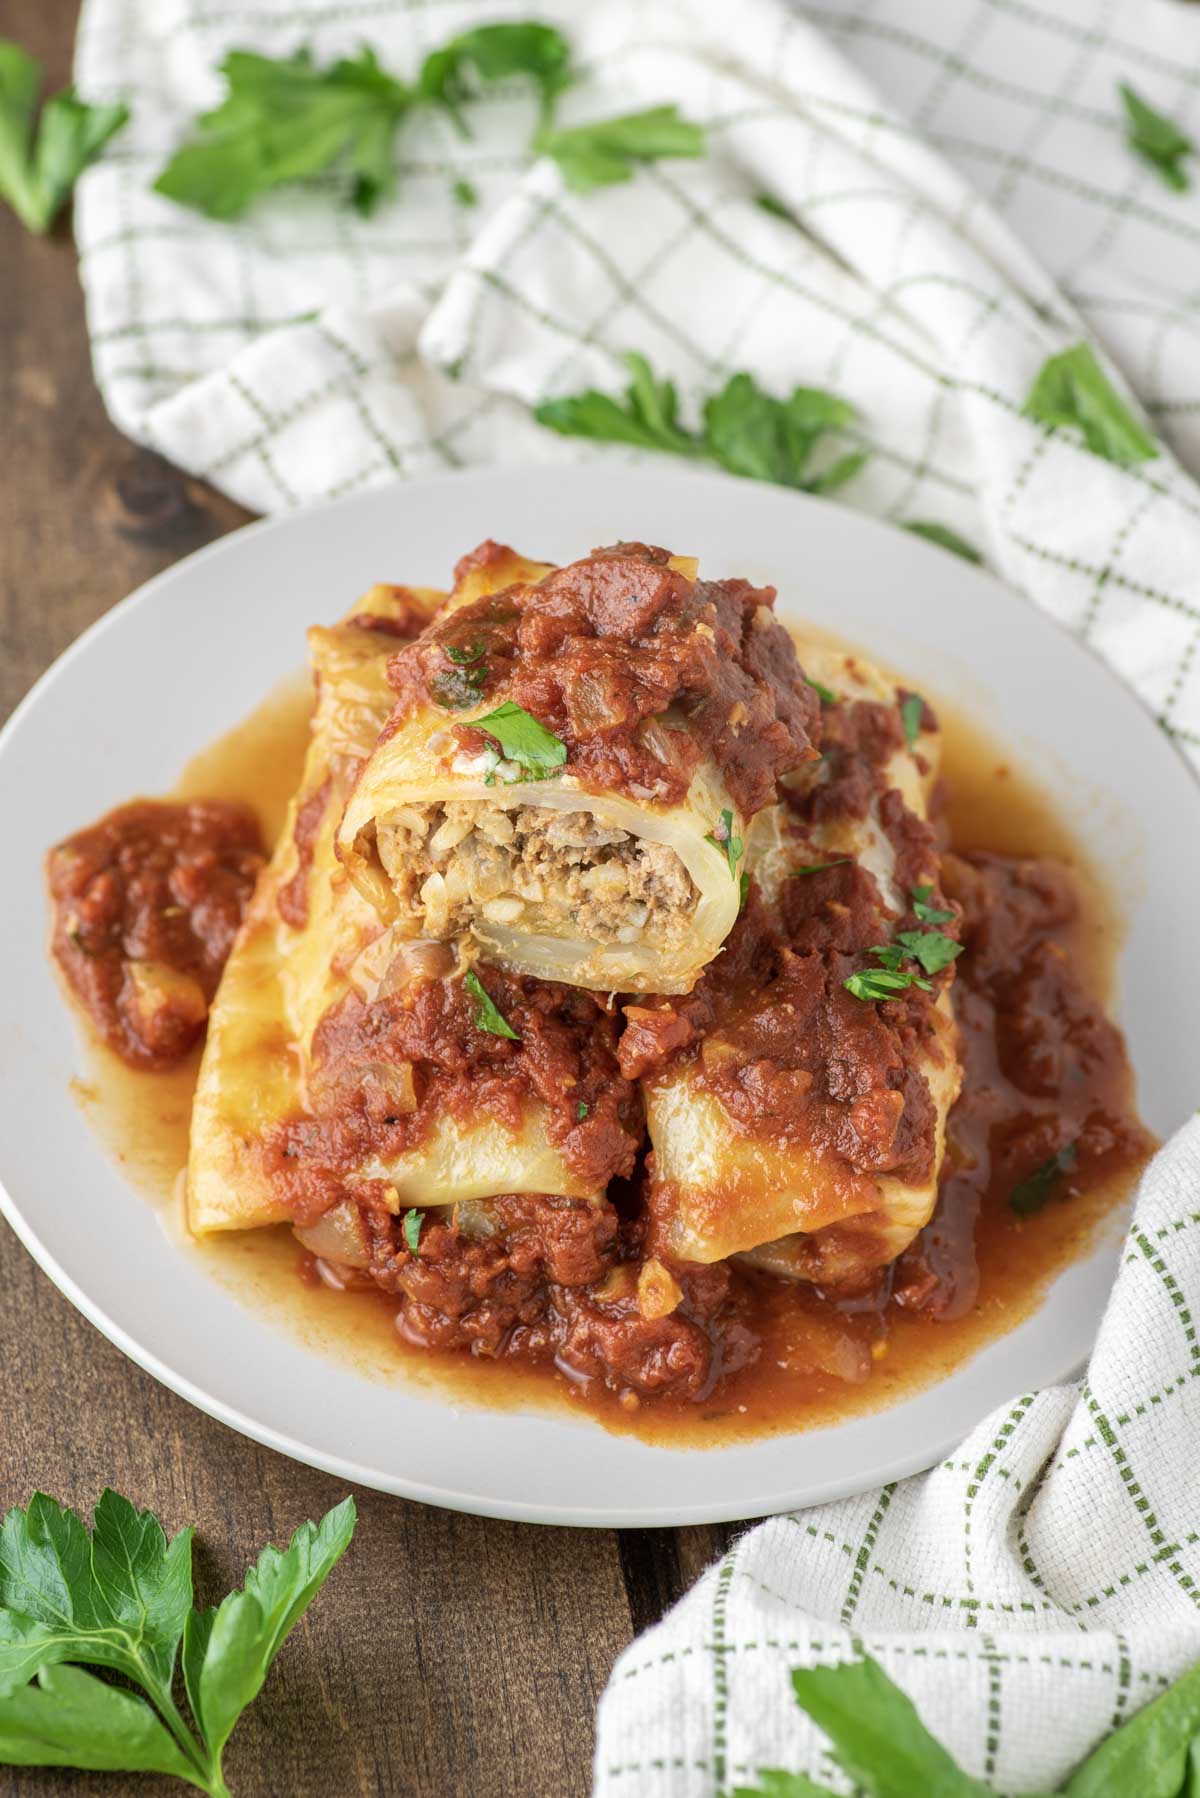
This stuffed cabbage rolls recipe or golabki is a traditional Polish dish comprised of baked cabbages leaves filled with beef and rice and topped with tomato sauce. This comforting meal is delicious but simple to make.
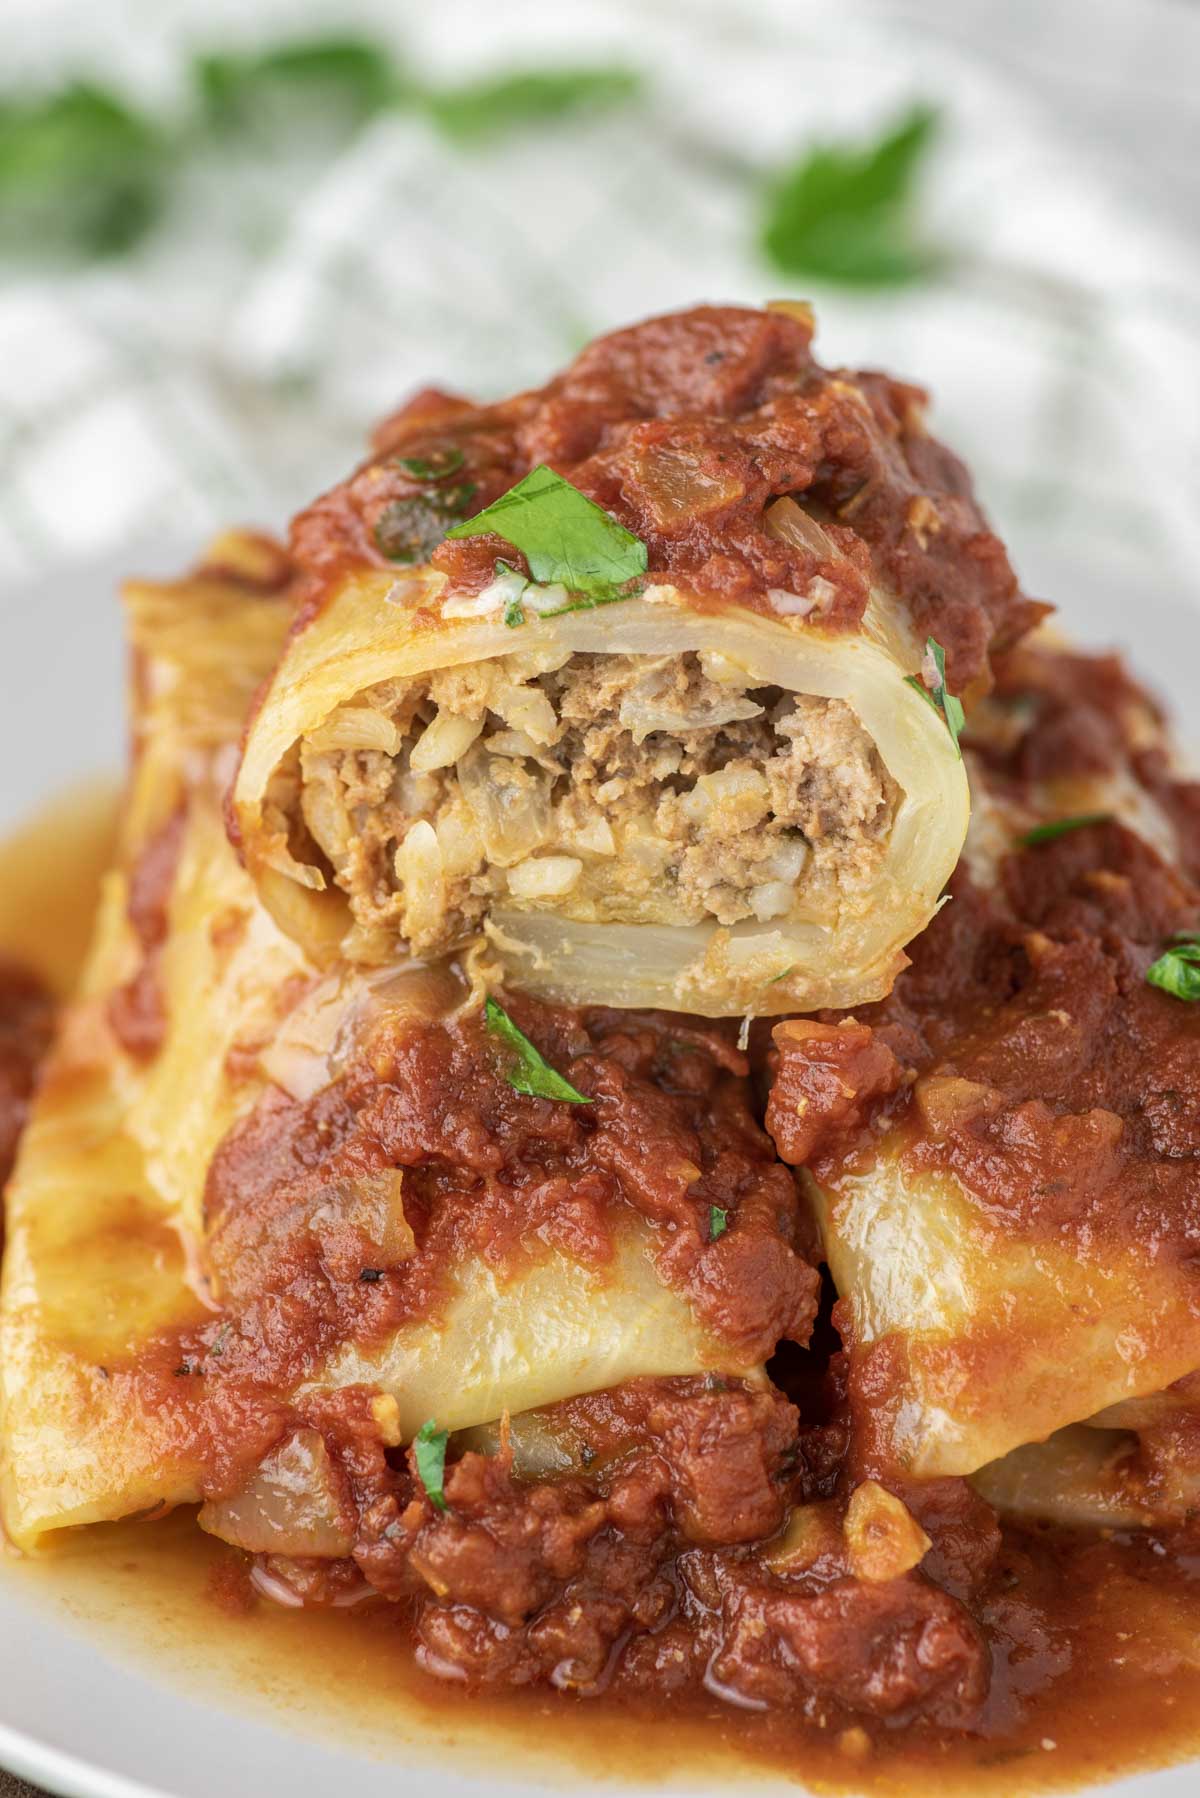
There is just something so satisfying about Eastern European food, especially on a cold night - like chicken paprikash. While most dishes are fairly straight forward with the ingredients, they are packed with flavor.
And this stuffed cabbage rolls recipe is no different. My mom was recently visiting and I wanted to show her how to make homemade cheddar pierogies. I asked what she wanted to go with it.
Her immediate response was stuffed cabbage rolls! She went on and on about how one of her favorite restaurants that is sadly now closed, Polonia, had the best Polish cabbage rolls. Since the restaurant closed a few years ago, she hadn't had any.
With that in mind, I set out to make my best version that could match Polonia with this stuffed cabbage rolls recipe. To mix it up, I decided to have a mix of ground beef and ground pork for added flavor and it didn't disappoint.
So if you are looking for some Polish cabbage rolls that will bring back childhood memories or help create memories for the first time, this recipe is for you.
Jump to:
Recipe Ingredients
- Olive oil - helps cook the onions.
- Sweet onion - additional flavor.
- Garlic - enhances the flavor of the sauce and the Polish cabbage rolls.
- Tomato paste - creates a richer tomato flavor.
- Crushed tomatoes - the main base for the sauce. Can also use diced tomatoes.
- Balsamic vinegar - can also use white vinegar.
- Light brown sugar - slightly sweetens the sauce.
- Italian seasoning - adds flavor to the tomato sauce.
- Cabbage leaves - hearty enough to roll up but softens as it cooks.
- Ground beef and pork - can just use beef, but the combination adds extra flavor.
- Brown rice - can also use white rice. I just use Uncle Ben's Ready Rice.
- Italian parsley - adds some freshness to the cabbage rolls.
- Egg - helps bind the meat.
- Salt and black pepper - enhances the flavor.
Step-by-Step Instructions
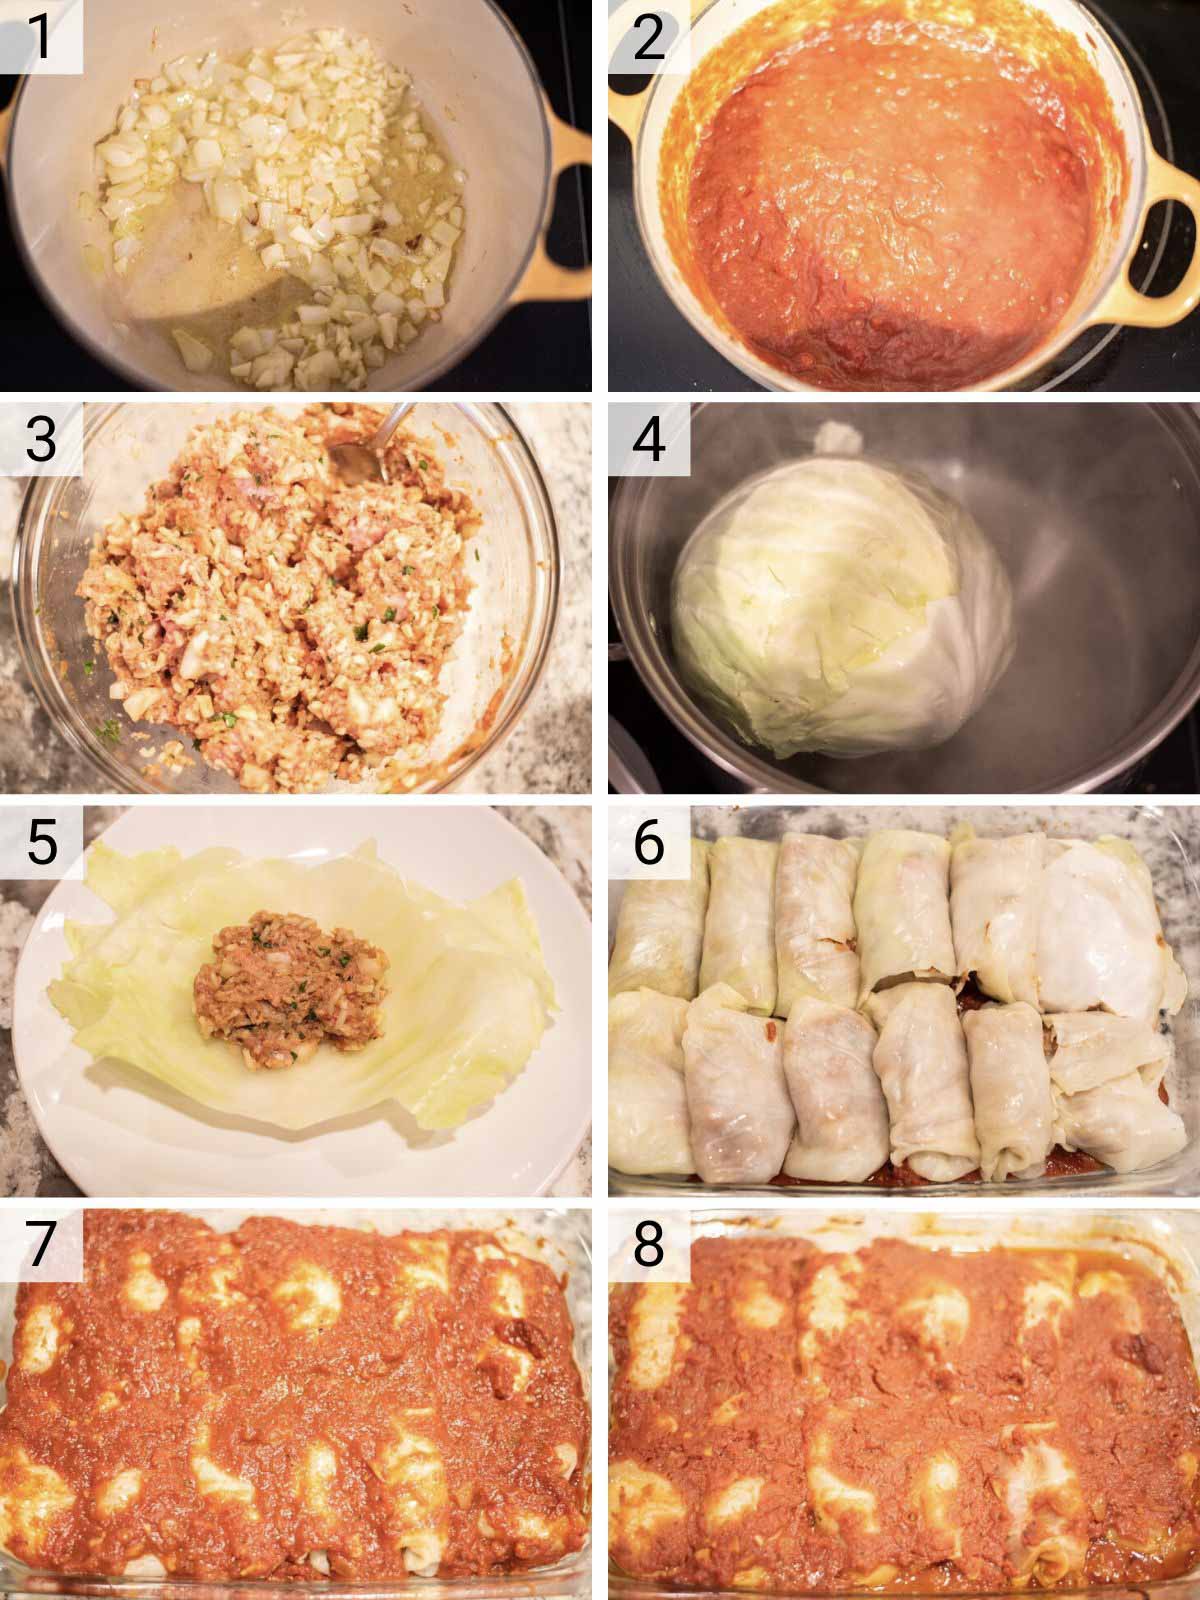
- In a large skillet or Dutch oven, heat olive oil over medium heat. Add the onion and cook for 5 minutes, or until translucent.
- Add the garlic and tomato paste and cook for another minute. Add the crushed tomatoes, balsamic vinegar, sugar and Italian seasoning. Reduce heat and simmer for 20 minutes. Adjust for seasoning with salt and pepper.
- Preheat oven to 350°F. In a large bowl, mix together the ground meats, rice, onion, garlic, parsley, egg, salt, pepper and ½ cup of the tomato sauce lightly with your hands until everything is just combined.
- Bring large pot of salted water to a boil. Immerse the cabbage head in the boiling water. Cook for 5 minutes or until cabbage leaves are pliable. Peel 12 large leaves off the cabbage.
- Coat a 9x13 glass baking dish with cooking spray. Place ½ cup of the tomato sauce in the bottom of the baking dish. Lay a cabbage leaf on a flat surface. Use a knife to cut a V-shaped notch to remove the thick part of the cabbage rib. Spoon ⅓ cup of the filling in the middle. Roll up, tucking in the sides as you roll.
- Place rolls seam side-down on top of sauce in baking dish and repeat with remaining cabbage leaves.
- Spoon remaining sauce over the cabbage rolls.
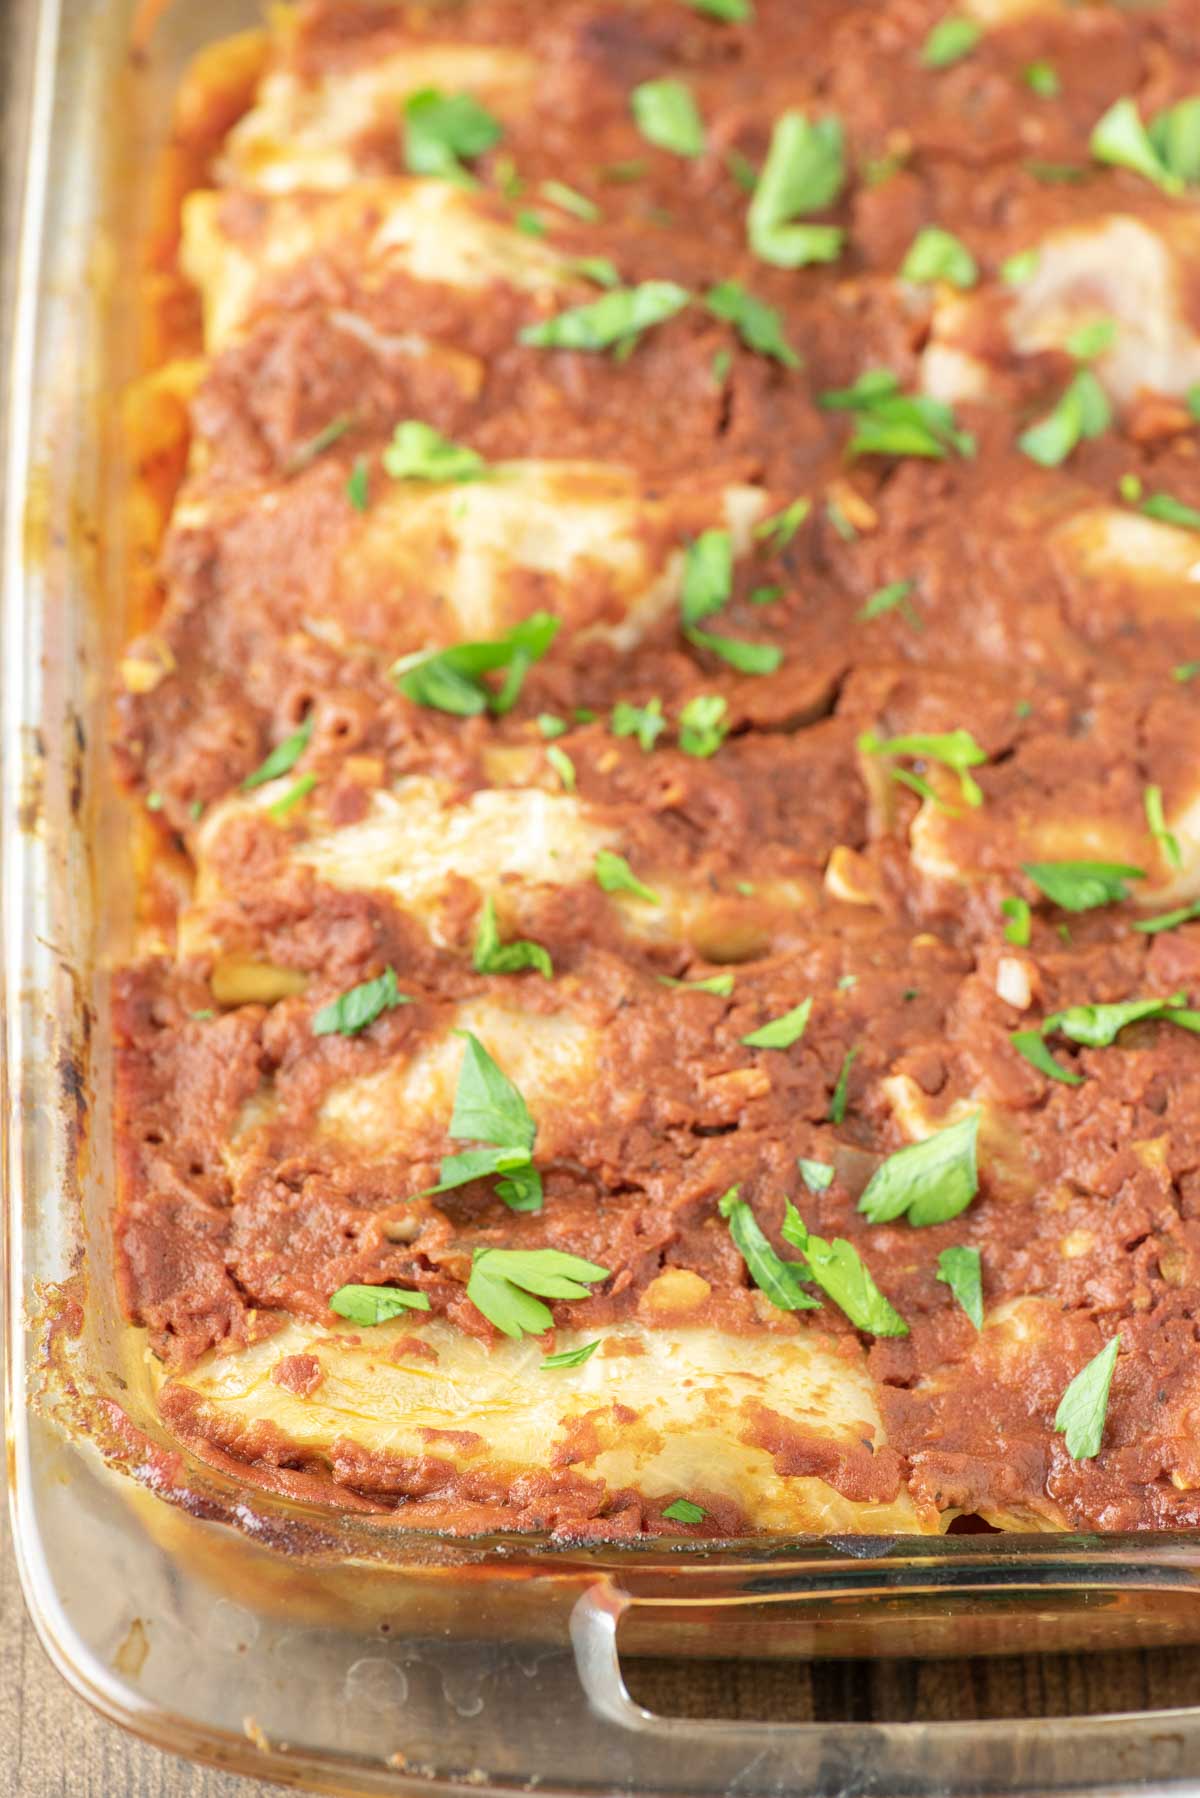
- Cover tightly with aluminum foil and for 75-90 minutes or until the cabbage is tender and meat is cooked through. Top the Polish cabbage rolls with some parsley before serving.
Side Dish Options
When choosing a side dish for these easy cabbage rolls, it’s often best to steer into the “comfort” side of things. Below are just a few options:
- Cheddar Pierogies
- German Spaetzle
- Shaved Brussels Sprouts with Bacon
- Potato Latkes
- Crispy Roasted Potatoes
FAQs
You'll find many different answers, but it is believed it began as part of Jewish food tradition with beef, rice and raisins.
However these Polish cabbage rolls or golabki, are traditionally Polish with a combination of beef and pork cooked in a sweet/sour tomato sauce.
Trying to remove raw cabbage leaves from the cabbage head can be quite difficult. No matter how careful you are, you will get some tearing.
The best method is to cut off the root end, and then submerge the entire cabbage head in a pot of boiling water for about 5 minutes until the leaves are tender and can easily be pulled away.
You can assemble the cabbage rolls up to a day ahead of time and cover in the fridge before baking them.
It meats you didn't boil the cabbage long enough. So just bake covered for 10 minute increments until the cabbage has softened.
Pro Tips/Recipe Notes
- You have to cut the thick part of the cabbage leaf before rolling it up. Use a pairing knife to cut out a v-shape of the bottom of each leave.
- Place the cabbage rolls seam-side down when baking so the filling doesn't fall out.
- If you have smaller leaves and still have filling leftover just overlap the leaves and they'll still cook perfectly.
- You can use jarred marinara sauce if you want but the traditional sauce is a sweet and sour style which is why homemade is better.
- Leftovers will last in the fridge for 2-3 days or in the freezer for 3 months.
Similar Recipes
If you’ve tried this stuffed cabbage rolls recipe or any other recipe on Chisel & Fork, please let me know how it turned out in the comments below! You can also follow me on Facebook, Instagram, Pinterest and YouTube to see more tasty meals and anything else I'm up to.
Stuffed Cabbage Rolls
Ingredients
Tomato Sauce
- 2 tablespoon olive oil
- ½ cup sweet onion, diced
- 4 garlic cloves, minced
- 2 tablespoon tomato paste
- 1 (28 oz can) crushed tomatoes
- 2 tablespoon balsamic vinegar
- 1 tablespoon light brown sugar
- 1 tablespoon Italian seasoning
- salt and pepper to taste
Cabbage Rolls
- 12 cabbage leaves
- ½ lb ground beef
- ½ lb ground pork
- 1 cup cooked brown rice
- ½ cup sweet onion, finely diced
- 4 garlic cloves, minced
- 2 tablespoon fresh parsley, chopped
- 1 large egg
- 1 teaspoon kosher salt
- ½ teaspoon black pepper
Instructions
Tomato Sauce
- In a large skillet or Dutch oven, heat olive oil over medium heat. Add the onion and cook for 5 minutes, or until translucent. Add the garlic and tomato paste and cook for another minute. Add the crushed tomatoes, balsamic vinegar, sugar and Italian seasoning.
- Reduce heat and simmer for 20 minutes. Adjust for seasoning with salt and pepper.
Cabbage Rolls
- Preheat oven to 350°F. Bring large pot of salted water to a boil. Immerse the cabbage head in the boiling water. Cook for 5 minutes or until cabbage leaves are pliable. Peel 12 large leaves off the cabbage.
- In a large bowl, mix together the ground meats, rice, onion, garlic, parsley, egg, salt, pepper and ½ cup of the tomato sauce lightly with your hands until everything is just combined.
- Coat a 9x13 glass baking dish with cooking spray. Place ½ cup of the tomato sauce in the bottom of the baking dish.
- Lay a cabbage leaf on a flat surface. Use a knife to cut a V-shaped notch to remove the thick part of the cabbage rib. Spoon ⅓ cup of the filling in the middle. Roll up, tucking in the sides as you roll. Place rolls seam side-down on top of sauce in baking dish and repeat with remaining cabbage leaves.
- Spoon remaining sauce over the cabbage rolls. Cover tightly with aluminum foil and for 75-90 minutes or until the cabbage is tender and meat is cooked through. Top with some parsley before serving.
Notes
- You have to cut the thick part of the cabbage leaf before rolling it up. Use a pairing knife to cut out a v-shape of the bottom of each leave.
- Place the cabbage rolls seam-side down when baking so the filling doesn't fall out.
- If you have smaller leaves and still have filling leftover just overlap the leaves and they'll still cook perfectly.
- You can use jarred marinara sauce if you want but the traditional sauce is a sweet and sour style which is why homemade is better.
- You can assemble the cabbage rolls up to a day ahead of time and cover in the fridge before baking them.
- Leftovers will last in the fridge for 2-3 days or in the freezer for 3 months.






Leave a Reply