
This post may contain affiliate links. Please read my disclosure.
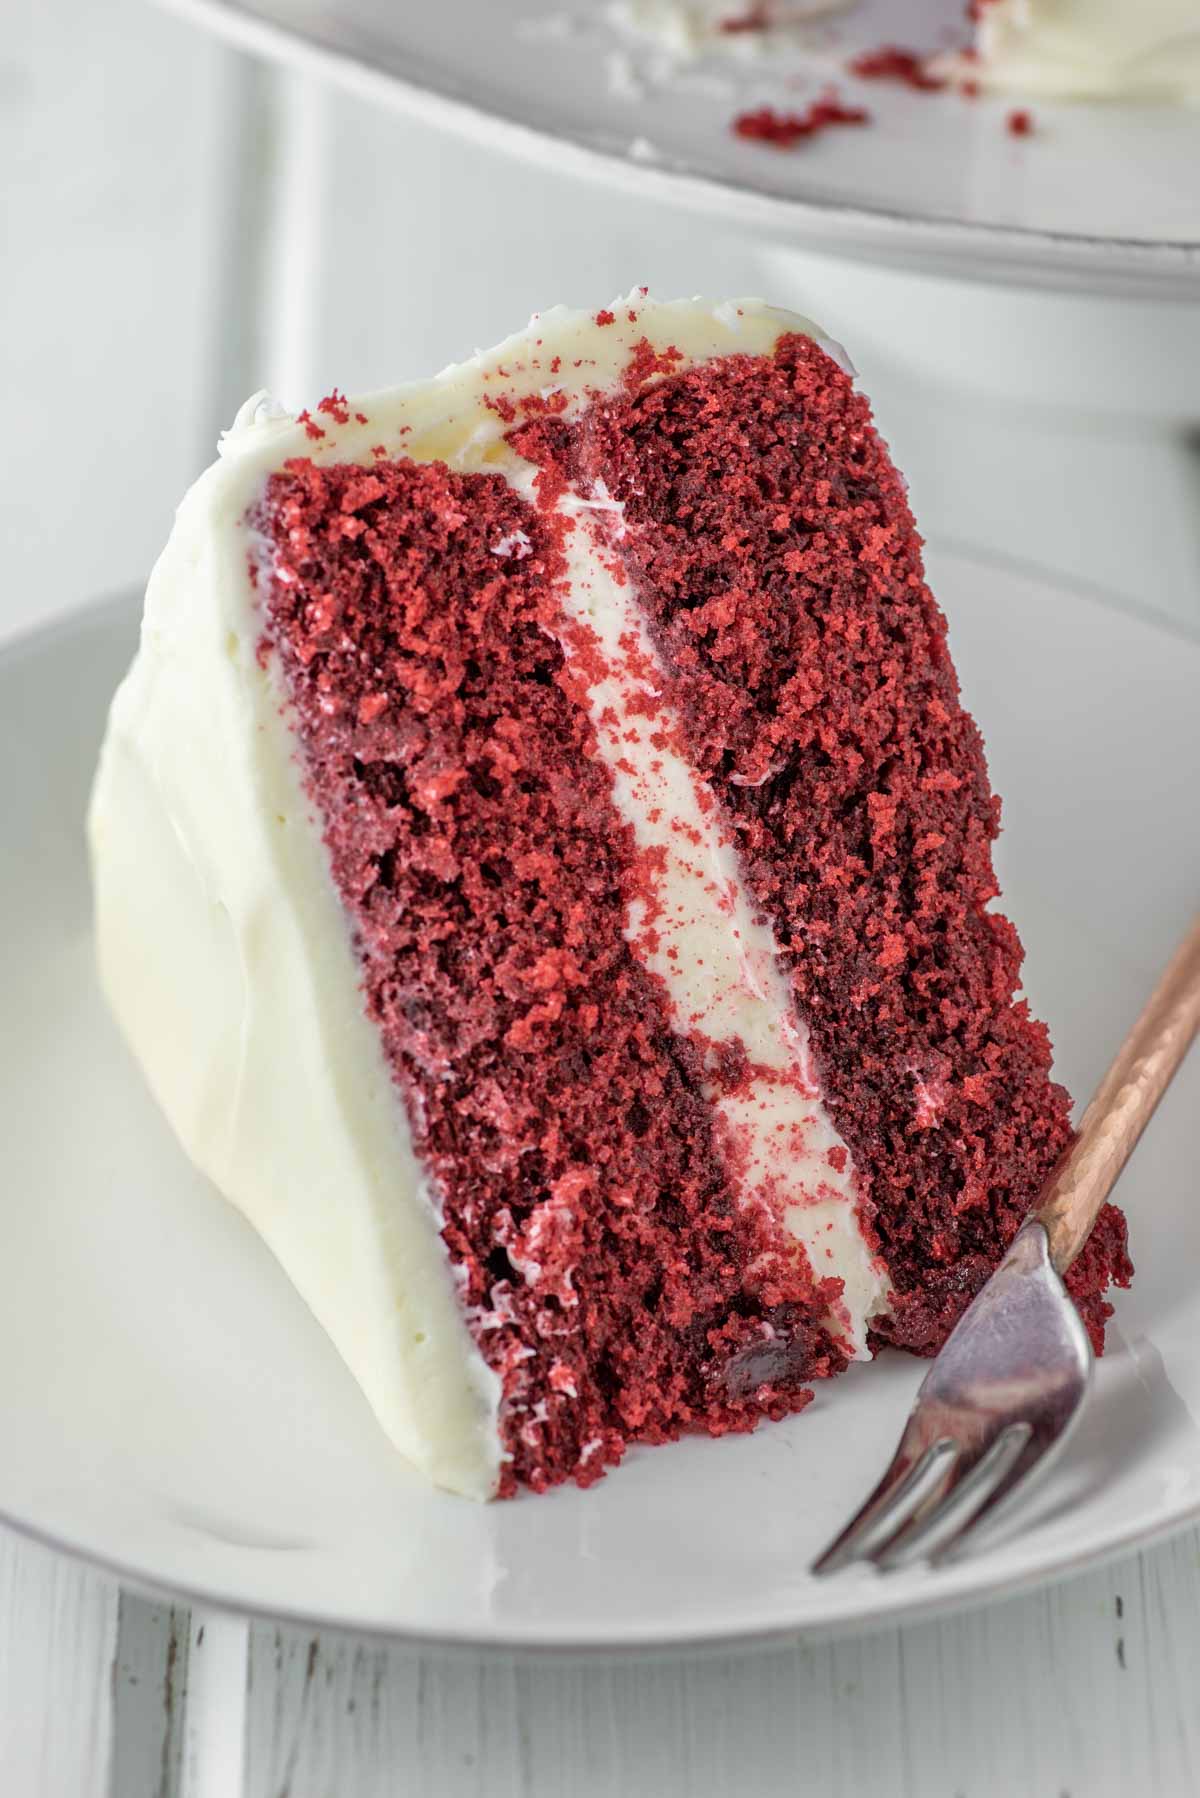
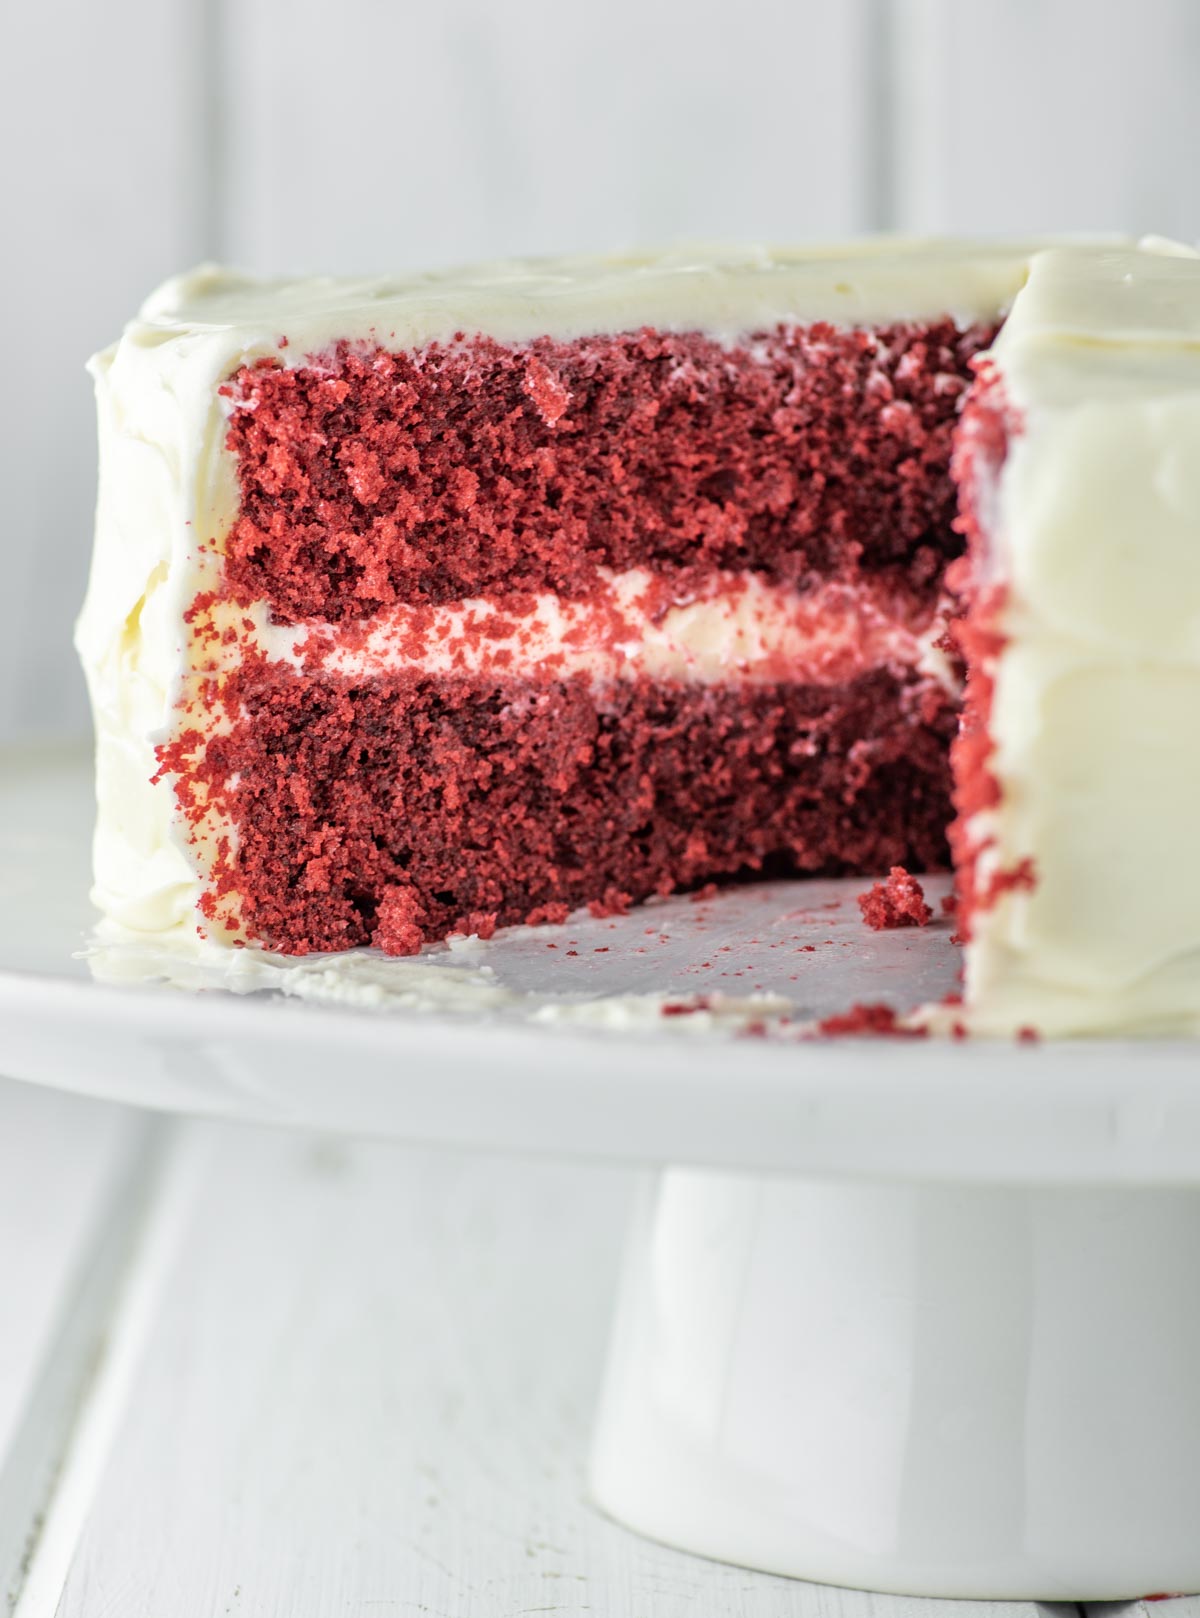
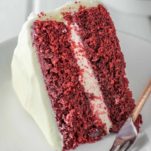
This southern red velvet cake recipe consists of light and moist 'chocolate' cake with a sweet and tangy cream cheese frosting.
I'm all about cake, from yellow cake with chocolate frosting to Boston cream pie to carrot cake to an apple bundt cake. But one of those classics that everyone has had at least once is red velvet cake.
When you really think about it, how did a cake colored red originate? Well if you believe history, while red velvet cake was invented in the 1800's, it was John A. Adams who had a food coloring company created a recipe with red dye in the 1940's and it became popular from there.
Today, everyone has their version of this southern classic. The real question with most people is what type of cake is it? Is it chocolate, vanilla or a butter cake tinted red? To be honest, it is all three which makes it so unique.
Top it off with a cream cheese frosting that is good enough on its own, this cake is hard to beat.
Jump to:
Ingredient Notes
- Cake flour – cake flour is lighter than all-purpose flour which creates that light, soft crumb. If you don't have cake flour, you can make your own version.
- Cocoa powder - it is important to use natural, not Dutch cocoa powder as the cake is already rich enough. Dutch doesn't have acidity so needs to have baking powder to react.
- Distilled white vinegar - extra acid to ensure the rise of the cake but also helps brighten the red color.
- Buttermilk - important as the acidity reacts with the baking soda to create rise but also adds moistness to the cake.
- Red food coloring - creates that red color you expect with the cake.
Ingredient Swaps
Like any recipe, you can switch up the ingredients if you want. Some variations include:
- I mentioned above that I use natural cocoa powder, but Dutch cocoa powder works as well.
- Granulated sugar is my go-to for this cake, but light brown sugar is a good substitute.
- Canola oil is important for the added fat, but vegetable oil or melted butter work as well.
- I like the combination of cream cheese and mascarpone cheese, but you can use all of one or the other.
Step-by-Step Photos
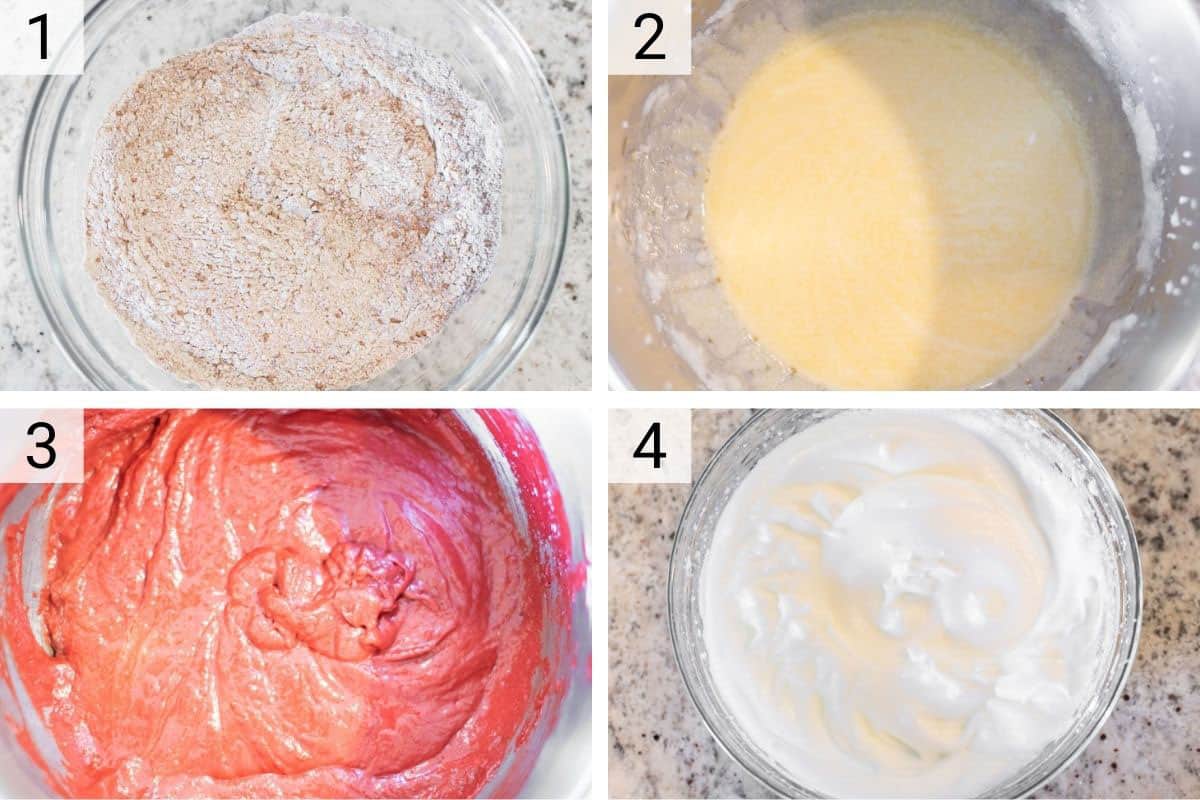
Mix together the dry ingredients in a bowl and set aside. Cream together the sugar, butter and oil in a stand mixer until combined before adding the egg yolks, vanilla extract and white vinegar.
Whisk together the buttermilk and food coloring in a measuring cup. With mixer on low, add the a third of the dry ingredients and alternate with the buttermilk, ending with the flour mixture. Now beat together the egg whites until stiff peaks form.
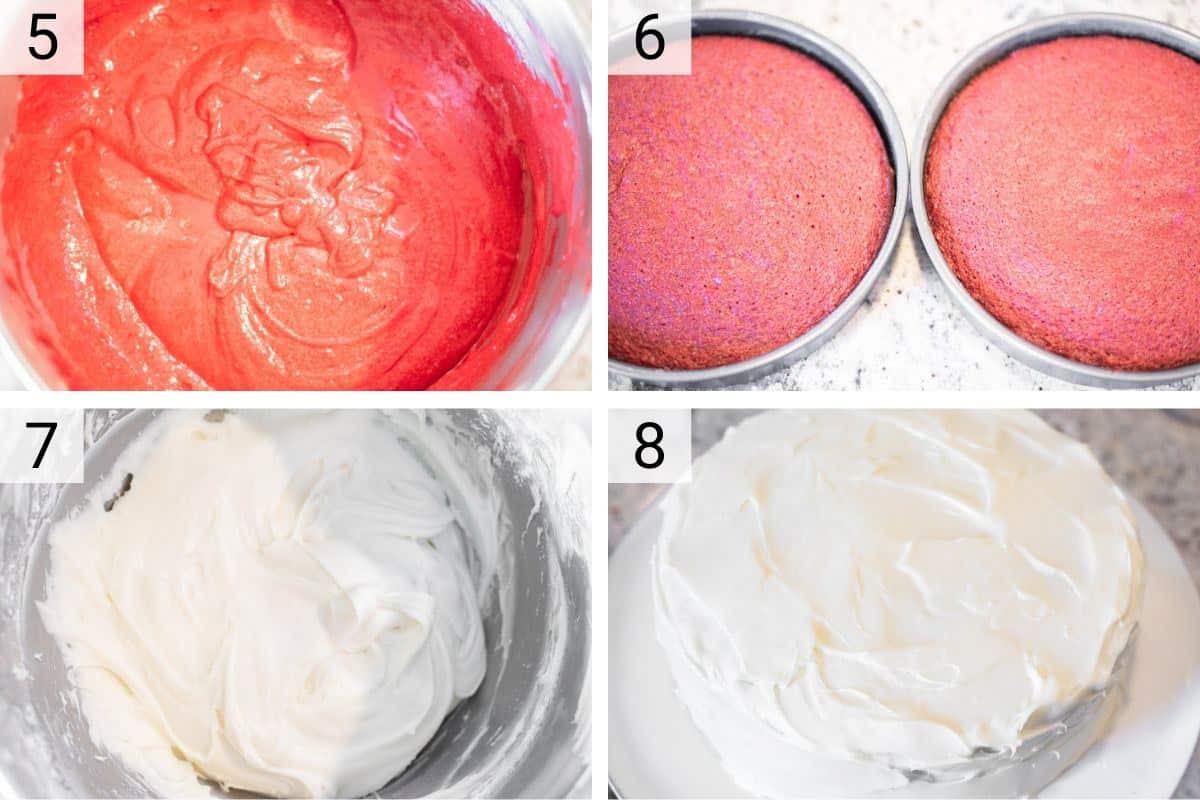
Gently fold in the egg whites into the batter. Divide between two parchment-lined cake pans and bake at 350°F for 30-35 minutes or until done.
While cooling, beat together the cream cheese, mascarpone cheese and butter until light and fluffy and then add the powdered sugar, vanilla exact and salt, beating until combined. Place one cake layer on a stand and top with an even amount of frosting before adding the second layer and covering the top and sides with the remaining frosting.
Mascarpone vs. Cream Cheese
The biggest difference between the two is the amount of fat. Mascarpone has twice the amount of fat as cream cheese, which gives it a richer flavor.
Cream cheese is firmer and tangier, but you can use them interchangeably.
While it is slightly unconventional, I like the combination of the two for this cream cheese frosting.
FAQs
You can use red food coloring, gel food coloring or even beet powder to get the red color you want. Or you could just omit entirely. It doesn't affect the flavor, just the look!
I personally like gel food coloring, as you don't need to add a ton.
You need the acid in it to react with the baking soda and create the rise.
If you don’t have buttermilk you can easily make it at home. Simply add 1 tablespoon of vinegar or lemon juice to 1 cup of milk. Let stand at room temperature for 10 minutes and it’s ready.
Although the buttermilk and cocoa powder has acid, the extra vinegar just allows the baking soda to do its work in creating a fluffy cake.
If you don't have vinegar, lemon juice will work as well.
Yes it is an extra step, but beat the egg whites separately. By beating the egg whites, you incorporate air which creates a light cake. After trying this, you will never go back.
To maximize the shelf life of the cake, place it in a covered airtight container or cover with plastic wrap to prevent it from drying out. Because of the cream cheese, you can't leave this cake out at room temperature.
• Cake in the fridge will last 1 week
• Cake in the freezer will last 4 months
Pro Tips/Recipe Notes
- Do not skip the buttermilk as it helps create the moistness you expect from red velvet cake. If you don't have it, make your own. See instructions above.
- All refrigerated items should be at room temperature, which helps the batter mix easily and evenly.
- You know cake is done when you insert a toothpick in the center and it comes out clean.
- Allow the cakes to completely cool before adding the frosting, otherwise it will melt.
- If you don't have 9 inch cake pans, you can make this red velvet cake recipe in a 9x13 cake pan or 12x17 sheet pan. It should take about 40-45 min or 20-25 minutes, respectively.

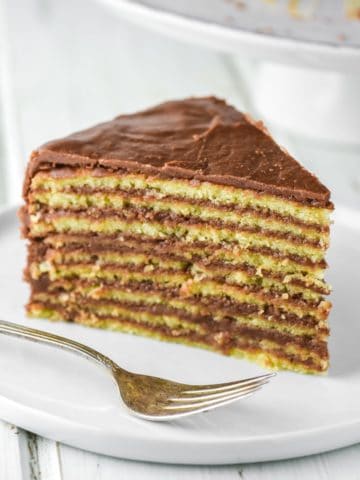
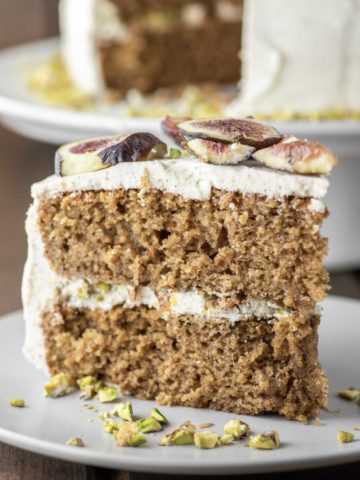
Other Cake Recipes
If you’ve tried this southern red velvet cake recipe or any other recipe on Chisel & Fork, please let me know how it turned out in the comments below! You can also follow me on Facebook, Instagram, Pinterest and YouTube to see more tasty meals and anything else I'm up to.
Southern Red Velvet Cake
Ingredients
Cake
- 2 ¾ cups cake flour (330 grams)
- 3 tablespoon cocoa powder
- 1 teaspoon baking soda
- ½ teaspoon salt
- ½ cup unsalted butter, at room temperature (1 stick)
- 2 cups granulated sugar
- 1 cup canola oil
- 4 eggs, at room temperature with yolks and whites separates
- 2 teaspoon vanilla extract
- 1 teaspoon distilled white vinegar
- 1 cup buttermilk, at room temperature
- 2 tablespoon red food coloring
Cream Cheese Frosting
- 8 oz cream cheese, at room temperature
- 8 oz mascarpone cheese, at room temperature
- ½ cup unsalted butter, at room temperature (1 stick)
- 4 cups powdered sugar
- 2 teaspoon vanilla extract
- ½ teaspoon salt
Instructions
Cake
- Preheat oven to 350°F and prepare two 9" round cake pans. Line the bottoms with parchment paper and then butter the pans. Toss a tablespoon of flour in the pans and turn to coat the entire pan, tossing the extra flour out. Set aside.
- In a medium bowl, whisk together the flour, cocoa powder, baking soda and salt. Set aside.
- In the bowl of a stand mixer, cream together the sugar, butter and oil until light and fluffy. Add the egg yolks one at a time and beat until mixed. Add the vanilla and white vinegar and beat until combined. You can also use a hand mixer to do this.
- In a medium bowl, beat the 4 egg whites on high speed until fluffy peaks form, about 3 minutes. Gently fold the egg whites into the batter.
- Divide the batter between the two cake pans. Bake for 30-35 minutes or until the tops are set and no longer wiggly. Inserting a toothpick should come out mostly clean with some moist crumbs, but no wet batter. Remove and let cool for 10 minutes and then run a knife around the edges of the pan. Invert on a cooling rack and allow to cool completely before frosting.
Cream Cheese Frosting
- Beat the cream cheese, mascarpone cheese and butter together in an electric mixer until light and fluffy, about 3 minutes. Add the powdered sugar, vanilla extract and salt and beat until fluffy, about another 3 minutes.
To Assemble Cake
- Level the tops of each cake with a knife or cake leveler and keep the crumbs to top the cake. Place one of the cake layers on a cake stand or plate, top with an even layer of frosting. Place the second layer on top, then use the remaining frosting to frost the top and sides of the cake. Top with crumbs. Refrigerate cake for at least 30-60 minutes before slicing.
Notes
- Do not skip the buttermilk as it helps create the moistness you expect from red velvet cake. If you don't have it, make your own. See instructions above.
- All refrigerated items should be at room temperature, which helps the batter mix easily and evenly.
- You know cake is done when you insert a toothpick in the center and it comes out clean.
- Allow the cakes to completely cool before adding the frosting, otherwise it will melt.
- If you don't have 9 inch cake pans, you can make this red velvet cake recipe in a 9x13 cake pan or 12x17 sheet pan. It should take about 40-45 min or 20-25 minutes, respectively.
Michelle says
My husband makes me a red velvet cake every year on my birthday! I’m going to tell him to make me this one this year!
Mel says
fantastic, doubled the butter content and was so decadently moist, made cupcakes instead of rounds and turned out perfect with a lot of rise.
Ryan says
Glad the cupcakes turned out!