This make ahead turkey gravy recipe is not only the best tasting gravy you will ever have, but is just another step in making Thanksgiving Day easier to handle.
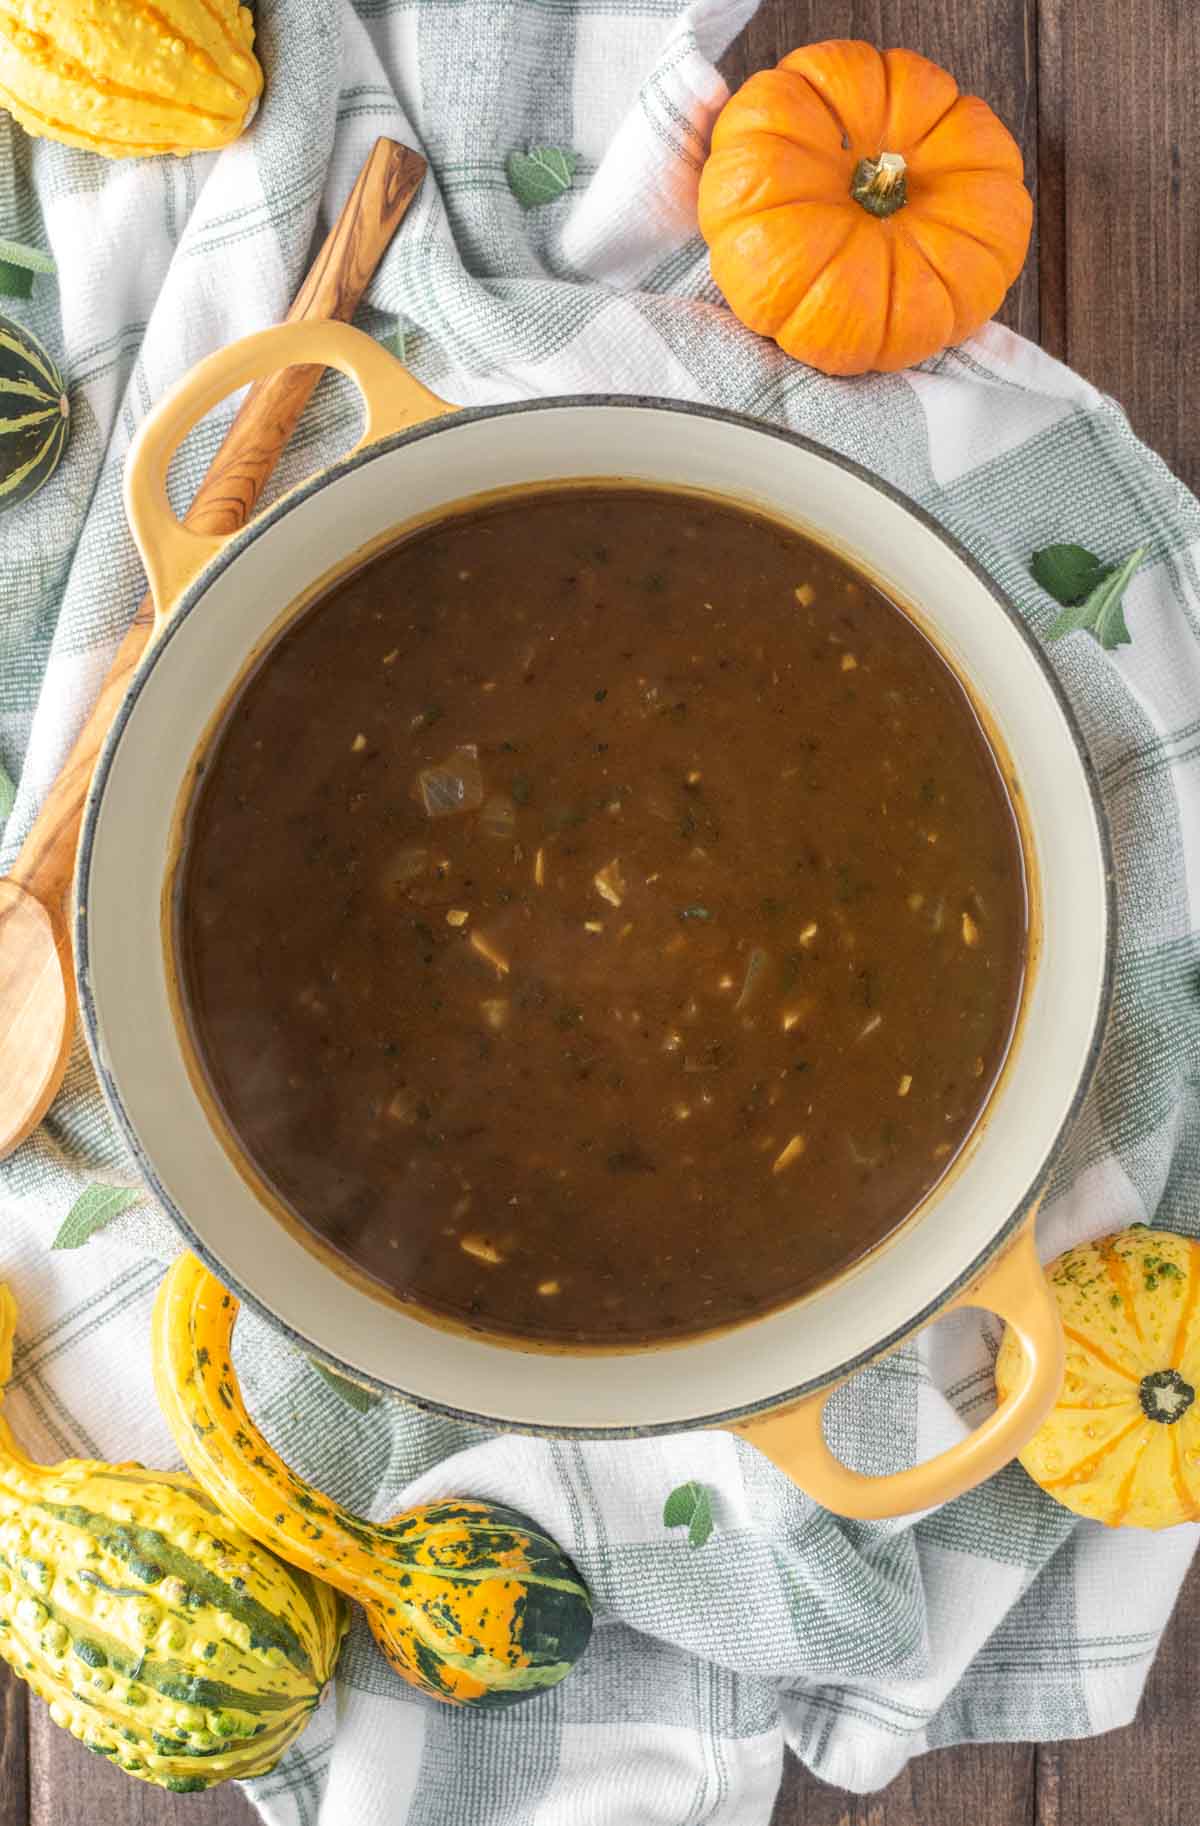
You might be thinking, make ahead gravy? Why would I do that? We all know if you are hosting for the holidays that the day of can be quite stressful. So why not help alleviate some of that by taking one less recipe out of the picture.
Yes you still have to do a little bit at the end, but this by making the base of this turkey gravy ahead of time, you save some precious minutes where you can focus on something else.
The key with this make ahead gravy is preparing the base up to three days in advance. It is just like any other gravy recipe you see with some butter, onion, herbs, flour and stock.
However after making the base, you stop at that point. Where the real depth of the flavor comes for this make ahead gravy in is the turkey drippings, which you obviously have to wait for when the turkey is done. After that, pour it over your favorite sides - from cream cheese mashed potatoes to slow cooker mashed sweet potatoes to old fashioned bread stuffing.
Why This Recipe Works
- Saves time - Making gravy can be a time-consuming process, especially when you're already juggling multiple dishes on the day of the event. Preparing the gravy ahead of time allows you to spread out the workload, reducing stress on the day of the event.
- Flavorful - Allowing the flavors to meld and develop over night results in a more rich and well-balanced gravy.
- Enhances the turkey - Turkey gravy not only adds flavor but also helps to keep the turkey meat moist and tender. When poured over slices of turkey, the gravy adds moisture, preventing the meat from becoming dry. This is especially important for the less fatty parts of the turkey, such as the breast, ensuring that every bite remains tasty.
Jump to:
Ingredient Notes
- Unsalted butter - The base for the gravy, reacts with the flour to make the roux and thicken the gravy.
- Aromatics - A ton of flavor comes from the onion and garlic in regards to this gravy, with sage being the most important.
- Flour - Reacts with the butter to make a roux which is important to thicken the gravy.
- Chicken stock - I use low sodium is best so you can control the salt level.
- Turkey pan drippings - The drippings from the turkey is the foundation for your gravy. These drippings contain the essence of the turkey's flavor and are crucial for an authentic and savory taste.
- White wine - Dry white wine is best as it adds a touch of acidity and helps scrape up the brown bits. Sauvignon Blanc or Chardonnay works great.
Step-by-Step Photos
Please note full ingredient list and instructions can be found in recipe card below.
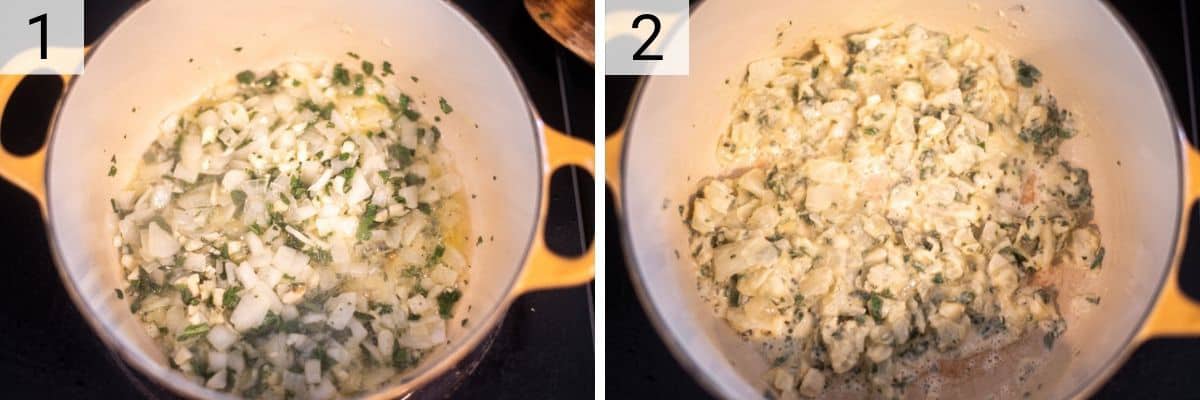
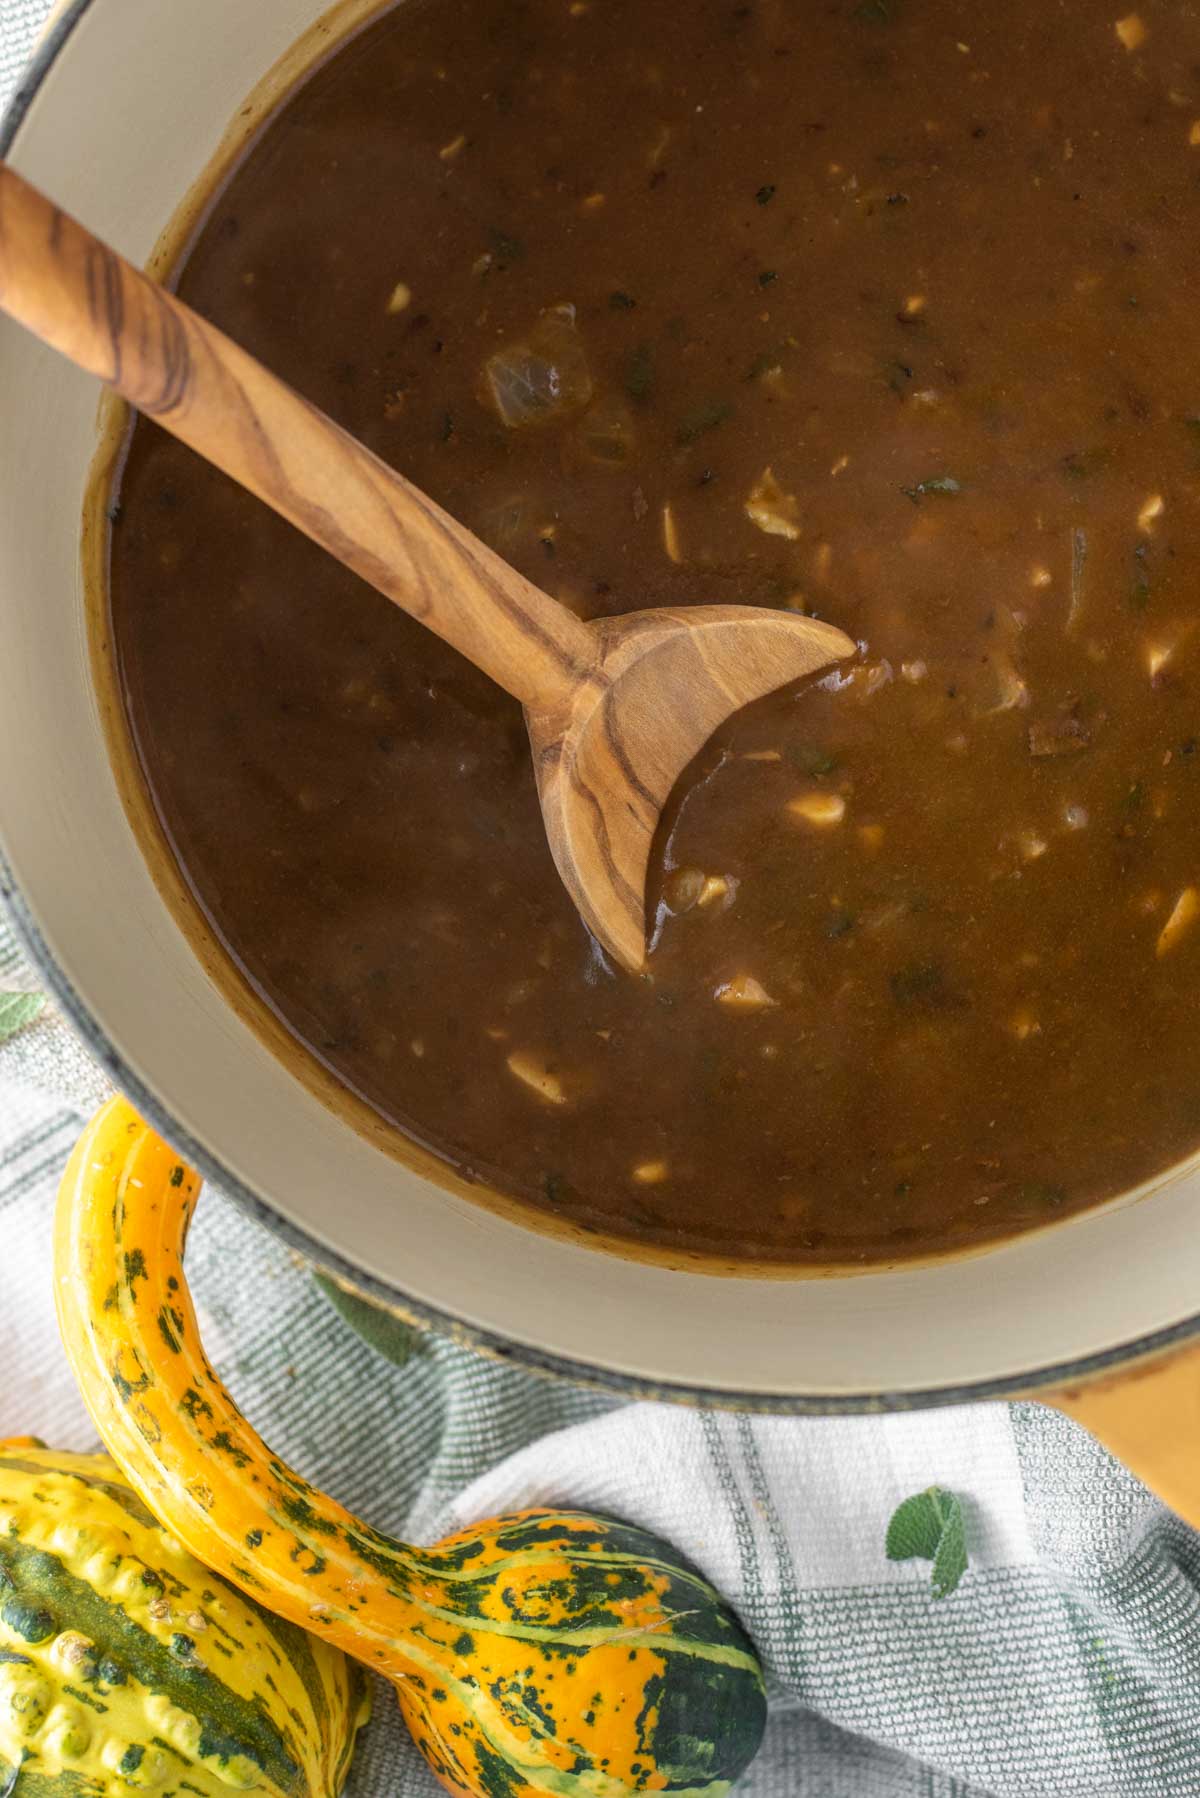
Heat butter over medium heat in skillet and add onion and salt, cooking for 5 minutes before adding sage, cooking another 2 minutes. Add garlic for remaining 30 seconds before whisking in flour and cooking for 2 minutes.
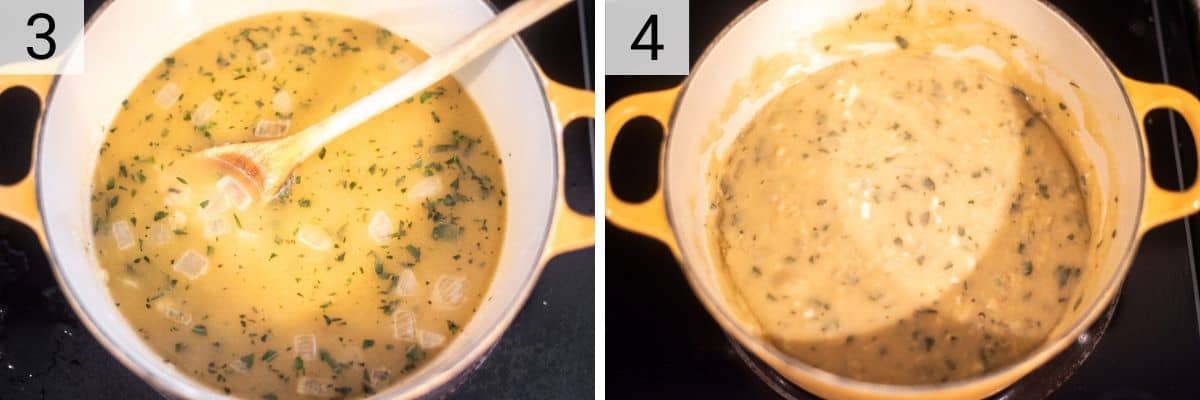
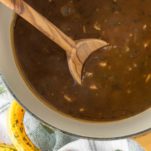
Pour in the stock, whisking constantly and bring to boil. Simmer for 5 minutes or until thick. Remove from heat and store in the fridge for up to 3 days.
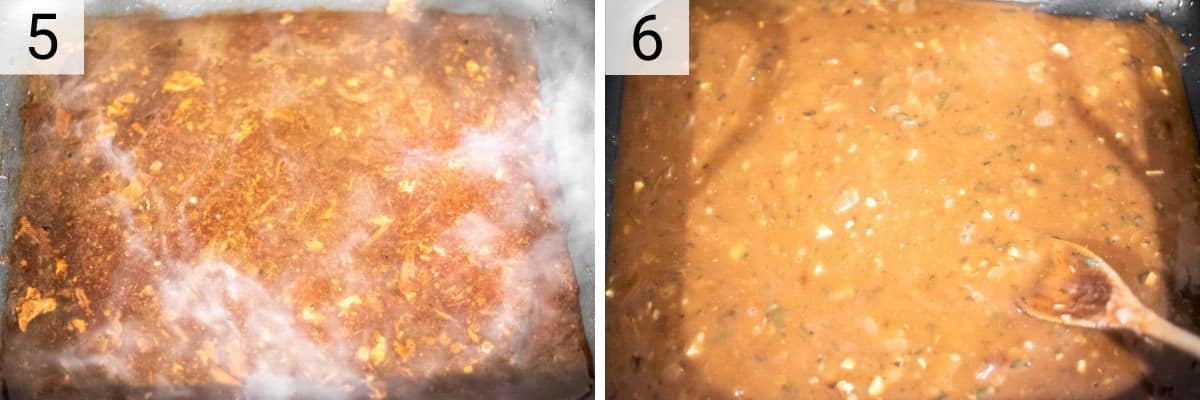
Once ready to finish gravy, strain the remaining liquid from the turkey pan. Place the pan over 2 burners and deglaze with wine, simmering for 2 minutes. Reduce heat and add gravy base, simmering until it has thickened and smooth. Add some of the leftover turkey stock if needed.
FAQs
If you are gluten-free you can just use a gluten-free flour and it will work just as well. However you can also use cornstarch.
Make a slurry by mixing 1 tablespoon cornstarch with 3 tablespoon water and whisk together. Add the slurry when the stock is simmering and cook for a few minutes and you'll watch it thicken up.
Do not substitute dry sage for the fresh sage if possible. Fresh is always best in my mind. However if you can only use dried sage, use 2 tsp.
Use quality dry white wine that you’d be willing to drink. The flavor of the sauce comes from the wine. Chardonnay or Sauvignon Blanc are best.
If the gravy is too thin, just mix equal parts flour and water and slowly add the the simmering gravy. Give it a few minutes and it should be thicker. If not, just add some more.
If gravy is too thick, slowly whisk in chicken/turkey stock until you reach desired consistency. You can use water in a pinch as well.
Yes, the base can be frozen for up to 3 months beforehand. Just let place it in the fridge the day before you want to finish the gravy so it is room temperature.
Pro Tips/Recipe Notes
- Strain the turkey drippings before using them in the gravy to remove any impurities or solid bits. This helps create a smoother and more refined texture.
- When making gravy, the most important tool is a whisk. Without whisking, you will probably have a lumpy gravy.
- Simmer the gravy long enough to allow it to thicken, at least 5 minutes.
- Be mindful of the salt content in the turkey drippings. Taste the gravy before adding additional salt, as the drippings may already contain a significant amount.
- Keep the turkey gravy warm until right before serving as it thickens as it cools.
Other Thanksgiving Recipes
If you’ve tried this make ahead turkey gravy recipe or any other recipe on Chisel & Fork, please let me know how it turned out in the comments below! You can also follow me on Facebook, Instagram, Pinterest and YouTube to see more tasty meals and anything else I'm up to.
Make Ahead Turkey Gravy
Ingredients
- 6 tablespoon unsalted butter
- ½ yellow onion, diced
- ¼ teaspoon salt
- 2 tablespoon fresh sage, chopped
- 3 garlic cloves, minced
- ⅓ cup all-purpose flour
- 3 cups low-sodium chicken stock (or turkey stock from pan)
- pan drippings from turkey
- 1 cup dry white wine
Instructions
- Melt butter over medium heat in skillet. Add the onion and salt and cook until translucent, about 5 minutes. Add sage and cook for until 2-3 minutes. Add garlic and cook for 30 seconds. Whisk in flour and cook for about 2 minutes. Slowly pour in chicken stock, whisking constantly. Bring to boil and then simmer for 5 minutes or until thickened slightly. Remove from heat.
- Once the gravy is cool, store in fridge for up to 3 days.
- To finish gravy, once turkey is done remove the turkey from pan and strain the remaining liquid into measuring cup. Place the roasting pan over 2 burners at medium heat. Add wine to deglaze the pan, making sure to scrape the brown bits. Simmer for about 2 minutes, allowing the wine to reduce.
- Reduce heat to low and slowly whisk in the gravy base. Simmer until the gravy has thickened and is smooth. If needed, add some of the leftover turkey stock and season with salt and pepper. Serve warm.
Notes
- Strain the turkey drippings before using them in the gravy to remove any impurities or solid bits. This helps create a smoother and more refined texture.
- When making gravy, the most important tool is a whisk. Without whisking, you will probably have a lumpy gravy.
- Do not substitute dry sage for the fresh sage if possible. However if you can only use dried sage, use 2 tsp.
- Use quality dry white wine that you’d be willing to drink. The flavor of the sauce comes from the wine. Chardonnay or Sauvignon Blanc are best.
- Simmer the gravy long enough to allow it to thicken, at least 5 minutes.
- Be mindful of the salt content in the turkey drippings. Taste the gravy before adding additional salt, as the drippings may already contain a significant amount.
- Keep the turkey gravy warm until right before serving as it thickens as it cools.







Chris says
Yum!