
This post may contain affiliate links. Please read my disclosure.
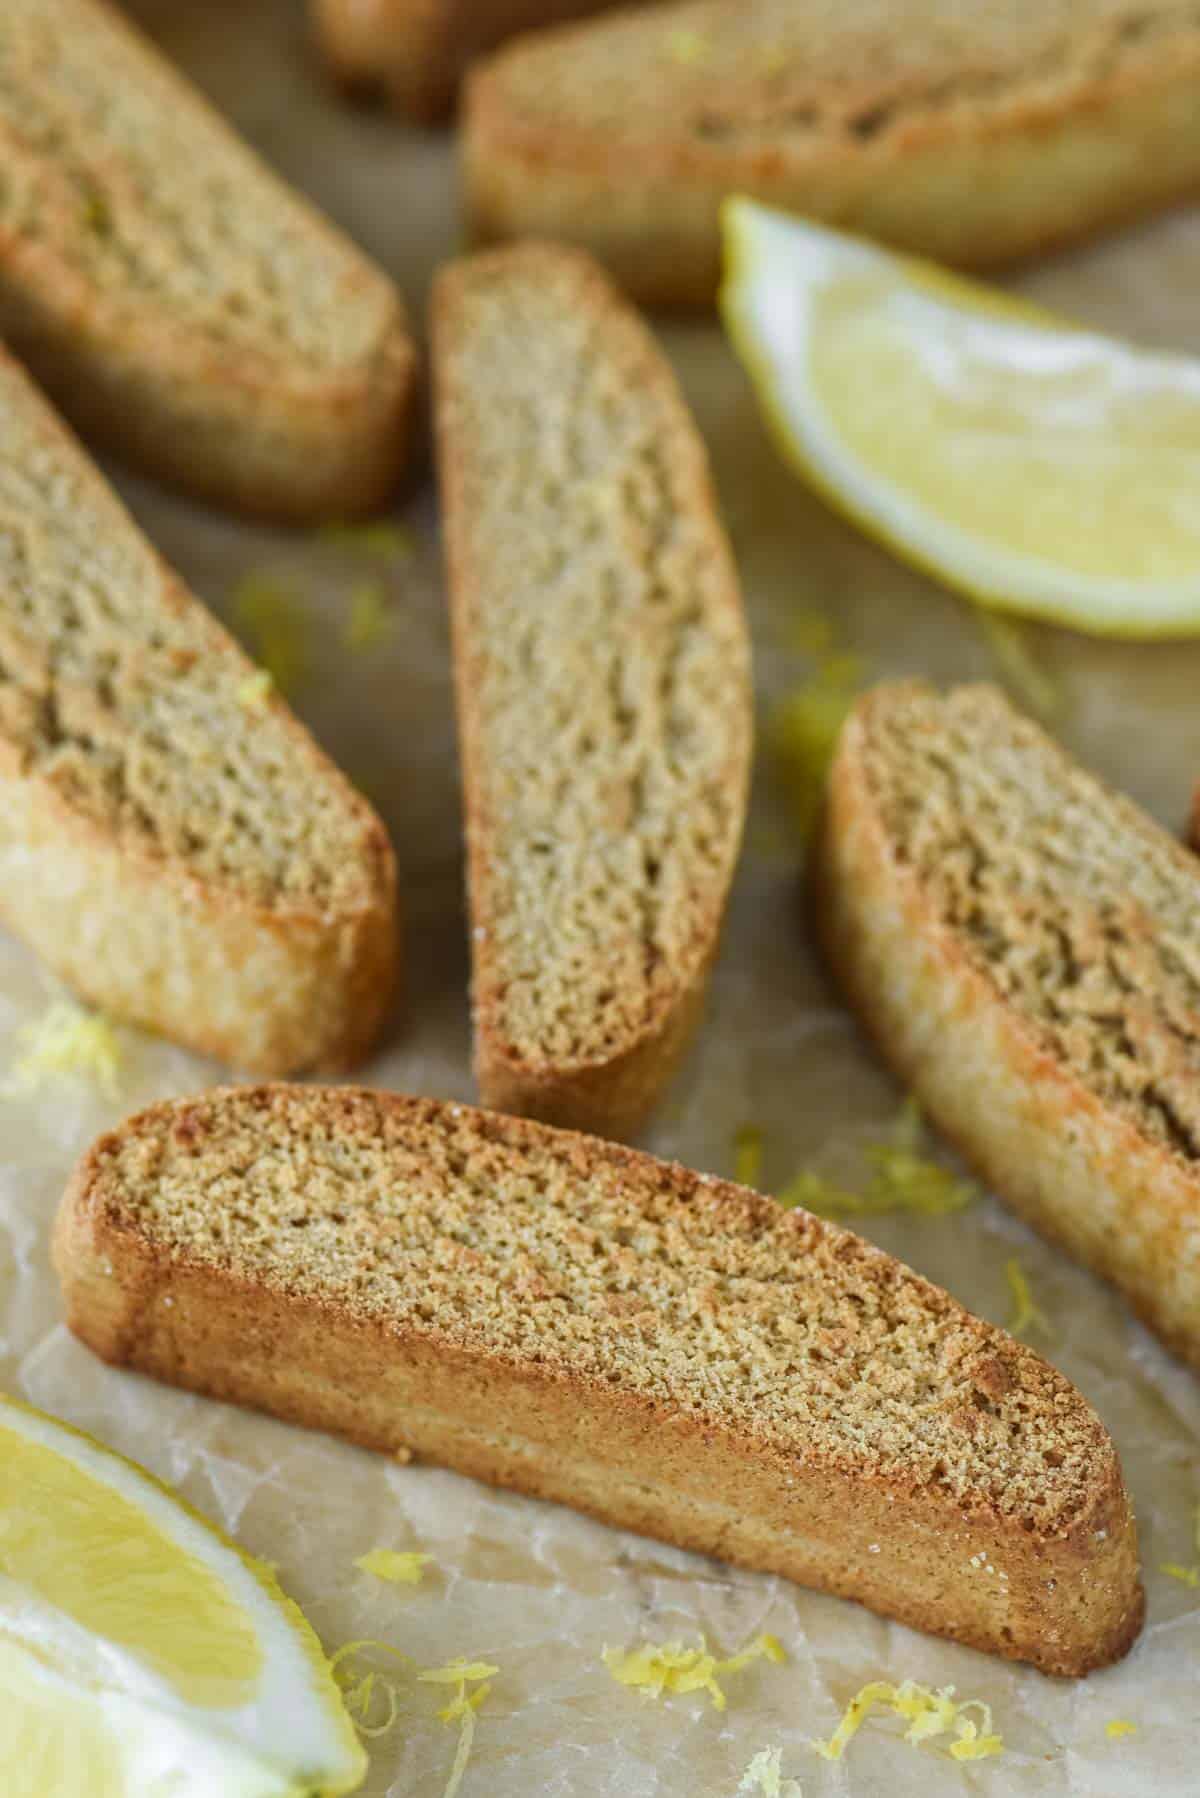
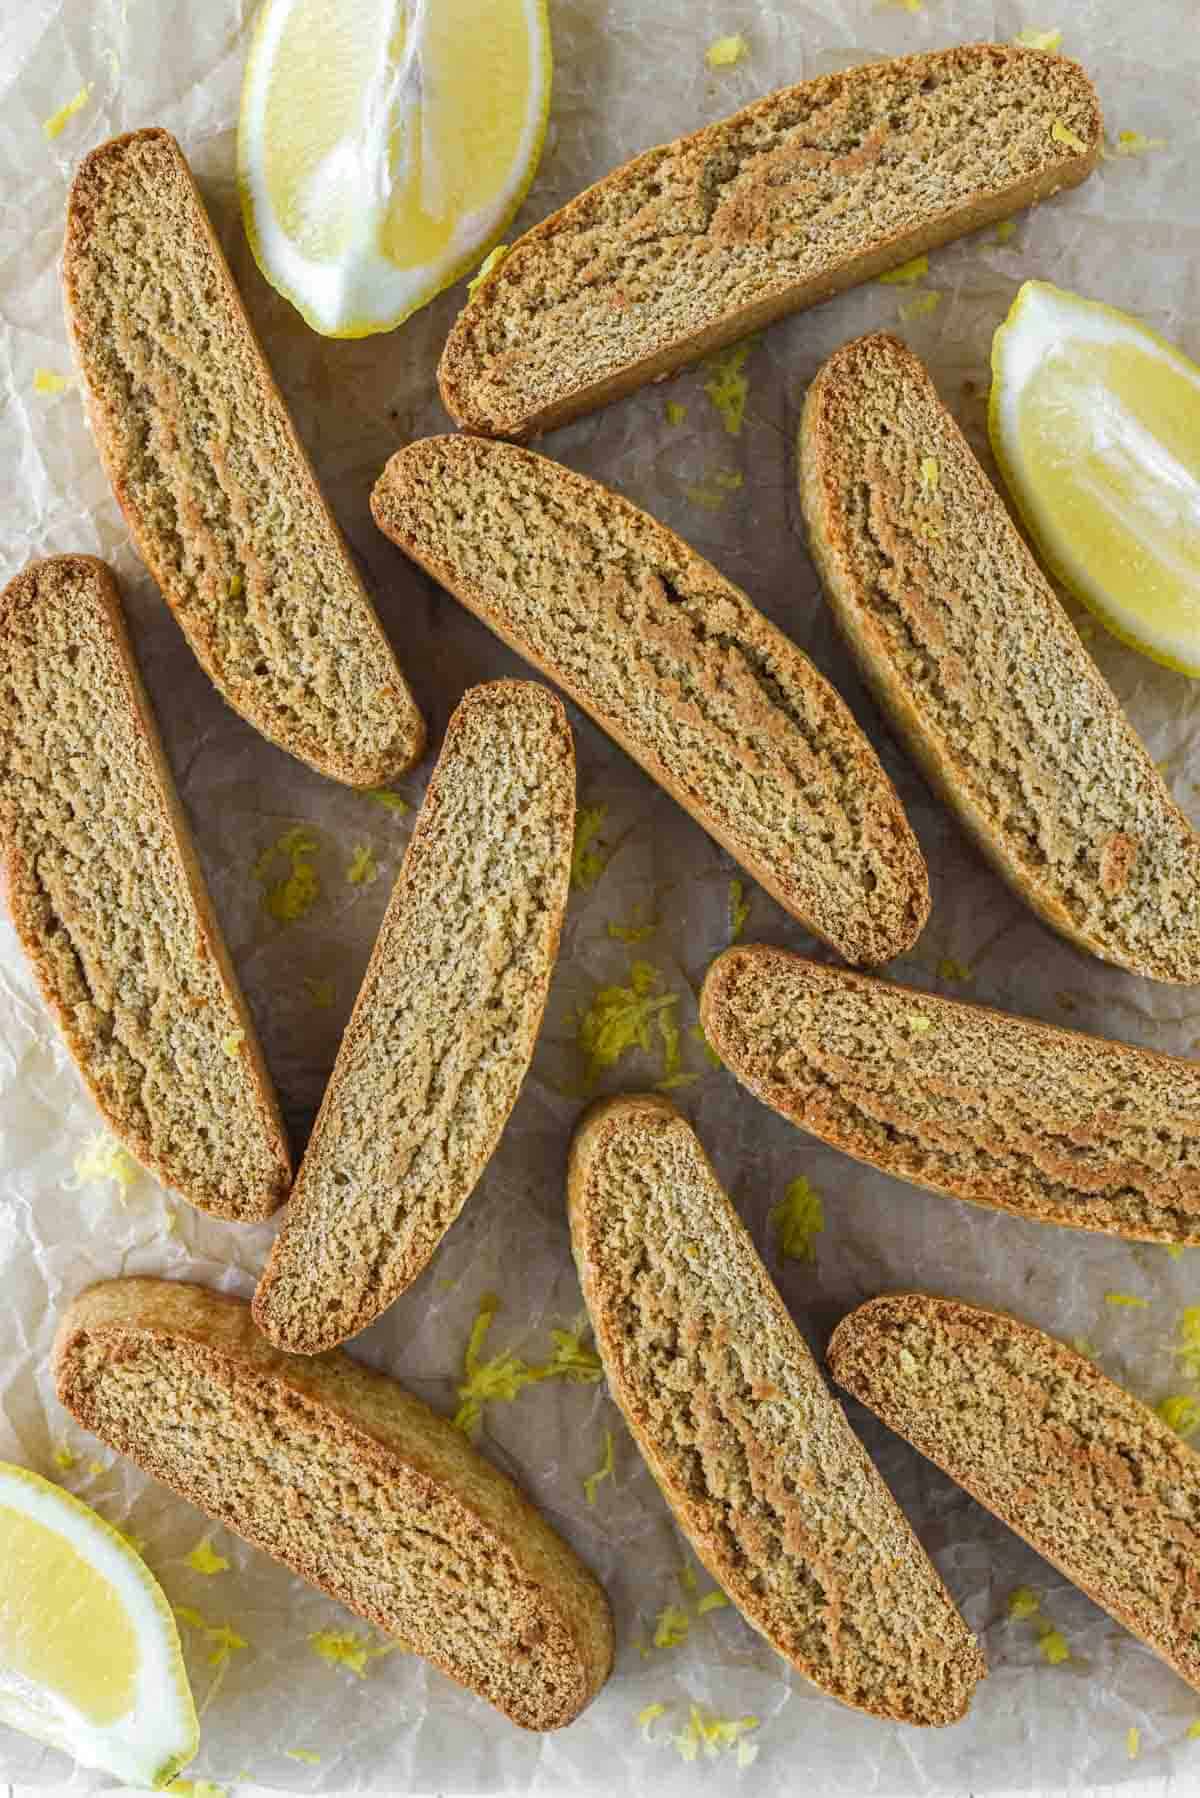
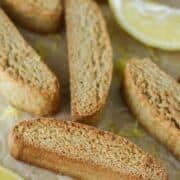
Made with fresh lemon juice and zest, this lemon biscotti features a crispy texture and subtle lemon notes in every bite.
When it comes to these famous Italian cookies, there are more options than you think - from orange pistachio biscotti to chocolate hazelnut biscotti to amaretto biscotti to pumpkin biscotti.
And the latest and greatest is this lemon biscotti. It may look simple, but it bursts with flavor.
Why This Recipe Works
- For lemon lovers - This biscotti is a must-try for lemon lovers. Not only does it contain fresh lemon juice, but also lemon zest, ensuring a burst of tangy lemon flavor in every bite.
- Holiday friendly - Thanks to its extended shelf life of approximately 2 weeks, this biscotti makes for an excellent holiday gift for your loved ones. If you are looking for multiple options, you can never go wrong with Oreo biscotti.
- Easier to make - You might be discouraged by the thought of making homemade biscotti, assuming it's a time-consuming and complicated process. However, preparing biscotti from scratch is actually quite straightforward, and this recipe guides you through every step.
Jump to:
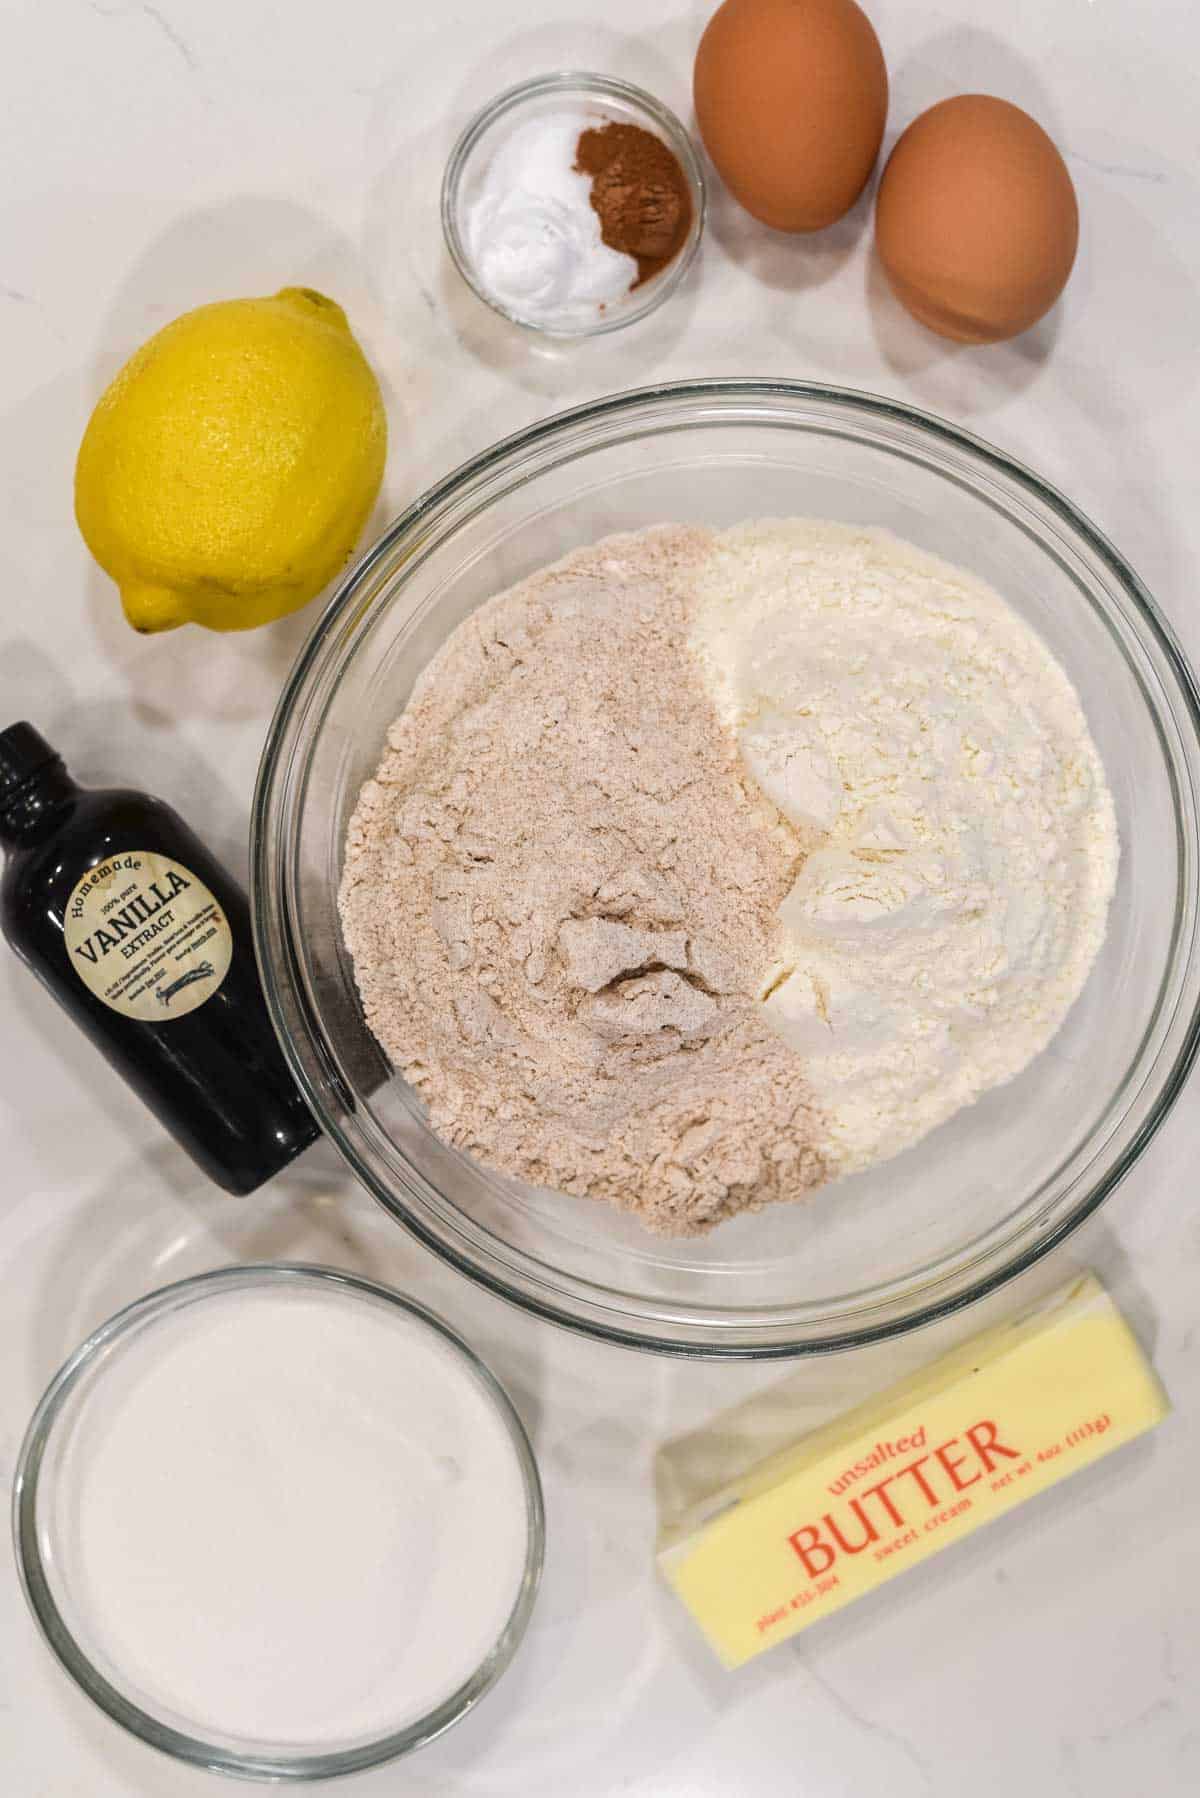
Ingredient Notes
- All-purpose and whole wheat flour - the combination creates the right texture and flavor.
- Butter - while not traditional necessarily, butter adds better flavor and texture.
- Granulated sugar - biscotti is a cookie at the end of the day so you need this for some sweetness.
- Eggs - binds the biscotti dough.
- Lemons - you use both lemon juice and zest to get that bright flavor in every bite.
Ingredient Swaps
Like any recipe, you can mix up some of the ingredients for the lemon biscotti. Some variations include:
- Although I prefer to use a blend of all-purpose and whole wheat flour, feel free to use either type of flour exclusively.
- Personally, I prefer to use butter for its richness, but if you prefer a neutral flavor, you can substitute it with vegetable or canola oil.
- Substituting granulated sugar with light or dark brown sugar is an option, but it's important to note that the resulting texture of the biscotti may differ slightly.
Step-by-Step Photos
Please note full ingredient list and instructions can be found in recipe card below.
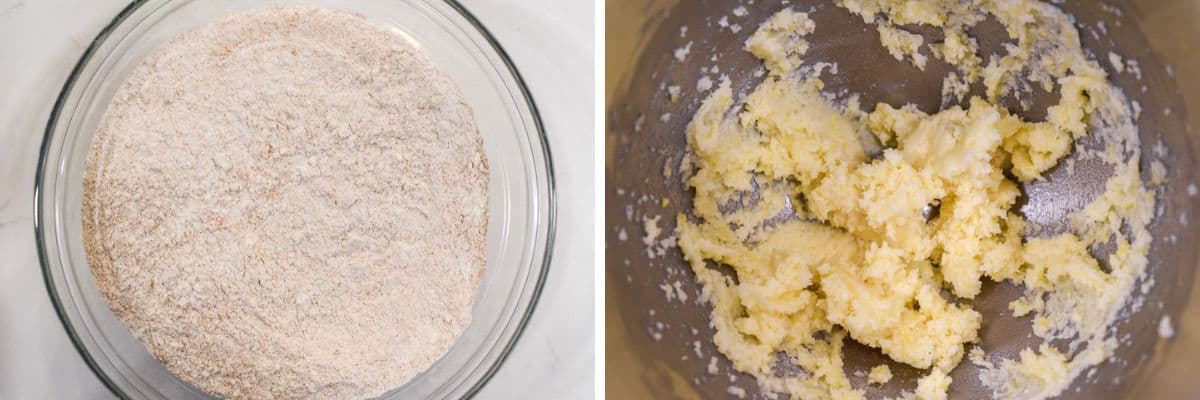
Sift together the dry ingredients in a bowl and set aside.
In a bowl of a stand mixer, beat together the rest of the ingredients except for the eggs until light and fluffy.
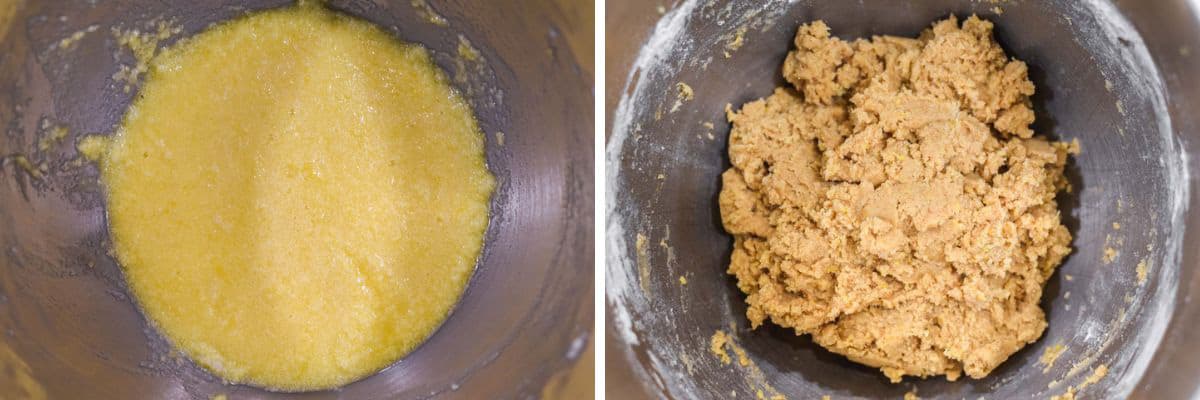
Add the eggs 1 at a time. Slowly add the flour mixture, mixing until just combined. Cover and chill in the fridge for an hour.
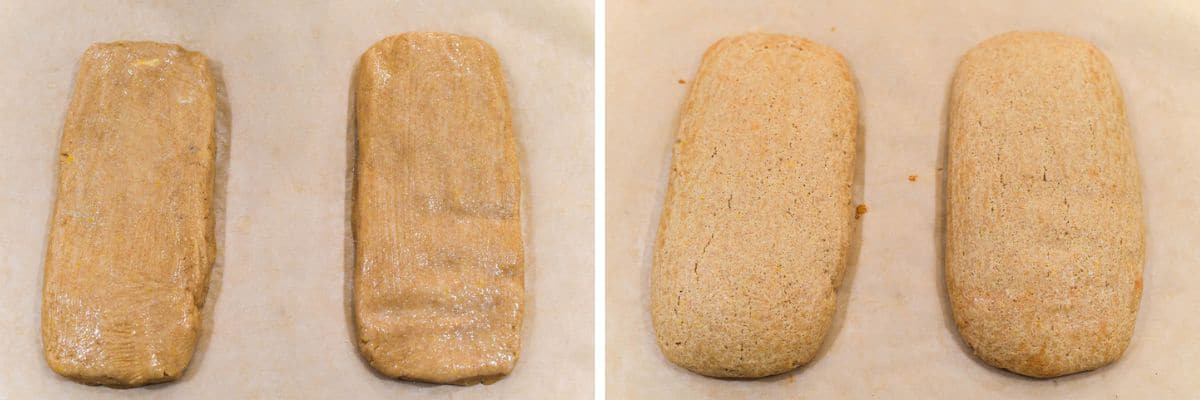
Dive the dough in half and place on a baking sheet. Shape into two 11x2 inch or 8x4 inch logs. Brush each with egg white and sprinkle some sugar on top.
Bake at 350°F for 30 minutes or until firm to touch. Remove and let cool for 10 minutes.
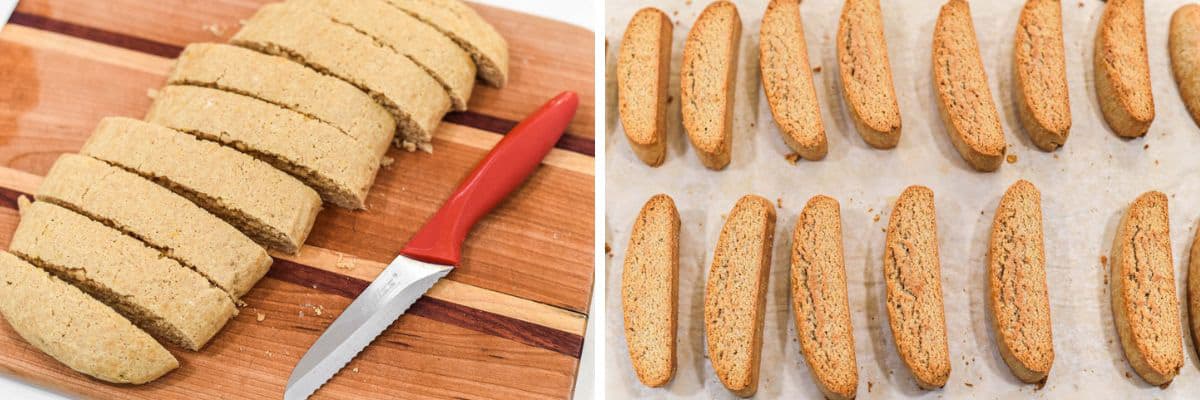
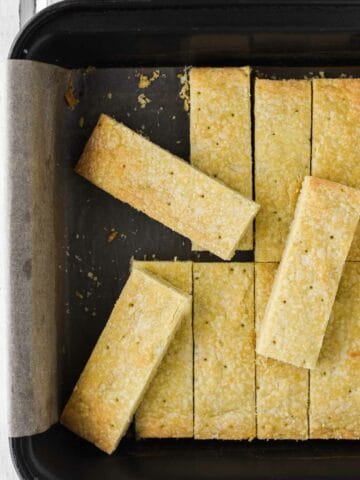
Cut 1 inch thick slices with a sharp serrated knife.
Arrange the slices back on a baking sheet. Bake for 20 minutes, flipping halfway through.
FAQs
Yes. Biscotti are intentionally baked twice to achieve a crunchy texture that pairs perfectly with your preferred hot drink
If your biscotti turns out too soft, it may be because you didn't allow it to cool entirely before storing. To rectify this, simply bake it at 300°F for 5-10 minutes.
Surface cracks are a natural occurrence and not a cause for concern. Trust me when I say that the flavor is what truly matters.
To slice your biscotti properly, first, use a serrated knife. Second, allow them to cool for 10 minutes after the initial bake until they are cool to the touch.
If you cut them right away, they may crumble, but if you wait too long, they may be difficult to cut.
Yes. You freeze the dough before making. Shape the dough into 2 logs and wrap in plastic wrap before placing in a sealable bag.
When ready to bake, remove the logs from the freezer and thaw the dough until pliable. From there, proceed with the baking portion of the recipe.
Biscotti can last up to 2 weeks in an airtight container, which is one of the reasons why they're a popular gift choice. Additionally, they can be stored in the freezer for 3-4 months.
The reason why biscotti has a hard texture is that it is usually intended to be dunked into a drink, such as coffee or tea.
Although biscotti is traditionally served as a dessert in Italy, it can also be enjoyed as a breakfast or snack food.
Equipment
The equipment you use is important to how the lemon biscotti turn out. What is needed is the following:
- Stand mixer - you can also use a hand mixer with mixing bowls.
- Large bowl - need a bowl to be able to mix together the dry ingredients.
- Whisk - used to mix together the dry ingredients.
- Serrated knife - cuts the biscotti without having it crumble apart.
- Baking sheet - used to bake the biscotti.
Pro Tips/Recipe Notes
- It is important to avoid overbeating the butter and sugar when making biscotti. The ideal consistency for the butter is cold, and excessive beating can cause it to warm up, resulting in a softer dough that may spread more, even after refrigeration.
- Use a serrated knife (preferably a bread knife) in a sawing motion to cut nice smooth clean slices.
- If you want long biscotti slices, slice at an angle. If you want shorter, just slice straight.
- Once the biscotti have been baked for the first time, it is best to let them cool for about 10 minutes before slicing. Cutting them immediately can cause them to crumble, while waiting too long can make them difficult to cut.
- It is important to allow the biscotti to cool completely after the second bake. During this time, the lemon biscotti will harden and develop the expected texture.
Other Dessert Recipes

If you’ve tried this lemon biscotti or any other recipe on Chisel & Fork, please let me know how it turned out in the comments below! You can also follow me on Facebook, Instagram, Pinterest and YouTube to see more tasty meals and anything else I'm up to.
Lemon Biscotti
Ingredients
- 1 ¼ cups all-purpose flour
- 1 cup whole wheat flour
- 1 ½ teaspoon baking powder
- ½ teaspoon ground cinnamon
- ½ teaspoon salt
- 6 tablespoon unsalted butter, at room temperature
- 1 cup granulated sugar
- 2 tablespoon lemon zest
- 2 tablespoon lemon juice, freshly squeezed
- 1 teaspoon vanilla extract
- 2 eggs
- 1 egg white, lightly beaten
Instructions
- In a medium bowl, sift together the flours, baking powder, cinnamon and salt.
- Using an electric mixer or stand mixer, beat the butter, sugar, lemon zest, lemon juice and vanilla extract until light and fluffy, about 1 minute. Add 1 egg at a time and beat until each is mixed in.
- Reduce speed to low and slowly add flour and mix until just combined. Cover and chill for in fridge for 1 hour.
- Preheat oven to 350°F. Line baking sheet with parchment paper. Divide dough in half and place on baking sheet. Shape dough into two 11x2 inch or 8x4 inch logs, keeping at least 3 inches between them. Brush each log with egg white and sprinkle 1 teaspoon sugar over the top and sides of each.
- Bake for 30 minutes or until the biscotti is light brown and firm to the touch. Remove from oven and let cool slightly for 10 minutes.
- Transfer logs to cutting board and cut on the diagonal 1" thick slices with a sharp serrated knife. (If it's crumbly, let cool for longer) Arrange the slices on the baking sheet and bake for 20 minutes, flipping the biscotti halfway through. Transfer to a wire rack and allow to cool.
Notes
- It is important to avoid overbeating the butter and sugar when making biscotti. The ideal consistency for the butter is cold, and excessive beating can cause it to warm up, resulting in a softer dough that may spread more, even after refrigeration.
- Use a serrated knife (preferably a bread knife) in a sawing motion to cut nice smooth clean slices.
- If you want long biscotti slices, slice at an angle. If you want shorter, just slice straight.
- Once the biscotti have been baked for the first time, it is best to let them cool for about 10 minutes before slicing. Cutting them immediately can cause them to crumble, while waiting too long can make them difficult to cut.
- It is important to allow the biscotti to cool completely after the second bake. During this time, the biscotti will harden and develop the expected texture.


Leave a Reply