This post may contain affiliate links. Please read my disclosure.
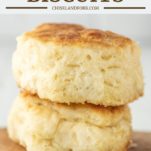
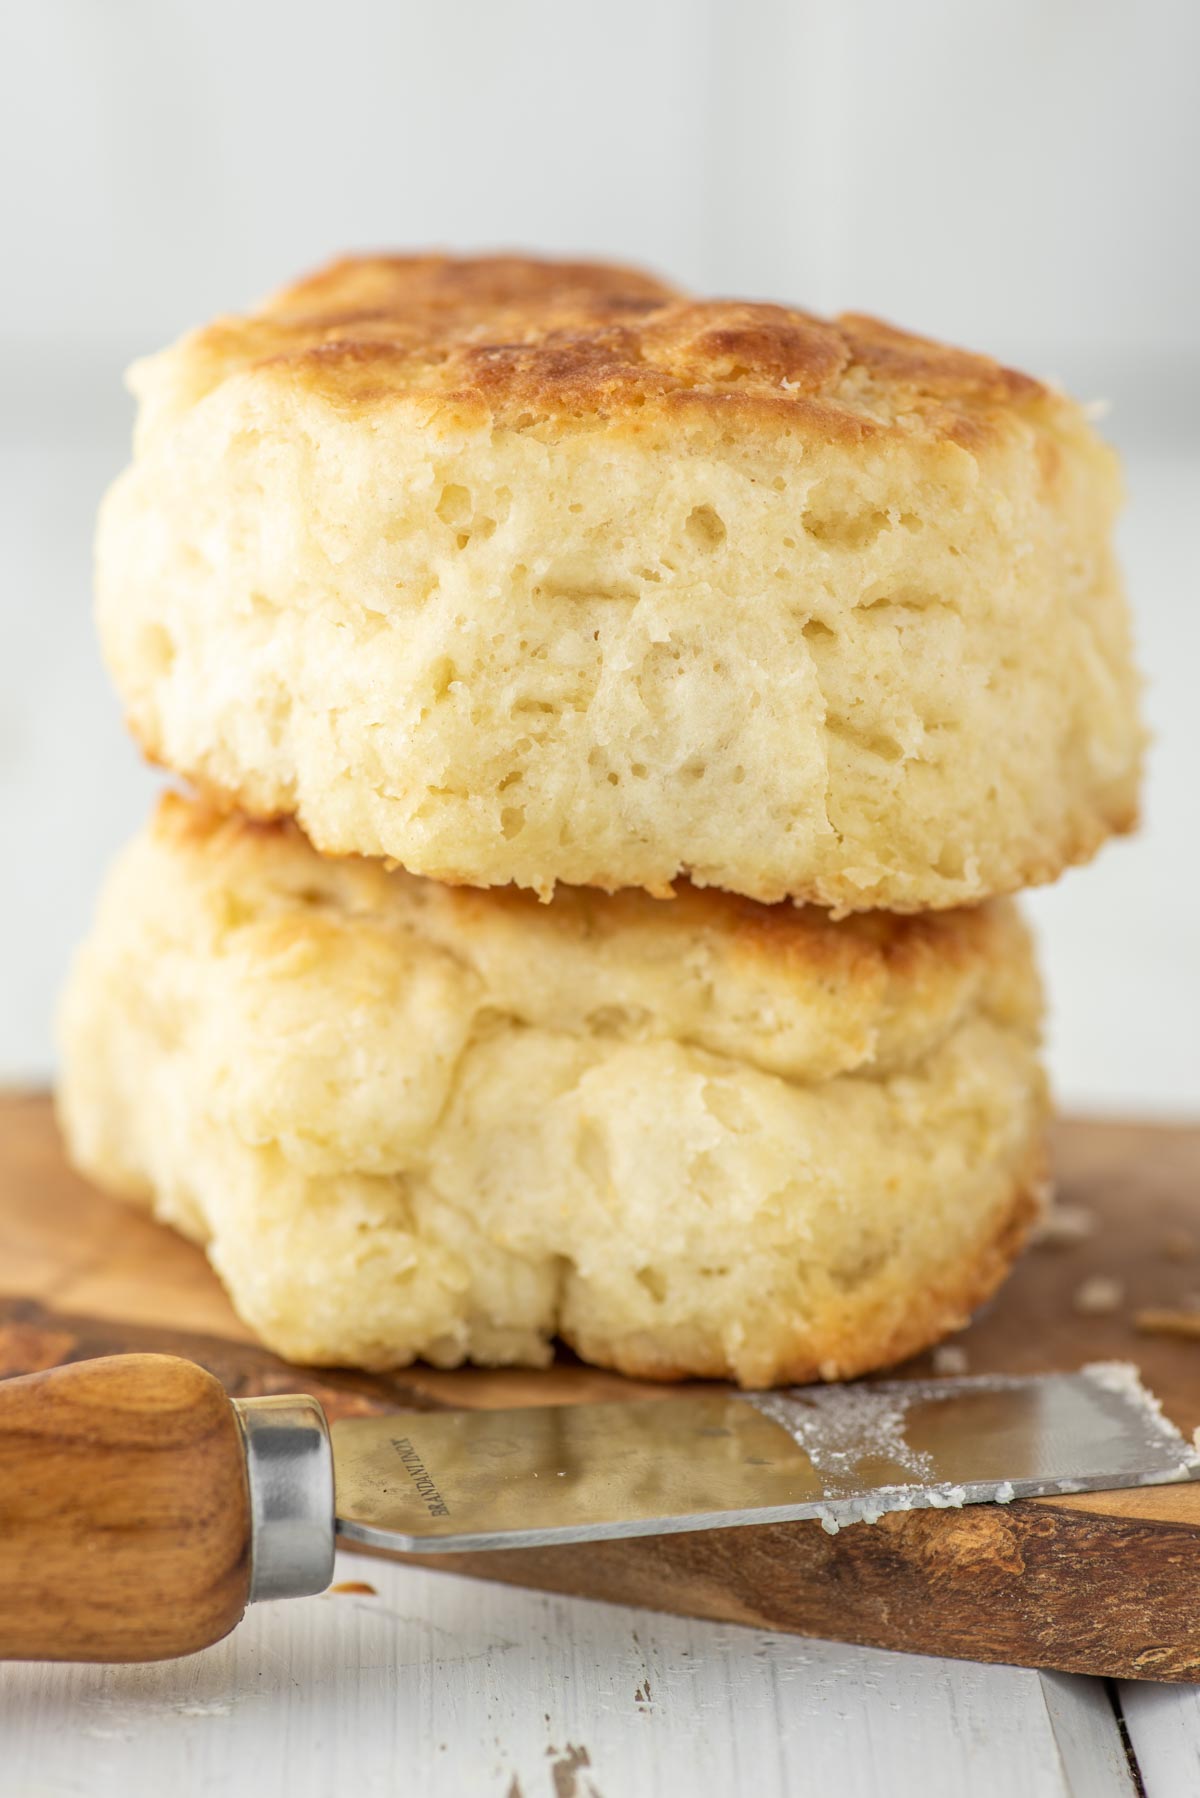
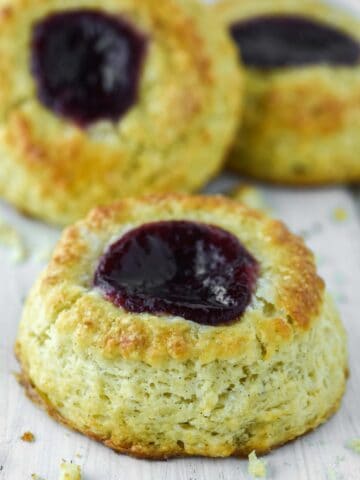
These homemade buttermilk biscuits are flaky on the outside and light and fluffy on the inside. Best of all they can be prepared in 30 minutes!
Oh hey it's November! Man time sure flies this time of year for me. I'm all about breakfast these days - from chocolate croissants to apple scones to homemade bagels.
But today is about a southern staple - biscuits! And no not the British biscuits which are cookies. I'm talking about good old American biscuits.
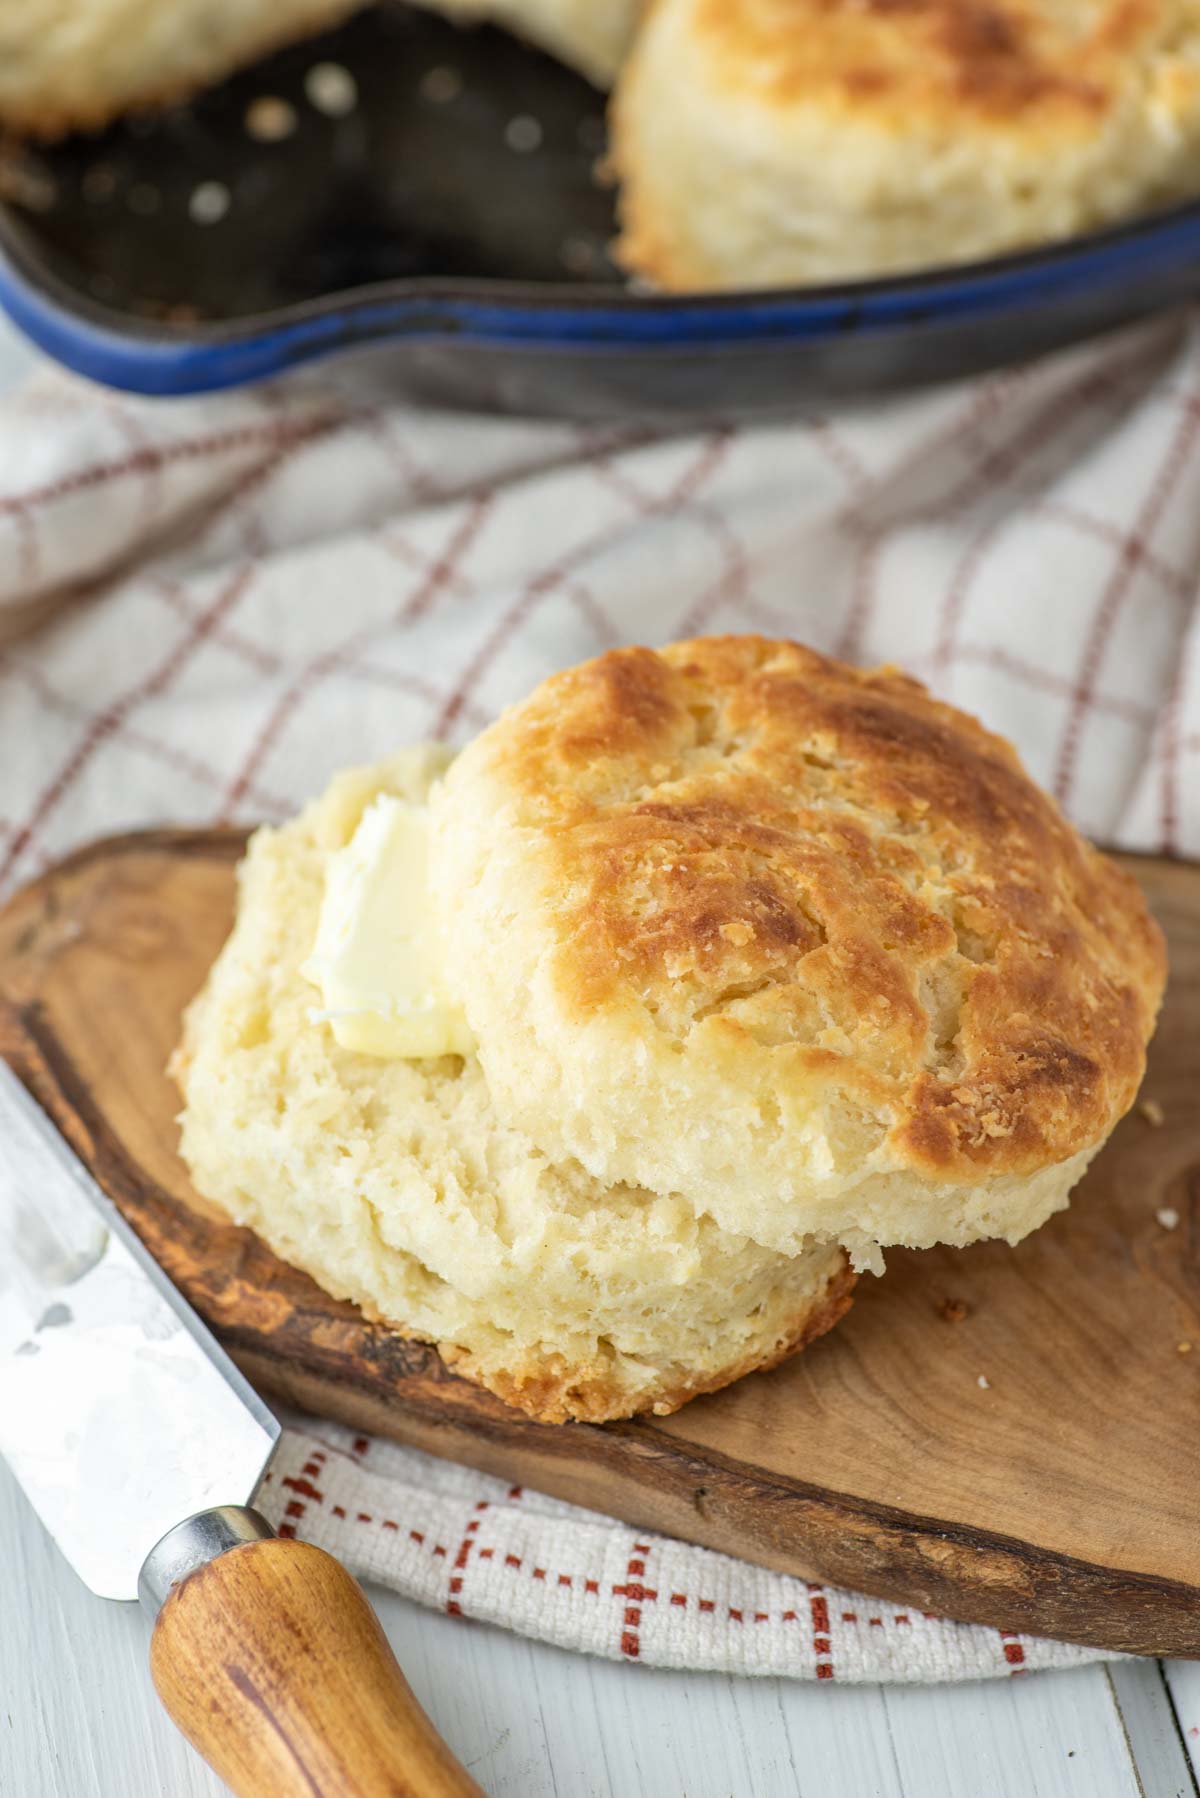
That flaky bread loaded with butter that just melts in your mouth. Just by writing this post, I honestly want to immediately go make them again. They actually are great for this chicken pot pie with biscuits.
But let's be honest, a biscuit is good enough on its own. And these homemade buttermilk biscuits couldn't be easier to make - or tastier!
Jump to:
Recipe Ingredients
- All-purpose flour - best for biscuits.
- Baking powder - gives the biscuits its rise.
- Salt - enhances the flavor.
- Unsalted butter - where the flakiness comes from.
- Buttermilk - need the acidity to react with the baking powder.
- Honey - adds a slight sweetness.
Step-by-Step Instructions
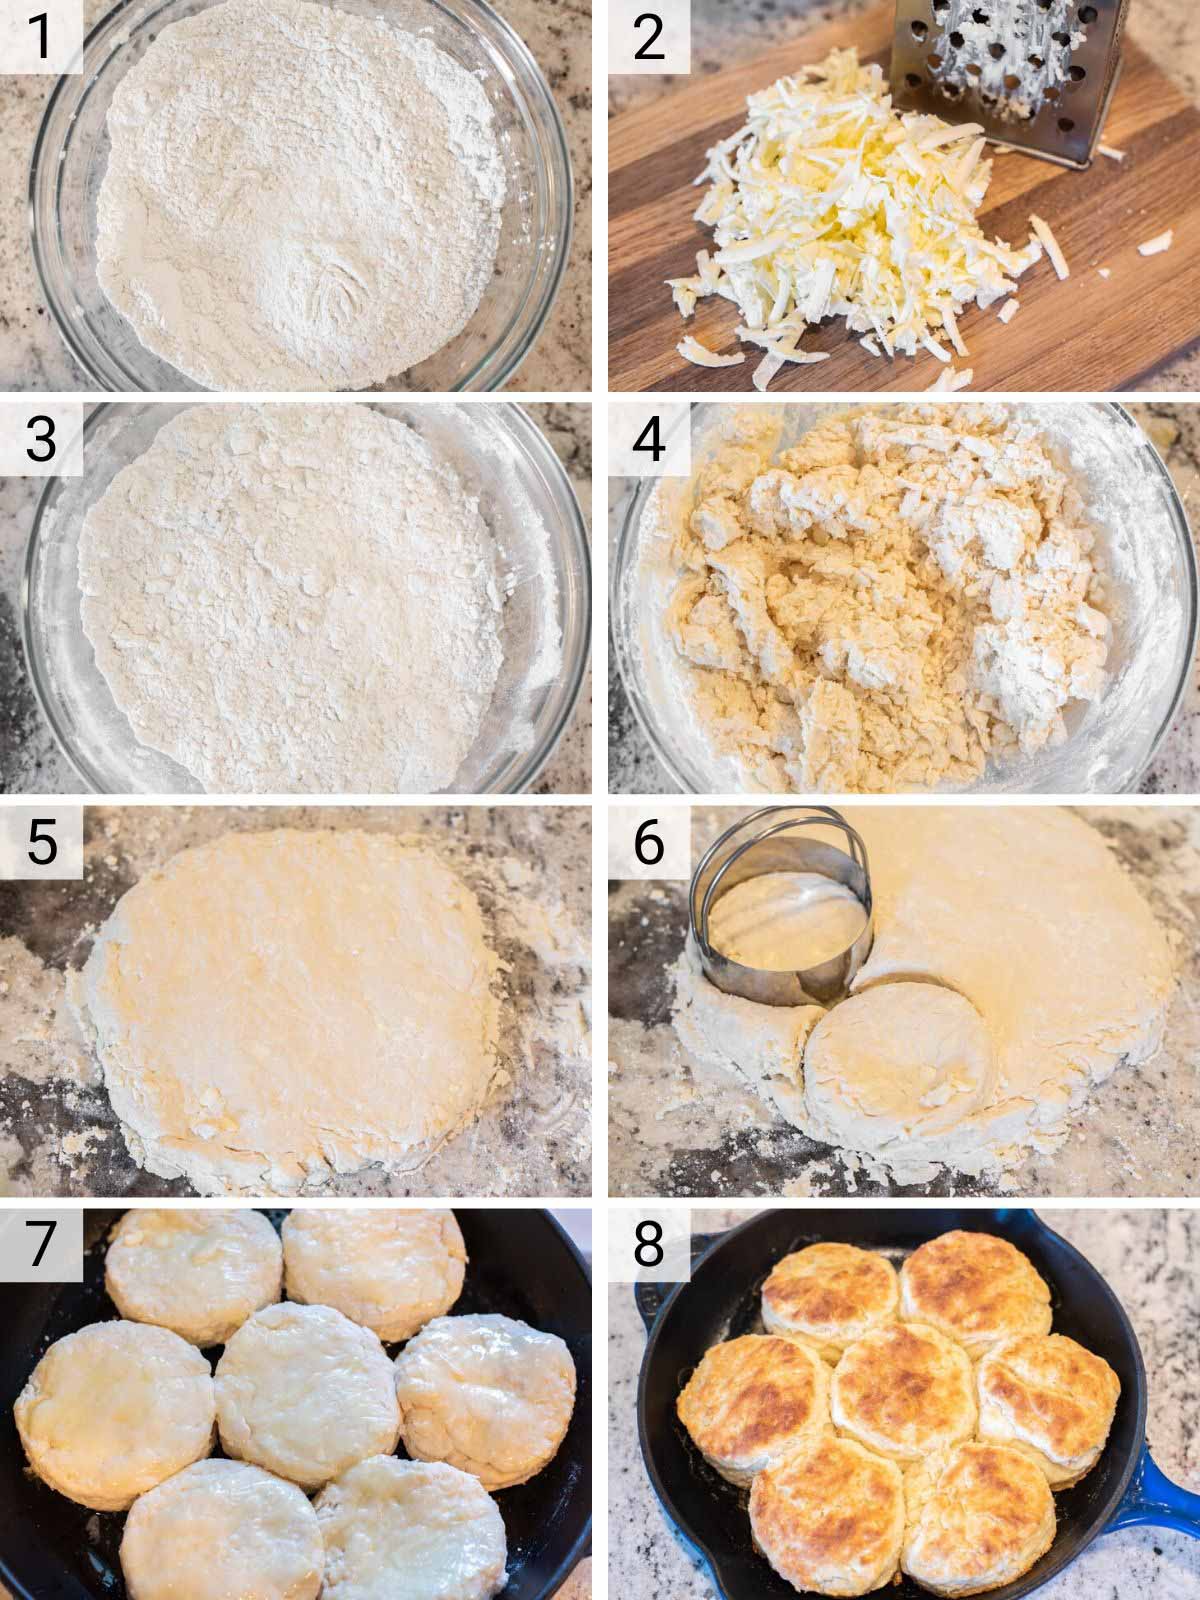
- Preheat oven to 425°F. Place the flour, baking powder and salt in a bowl and mix until combined.
- Grate the cold butter using a cheese grater. This is an easy way to get it into small pieces to incorporate in the dry ingredients. If you do not have a cheese grater, you can just cut into small cubes.
- Blend the grated butter in with the flour mixture using a pastry cutter or 2 knives. The mixture should be clumpy and look like course crumbs.
- Create a well in the center of mixture and add buttermilk and honey. Stir everything together with a spatula until just combined – do not overwork the dough.
- Place the dough on a lightly floured surface. Pat it into a rough rectangle, about one inch thick. Cut the dough into 4 pieces. Stack each piece on top of each other and press down to flatten.
- Gently pat out the dough once more into a rough rectangle until it's about ¾ inch thick. Cut the biscuit with a 3-inch biscuit cutter or floured glass. Re-roll any scraps until you get 7-8 biscuits total.
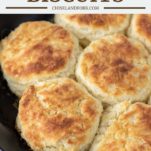
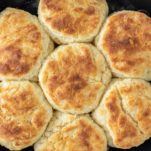
- Brush skillet with a little butter or vegetable oil and arrange biscuits so they are touching. Brush the tops of each biscuit with melted butter.
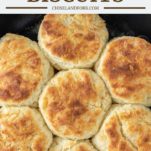
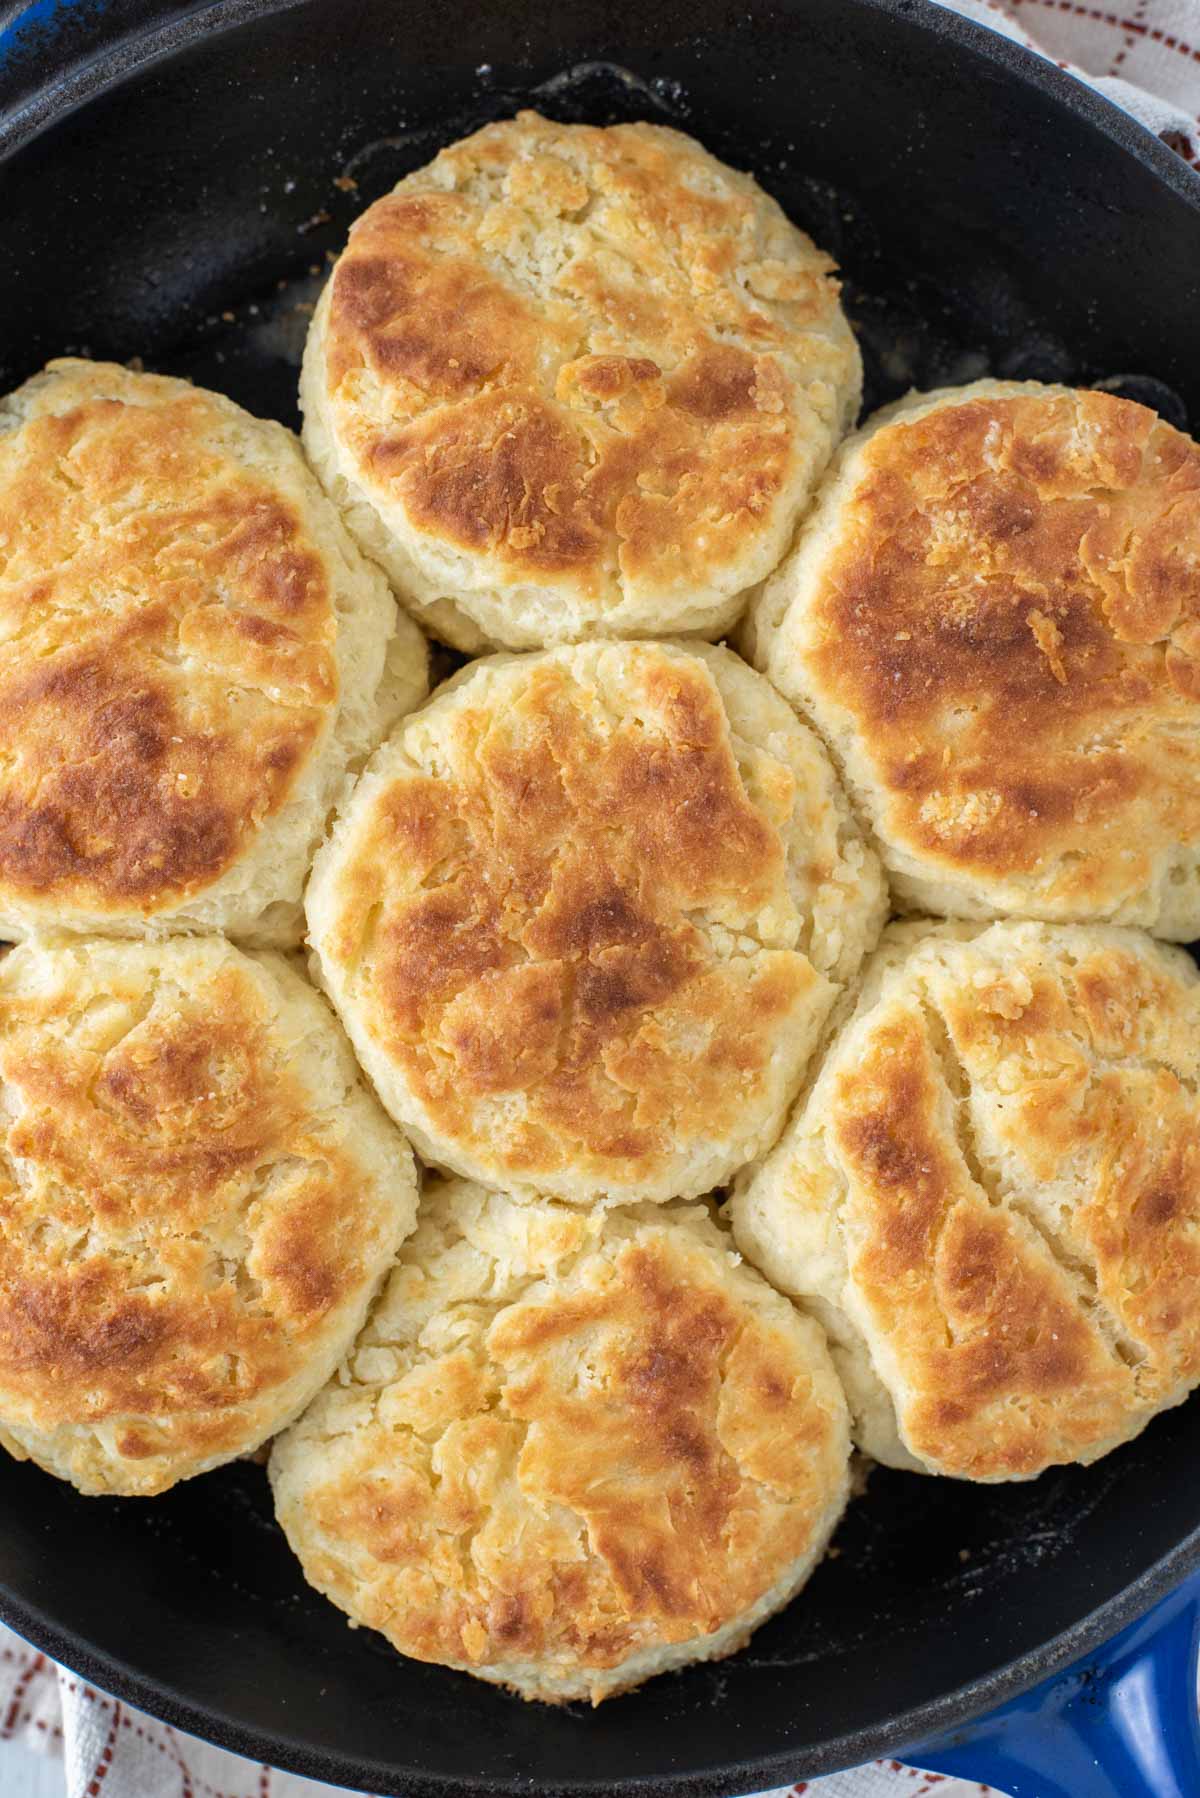
- Bake for 15-20 minutes or until the tops are golden brown. If after 20 minutes, they aren't browned on top just turn broiler on for a minute until browned. Remove from oven and brush with some melted butter.
What to Serve with Biscuits
Biscuits are usually never the only thing you eat, however there is nothing wrong with that! Some dishes that go great with these flaky biscuits include:
Or you could spread some Instant Pot apple butter on it.
FAQs
You use buttermilk for its acidity, liquid and fat content. The acidity reacts with the baking powder to help the dough rise.
For these specific homemade biscuits, I wouldn't substitute. The added acidity is important.
If you don’t have buttermilk you can easily make it at home. Simply add 1 tablespoon of vinegar or lemon juice to 1 cup of milk. Let stand at room temperature for 10 minutes and it’s ready.
Just let your biscuits cool before adding them to a freezer bag. They will last for 3 months. Once ready to eat let thaw at room temperature.
When ready to eat, wrap loosely in aluminum foil and heat at 200°F until warmed through. You can also throw in the microwave for about 30 seconds.
Pro Tips/Recipe Notes
There really isn't much better than good homemade buttermilk biscuits and by following these tips, you'll make the best buttermilk biscuits out there.
- Use cold butter: It is super important to use cold butter. You want pockets and layers and when the butter melts as the biscuits bake, it releases steam which creates pockets of air. This makes them flaky on the inside, but crisp on the outside. To do this I throw the butter in the freezer for 15 minutes before using.
- Buttermilk and honey: The acidity as well as the fat from the buttermilk works in conjunction with the baking powder to help the dough rise, while the honey helps balance the salt out.
- Do not overmix: The key to good flaky buttermilk biscuits is not overworking the dough! I repeat, you DO NOT overwork the dough. You want to form the dough until it just comes together.
- Create layers: You create layers by cutting 4 pieces of the dough and stacking them on top of each other and pressing down.
- Do not twist biscuit cutter: It is important to not twist the cutter when cutting out your biscuits. Just press the cutter down firmly. By twisting, you actually seal the edges and prevent the biscuits from rising.
- Bake close together: If you want biscuits to really rise, they rise more when they are touching. It prevents them from spreading out when baking.
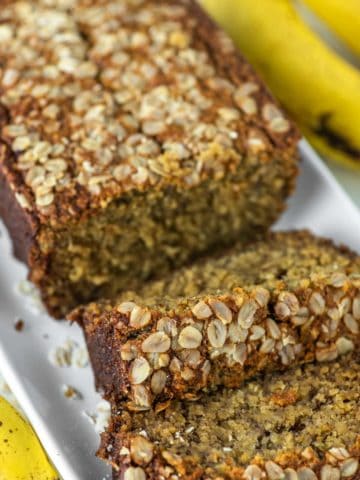
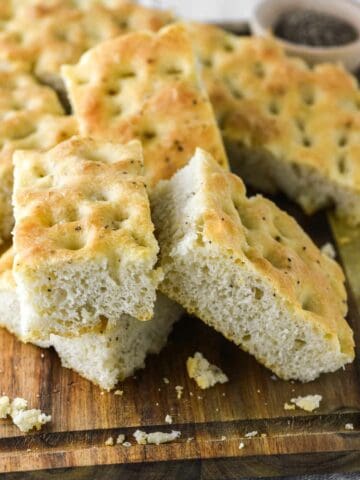
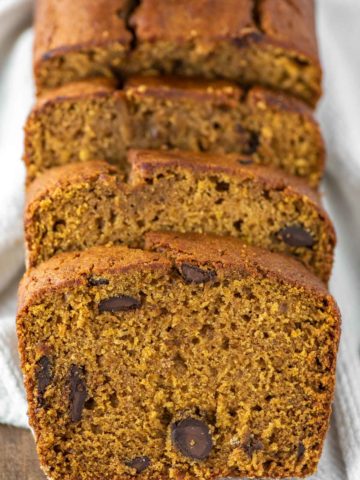
Other Bread Recipes
If you’ve tried this homemade buttermilk biscuits recipe or any other recipe on Chisel & Fork, please let me know how it turned out in the comments below! You can also follow me on Facebook, Instagram, Pinterest and YouTube to see more tasty meals and anything else I'm up to.
Homemade Buttermilk Biscuits
Ingredients
- 2 ½ cups all-purpose flour
- 4 teaspoon baking powder
- 1 ¼ teaspoon salt
- ½ cup unsalted butter, cold
- 1 cup cold buttermilk
- 1 tablespoon honey
Instructions
- Preheat oven to 425°F. Place the flour, baking powder and salt in a bowl and mix until combined.
- Grate the cold butter using a cheese grater. This is an easy way to get it into small pieces to incorporate in the dry ingredients. If you do not have a cheese grater, you can just cut into small cubes. Blend the grated butter in with the flour mixture using a pastry cutter or 2 knives. The mixture should be clumpy and look like course crumbs. Throw bowl in freezer for 15 minutes.
- Create a well in the center of mixture and add buttermilk and honey. Stir everything together with a spatula until just combined - do not overwork the dough.
- Place the dough on a lightly floured surface. Pat it into a rough rectangle, about one inch thick. Cut the dough into 4 pieces. Stack each piece on top of each other and press down to flatten.
- Gently pat out the dough once more into a rough rectangle until it's about ¾ inch thick. Cut the biscuit with a 3-inch biscuit cutter or floured glass. Re-roll any scraps until you get 7-8 biscuits total.
- Brush skillet with a little butter or vegetable oil and arrange biscuits so they are touching. Brush the tops of each biscuit with melted butter. Bake for 15-20 minutes or until the tops are golden brown. If after 20 minutes, they aren't browned on top just turn broiler on for a minute until browned. Remove from oven and brush with some melted butter.
Notes
- Use cold butter: It is super important to use cold butter. You want pockets and layers and when the butter melts as the biscuits bake, it releases steam which creates pockets of air. This makes them flaky on the inside, but crisp on the outside. To do this I throw the butter in the freezer for 15 minutes before using.
- Buttermilk and honey: The acidity as well as the fat from the buttermilk works in conjunction with the baking powder to help the dough rise, while the honey helps balance the salt out.
- Do not overmix: The key to good flaky buttermilk biscuits is not overworking the dough! I repeat, you DO NOT overwork the dough. You want to form the dough until it just comes together.
- Create layers: You create layers by cutting 4 pieces of the dough and stacking them on top of each other and pressing down.
- Do not twist biscuit cutter: It is important to not twist the cutter when cutting out your biscuits. Just press the cutter down firmly. By twisting, you actually seal the edges and prevent the biscuits from rising.
- Bake close together: If you want biscuits to really rise, they rise more when they are touching. It prevents them from spreading out when baking.
Sylvia Duer says
Ryan, I love homemade biscuits (who doesn’t)? Your recipe, with buttermilk and honey, sounds so irresistible that I’m making them for dinner tonight!
Ryan says
Thanks. They were very good!
Chris says
I could have biscuits like these every day!
Rylee says
I made these tonight. I vow to ((try)) to never purchase store bought again. WOW. Just incredible. I had no buttermilk so I used 2% with a tblsp on white vinegar. Perfect. I would love to make them and freeze in a triple batch. My kitchen got messy haha <3
Ryan says
Glad you enjoyed them!
Jillian says
Curious if you can freeze or refrigerate the dough before baking? If I wanted to make the dough Saturday, could I refrigerate until baking on Sunday?
Ryan says
Yes you can refrigerate for 1 day no problem.