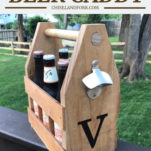
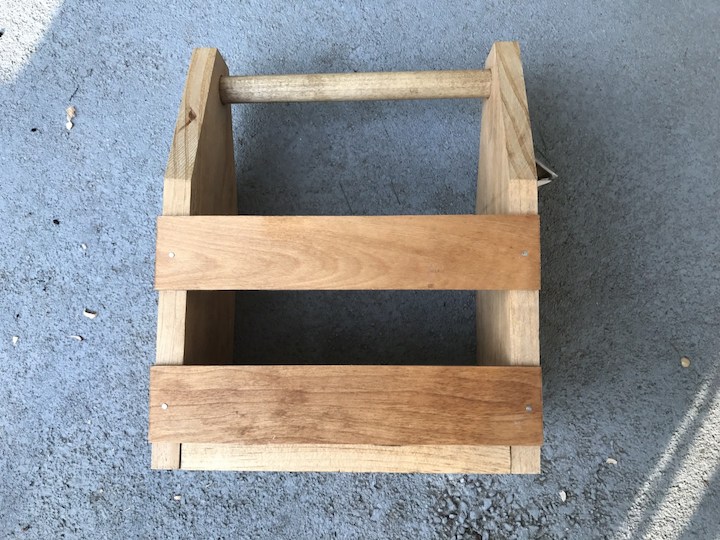
If you're looking for a unique gift for a bridal party or just because someone likes beer and you're a DIYer, this wooden beer caddy is perfect to make.
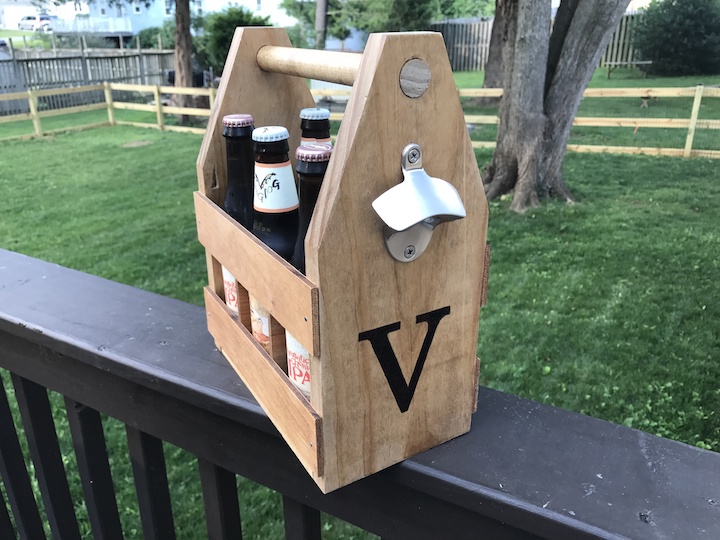
As I had mentioned before, I first got into woodworking to make gifts for our bridal parties. When trying to think of ideas I came across beer caddies on Etsy and thought it was the perfect DIY gift! So one summer day, my father-in-law and I made 8 of them. It was a lot of fun and pretty easy to put together.
After making these I really wanted to make something from scratch and eventually wanted to make much bigger projects like furniture, which I've had the chance to do. Since making the original 8 however, I've only made one more beer caddy which I'm sharing today. This one I happened to make as a thank you for my boss.
These really do make a great gifts. I'm actually hoping to launch an Etsy store soon and this wooden beer caddy will be the first thing on it! So if you don't have the tools to make this, then you'll just have to wait until I start selling them!
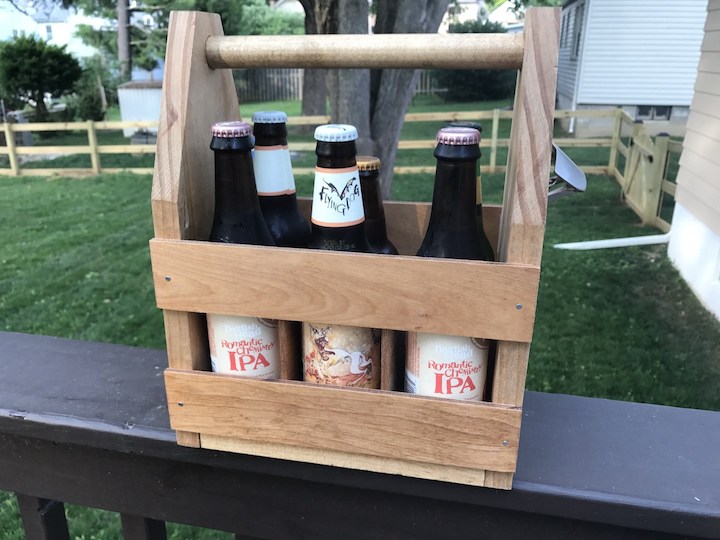
Pro Tips/Notes
- Pine wood is the cheapest and easiest to work with but if you want a sturdier caddy, go with oak.
- If you don't want to use biscuits to glue together wood base, just use nails.
- For staining, I prefer Danish oil as it stains and protects the wine caddy.
Similar DIY Gift Ideas
If you’ve tried this beer caddy or any other project on Chisel & Fork, please let me know how it turned out in the comments below! You can also follow me on Facebook, Instagram, Pinterest and YouTube to see more projects, meals and anything else I'm up to.
Beer Caddy
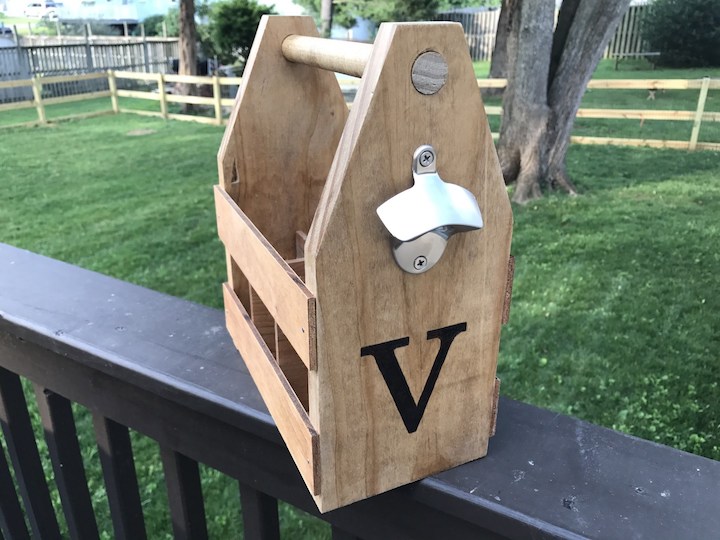
If you're looking for a unique gift for a bridal party or just because someone likes beer and you're a DIYer, these wooden beer caddies are perfect to make.
Materials
- (1) 1" x 6" x 4' pine
- (1) ¼" x 2" x 4' pine
- (1) ¼" x 2' x 2' plywood
- (1) ¾" dowel @ 10"
- Wall mounted bottle opener
- 4 biscuits
- Wood glue
- ¾" finish nails
- Stain or paint
Tools
- Table saw
- Miter saw
- Biscuit joiner
- Hand sander and sandpaper
- Hammer or brad nailer
Instructions
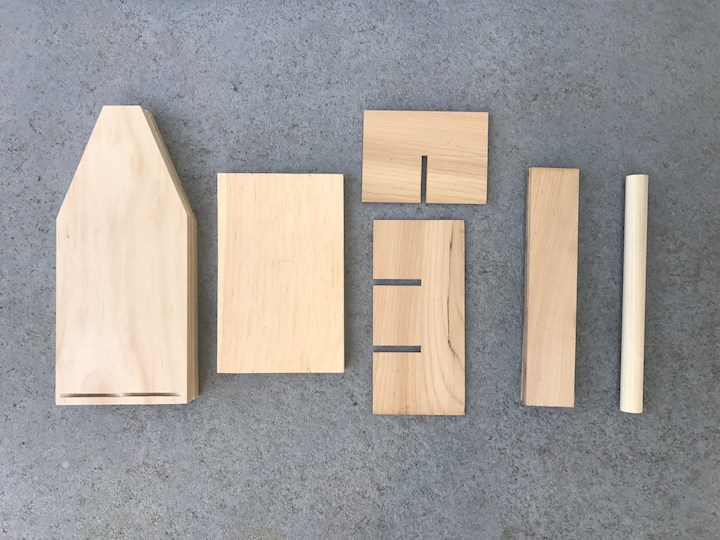
- Make the following cuts: (2) – 1″ x 6″ @ 12 ½″, (1) – 1″ x 6″ @ 8 ½″, (4) – ¼″ x 2″ @ 10″, (1) – ¼″ x 8 ½″ @ 4″ (plywood), (2) – ¼″ x 5 ½″ @ 4″ (plywood), (1) – ¾″ dowel @ 10″.For the 2 pieces of plywood that are 5 ½ x 4" you'll want to make a cut that is a ¼" wide right down the middle, stopping halfway. For the one piece of plywood that is 8 ½" x 4" you will make 2 cuts that are ¼" wide. You'll do each cut 2 13/16" from each end. Again you'll stop halfway on these cuts so it can fit together with the other pieces of plywood. Take your two 12 ½" pieces and mark 8" up from the bottom on both sides and 2" from center on each side on top. Make the diagonal cuts with either a miter saw or table saw.
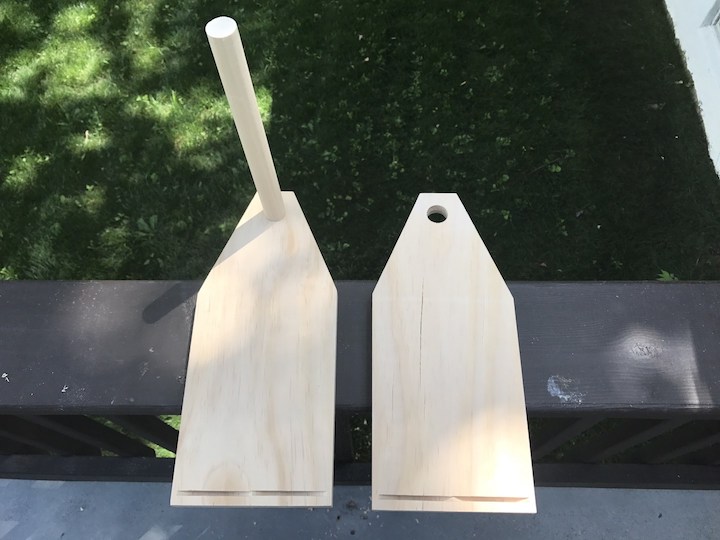
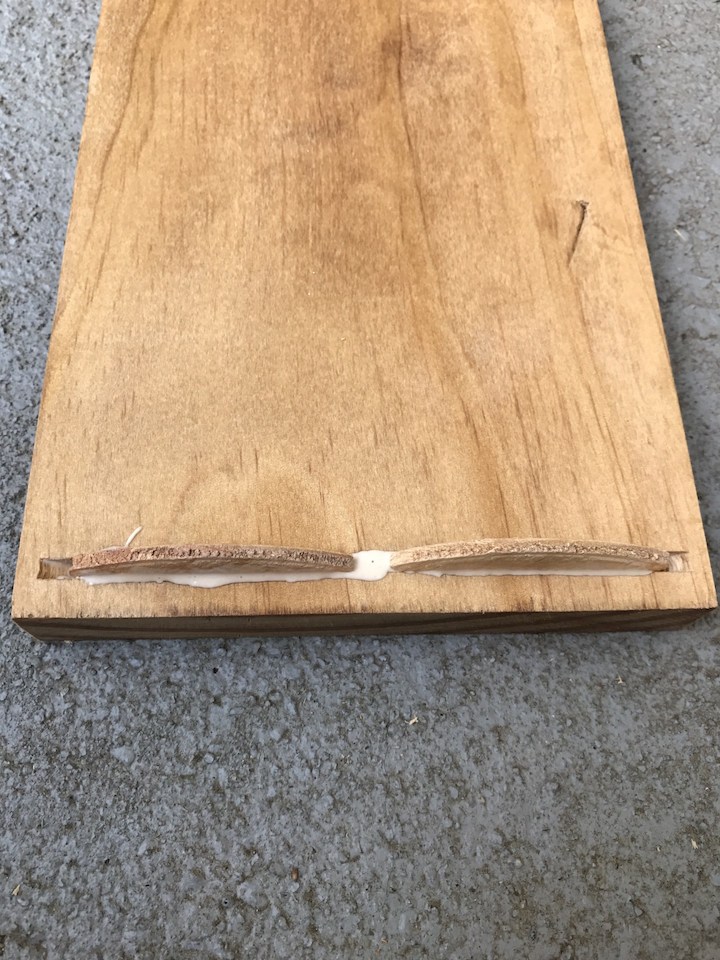
- Using a ¾" Forstner bit, drill a hole down 1" from the top of your two 12 ½" pieces all the way through. I like to make sure everything fits together. Use the biscuit joiner and drill for two biscuits at the bottom of each 12 ½" piece. Also use the biscuit joiner and drill for two biscuits on each side of the 8 ½" pieces so it will match at the bottom.
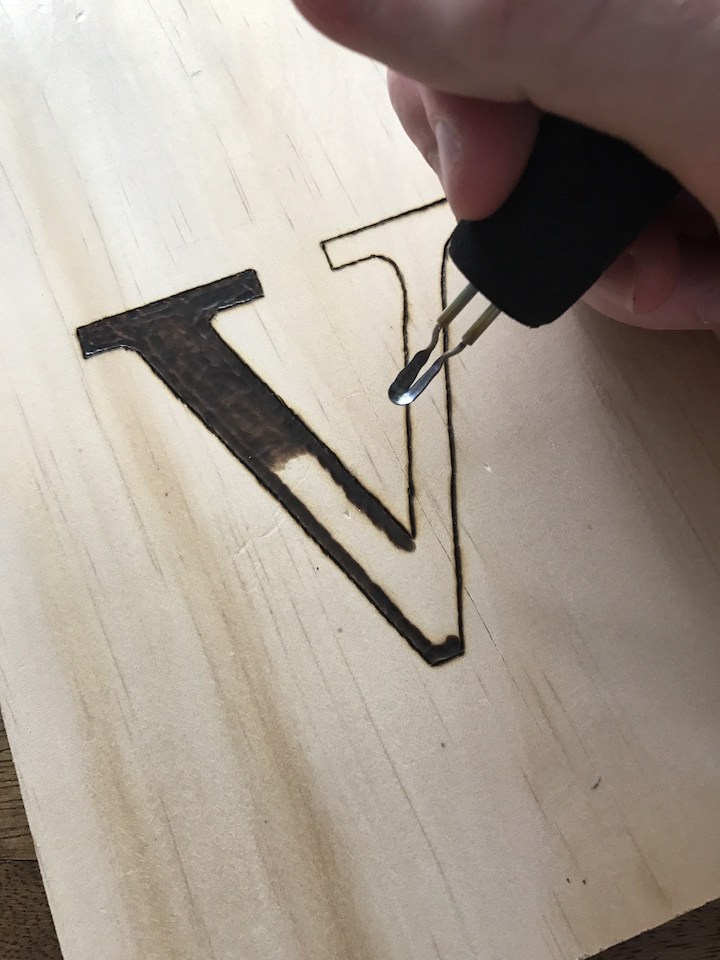
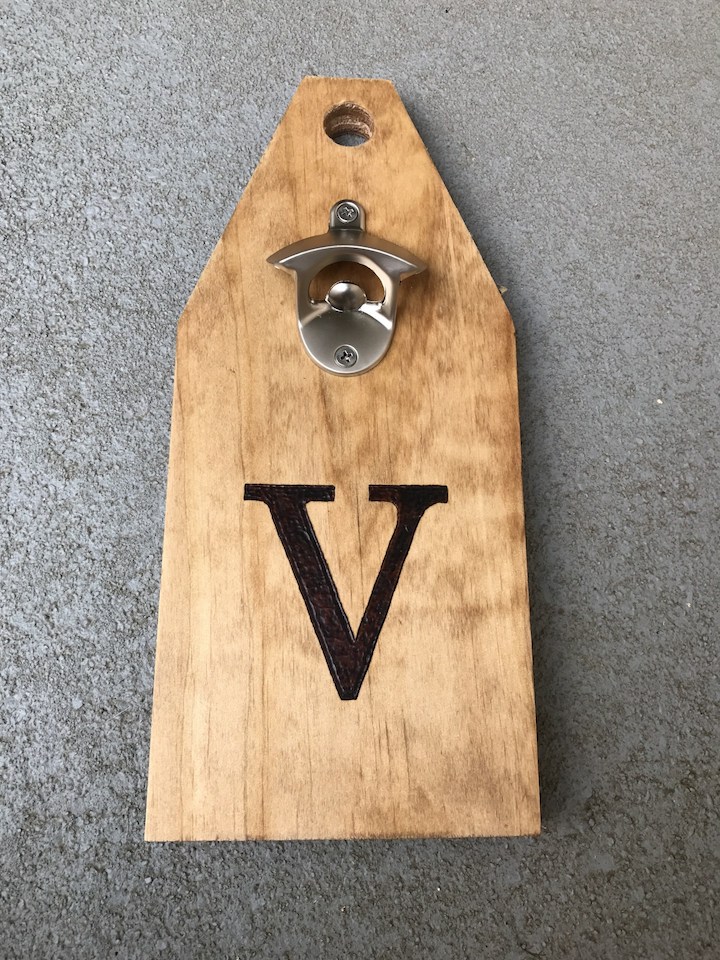
- At this point, if you are going to do a letter on the front of one of the 12 ½" pieces, this would be when I'd woodburn. Just trace the letter and use a woodburn pen to burn it in.
- If you aren't woodburning you can skip, but now is the time to stain everything as it's much harder to stain once everything is put together. Once stained, let dry for a couple of hours before putting together. Attach a wall-mounted bottle opener 2 ½" from the top. You can do this later as well but I like to do now.
- Insert a small amount of glue and add all 4 biscuits to each side of the 8 ½" pieces. Also apply glue in the areas where the biscuits will go in the 12 ½" pieces. (You can also just use brad nails and nail and glue the pieces together but I didn't want anything to show)
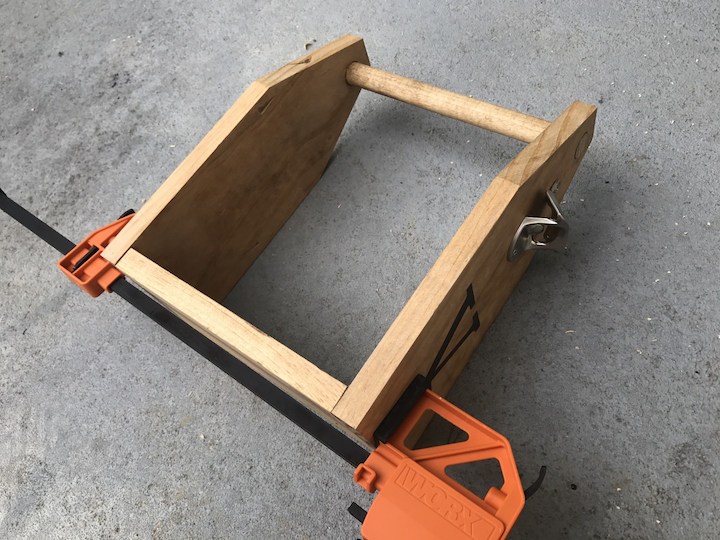
- Apply a small amount of glue and insert your ¾" dowel into each side and let set. Clamp the pieces together and let dry for about 30 minutes.
- Fit together the 8 ½" x 4" pieces and (2) 5 ½ x 4" and place inside the caddy, making sure it fits. You can glue together if needed but not necessary. Take one of your 10" side pieces and apply a small amount of glue to both sides and fasten with a ¾" nail on both sides so that it is ¾" from bottom. Repeat on the other side. Add the second side piece 2 ¼" above the other side pieces and glue and nail. Repeat on other side.
Notes
- Pine wood is the cheapest and easiest to work with but if you want a sturdier caddy, go with oak.
- If you don't want to use biscuits to glue together wood base, just use nails.
- For staining, I prefer Danish oil as it stains and protects the wood.
Recommended Products
As an Amazon Associate and member of other affiliate programs, I earn from qualifying purchases.



Leave a Reply